- Software:
- Adobe Illustrator, Lightburn, OpenBuilds Control
- Machine Time:
- About 20 minutes each on LEAD CNC mill and ACRO laser
- Bit or Laser Size:
- 1/8th 2 flute upcut, 1/16th 2 flute upcut, 2.5w diode laser
- Feeds & Speeds:
- 40 in/min @.06 in/pass for router
60 in/min @70% power laser scan, followed by 120 in/min @25% cut
- Materials:
- Walnut
This is a magic coin box that I made for my dad. He bought me one of these at a local toy store recently and it reminded me of all of the fun little gadgets and curiosities he would give me as a kid. It made me realize how much those little gifts influenced my creative development, so I wanted to make him one of his own that he could dazzle his grandchildren and other kids with. Of course, I wanted it to be nice. Many of my CNC-based projects could be done by hand as well, albeit with much more labor and effort, but that is probably not the case with this one - it would take a real masochist or master of patience and precision to make these small parts with really tight tolerances.
The trick of these things is very simple - a tray with 2 holes for coins sits snugly inside a sealed case with a single, centered circular opening. The case has holes or slots on either end that allow a rod to push the tray back and forth, thus "changing" the coin (or making it vanish, if you like). If showing this to a kid, my personal preference would be to turn a penny or nickel into a quarter and then let them keep it - I feel like that would have the biggest impact. Bonus points if you let them do it multiple times to keep the illusion alive.
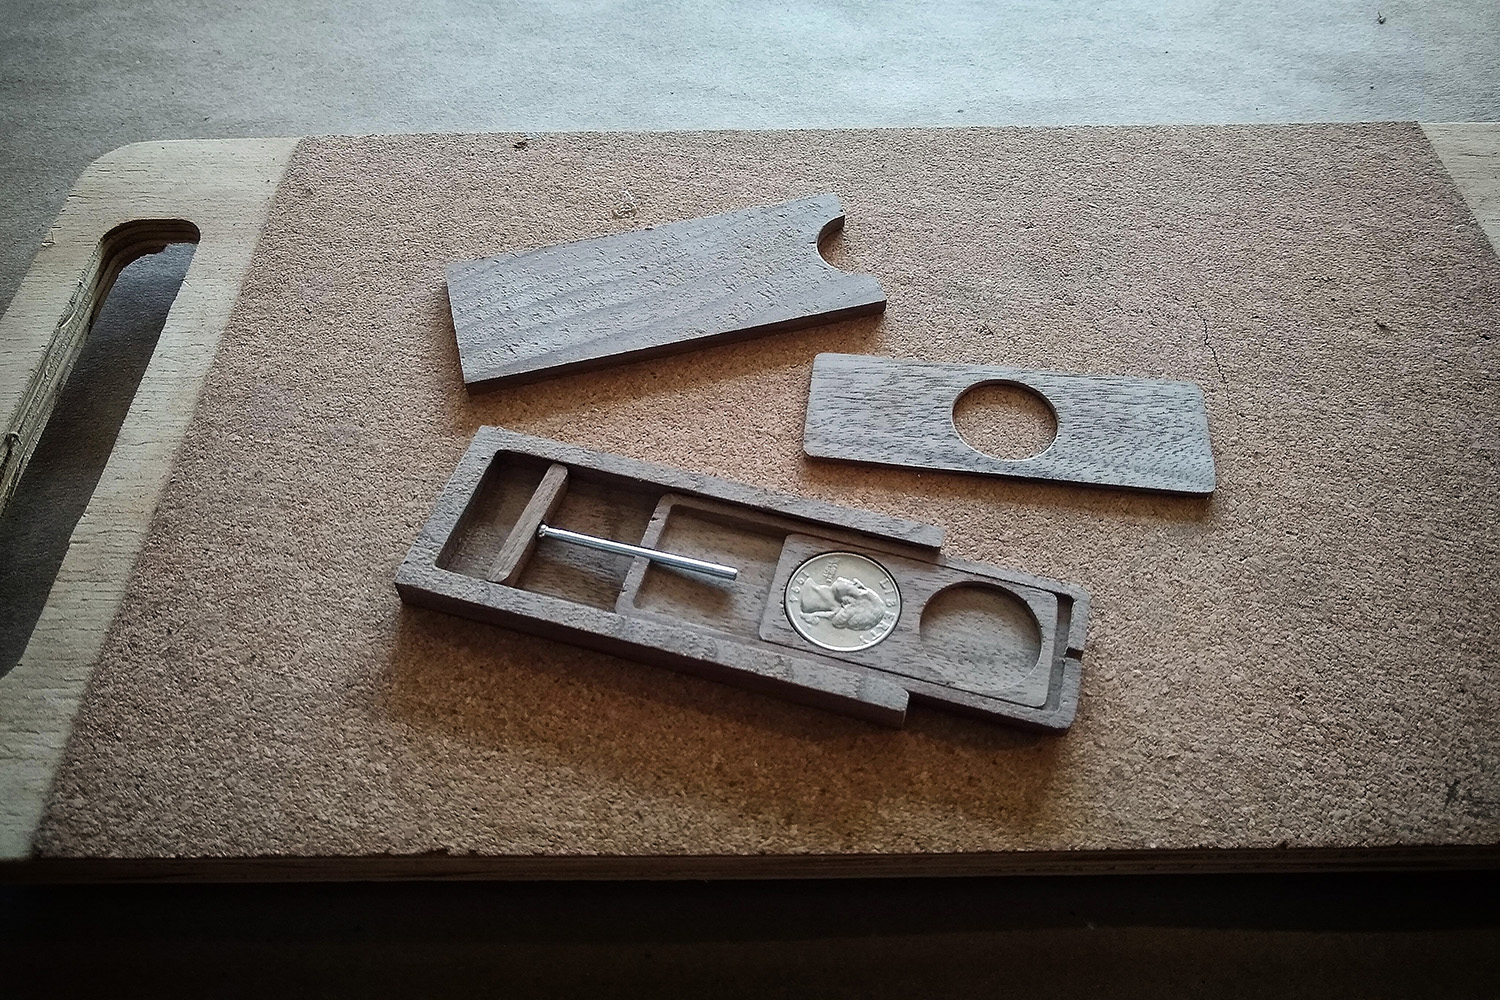
Here you can see how all the parts go together. Any hardwood would do, here I chose walnut for everything because it's never a bad choice and I keep a healthy stock in my home shop. I unfortunately lost a few photos of the parts being milled on my LEAD CNC 1010, but there was nothing atypical about that process. The sliding tray and interior case lid were cut with a 1/16" 2-flute upcut bit, and the larger parts were done with the same style of bit in 1/8" diameter. The sliding tray has to be exactly 2/3rds of the interior length of the case it goes into, so that one tray hole always lines up perfectly centered with the exposed opening of the case. Furthermore, the rod must extend exactly far enough to push the tray exactly to the opposite side of the interior case. Too short, and the slots will not line up, ruining the illusion. Too far and every time the case is pushed in it will deform the fragile sliding tray, also causing it to stop aligning correctly. I determined the correct distance with the case open and then epoxied in the backstop with a nail running through it. The point of the nail was of course filed off to make flat contact, and I made sure there was a healthy amount of epoxy in the hole was well. This needed to stay exactly straight for everything to work smoothly for a long time to come.

I wanted this box to be as small as possible so I started with the pockets for the coins, sizing them to fit a quarter perfectly. Everything was then designed around these circles, making each piece as thin and small as possible while still being strong enough to last a lifetime. These plans are available to download if you have a CNC router and would like to replicate this work. You'll have to set all of your depths yourself, as I design my parts in 2d and these are not common board thicknesses. The math is super easy though, and just takes a minute to calculate. The pocket for the sliding tray in the interior case body should be just fractions of a milimeter deeper than the sliding tray so that it will not move around if the box is shaken, but can still be easily moved with the rod. Same deal with the final thickness of the interior case in relation to its pocket in the box body. My approach was to leave at least an extra .5mm or so of thickness everywhere and then sand down until everything was perfect. The added thickness of the finish you use on the wood has to be factored in too. There's a lot of fine sanding involved to get everything moving around just right, but it's extremely satisfying when it finally gets there.

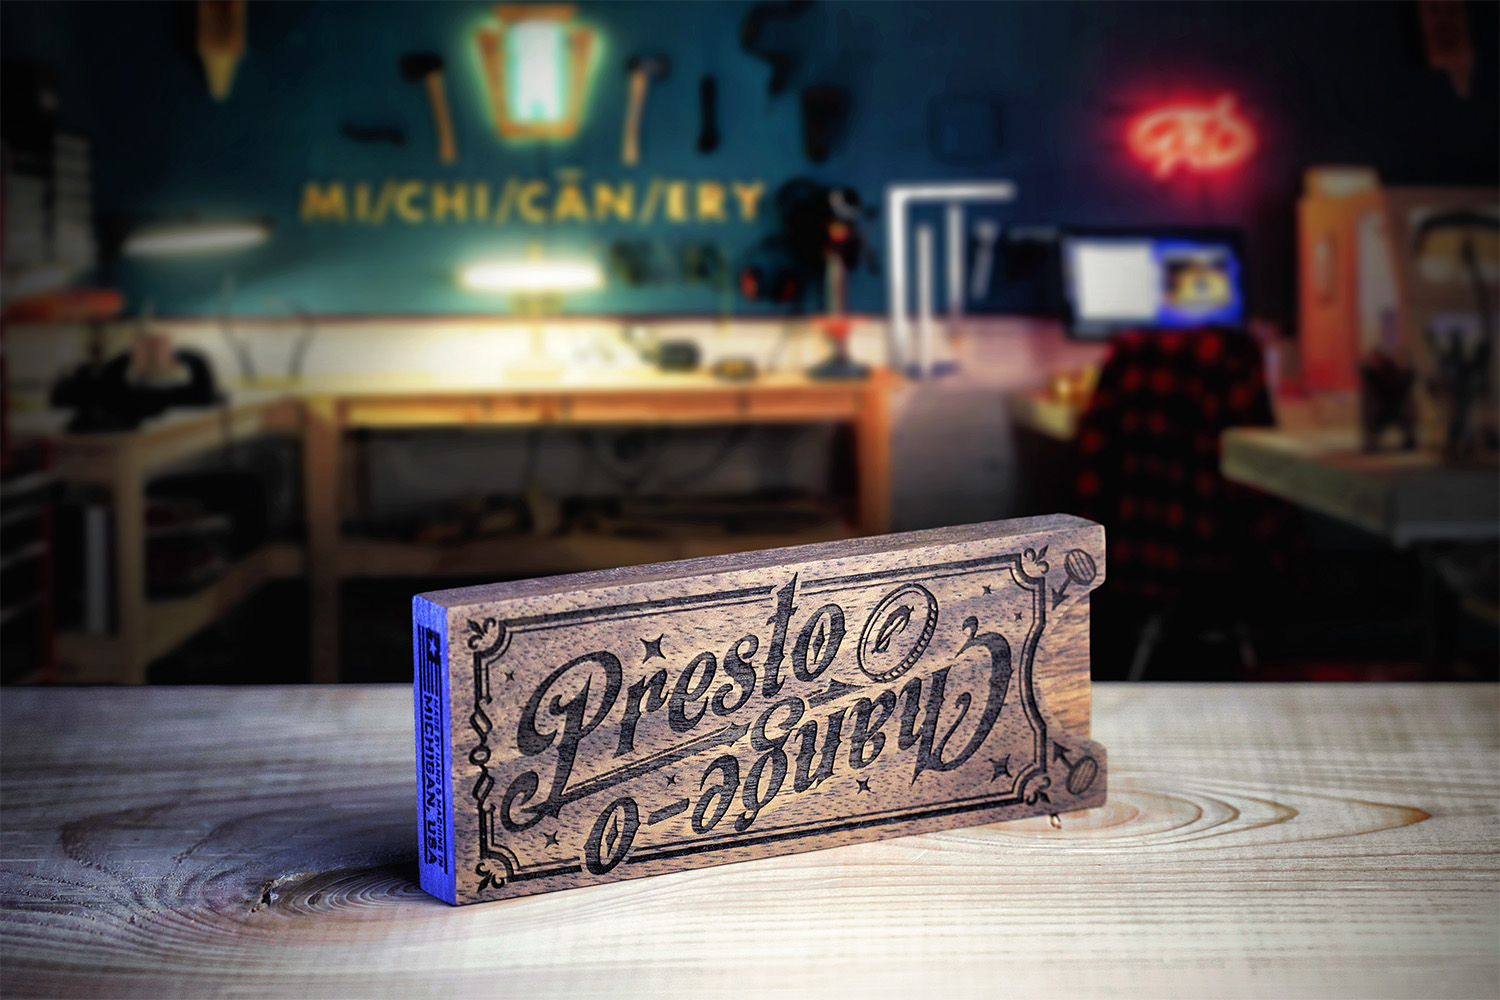
With everything glued up and the epoxy left to cure for 24 hours, the meticulous work was all done and I could get to the fun stuff - the art. I wanted the box to look like it belonged in an old-timey American emporium, and here's what I came up with.
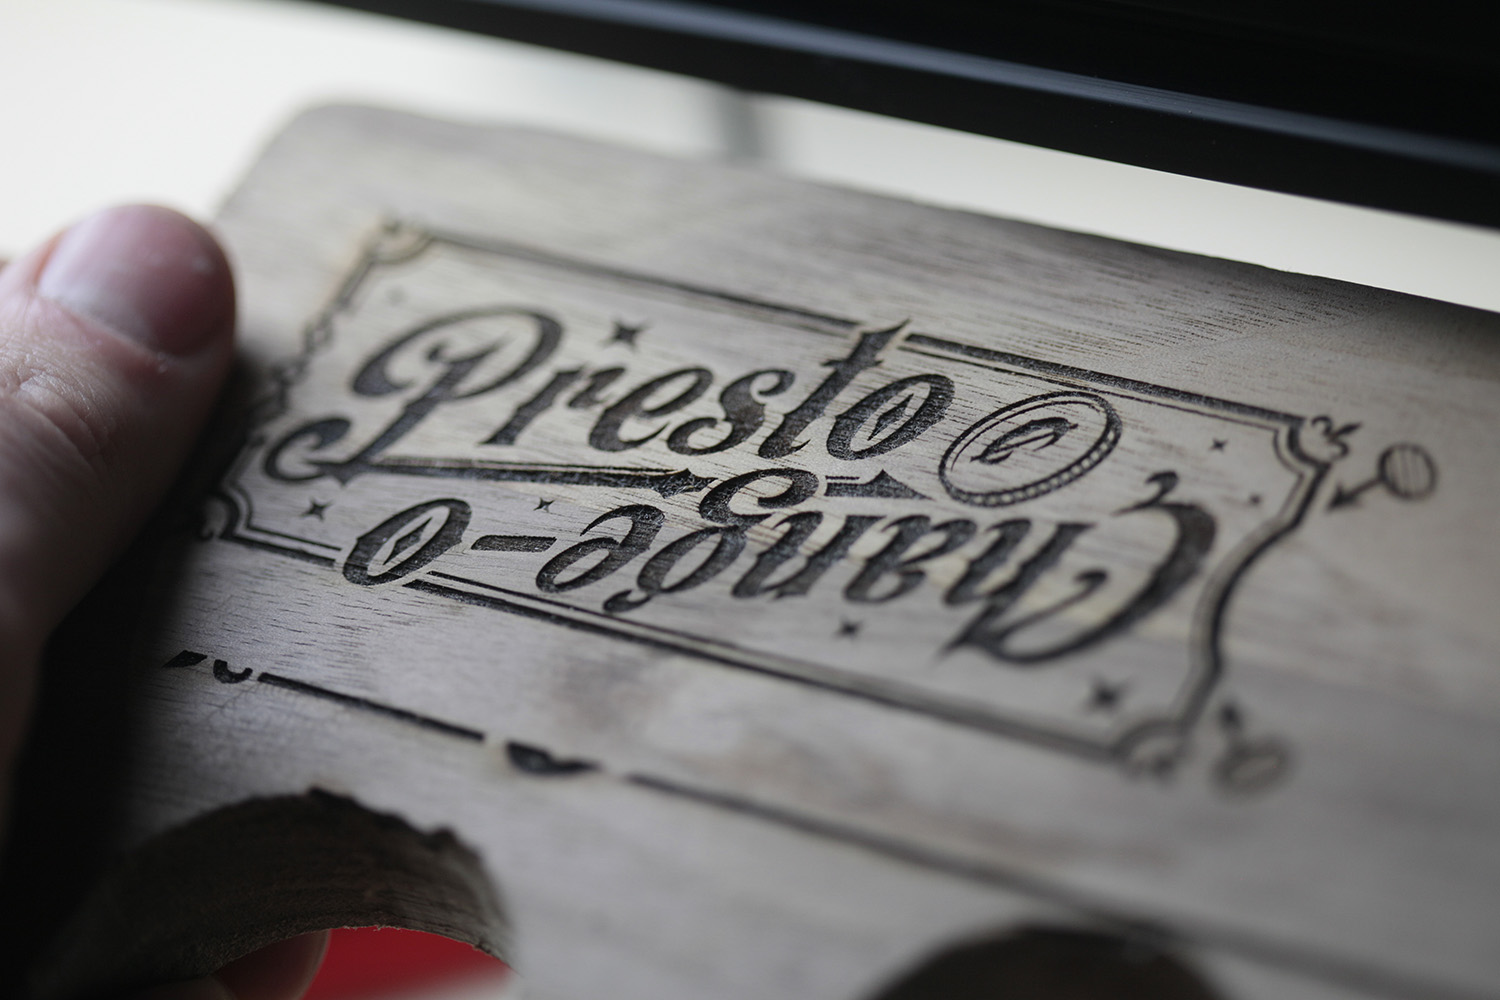
This was my first CNC laser project, so I did some tests on scrap walnut first to get my settings down. I used Lightburn to convert my design to G-Code, and ended up using a scan of 70 in/min at 60% power, followed by a cut at 100 in/min at 25% power with my 2.5w diode laser. Satisfied with the look, it was time to burn the design into the box. Nerve-wracking for a laser newbie, as I had put a couple of days of work into the box at this point. Sure it could be sanded down and retried maybe once or twice, but I prefer to avoid major screwups whenever possible.
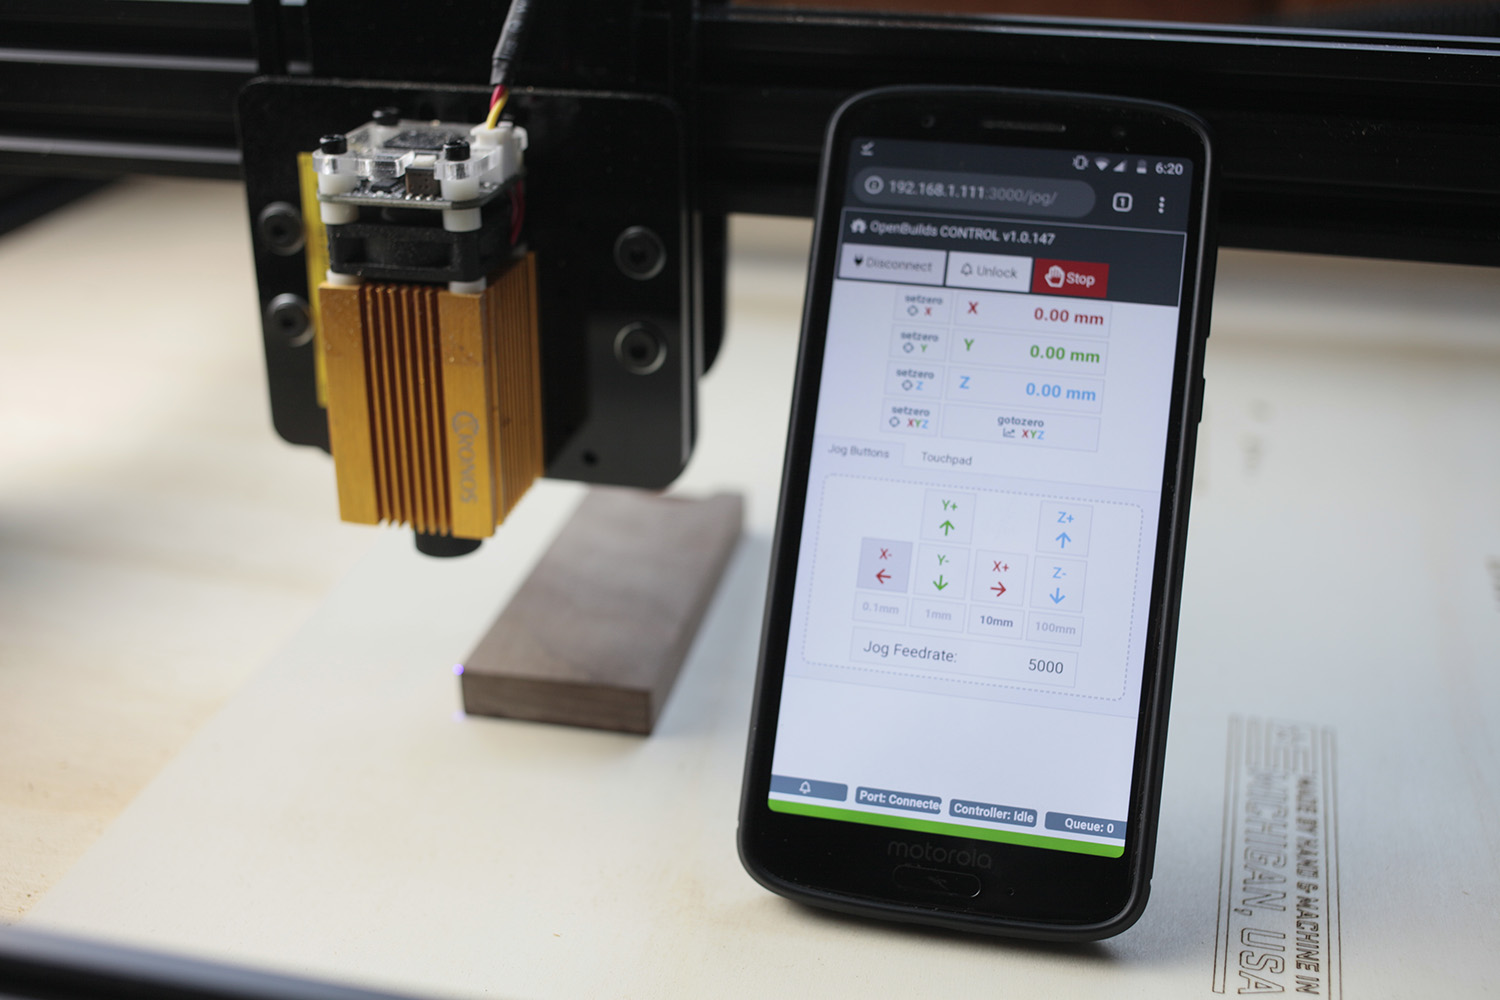
Luckily, I had just discovered that the OpenBuilds Control software has a remote jog feature. Wow. This was my RTFM moment, I really should have known about this since I've been using the software for a while - it's now positively invaluable to me for establishing alignment. My process was to first measure the box precisely and then place the art within those boundaries. Next I aligned the laser to a corner of my piece and then jogged it to the opposite side on the X-axis and aligned that side. With the jog app, I could quickly move the laser around until I was certain everything aligned perfectly. Then, I could pick any point (particularly points of concern, like the edge that wraps around the thumb opening) and see if the positioning of the design elements were matching up with where the laser was hitting. Now that I'm more comfortable with the process, I mostly use the jog app to establish squareness with the CNC axes and to check that the opposite corners are at the correct distances apart. This is a relatively simple case, but with non-square objects it's a huge comfort to be able to know precisely where everything will hit.

You can see here that there was a bit of edge burning going on, but I favored having a deep engraving that I could gently sand the burns off of rather than a lighter engraving that wouldn't contrast well off the relatively dark walnut.

I think the plan worked out pretty well - with a light sand a little Danish Oil, I was very happy with the result.
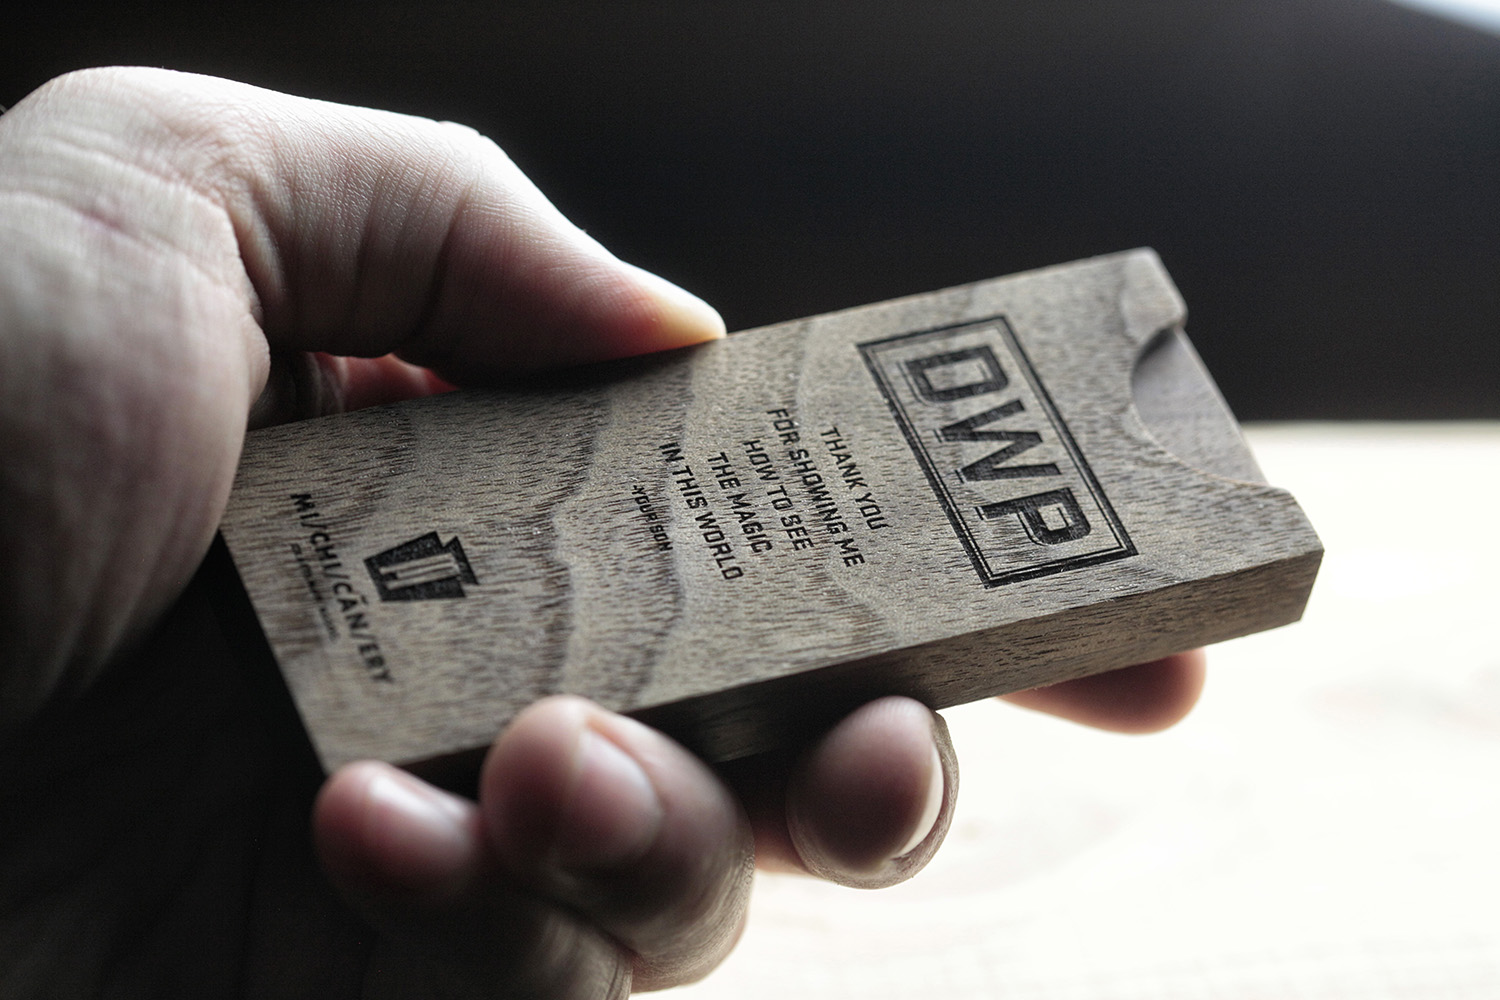
On the back, I engraved dad's initials, a personal message and my mark.

I wanted to push my luck a little on my first project with the laser, so I laid out a little engraving to go on the bottom of the box. I didn't realize it at the time, but my table and clamping were not sturdy enough for the speeds I was using, and so you can see a lot of shakiness in the results here due to the vibration. It also engraved deeper into the endgrain than it had on the faces, which made sense in retrospect. Learned some good lessons with this part, while still getting a pretty decent result.
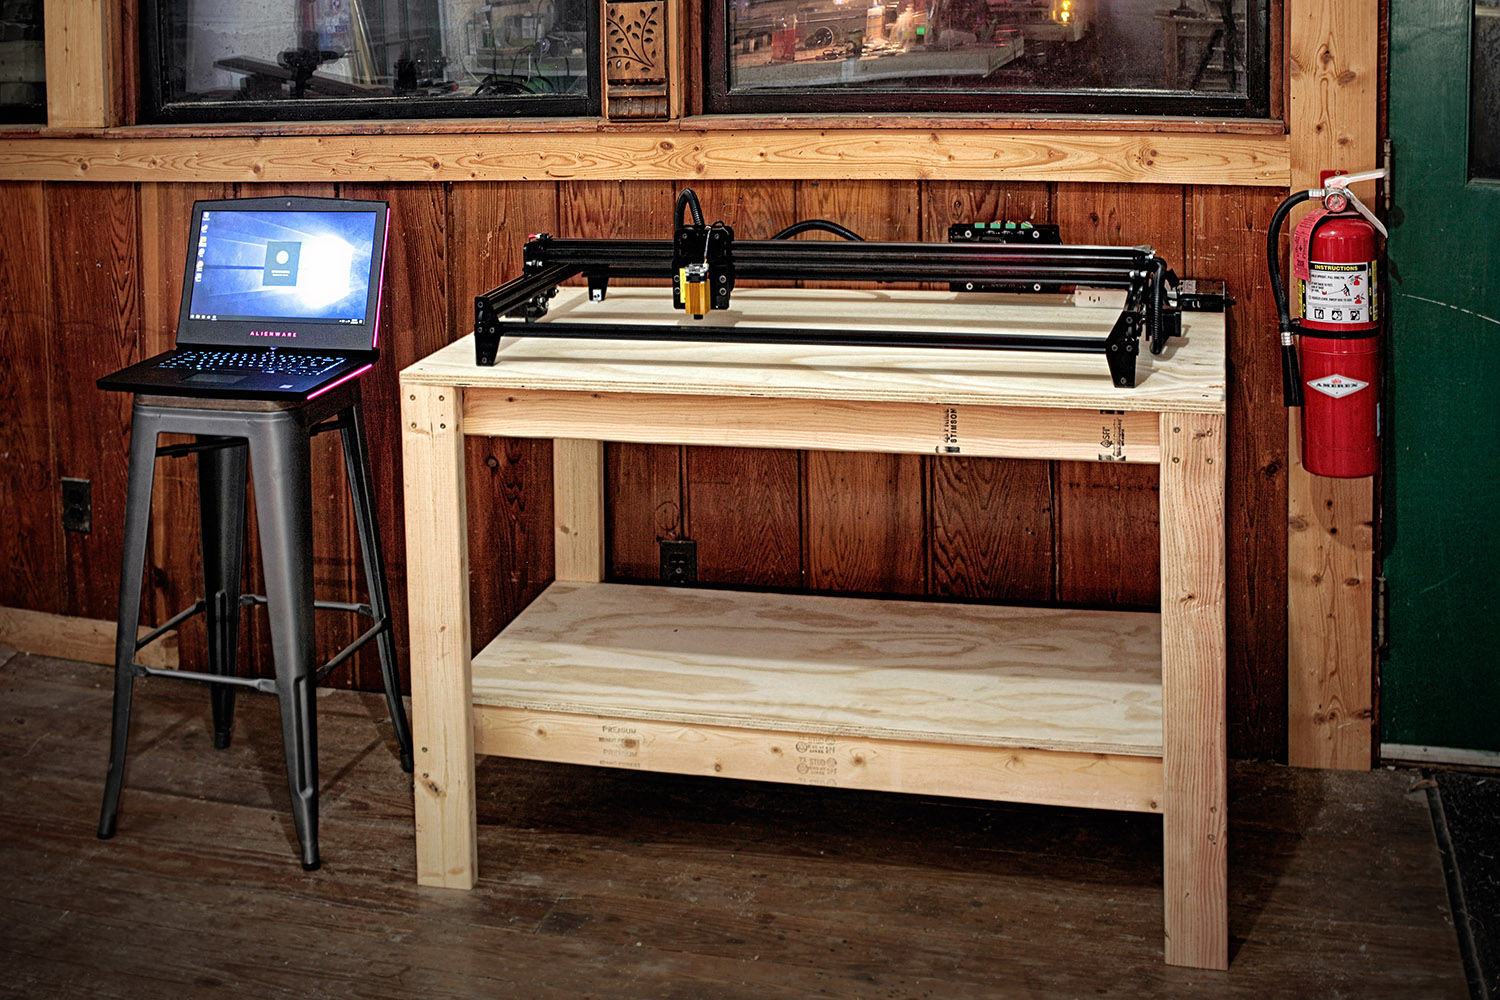
Here is what my OpenBuilds ACRO setup looked like when I made this project. Humble beginnings - not particularly glamorous or well-appointed, but we all gotta start somewhere. When this machine was sent out to me I was very excited to put it to use, but honestly had tempered expectations for this seemingly-simple belt-driven system. But wow, it honestly has blown me away. Its accuracy was not overstated in the least; I've been getting excellent results time after time with it. I've even been engraving clearly legible type as small as 4pt size, and it still baffles my mind how it can do that. This thing deserves every bell and whistle I can think of, and it's going to get them.
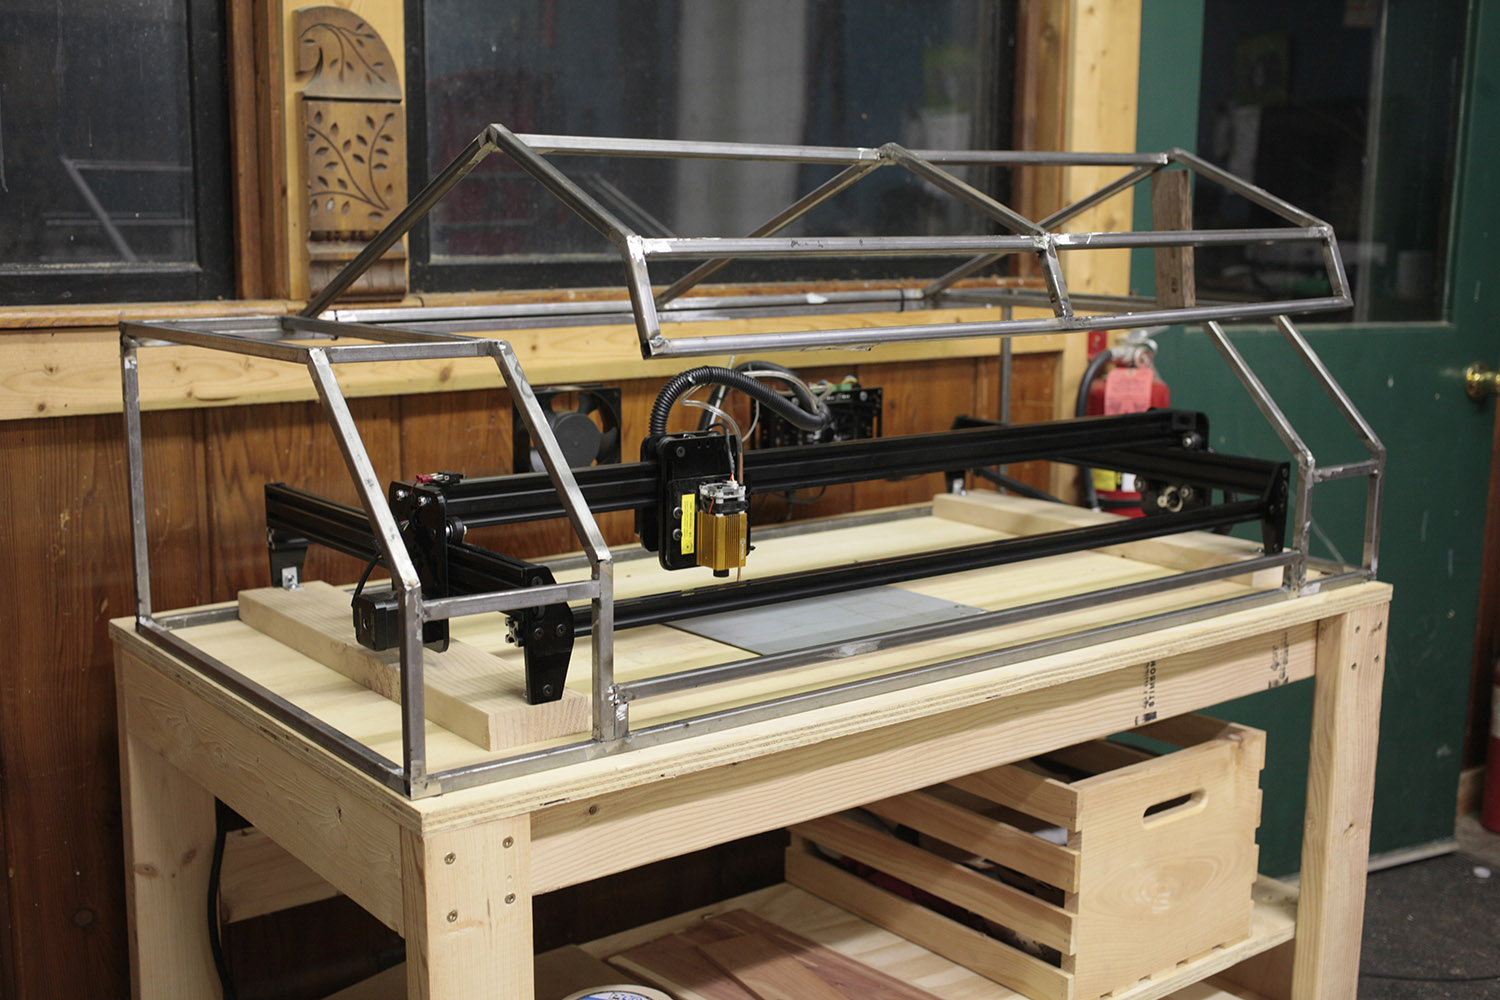
Here's where she sits today - halfway through my enclosure build, with air assist hooked up and soon to have some steel skin, safe viewing windows, exhaust and a custom control panel. I like the OpenBuilds Control jog webapp feature so much that I'm also building an android phone into my enclosure to perform that function as well as serving a camera feed. It's gonna be cool. Thanks to Mark and the team at OpenBuilds for making such a fantastic machine, this is going to be the crown jewel of my workshop for some time!
Thanks for checking my project out! If you'd like to keep up with more of my work, I'm on Instagram as @michicanery
Share this Project
DeVereor, mahmoudsalemsaeed, dvdwlsh and 12 others like this.
User Comments
Sort Comments By