- Machine Type:
- OpenBuilds LEAD Machine
- Software:
- V-Carve Desktop, and OpenBuilds Control Software
- Electronics:
- OpenBuilds BlackBox
- Machine Time:
- 8 hours
- Bit or Laser Size:
- .25" End Mill, .25" Ball Nose (6" shank for High Z Mod)
- Feeds & Speeds:
- 75 IPM
- Materials:
- 6" FOAM

This project was so much fun! The High Z Mod for the LEAD CNC gave us the capabilities to mill out this large 6" 3D carving of Han Solo!
Long Reach Bits:
End Mill (Roughing and clear out bit)
* YG-1 - 55901 E5065 Carbide Square Nose End Mill, Extra Long Reach https://amzn.to/36JN1f7
Ball Nose (3D carving)
* YG-1 - 52901 E5018 Carbide Ball Nose End Mill, Extra Long Reach https://amzn.to/3pVUvTY
We started by finding a really cool model on Thingiverse. Definitely a great place to find some cool 3D models!
We brought the model into V-Carve Desktop and scaled it down to the desired dimensions. (24" Length, 12" Width)

The model height was set at 4.75".
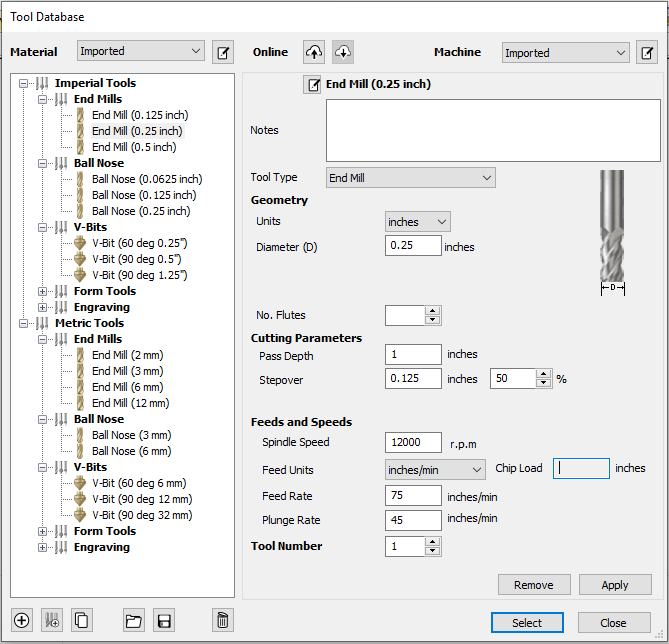
Here is the roughing tool path that was used for this project. The pass per depth was gauged by the material, since we were using foam we were able to increase the depth per pass to 1".
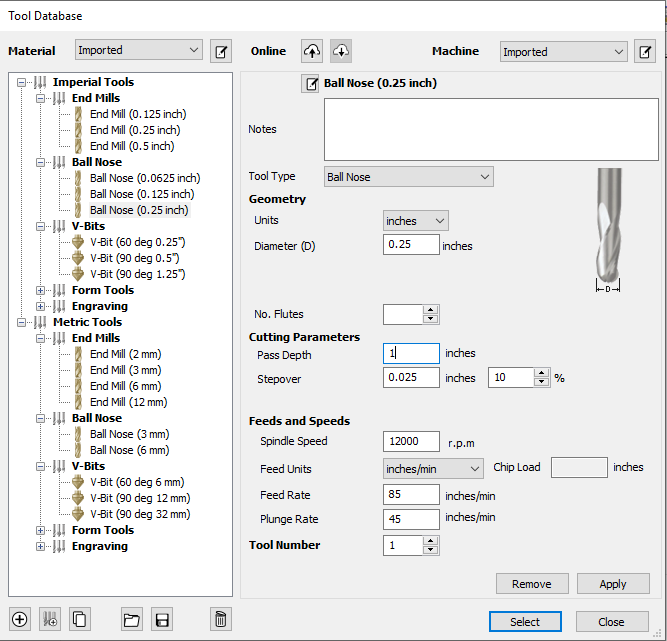
This is the finishing tool path which also uses the same pass per depth, but the stepover was at 10% for a more detailed finish.
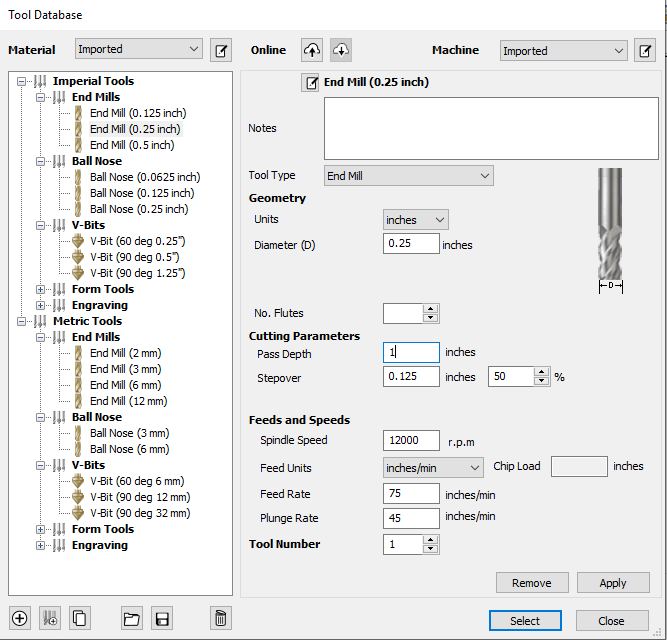
Lastly, the profile tool path was set!
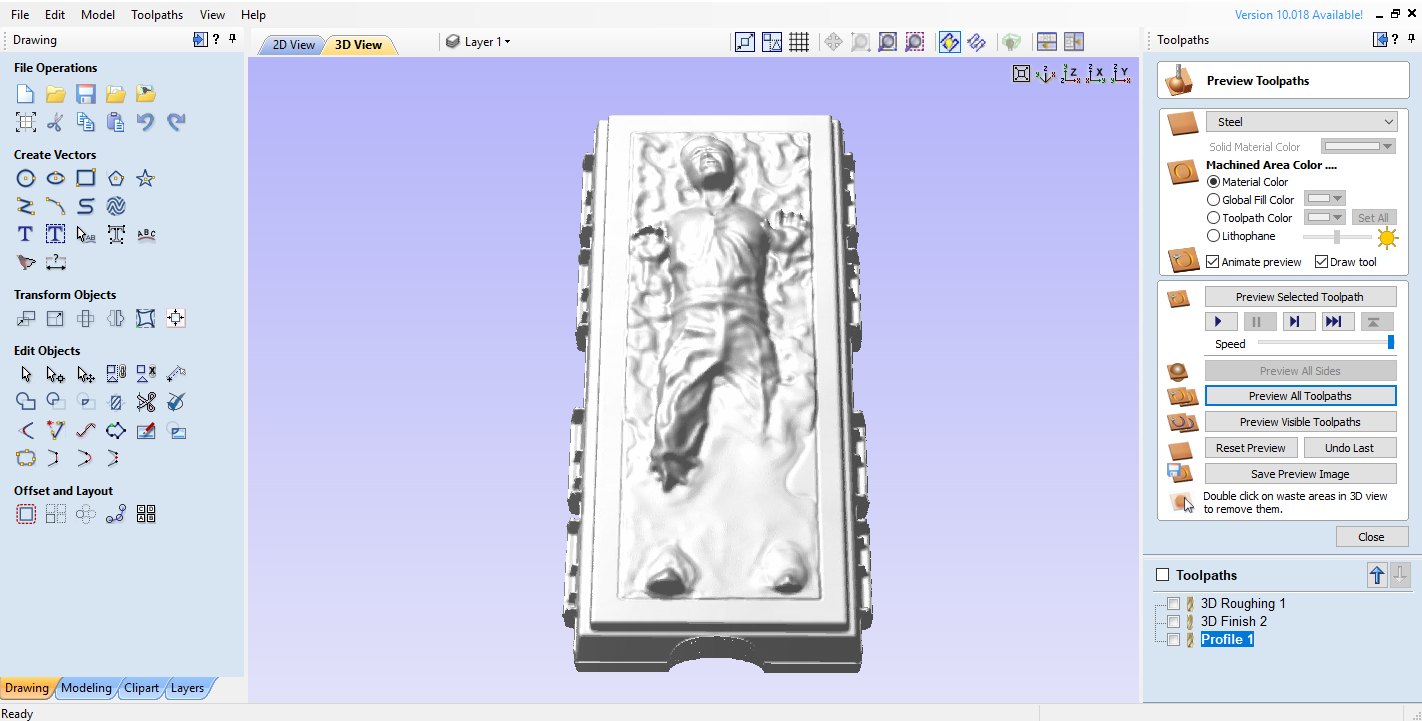
This was the finished preview of the model after all the tool paths were set!
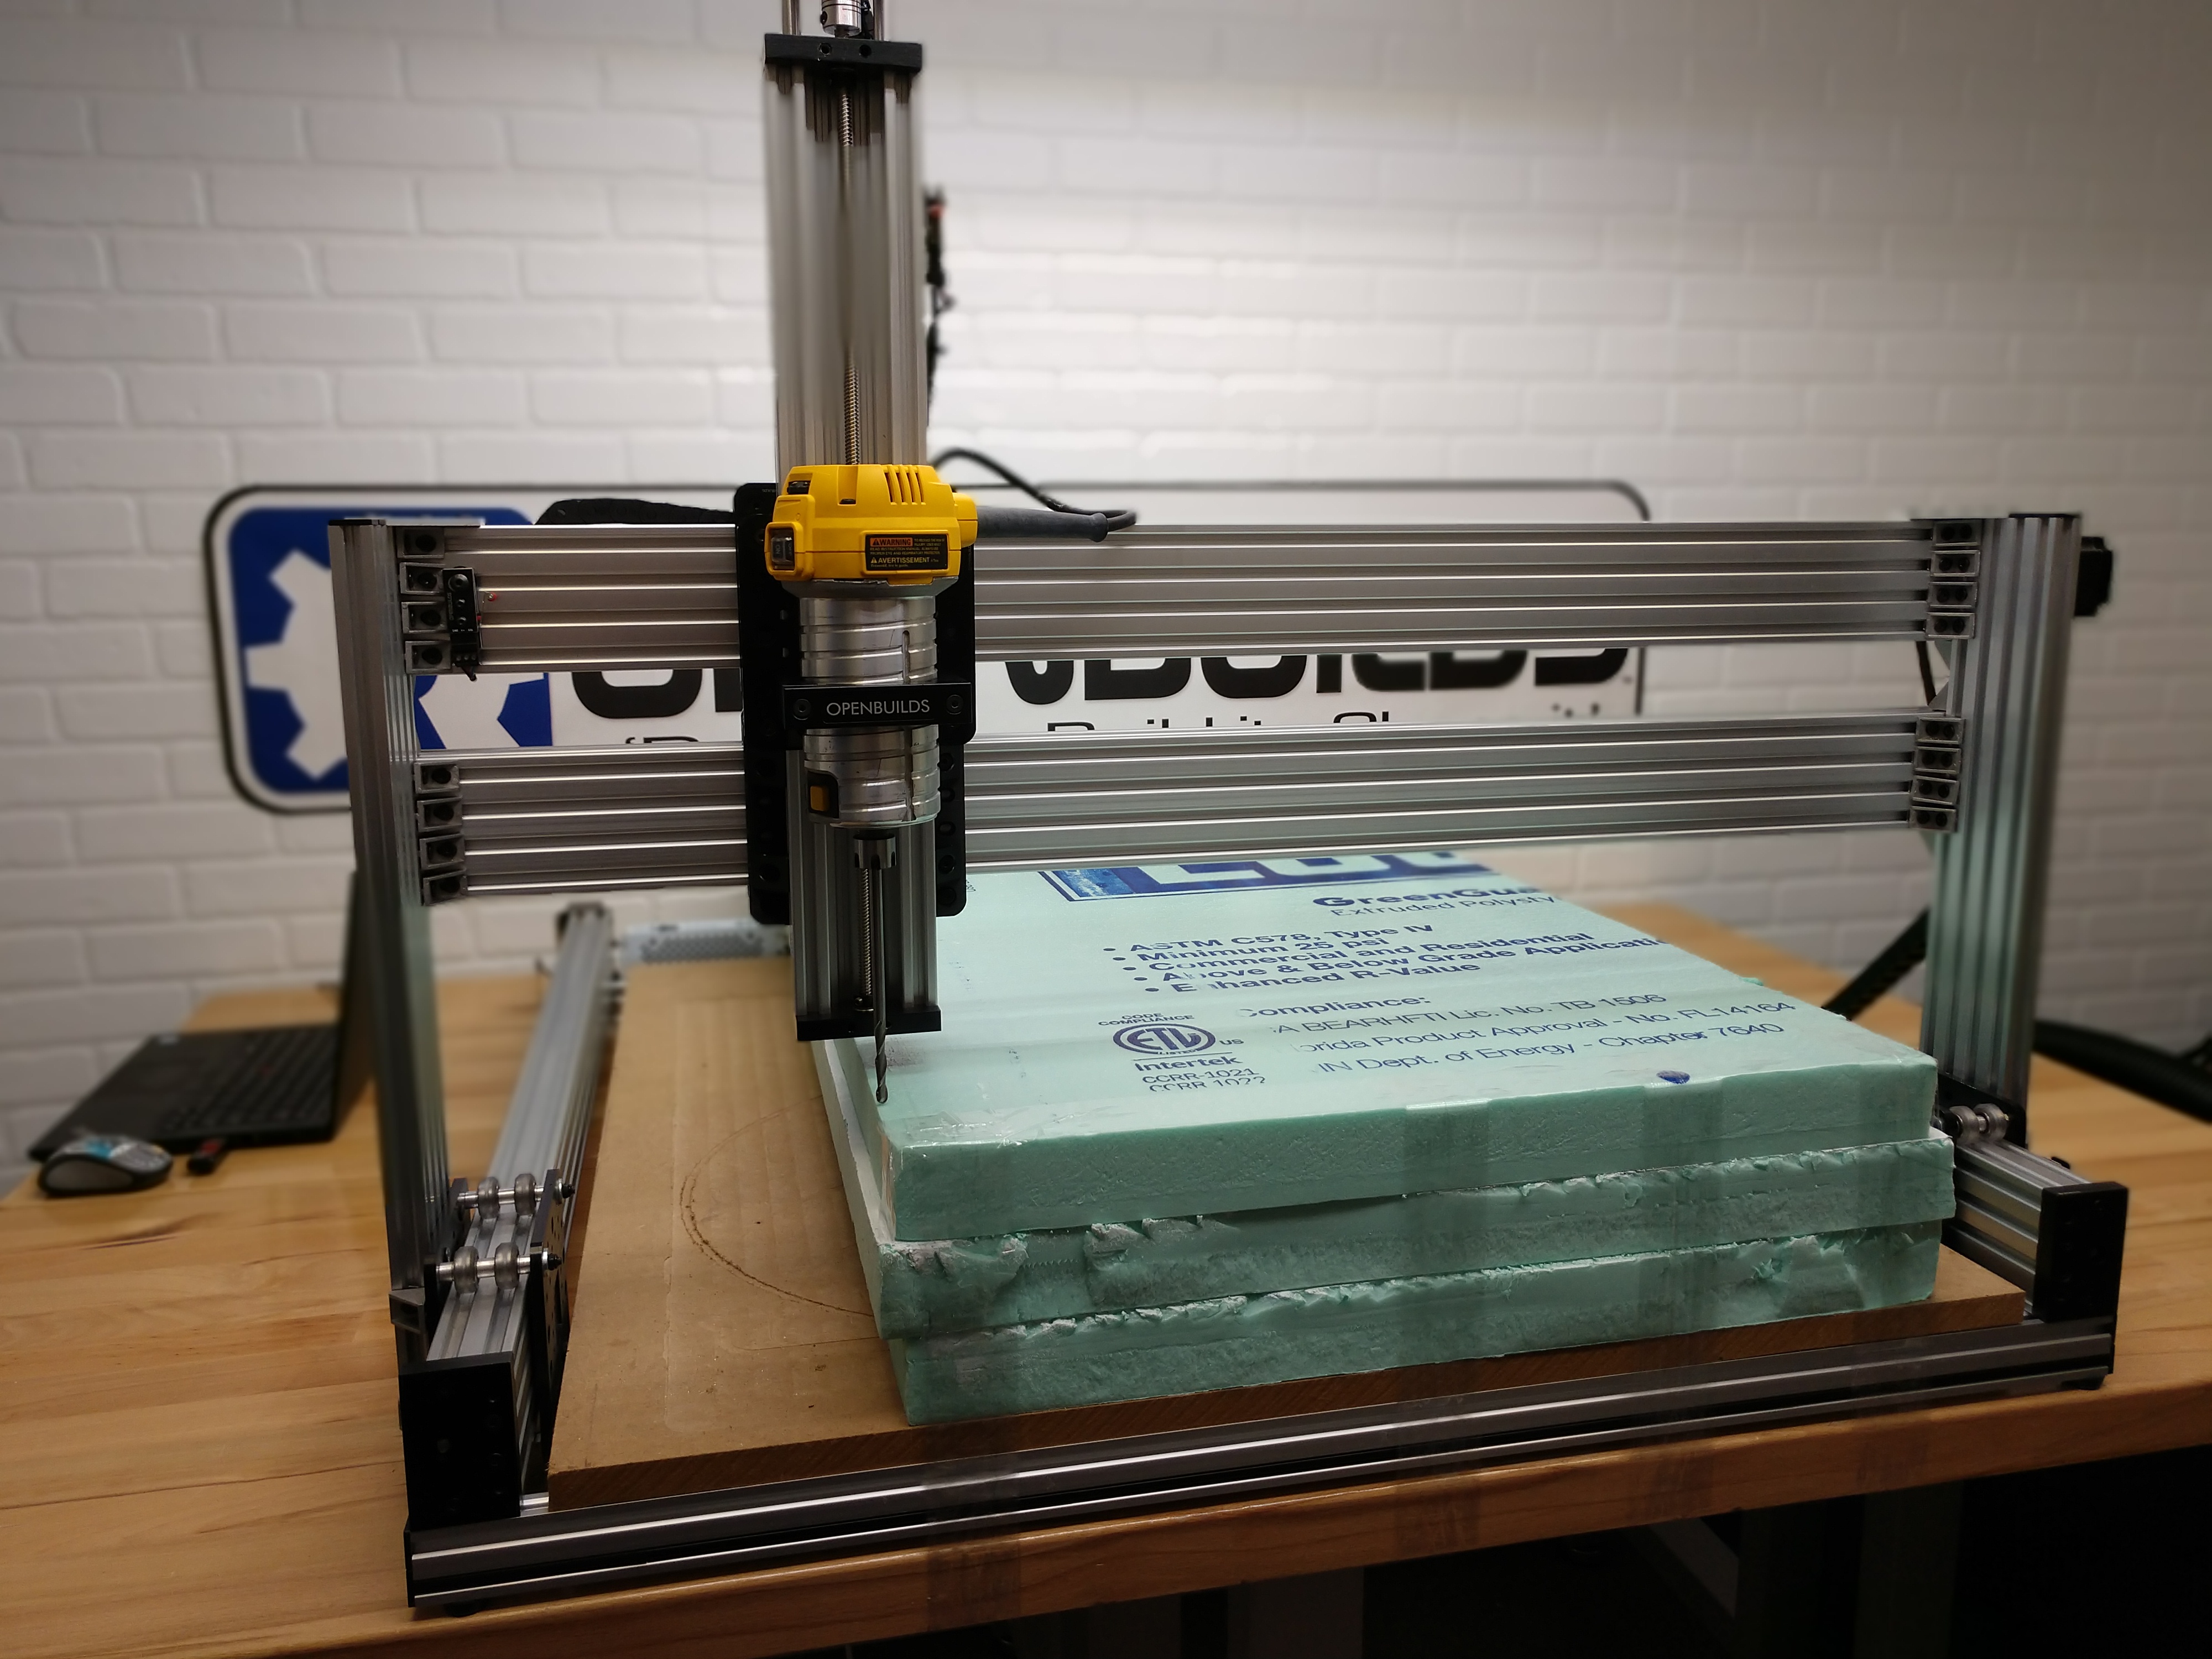
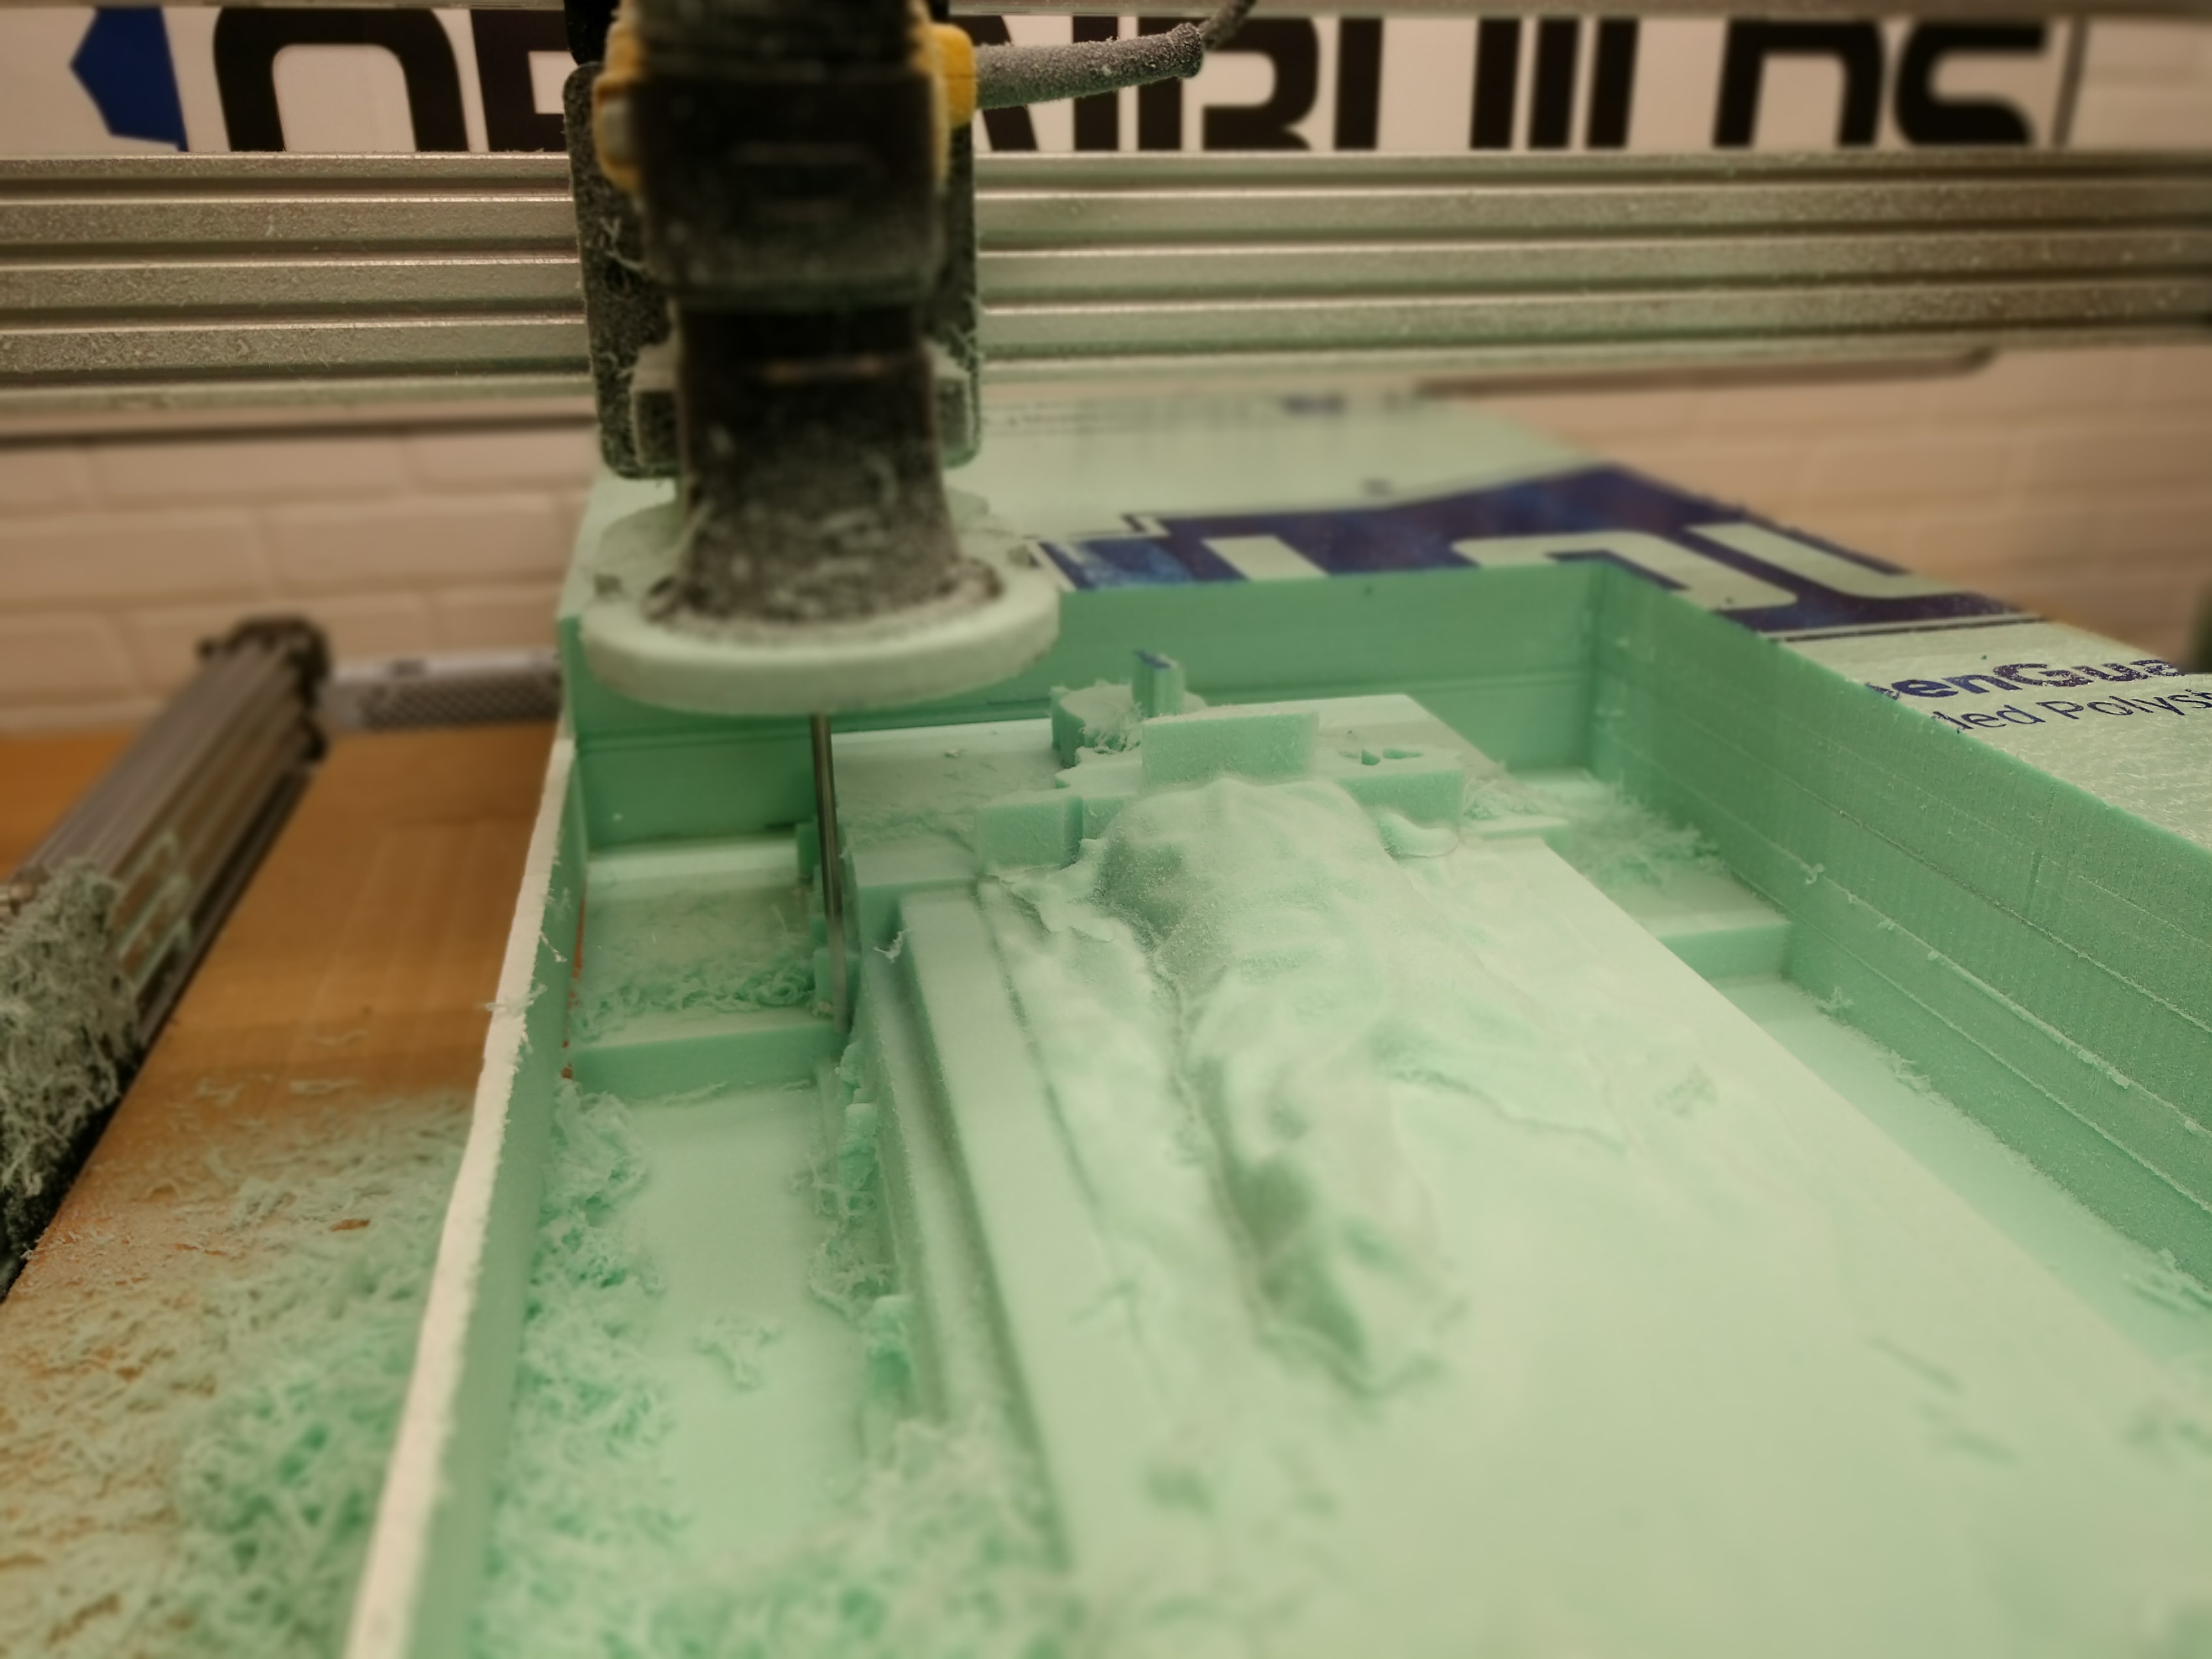
We used 3 pieces of 2" foam glued together to create this 6" piece! The material was mounted to the spoiler board and it was time for the roughing tool path!
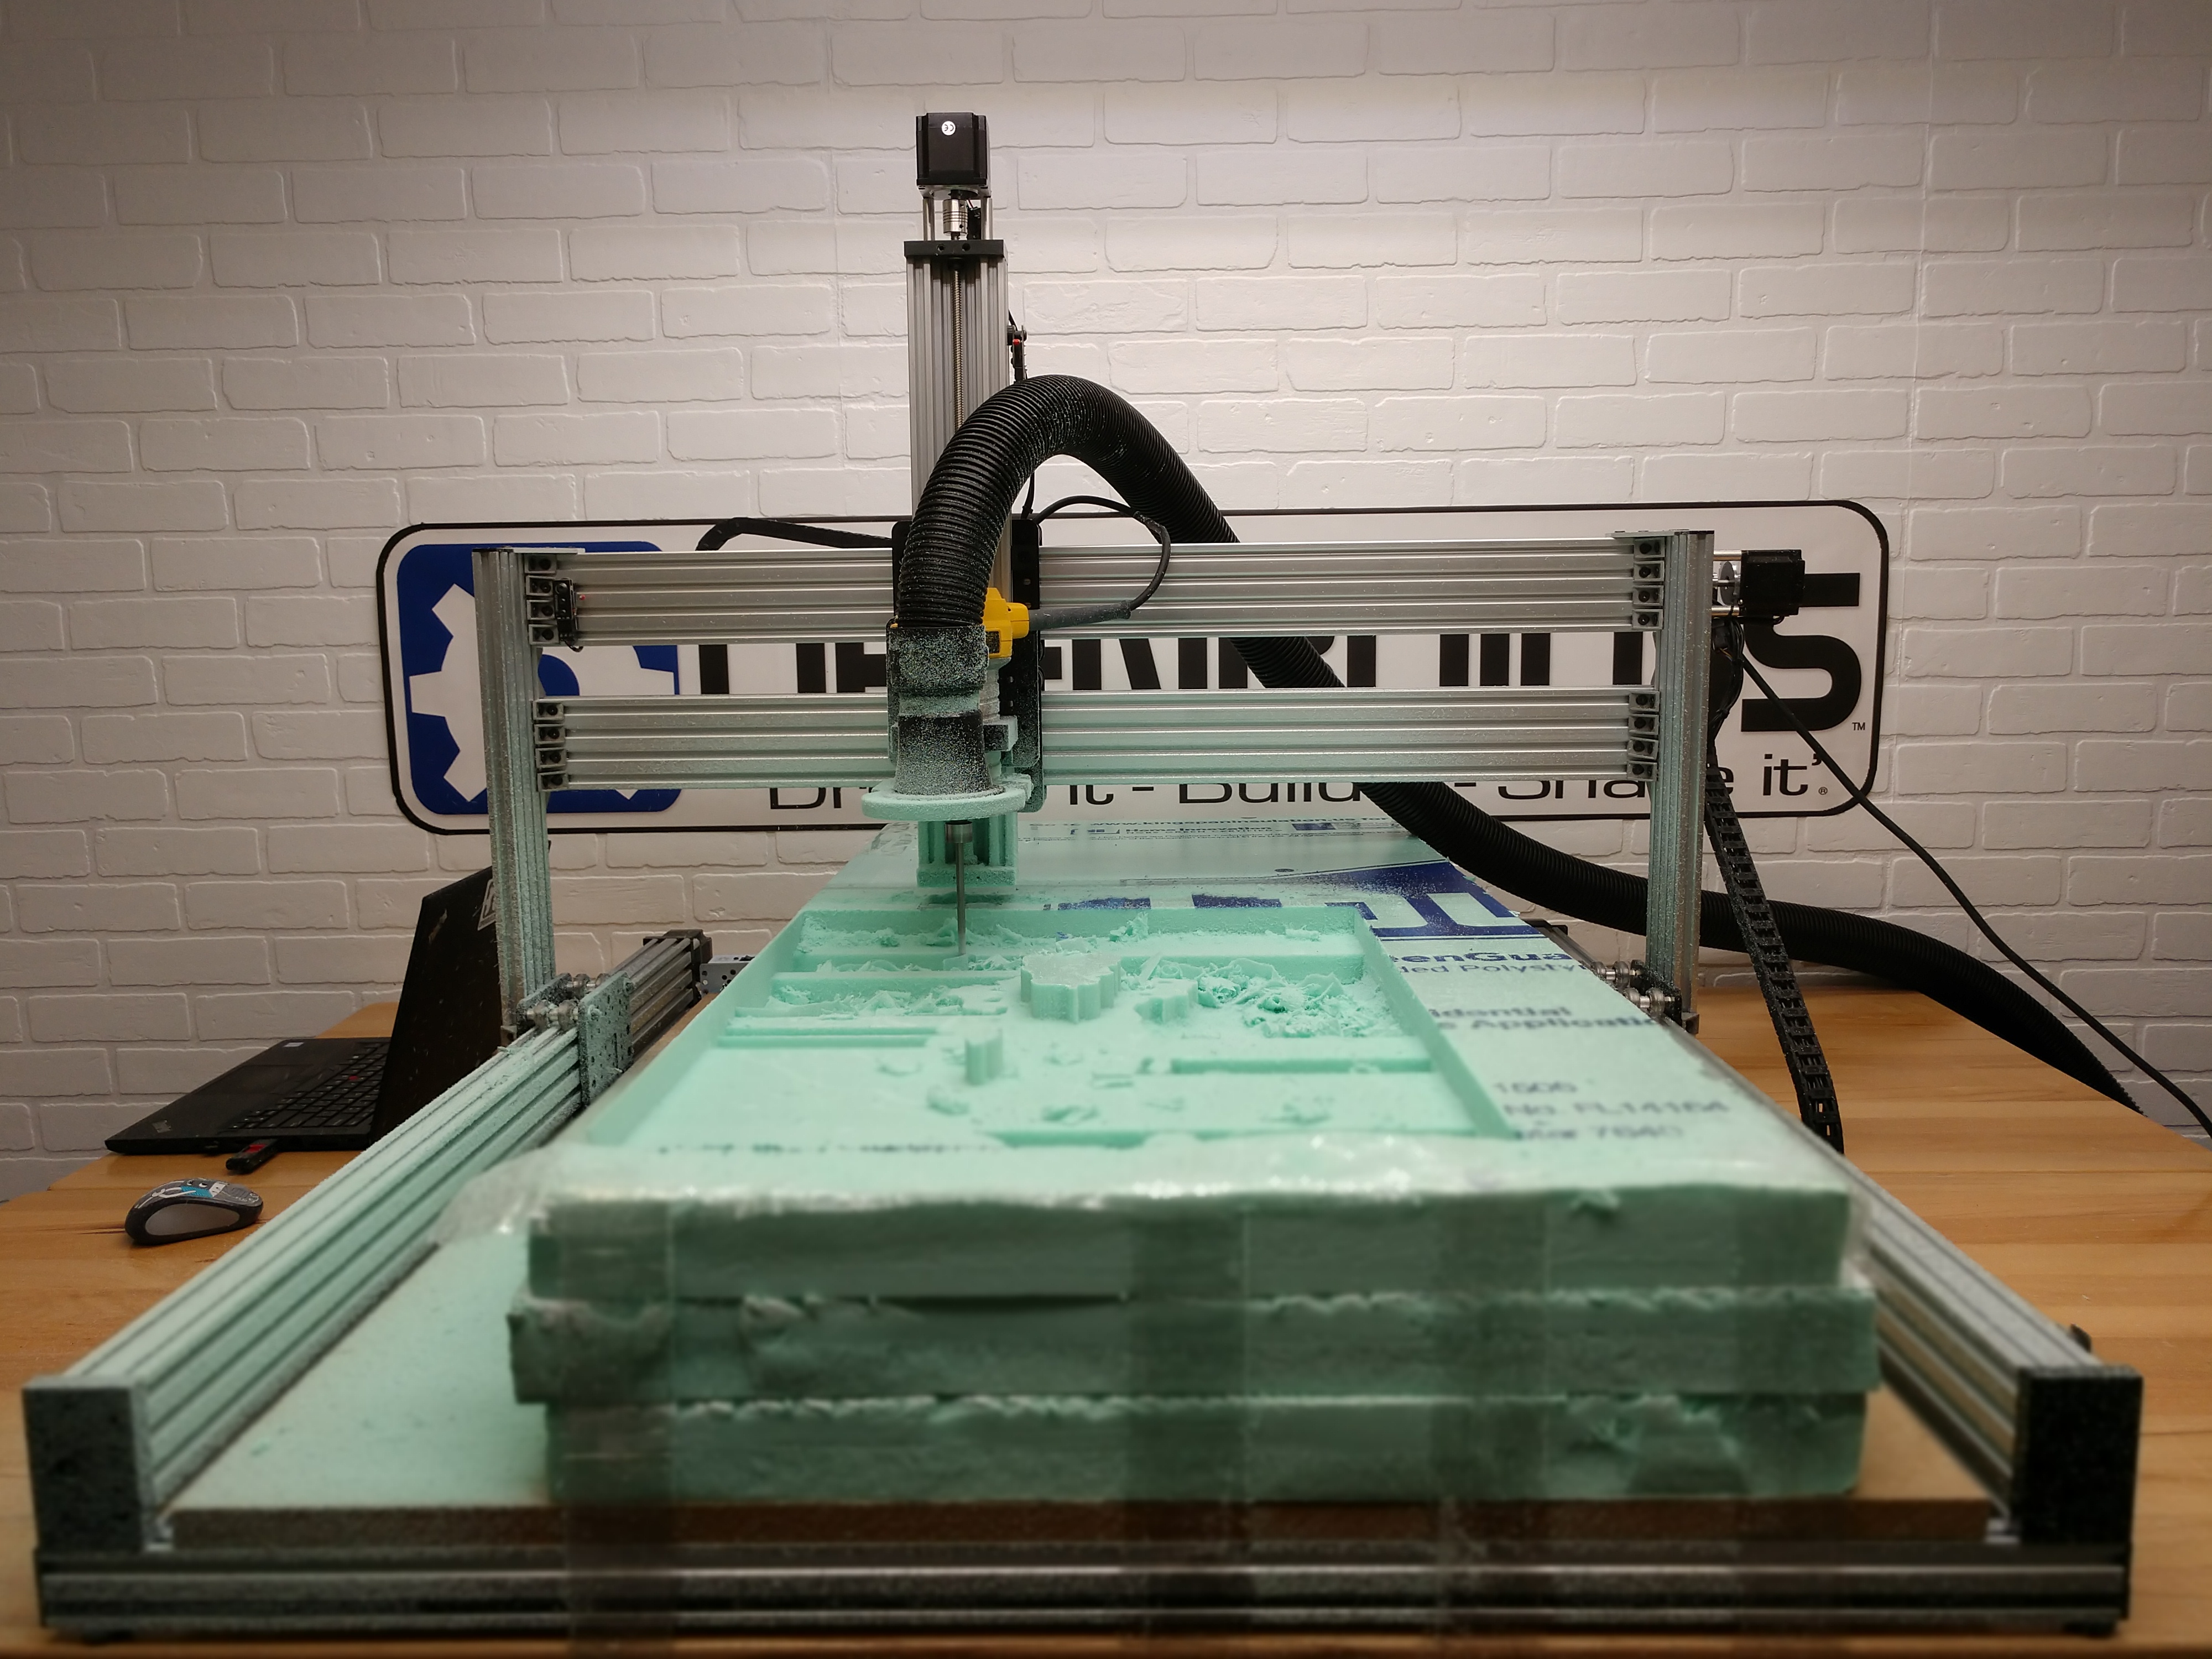
The roughing tool path!
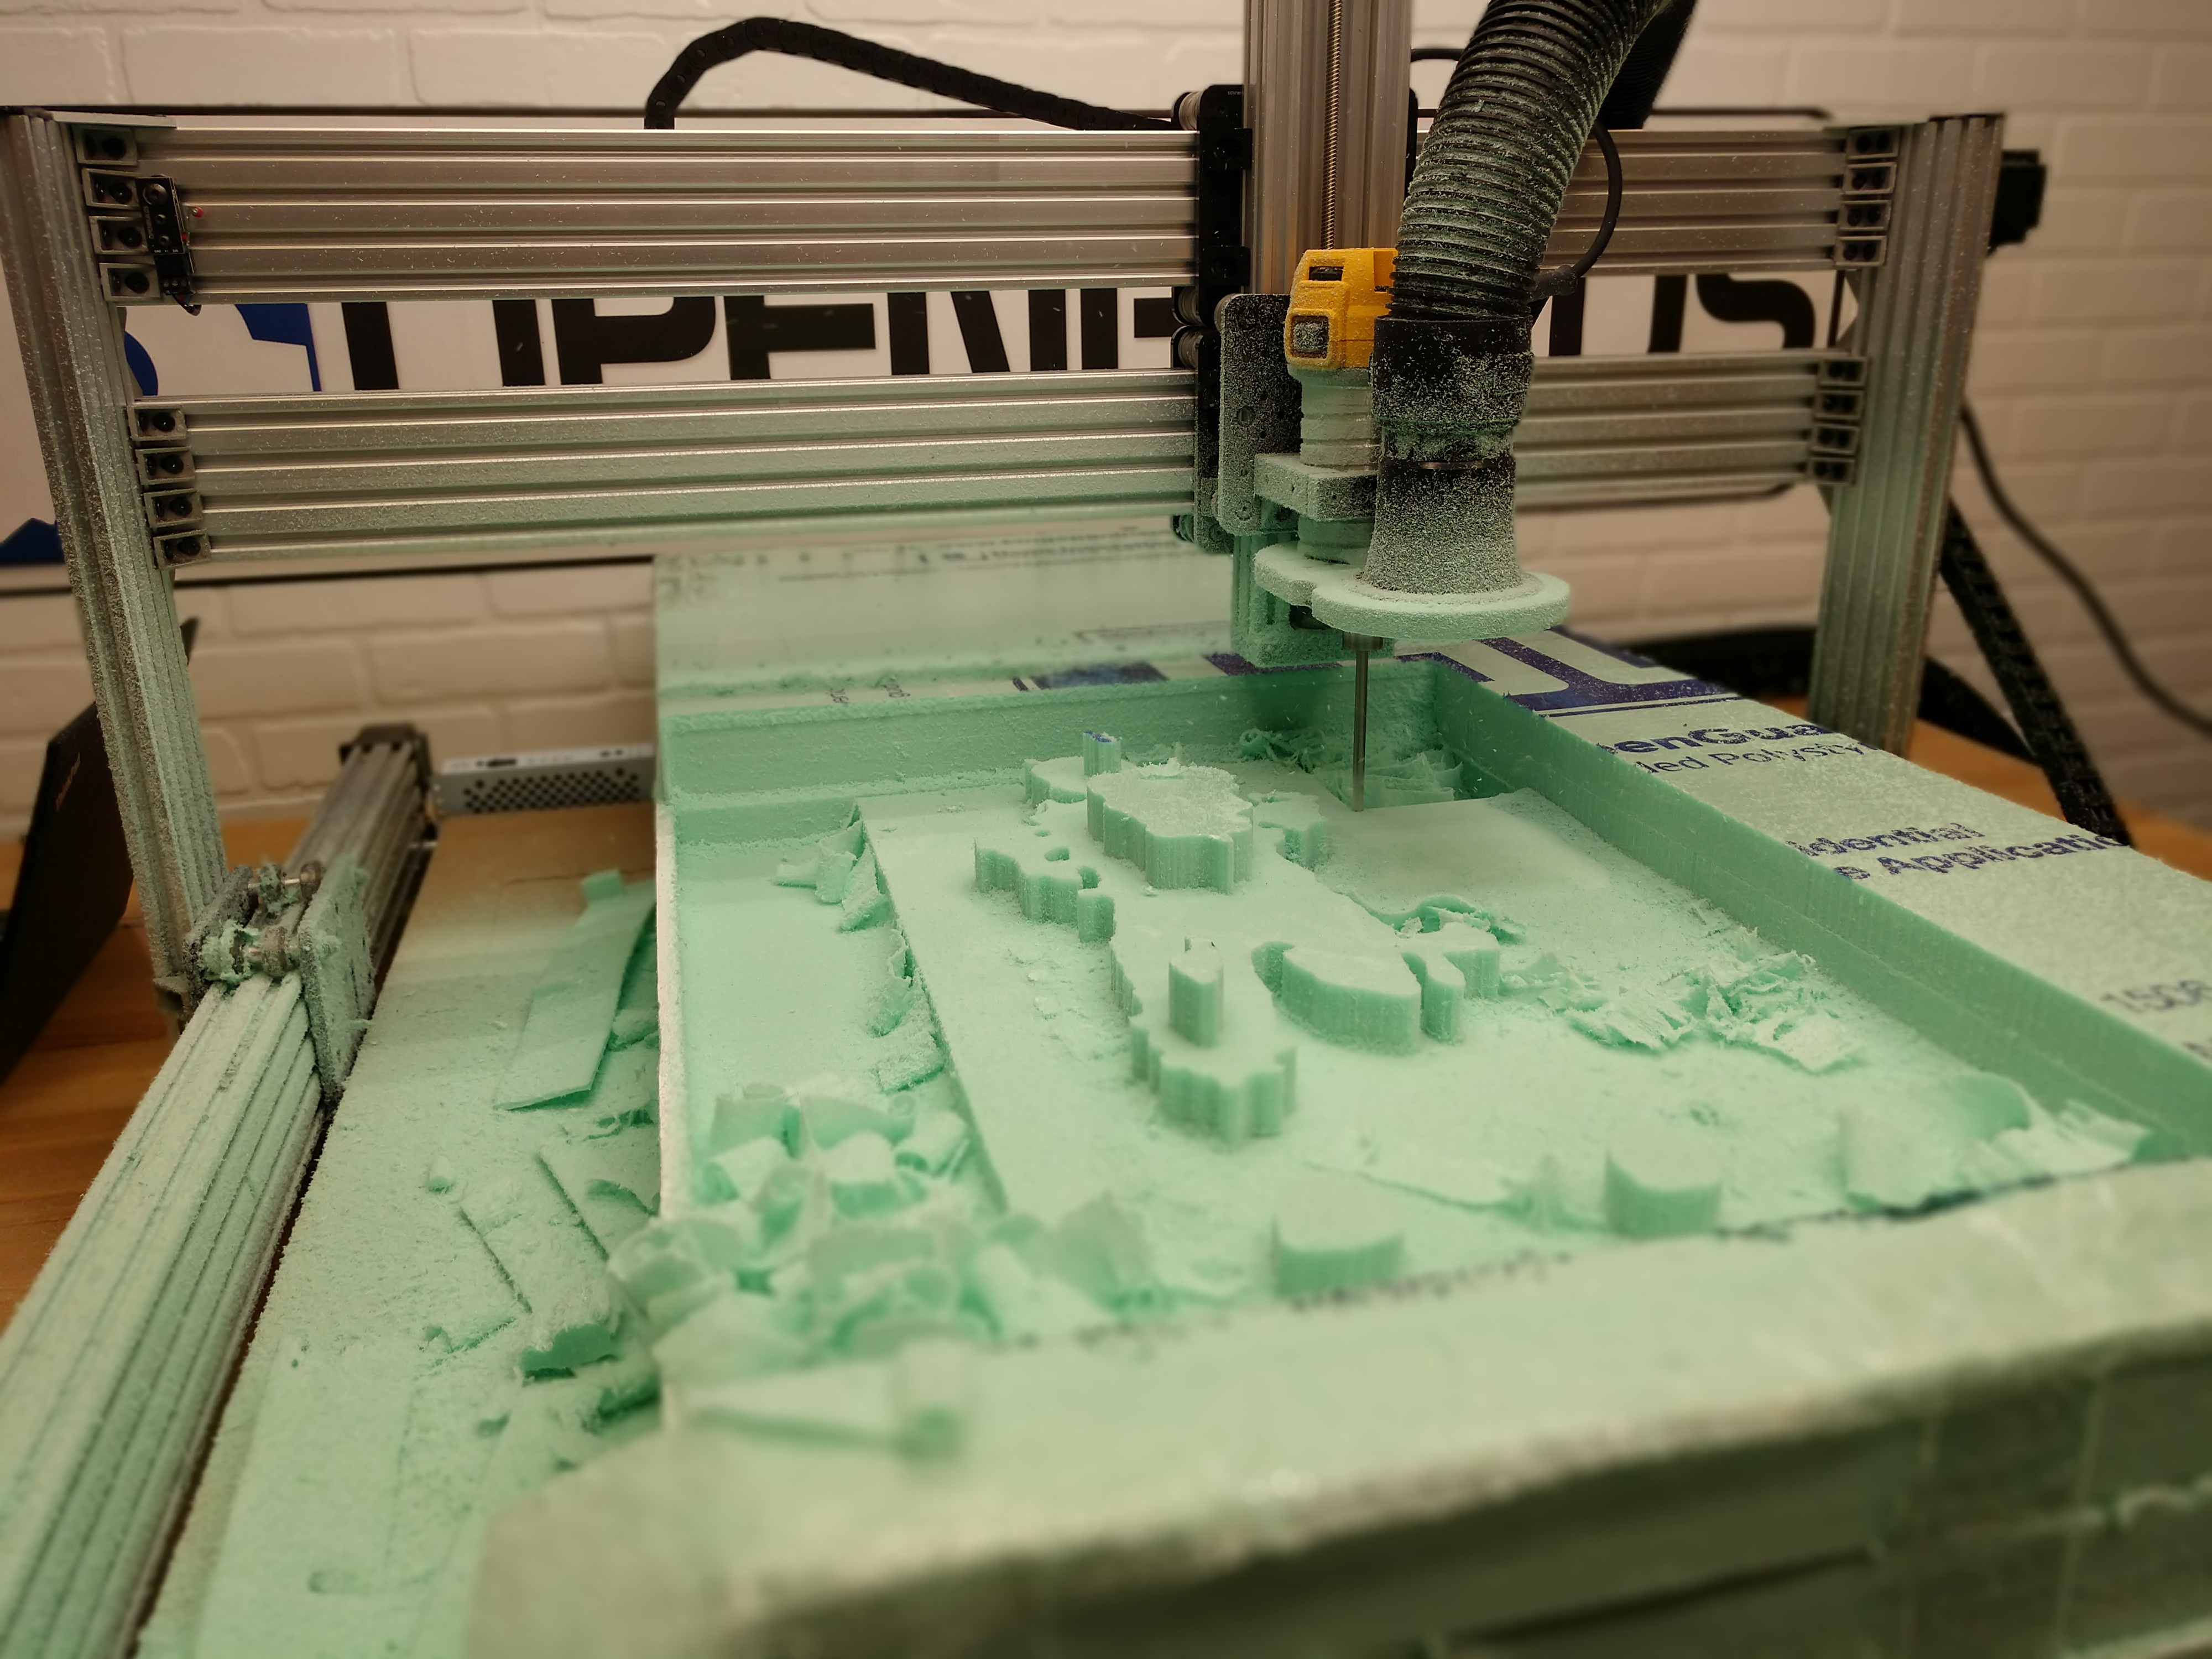
Starting to take shape!
The finishing tool path! The detail of this project is truly incredible!
This is the finished project after painting! The detail in this carving was super impressive and the High Z Mod made the scale of this project possible!
Share this Project
Redrum1200, Ted Moyer, Michiglenn and 6 others like this.
User Comments
Sort Comments By