I've been threatening to get/build a CNC for years but I wanted one to fit a small existing space (810mm x 810mm) so I had to build my own.
After looking at many designs I decided on the Sphinx build using MGN15 linear rails.
I contacted Chris Laidlaw and chose the Sphinx plates with 11" gantry plates and dual linear rails.
As I'm in Australia, I sourced most parts for the manual build from RMAluminium and the Makerstore, both in Melbourne.
A couple of notes that one should be aware of:
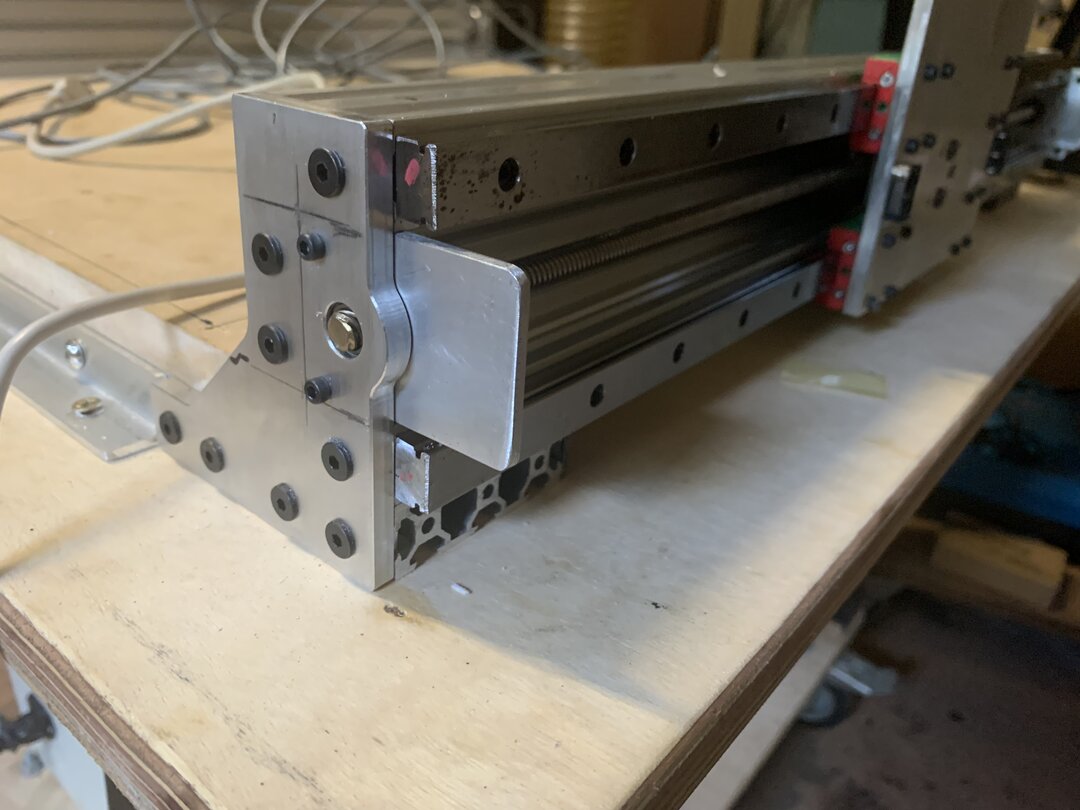
1) the front Y axis plates are designed for wheels, not linear rails so you need to add stops to stop the gantry sliding right off the front. Maybe Chris could modify them for future sales of people using linear rails?
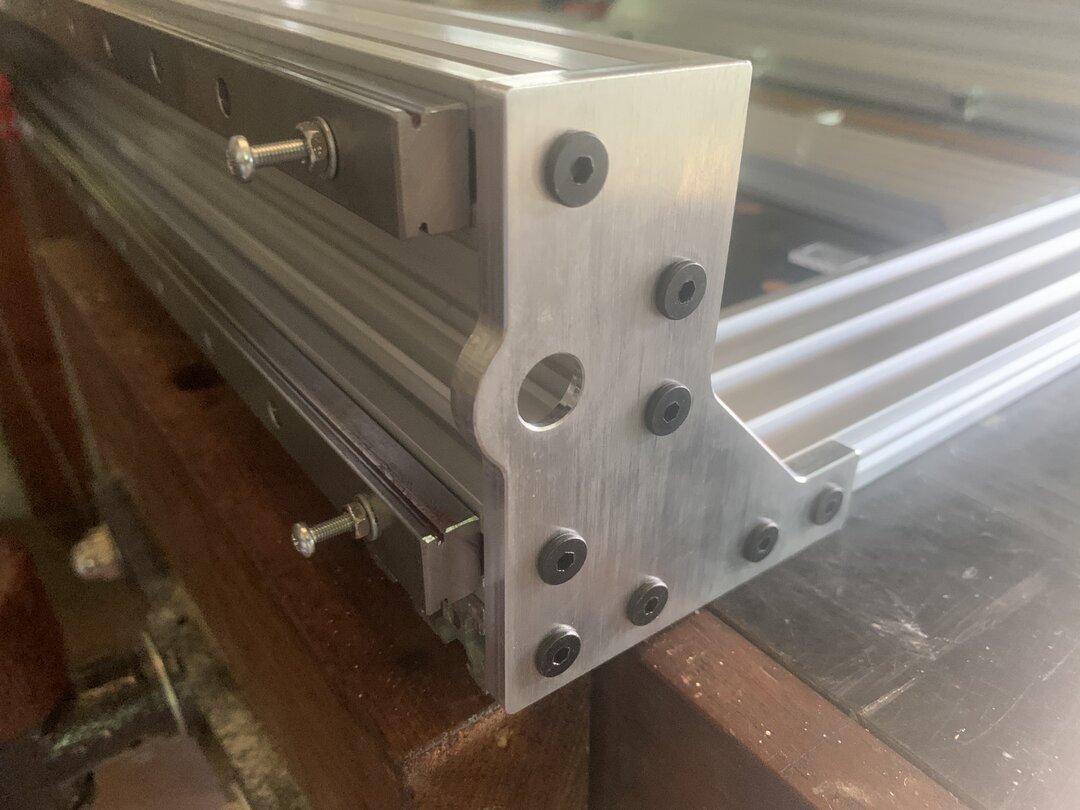
This was my fix, which also acted at the stops for the Y axis limit switch
2) Don't totally believe (like I did) the list of parts needed for a complete build that people place under the plates on Ebay.
For instance, the plates I bought had listed the parts for a 500mm x 500mm build and listed 3x 500mm C-Beams - two for the Y axis and one for the X axis. The Y axis ones are OK but the X axis needs to be approx. 31mm wider ie. 531mm because you are using linear rails. As mine was to be 600 x 600mm, I have a 600mm C-Beam I can't use needed 631mm.
3) They listed M3 x 8mm Cap head bolts for the linear rails. I ordered 160 of those. Being an engineer, I like at least 90% of thread engagement. 8mm long bolts only engaged approx. 2 threads in the T nuts. I used 10mm which stop about 1.5 threads from the bottom of the T nuts - much more secure I feel, as I wish to cut soft metals with my Sphinx.
The rest of the build went along smoothly.
I assembled the electronics myself using a Arduino UNO and 4 DM556 drivers. All stepper cables and Limit switch wiring is shielded and earthed to true earth.
I also used an Opto-Isolator board for the limit switches just to make sure I minimised effects of EMI.
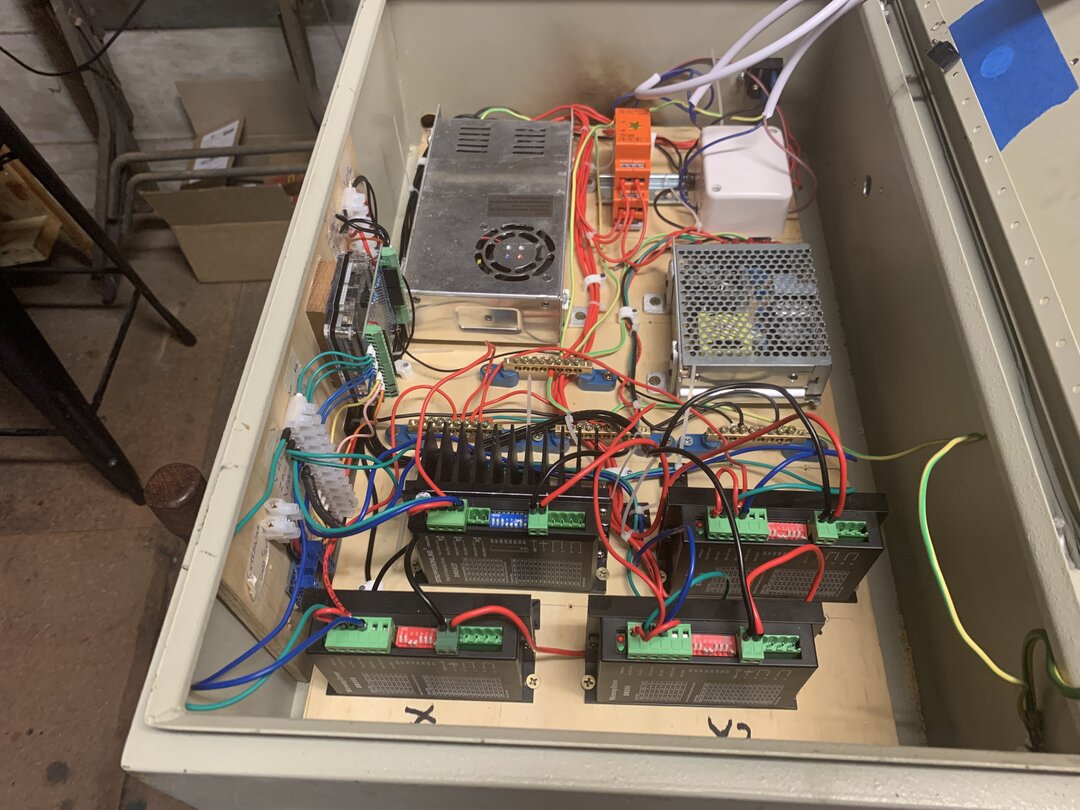
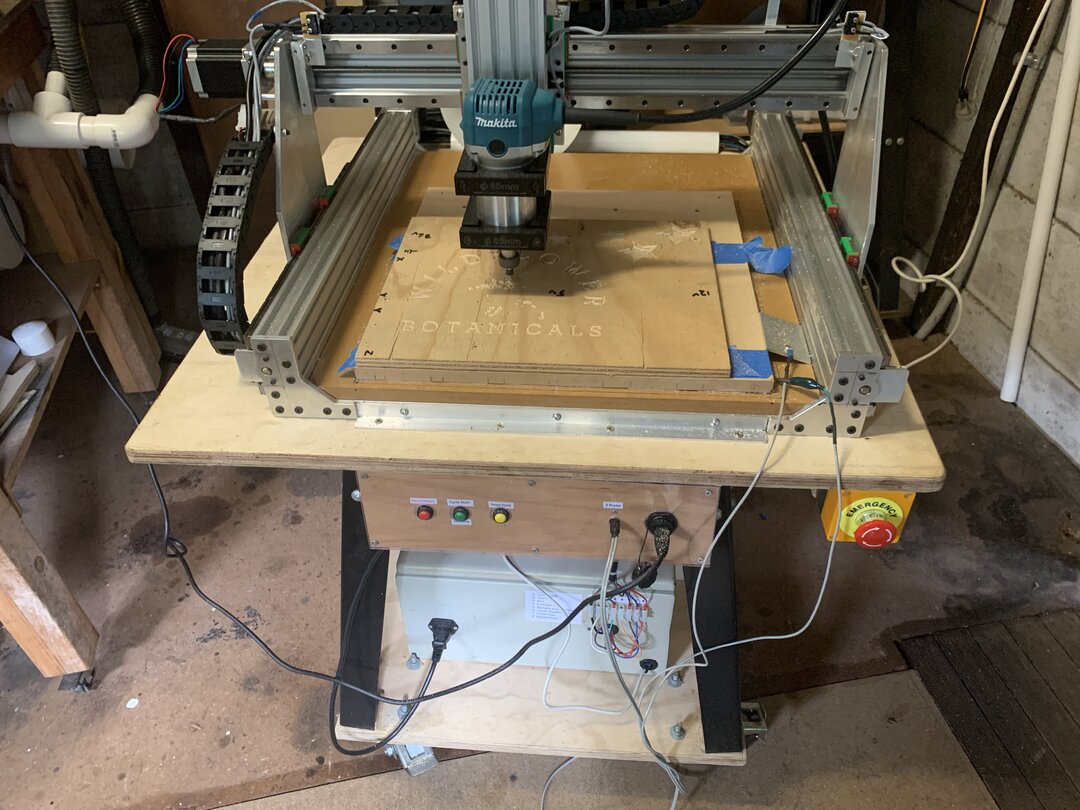
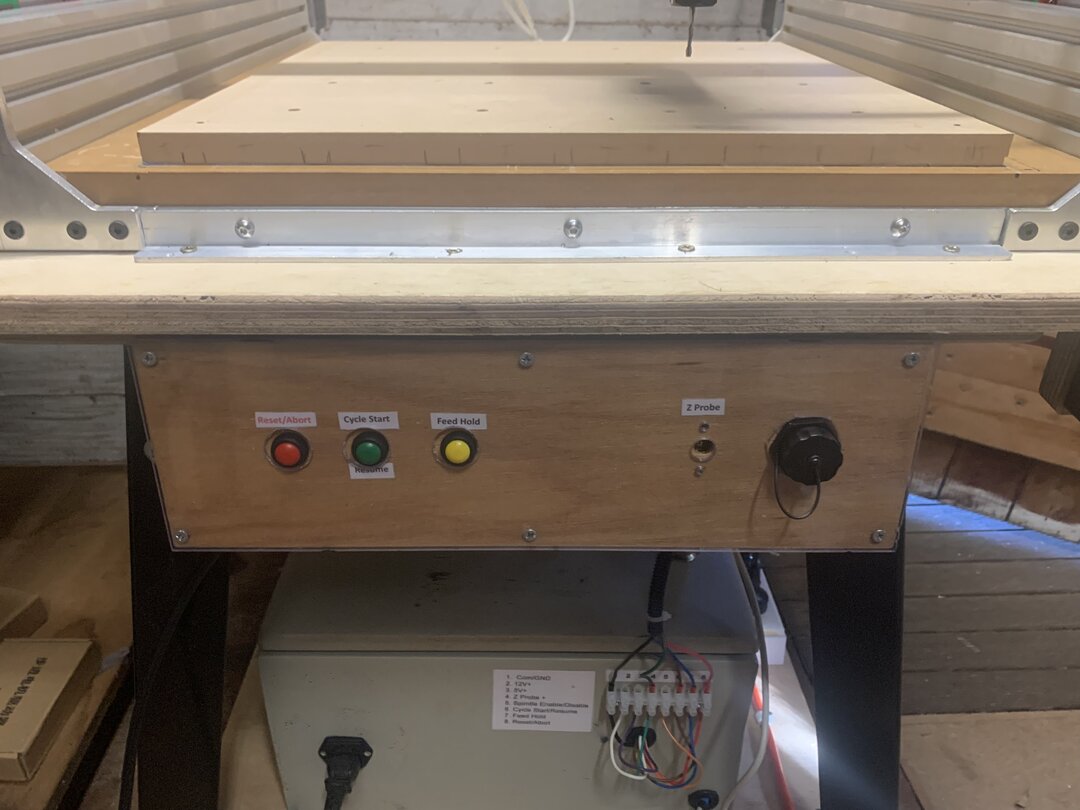
I put brought all the remaining UNO pins for GRBL out to the front and mounted manual switch control, Z probe outlet and USB outlet to a front control panel.

To run the unit I was using UGS but I found GSender, which has the ability to handle tool changes and re zeroing the tool easily, a very powerful alternative. The more I use it, the more I like it.
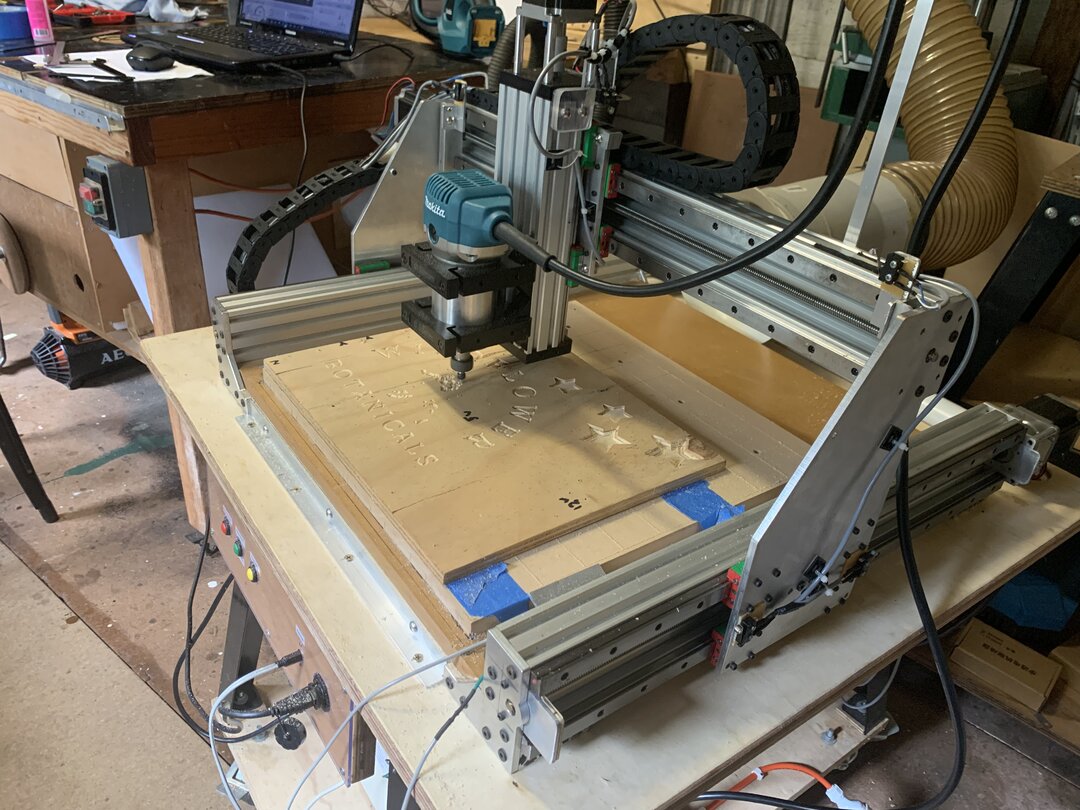
That's the build. Thanks to Chris for the excellent plates and to OpenBuilds for providing this website and forum.

Sphinx 66
Build in 'CNC ROUTER BUILDS' published by Lappa, Apr 17, 2023.
A Sphinx Linear rail build (600mm x 600mm) hence the title Sphinx66. Plates supplied by Chris Laidlaw. Linear rails used MGN15
-
-
Build Author Lappa, Find all builds by Lappa
-
- Loading...
-
Build Details
- Build License:
-
- CC - Attribution - CC BY
Reason for this Build
I always wanted a CNC. Now I'm retired it gives me another hobby to keep me busyInspired by
Sphinx55 build