
November 11, 2018
Just starting the build. All the parts are here so let the building begin!
November 17, 2018
Just ordered some monster 425 oz-in steppers for this build. Should be more than enough torque for this plate maker.
November 19, 2018
Lead screws arrived in perfect shape. Great packing job OpenBuilds!
November 20, 2018
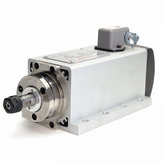
1.5kW Air Cooled Spindle and VFD Drive arrived on my door step. Love the design, it is a square hunk of aluminum, really beefy for heat disapation, and has a flat mounting plate with 8 bolt holes for mounting to the Z axis. Will be a rock solid connection to the Z axis. (Electrical connector is the version on the smaller picture. Makes it easy to disconnect for maintenance)

November 20, 2018
Just cut out the reduction plate on my laser cutter out of 1/4" acrylic because I forgot to order one when I ordered all the parts I needed. Now I have everything needed to proceed with the build except for a few T-nuts that are on the way in the mail. As soon as they arrive I can start building. In the mean time I am just organizing my parts for each step of the build video. Let the fun begin!
November 23, 2018
Took advantage of the Black Friday sale, and ordered the reduction plate, so it will be aluminum like all the other plates, was worried the Acrylic version would not stand up to the repeated use it will undergo. Tee nuts will be here Saturday morning, so all good to go for a build step or two tomorrow.
November 24, 2018
A small setback, turns out I had 10mm screws and not 8mm as I needed for the first build step (And some others along the way). So I ordered the correct length ones from Openbuilds, and should have them in a few days. Started working on the control electronics for the build, made the case for the Power module. I separate the motion control from the power unit into separate cases. I make a standard power module for all my machines that has three of each 24, 12 and 5V outputs, that I then send what is necessary to the controller case. I always have a spare power module, so if the PSU craps out on me, I can just quickly swap in another unit and be back up and running in little time. I also make a case for any peripheral controls like air solenoids, dust collector relays etc. The cases just stack on each other, and overall does not take much extra space, but I like the versatility of a modular system. I will create a build of it's own to document this modular system, after I have completed the Sphinx build.
December 1, 2018
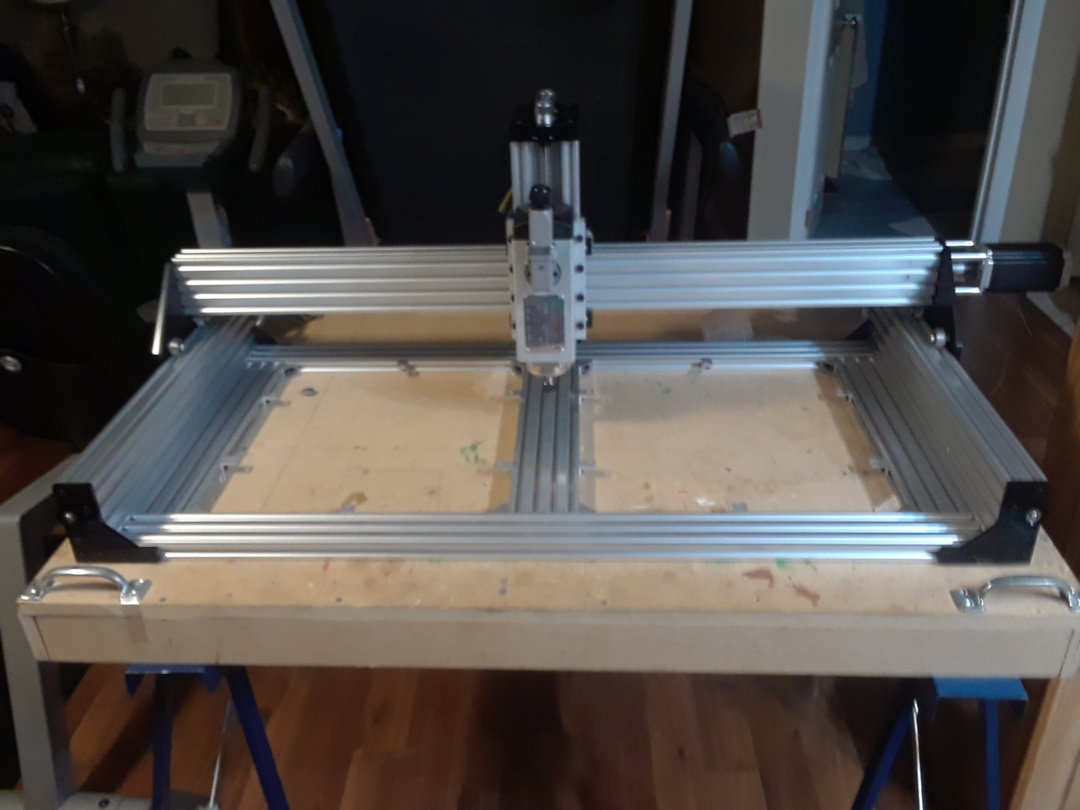
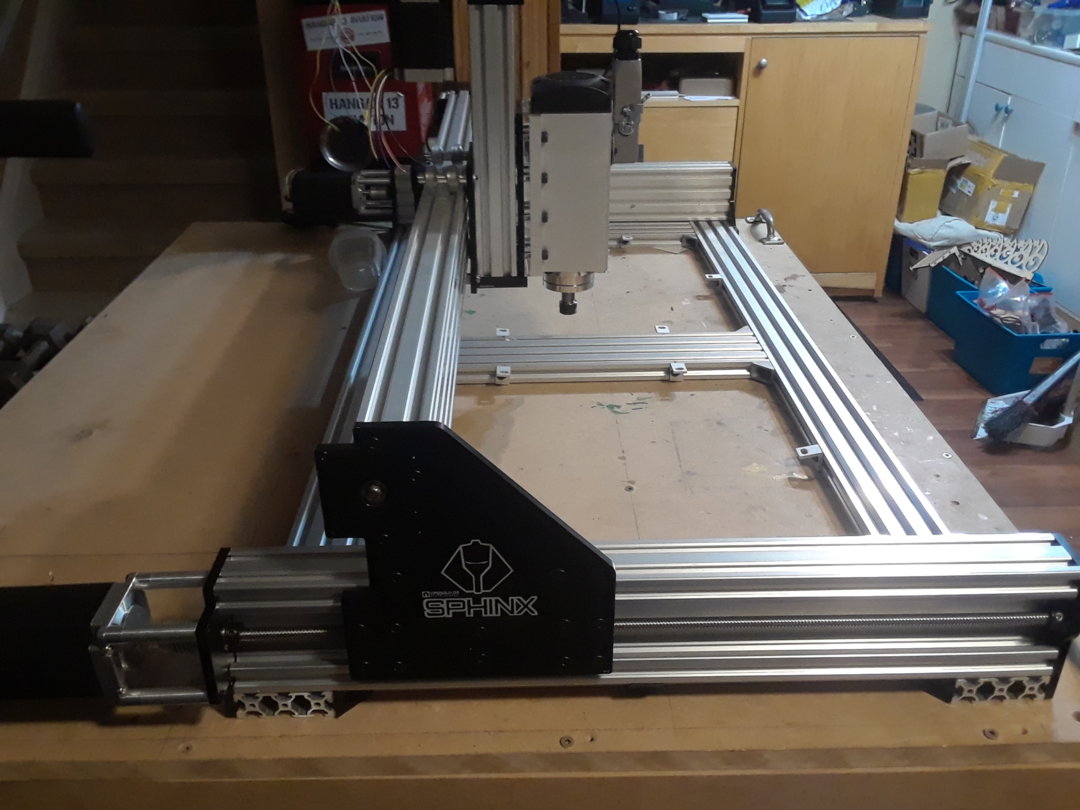
I have completed the mechanical build, took about 4 hours to complete. No need to document much of it as it is covered very well by the OpenBuilds build video. There are a few little tweaks that I did that I will mention.
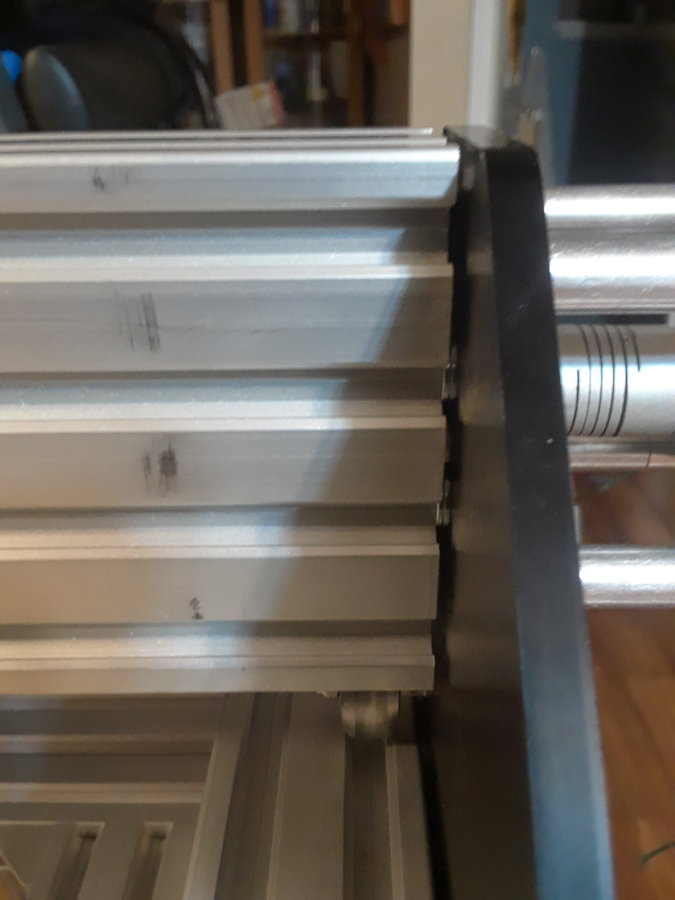
When installing the X axis Cbeam, i needed to add 2mm of shims using 2 precision shims on each bolt on the right hand side, as the cbeam was 2mm short, and would cause the right plate to bind. Fortunately I had a bunch of precision shims on hand, so no real delay was caused. other than having to take apart and reinstall the X axis cbeam.
As well, wherever the build called for drop in t-nuts, I just inserted regular t-nuts in advance. I say regular, but they are the spring ball load type, they are easier to keep in place when assembling things.
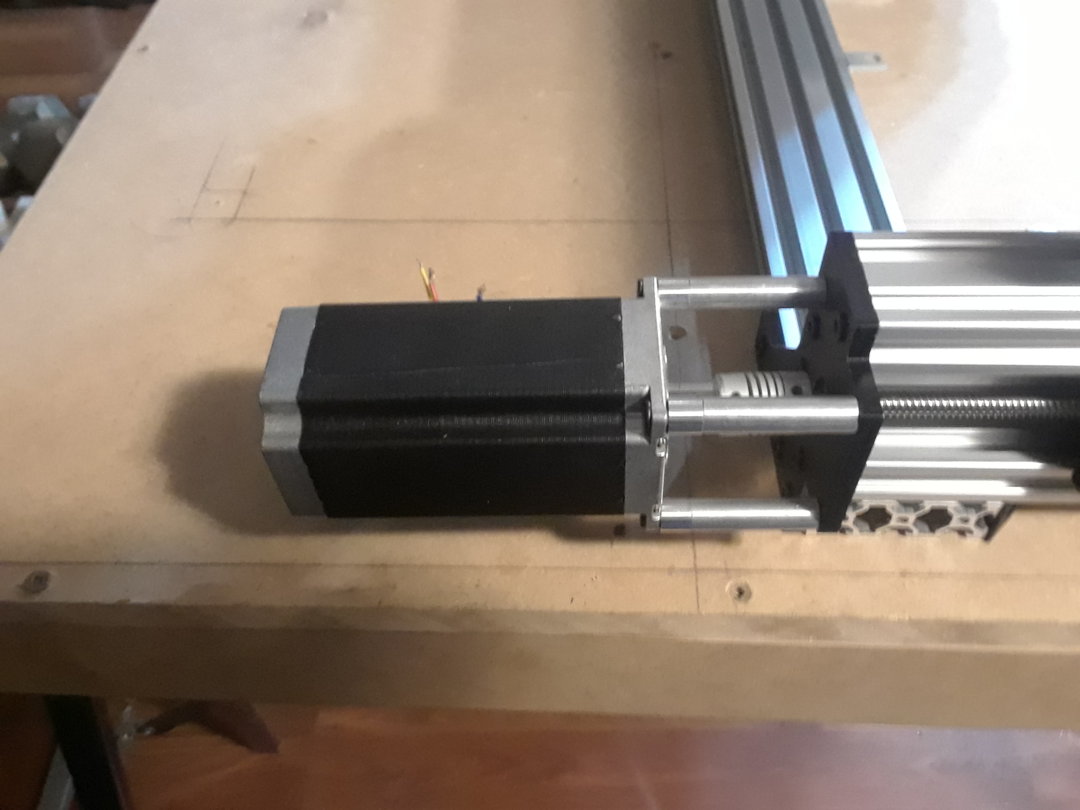
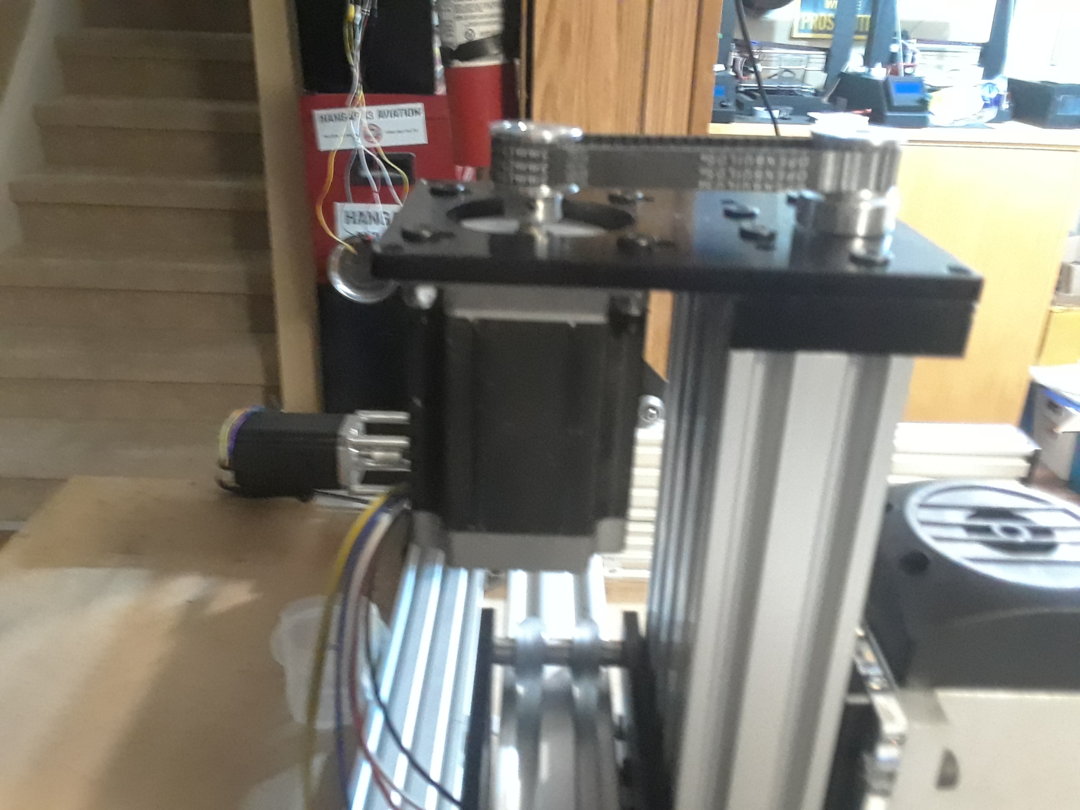
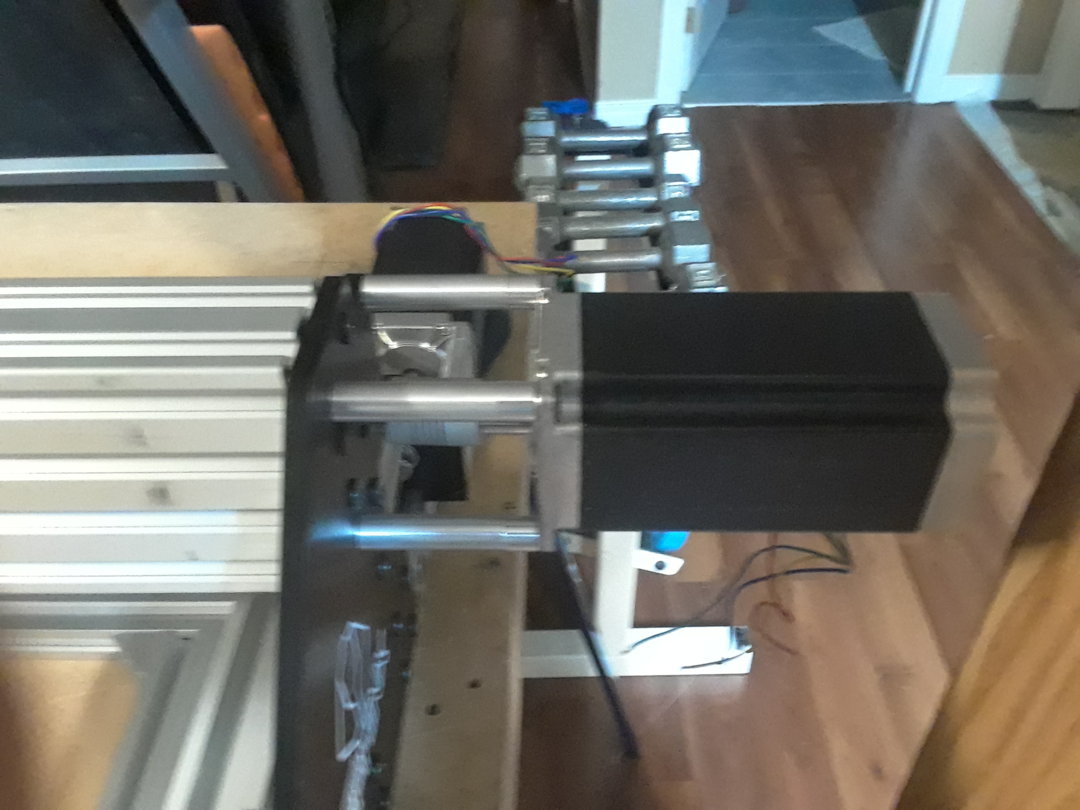
My stepper motors are monster high torque motors as you can see in the pictures.
When it came to installing the leadscrews and couplings, I came to realize I did not have the right couplings as my motors use an 8mm shaft, so I just drilled them out with an 8mm drill bit, and a little hand filing to clean them up.
The only mechanical detail left is to mount the spindle to the Z axis, will cut an adapter plate out of acrylic on the laser cutter, then once the machine is wired up, will make one out of aluminum
So I consider the mechanical build complete. Stay tuned for the electronics build, hopefully I will find time over the next week or so.
Stay happy and keep building!

Sphinx 1050
Build in 'Cartesian Style CNC' published by Anthony Bolgar, Dec 4, 2018.
Openbuilds 1050 Sphinx. Thank you to Mark Carew for trading me a set of plates for a spindle and PSU I was not using. Mark is a champ!
-
-
Build Author Anthony Bolgar, Find all builds by Anthony Bolgar
-
- Loading...