
Just disassembling the rest of the old machine. More to come.
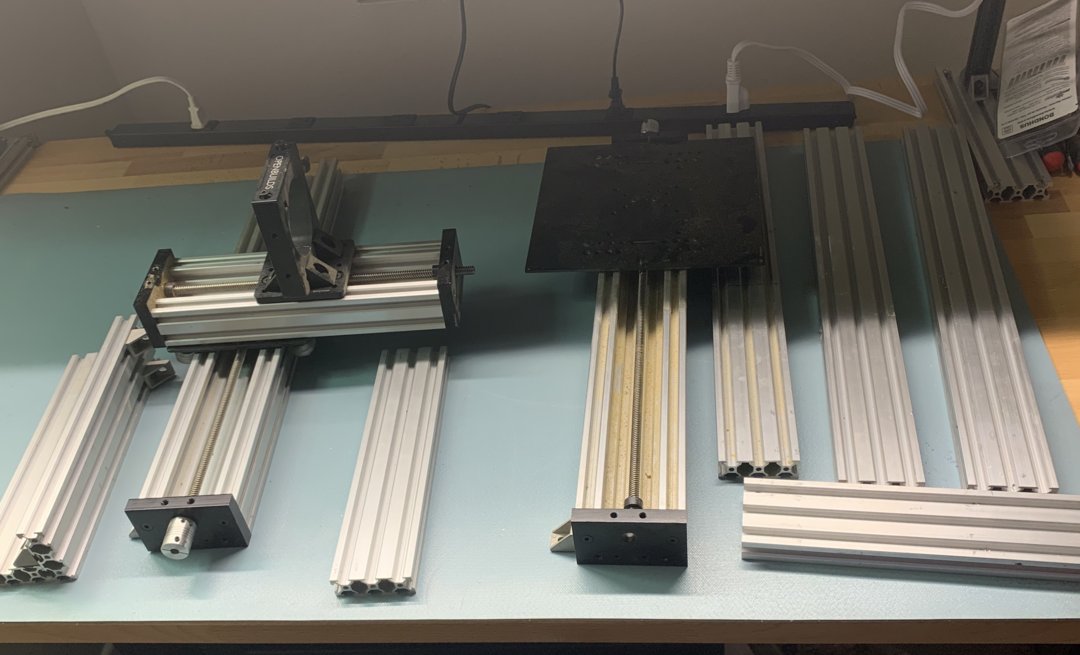
Disassembled, I ordered all new small parts (wheels, etc) but these are the main pieces I'll be reusing for the new build. I'm now performing a inventory of my small parts, old and new, to make sure I've gotten all of the necessary parts. Once that is confirmed and I can get my 20x80's cut down to the correct size I'll be starting the main build.
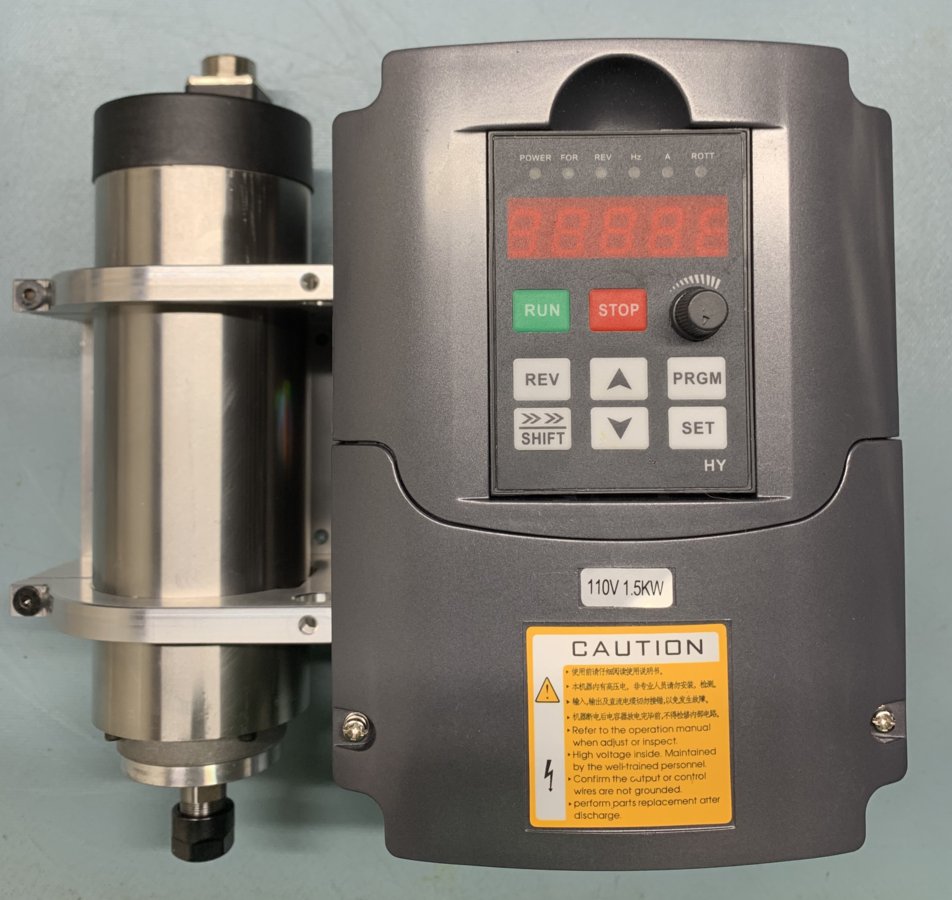
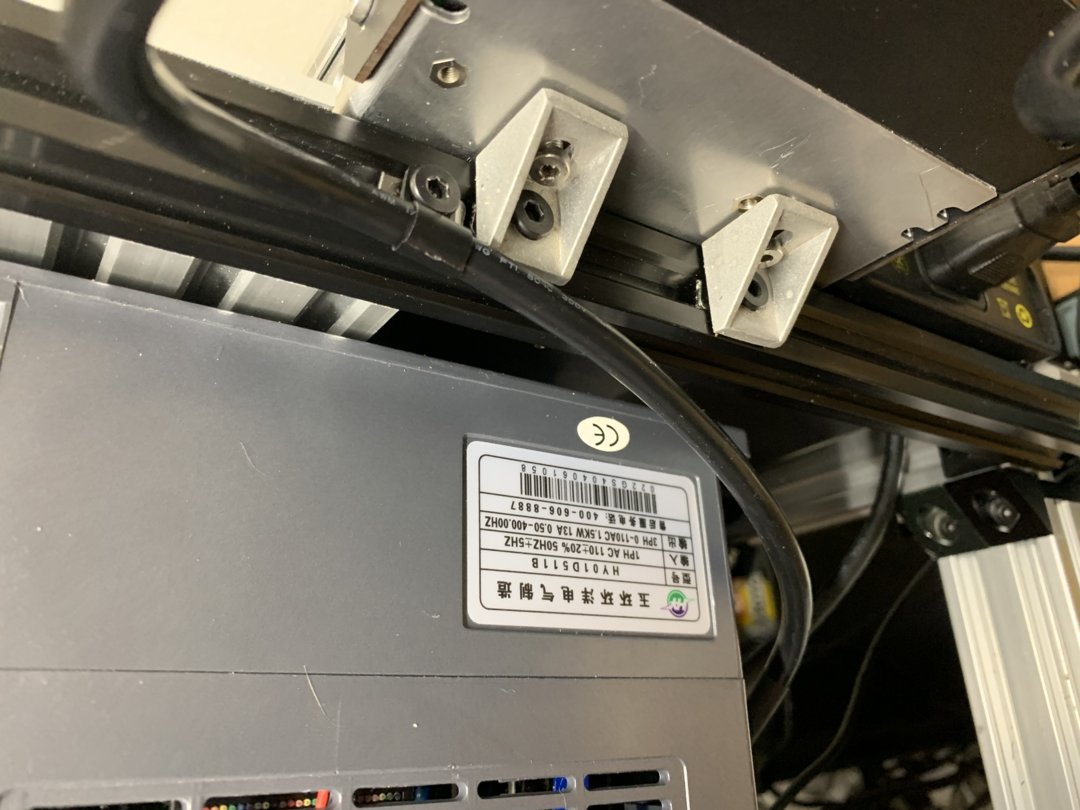
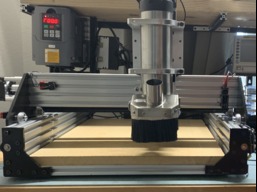
Spindle/Mount/VFD
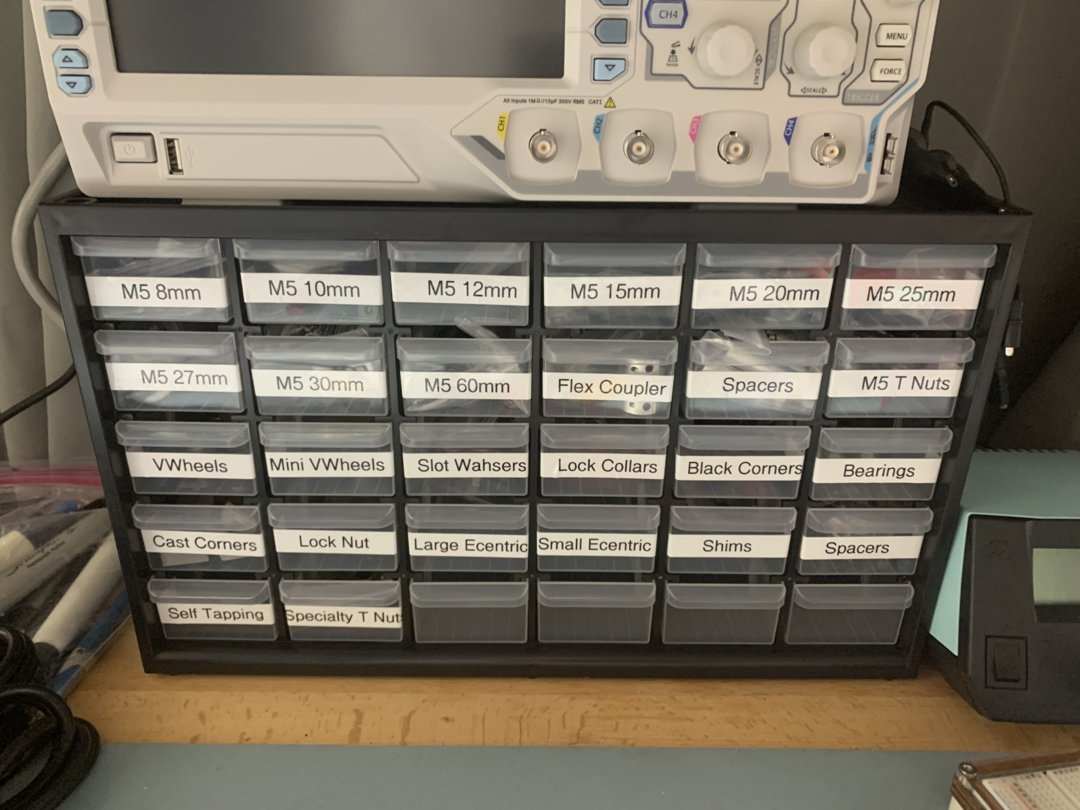
Small parts inventory continues (doh, Slot Wahsers, I'll have to fix that).
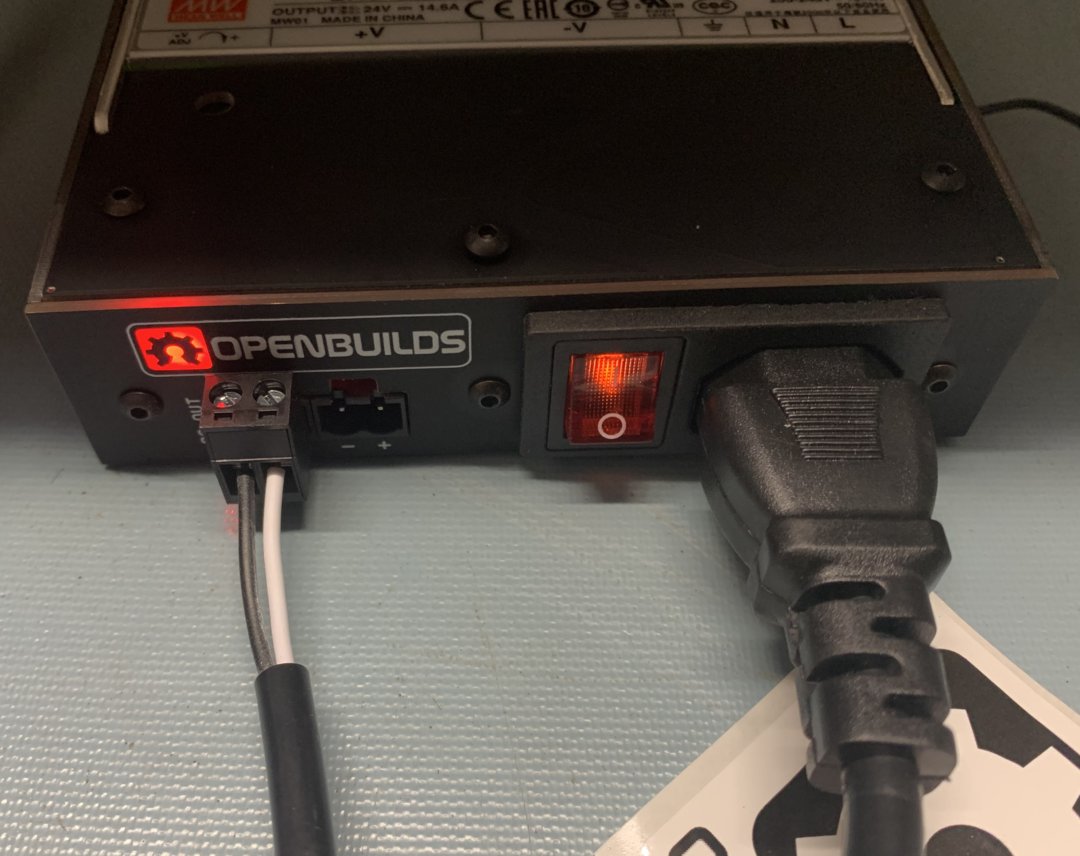
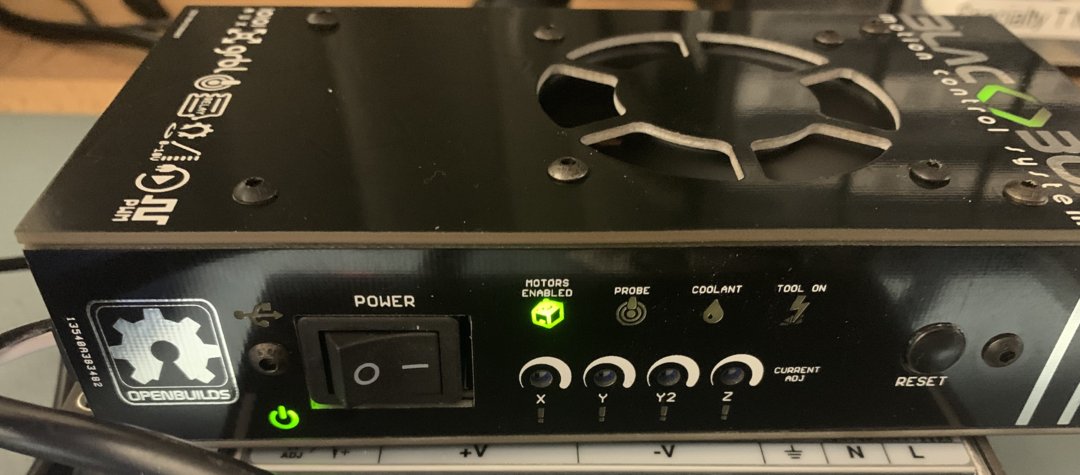
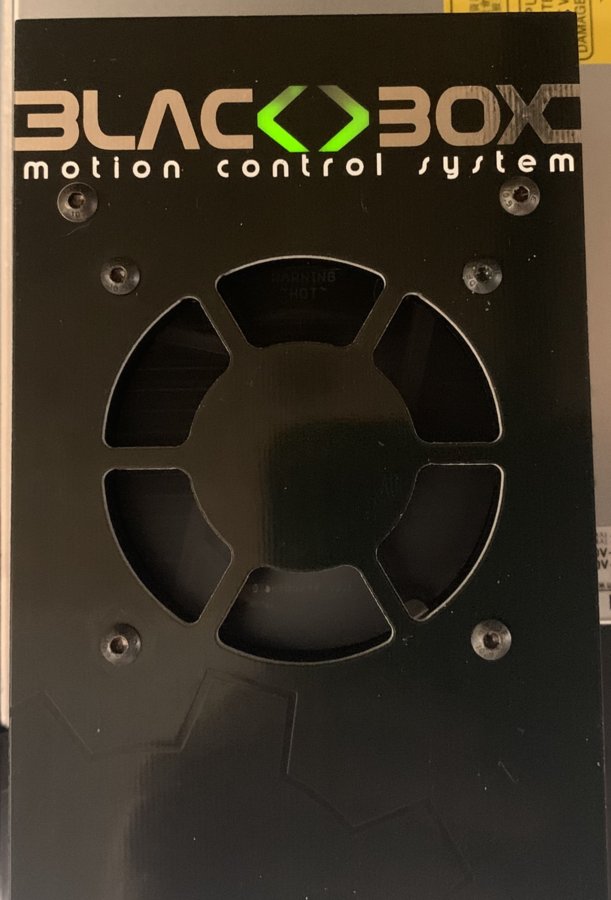
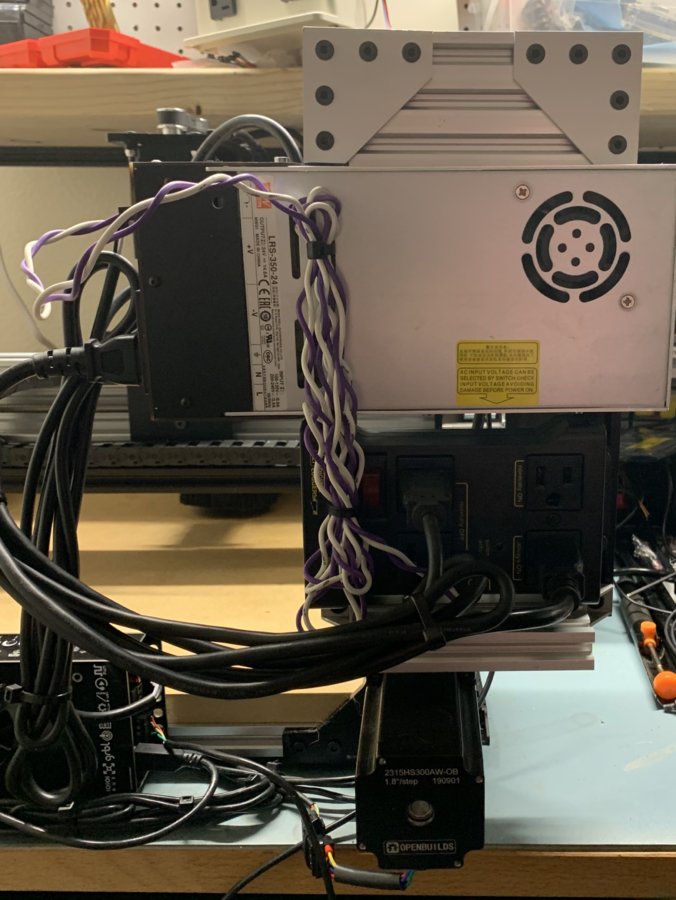
Power Supply and BlackBox Ready to go!
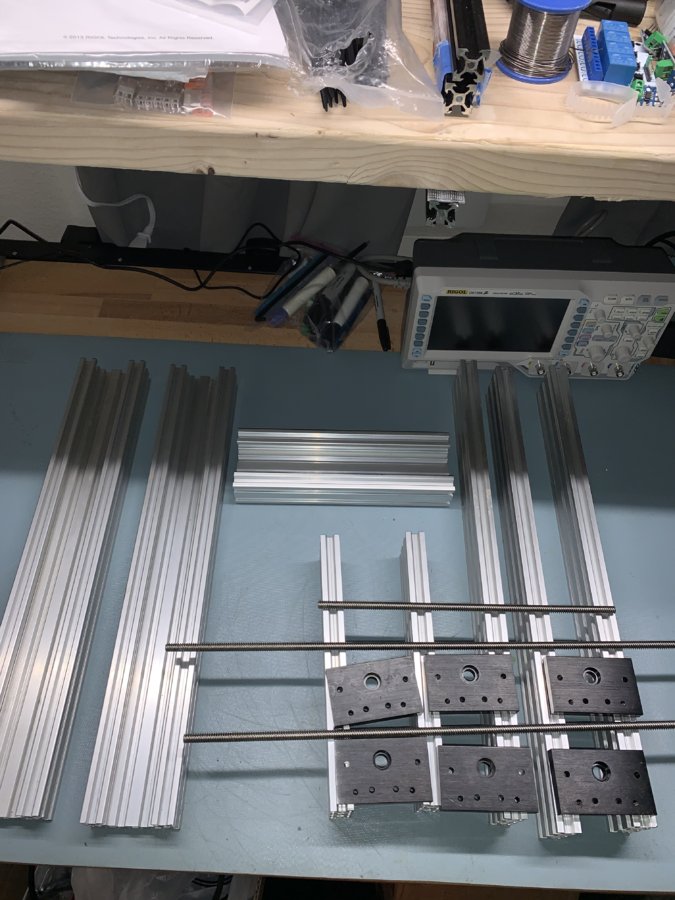
Cut the 20x80s and filed them down.
Base completed.

I accidentally lost some of the other assembly photos I had taken, but here are some pictures of the wiring of the final assembly.
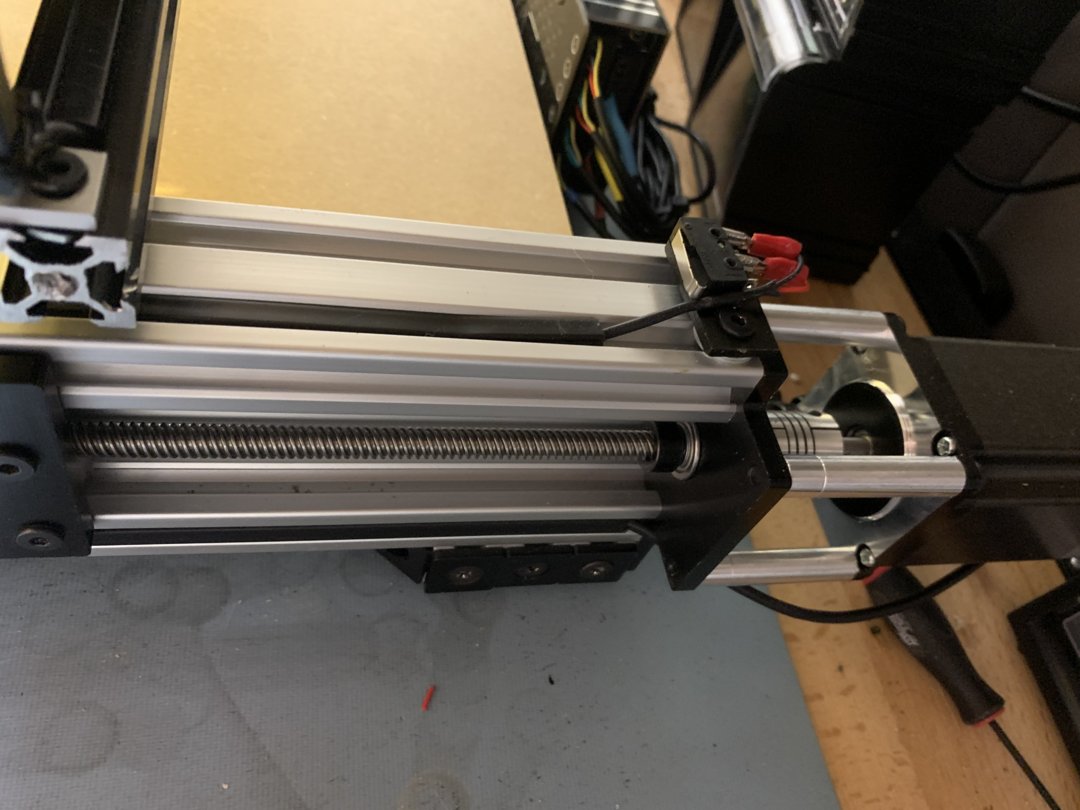
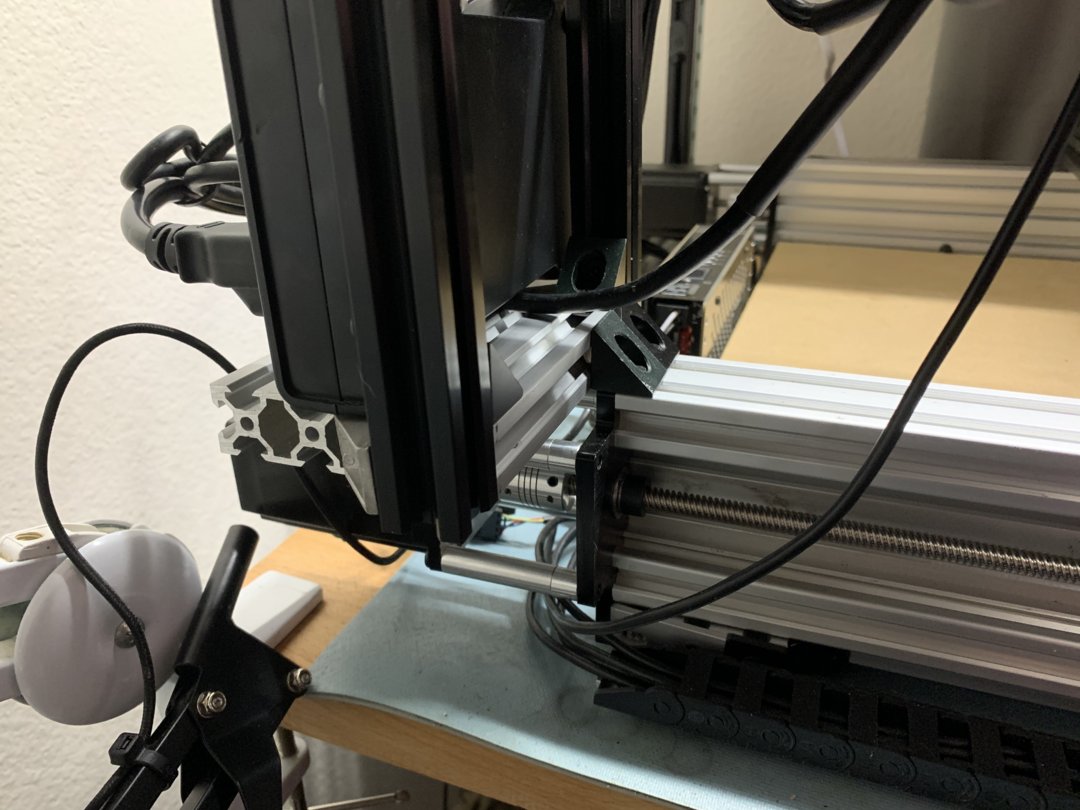
Overall of the Z, I'll be replacing the micro switches with the Xtension switches. But this placement on the Z allowed me to pretty much get full travel. Also modded the mount to allow the light ring to be used.
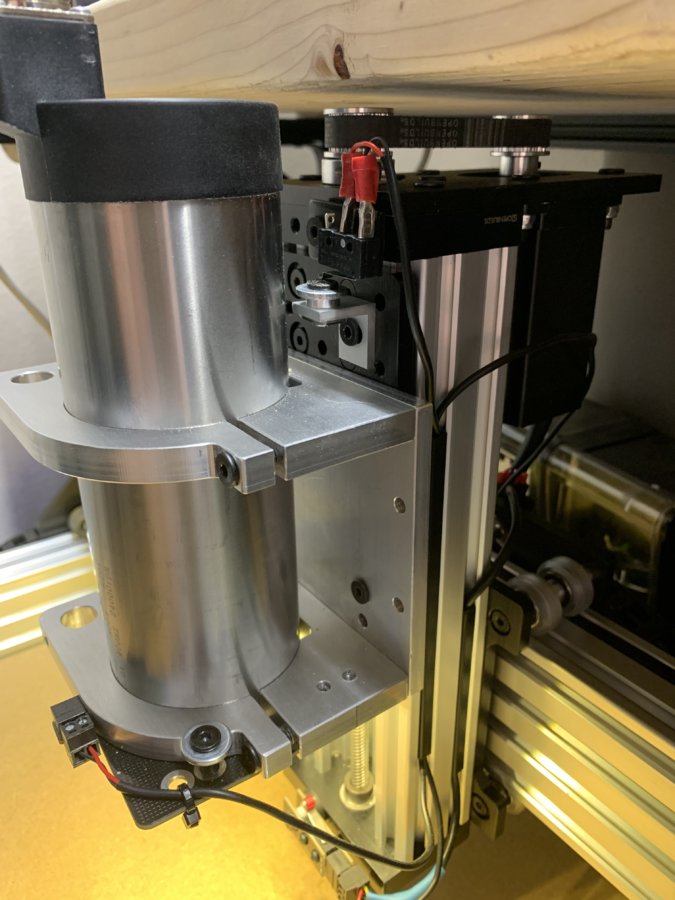
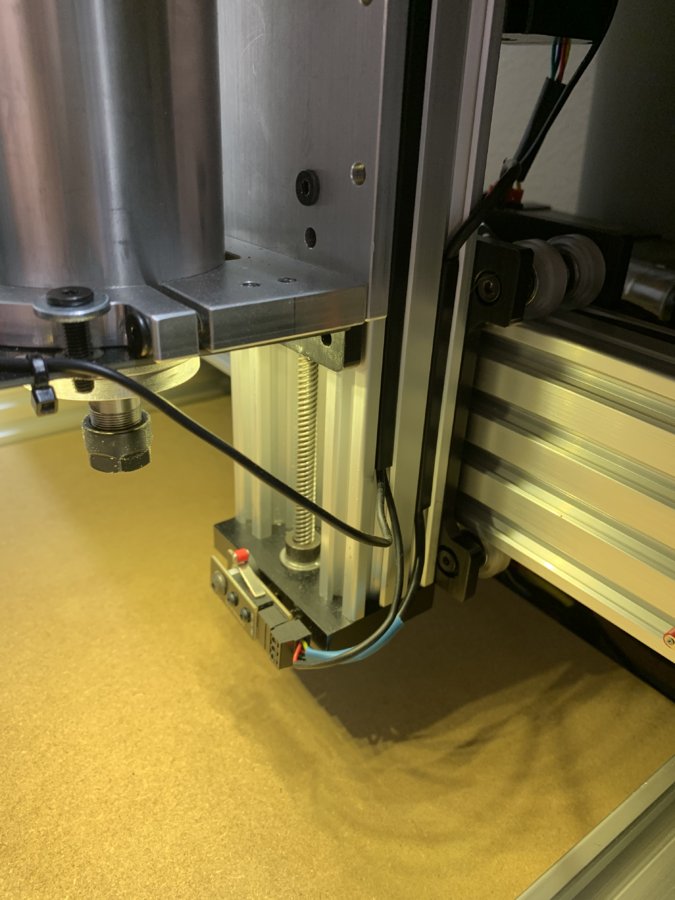
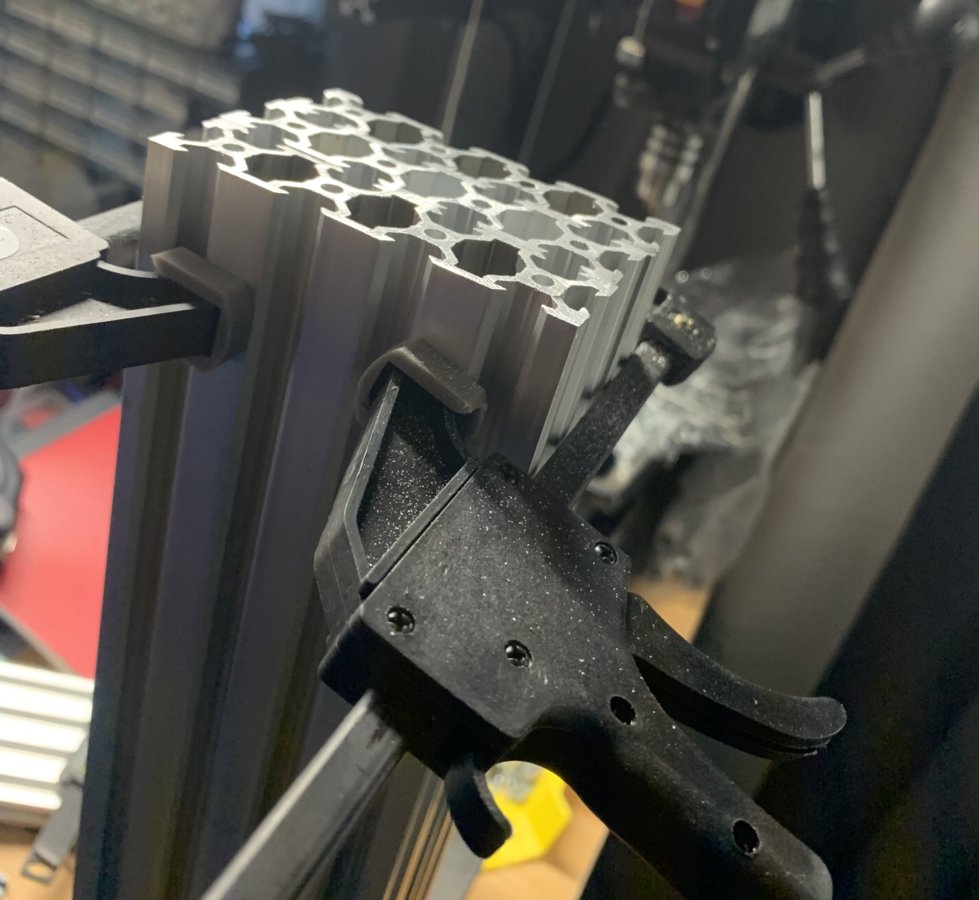
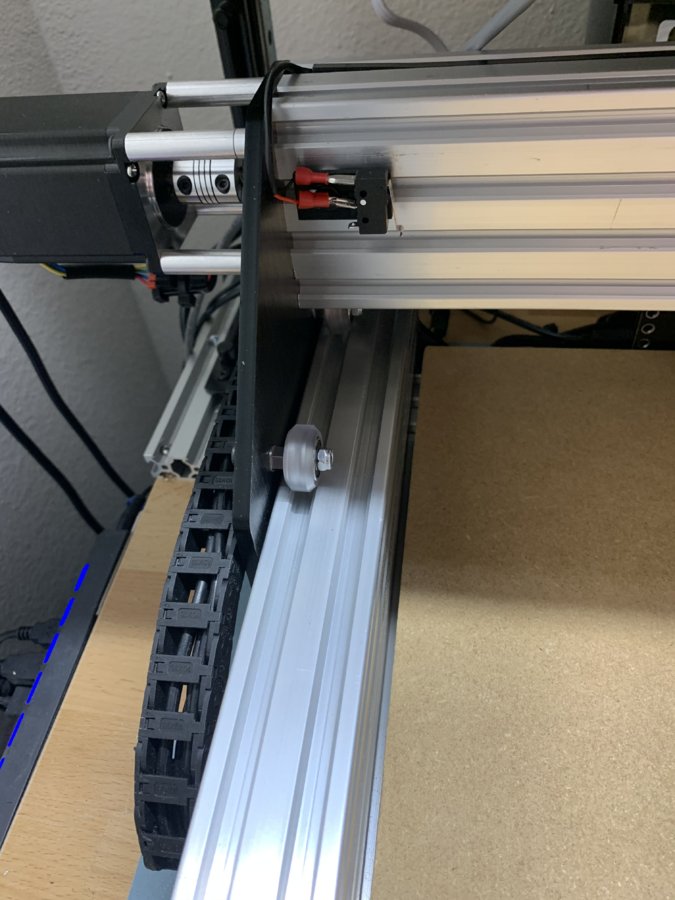
Added the spacer to the gantry plate to be switch trigger.
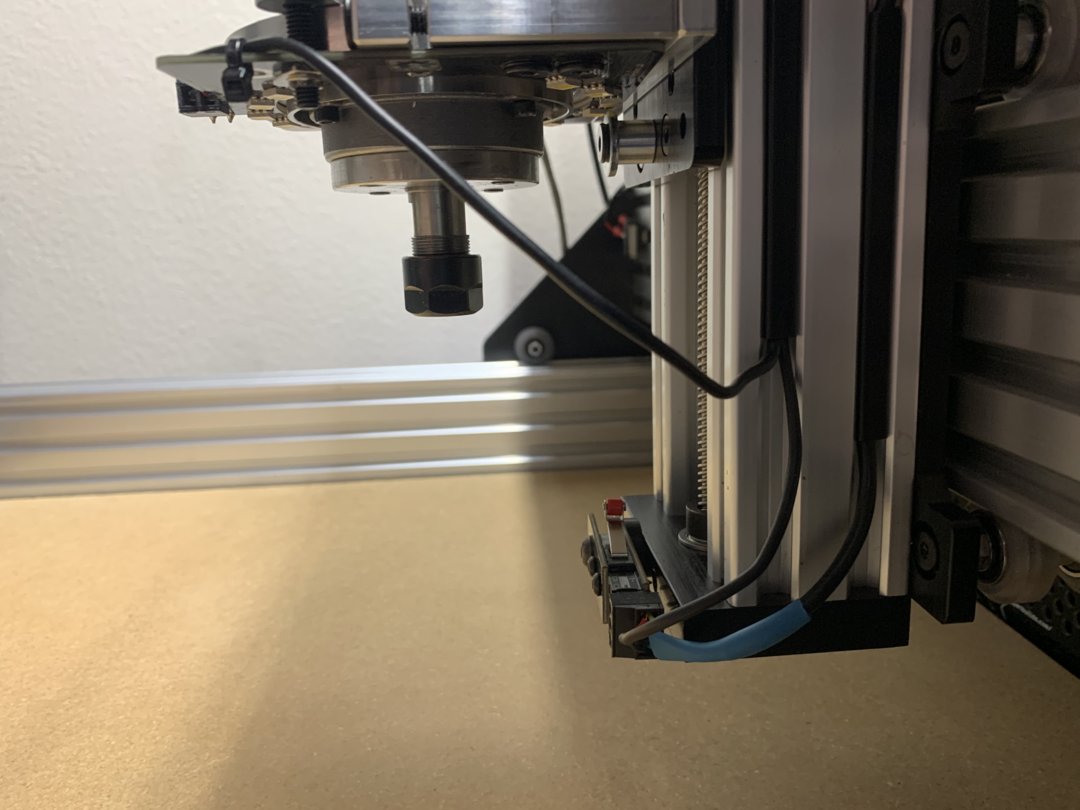
X Switches
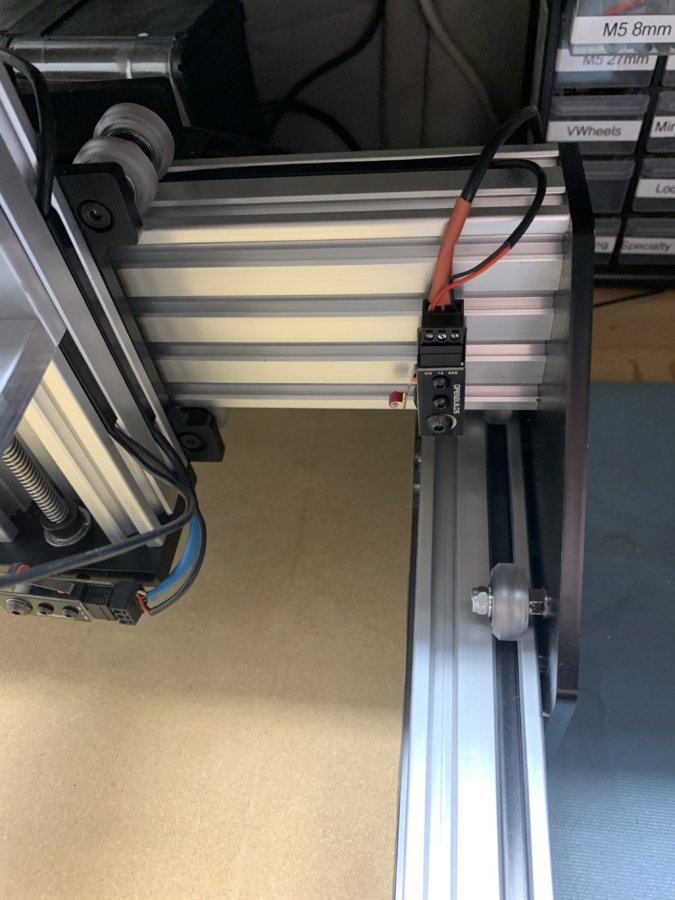
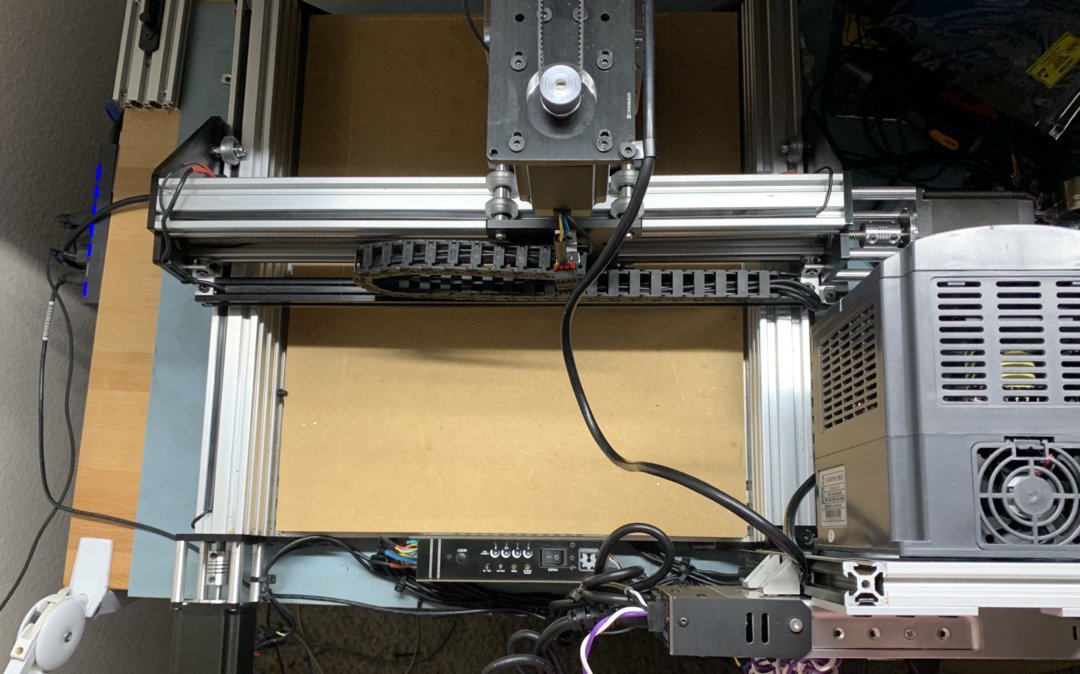
Y Switches I really want to figure out a better way to mount these as they are eating up a bit of travel.

Spindles Speedy Spin-up
Test Movements
Wiring pics - Still a work in progress, may still shorten some wires.
Top View:
Rear View:
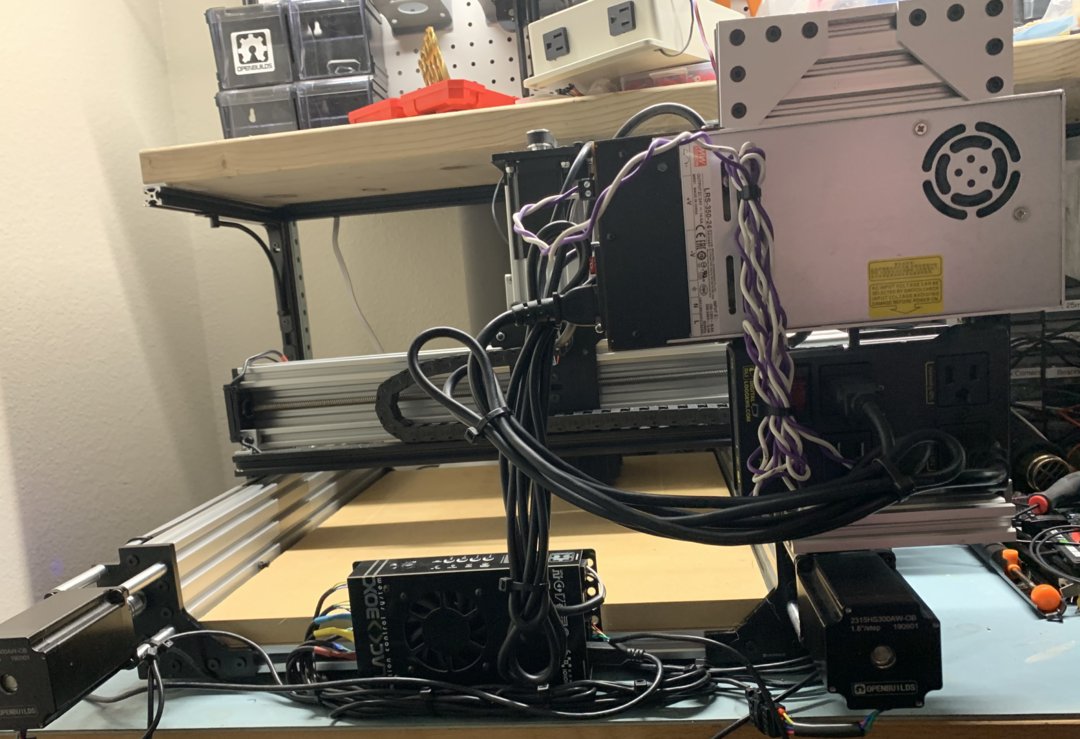
Close Up, Power Tower:
Tower Mount: The silver v-slot pieces I re-purposed from the cut ends of the 20x80 used for the Sphinx base.
PSU Mount/Tower Mount_TopView:
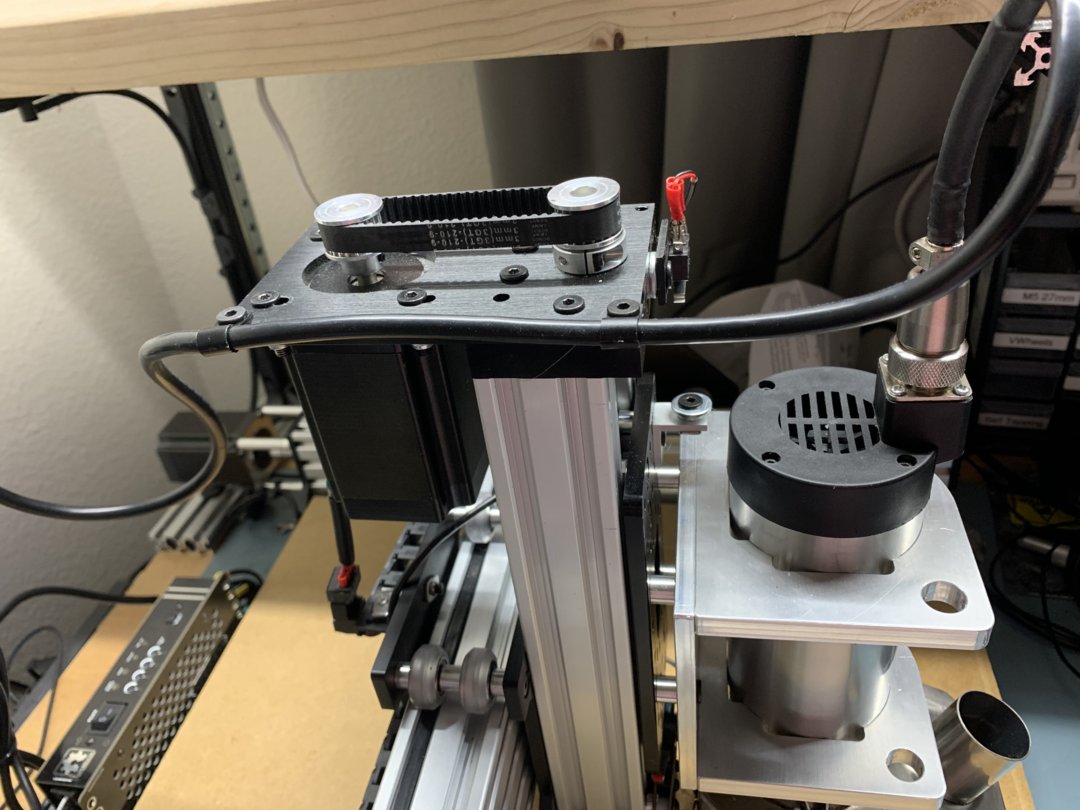
Spindle cable tie points: It runs from this point to the power tower. I've run the machine at all of the extremes and the cable never gets in the way so I think this should help keep EMI issues at bay.
Rise of the Sphoenix
Build in 'CNC ROUTER BUILDS' published by Paul Stoller, Nov 14, 2019.
I am building a Sphinx 55 from the bones of my old C-Beam machine. Rising from the ashes so to speak.
-
-
Build Author Paul Stoller, Find all builds by Paul Stoller
-
- Loading...
-
Build Details
- Build License:
-
- CC - Attribution - CC BY
Reason for this Build
I had to sell off parts of my old c-beam and wanted to get a machine going again and always like the Sphinx design.Inspired by
Kyo's Sphinx, I am pretty much doing a standard Sphinx, just reusing C-Beam parts where I can.

