UPDATE: 2/2/15
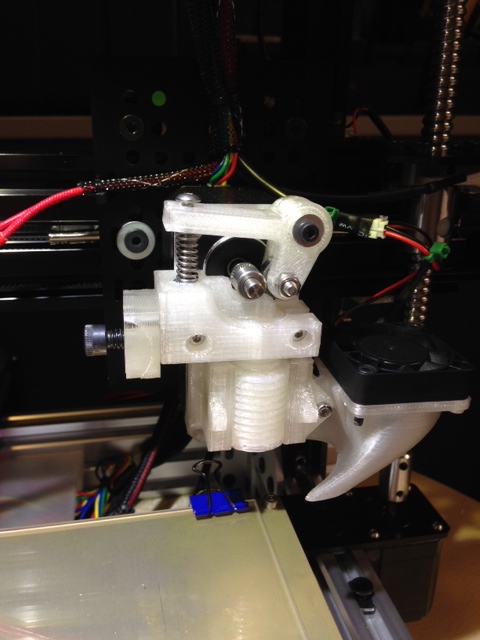
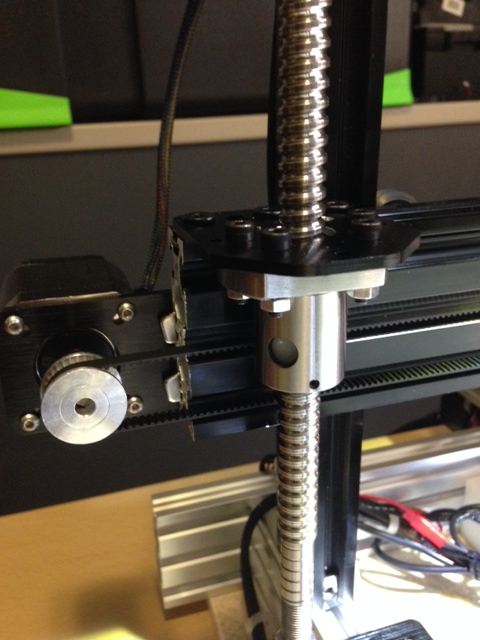
So I decided to update the extruder to use the bulldog XL with the E3d_v6 hotend. Had a bit of trouble getting it up and running. This is the second print from it, so far so good. Printing at 100mm/s right now to debug. The spring tensioners in the x and y belt helped a lot, also the ball screws are the way to go. Absolutly no z banding!
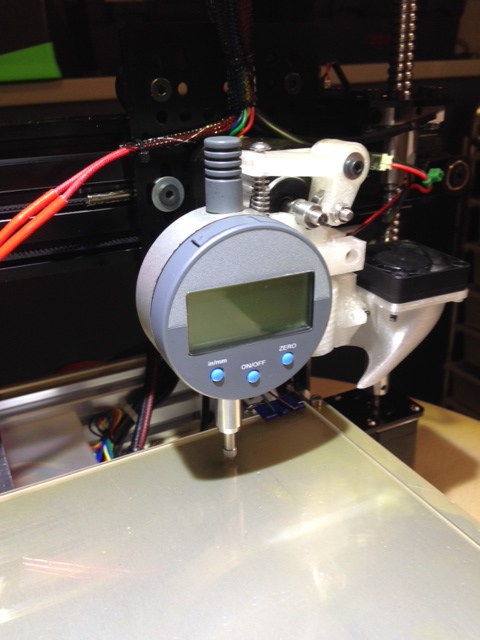
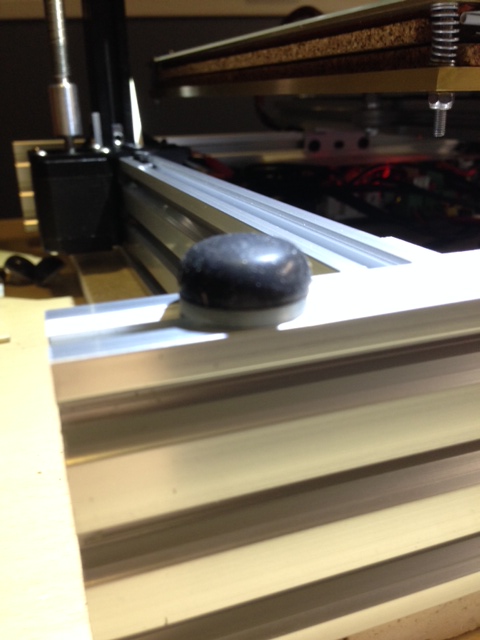
If you notice in the picture to the left of the print, I ran my extruder into the boro glass plate with a custom print surface, the print surface was tore up but the glass did not break!
I also bought a meanwell power supply instead of a moded ATX power supply. It's totally worth the money. I had an ATX 500W power supply with 42A 12v line. I was only able to get 250W from it and not PWM on the heat bed. The Meanwell can handle it
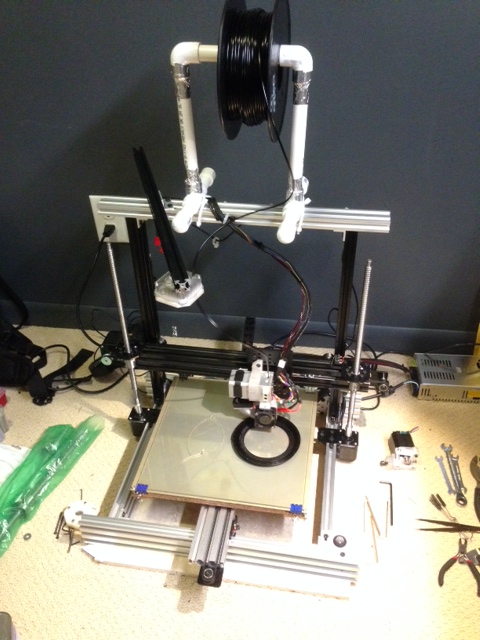
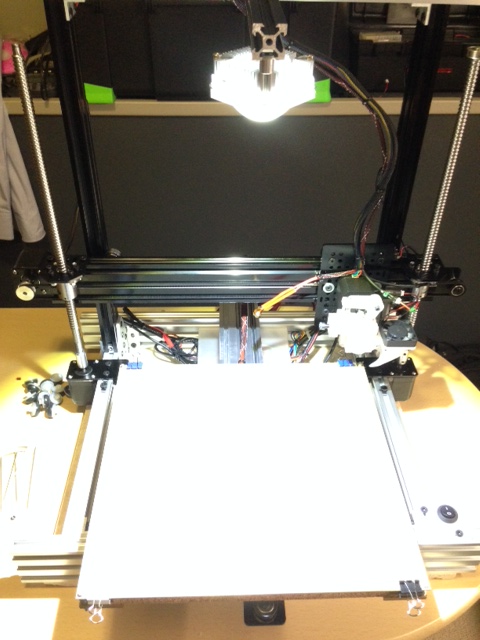
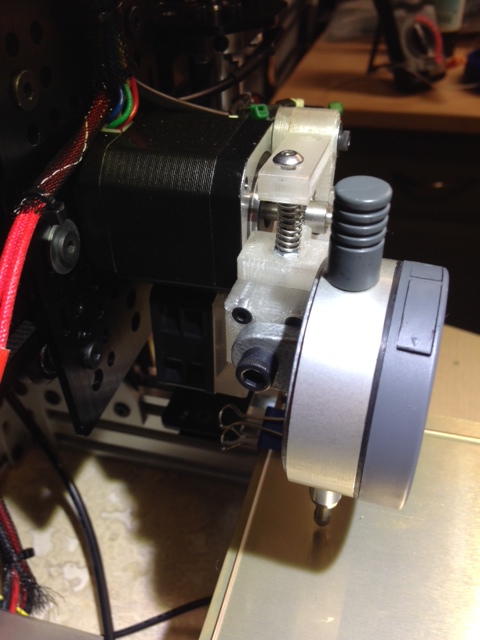
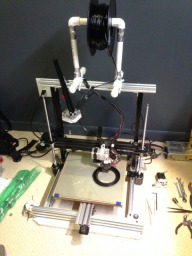
Direct drive extruder, 1204 ball screw z-axis, can be easily upgraded to be enclosed
-It is almost complete, I posted some more pictures and a short clip showing differences in speed.
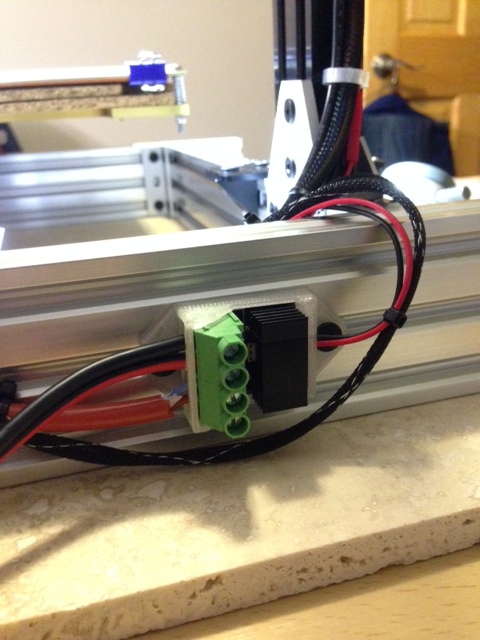
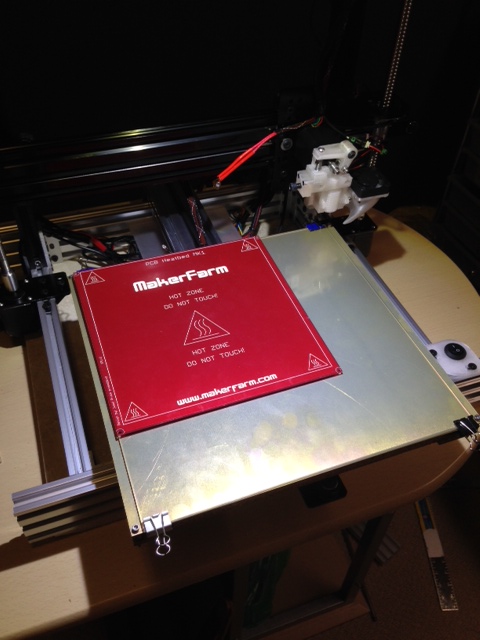
-I just need to finish up the heat bed and implement my custom high current relay. Hopefully by this weekend it'll be printing.
UPDATE: 1/22/15
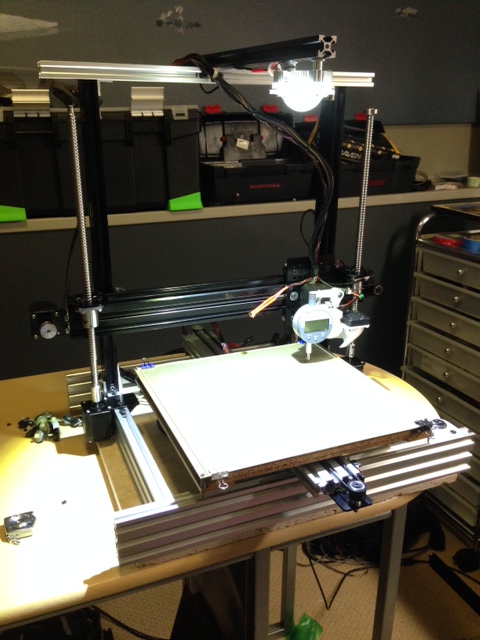
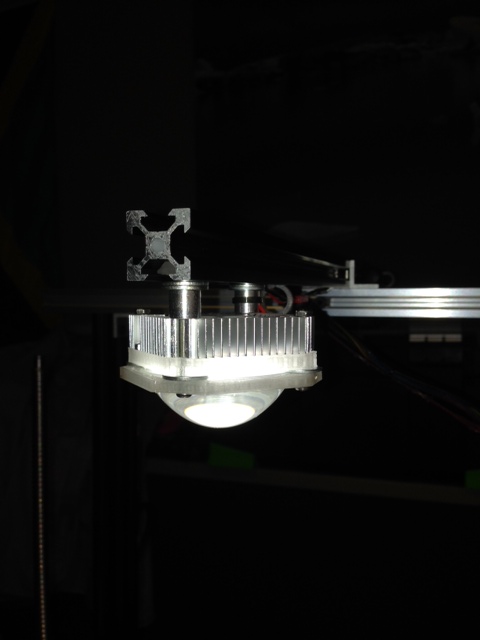
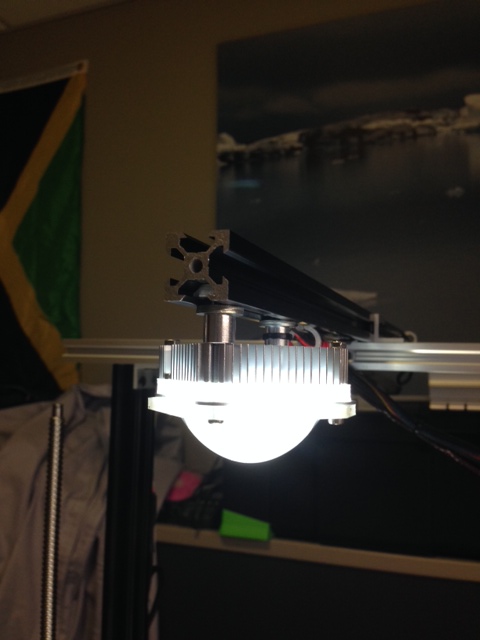
Everything is assembled and tested. Just need to transfer my hotend. I've posted some pics of the printer with some custom modifications and additions like the High current relay, LED light, Ball Screw mount, Sorbothane Isolation pads (http://www.amazon.com/Sorbothane-He...TF8&qid=1421938546&sr=8-7&keywords=sorbothane)
Some additional pictures posted
Parthenon
Build in 'Cartesian Style Bots' published by wesner0019, Feb 2, 2015.
Custom build, after building the prusa i3 and upgrading to i3v, I wanted to build something more sturdy that can print fast and more accurate. Model is built in Fusion 360
-
-
Build Author wesner0019, Find all builds by wesner0019
-
- Loading...
-
Build Details
- Build License:
-
- CC - Attribution NonCommercial - CC BY NC
-
Attached Files:
-


