Hi Everyone!
This is my first CNC build primarily created to help me with my other hobbies as well as my interest in design and fabrication. Here you can follow along with me throughout the weeks as I develop and build this small CNC mill. The goal was to keep the budget fairly low while maintaining accuracy and versatility. I currently own a Prusa i3 MK2.5, which will be used to develop all of the parts. I have tried to keep all parts both 3D Print-able and mill-able so that I can get the tolerances close to what I'm looking for and then go back and mill all the parts so that the machine can upgrade itself!
5/31/2018
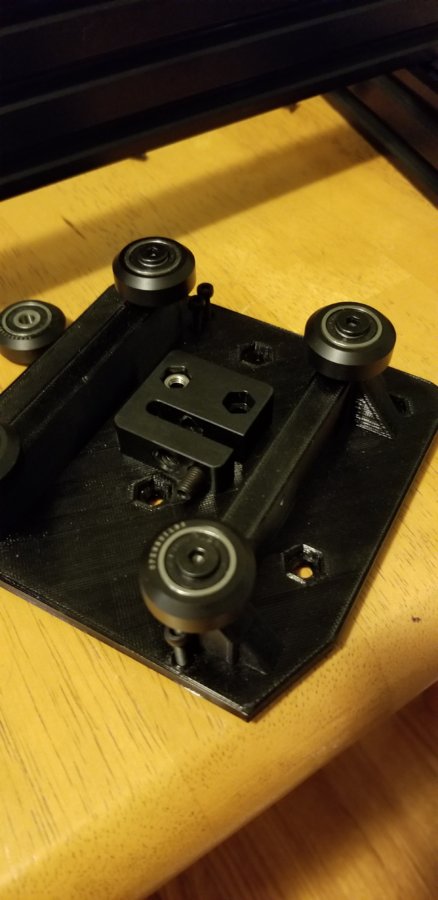
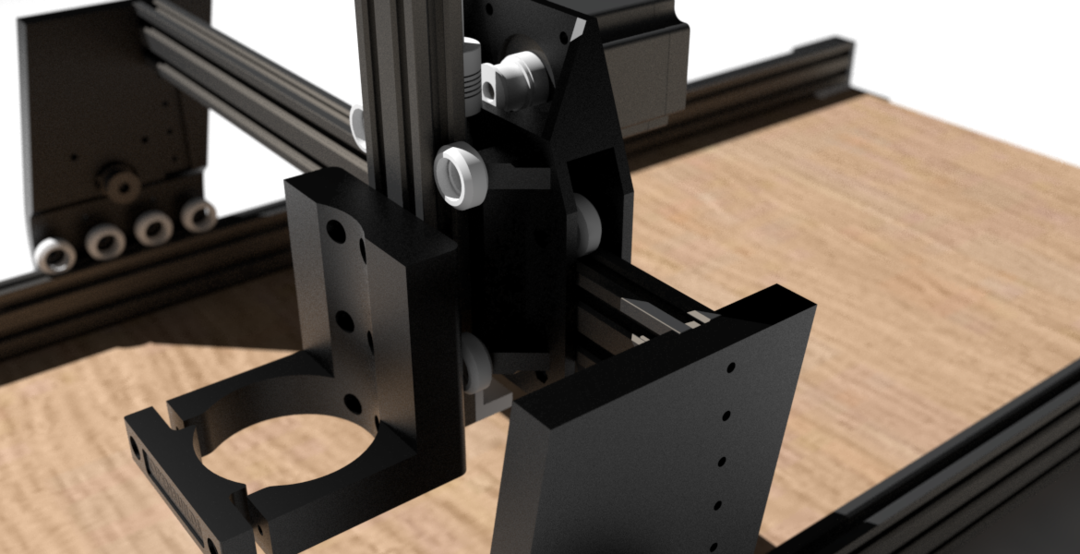
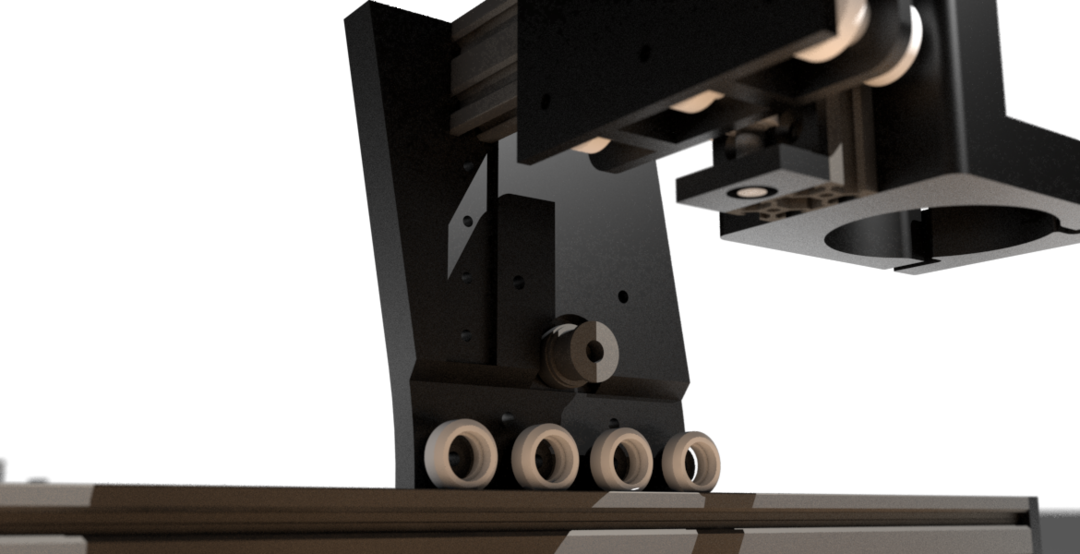
Today I had a bit of unexpected progress! I ordered some hardware from OpenBuilds so I could finally put some of the wheels on the printed parts and have a basic tolerance check. So far everything seems to fit snugly (except the z axis due to a modeling error on my end) and there's no visible play in any of the parts. Below are some pictures of how everything goes together. It's a really simple build at this point so I'm going to annotate it very little for now.
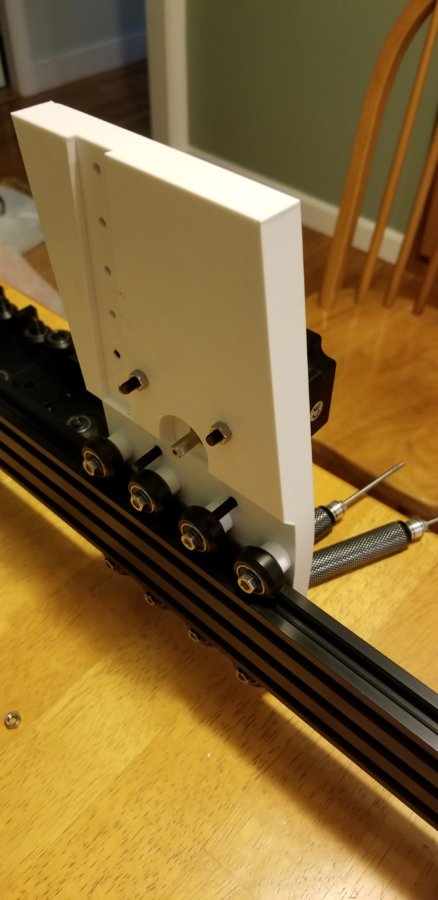
This is the right side of the gantry, the left side still needs to be printed and I need to buy some appropriately sized screws for the stepper motor mounts. I also managed to order the wrong gear for the stepper motors so I'll need to try and exchange those!
Here's the z axis, I'm going to add two more wheels to it as well as tighten up that tolerance! I somehow got it wrong by about a millimeter
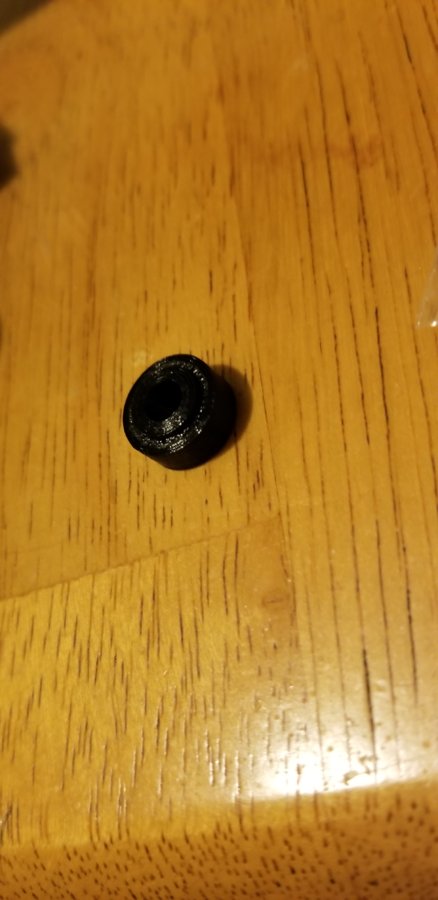
This is a spacer that will be used between the Z and Y axis mount to join the two parts together.
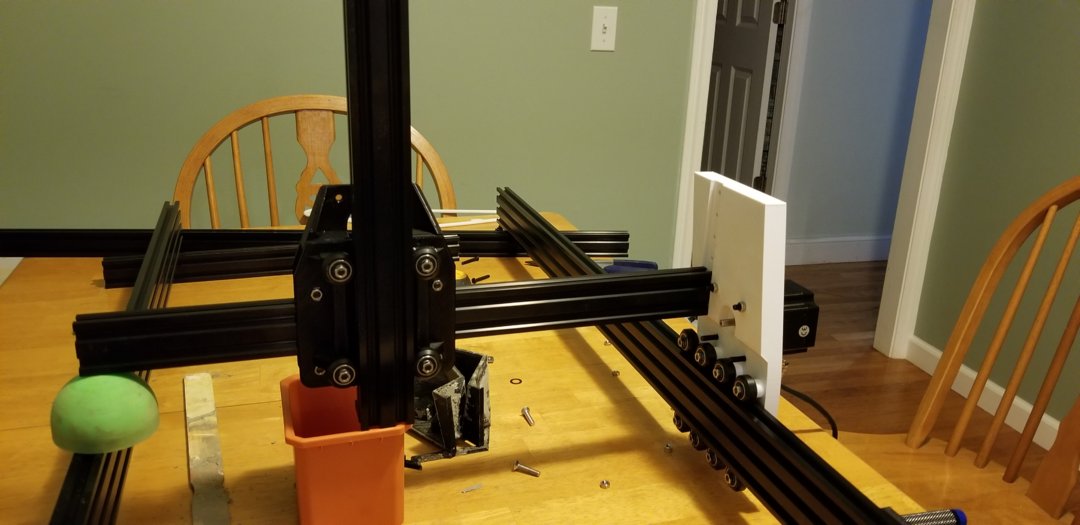
Now jumping forward a few minutes here's a rough test fit of all the parts together! I need to purchase an m5 tap tomorrow (I accidentally broke the one I just ordered...) and print the other side of the gantry and the prototype will be mostly assembled!
Next will be electronics....
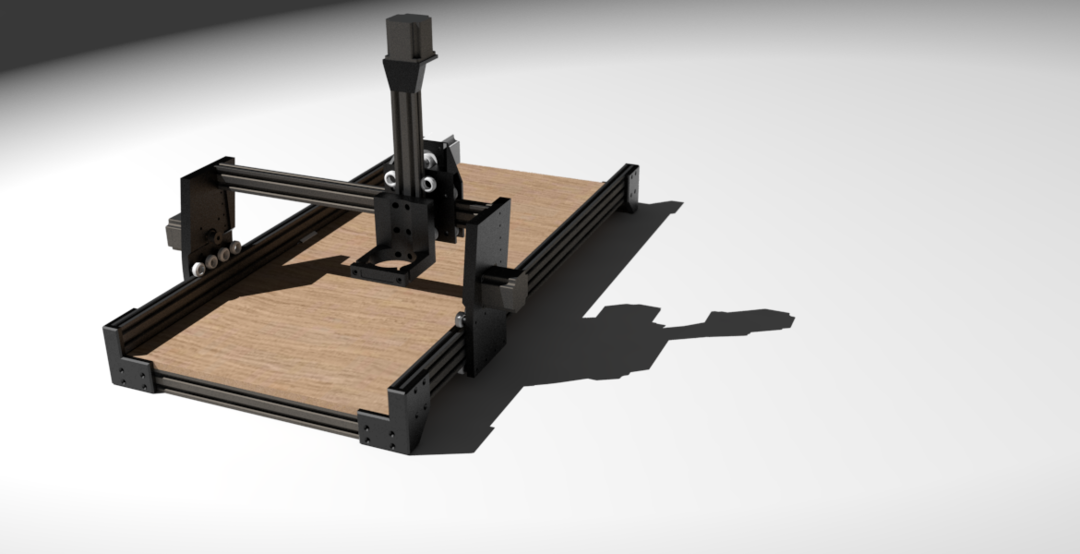
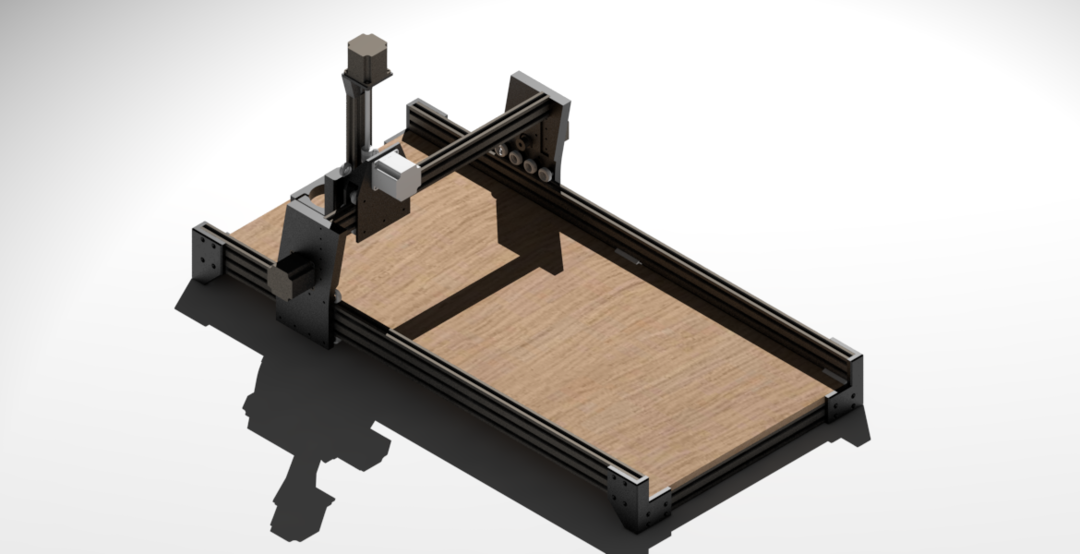
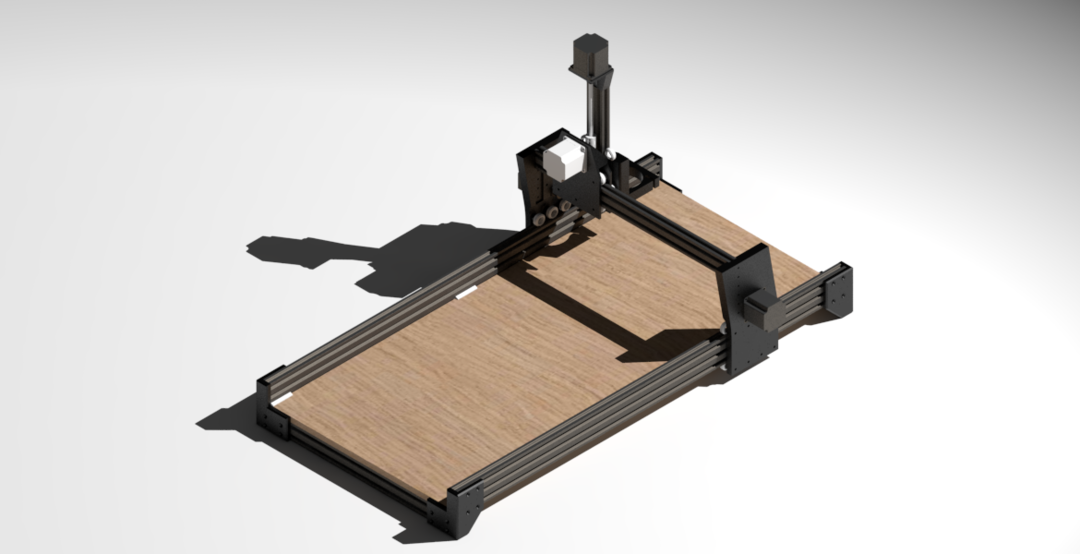
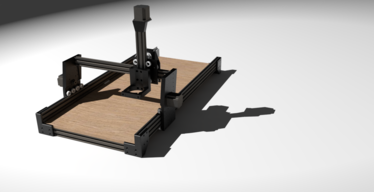
Here's the original renders too to see how it changes as you follow along!
12/13/2018
So I've been out of the country since the middle of August so I haven't been able to update anything I had done, but the mill is actually now operational and I've done a few test cuts! A lot about this mill has changed following the recommendations found in the comments. The X-axis and Z axis are now made from C-beam requiring a total rework of essentially all of the parts. Pictures and possibly video will be following this post in the next few weeks. I'll also be making all of the files available to you guys. Unfortunately, I do most of my modeling in Rhino 5 because I'm an architect and I just happen to love that program, but I can try exporting them to a sketchup file and I will supply all STL files for those that wish to print it or modify it however they wish.
I also wanted to share my electronics set up on here. I decided to go with a panucatt Azteeg x5-gt because I really liked that it had plug and play stepper drivers that can support up to 2.8 amps per motor (however one came DOA, but it's only $13 do replace it). It also has 5 stepper drivers allowing me to possibly convert this to a 3d printer or a 4 axis mill later on down the road. While there is a ton of support for smoothieware, there isn't a ton of support for this board but I'd be happy to answer any questions I can about this board. My biggest issue was figuring out how to slave the motors together for my Y axis but it turns out it's actually super simple with a few jumper pins.
My spindle is a 500 watt spindle from MYSWEETY on amazon, and I've only run it for a few test cuts but so far I can't complain about it. I haven't fine tuned my steps per mm or even squared up my machine yet and the spindle cuts perfectly.
All other electronics were purchased from open builds and I'll create a full parts list when I have some spare time.
Expect some pictures this weekend! I still need to build a table and stand for the mill, it's currently just sitting on my dining room table.
Mostly Printed Cartesian CNC
Build in 'Cartesian Style CNC' published by Joe F, Dec 13, 2018.
This is a build that is just getting started. Not all of the parts are ordered or printed as of 5/27/2018. Hopefully in the next few weeks all parts will be printed and most parts ordered.
-
-
Build Author Joe F, Find all builds by Joe F
-
- Loading...
-
Build Details
- Build License:
-
- CC - Attribution NonCommercial - Share Alike - CC BY NC SA


