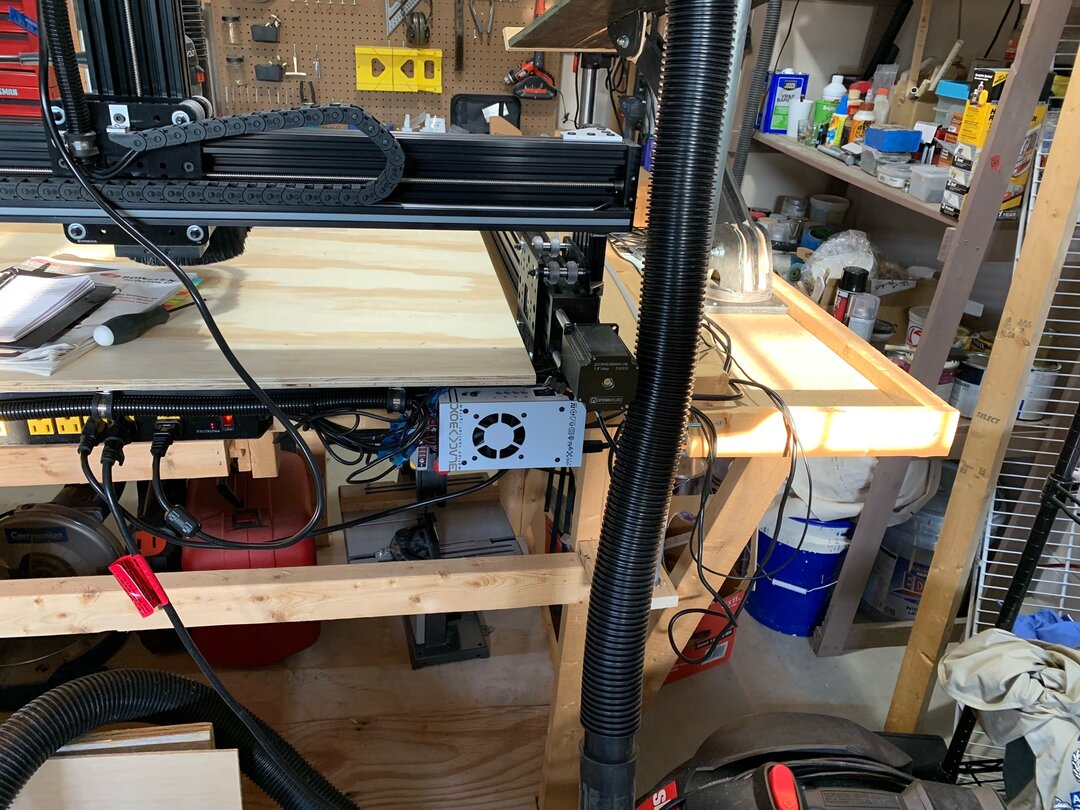
This is my build of the GHOST Case by Copper Pour.
The OpenBuilds Easter Egg is a great idea! After figuring out the puzzle and entering the password, I received a message on my screen that stated that there were "no more codes available", and to come back later. After a few days of going back to the site I reached out to customer support at OpenBuilds and they helped me out. Not sure why the puzzle is not working correctly, but the team at OpenBuilds was user friendly and sent me my GHOST Case kit.
A few days later it was on my table ready to swap out with the original case.
The kit comes in 5 parts (top cover, 2x ends, 2x sides).
I decided to replace one portion at a time v. pulling the entire thing apart. My thought was that the original portions would help line up the new ones as I went along. I also felt that by keeping as much intact as possible as I swapped out the pieces, the more protected the innards would be.
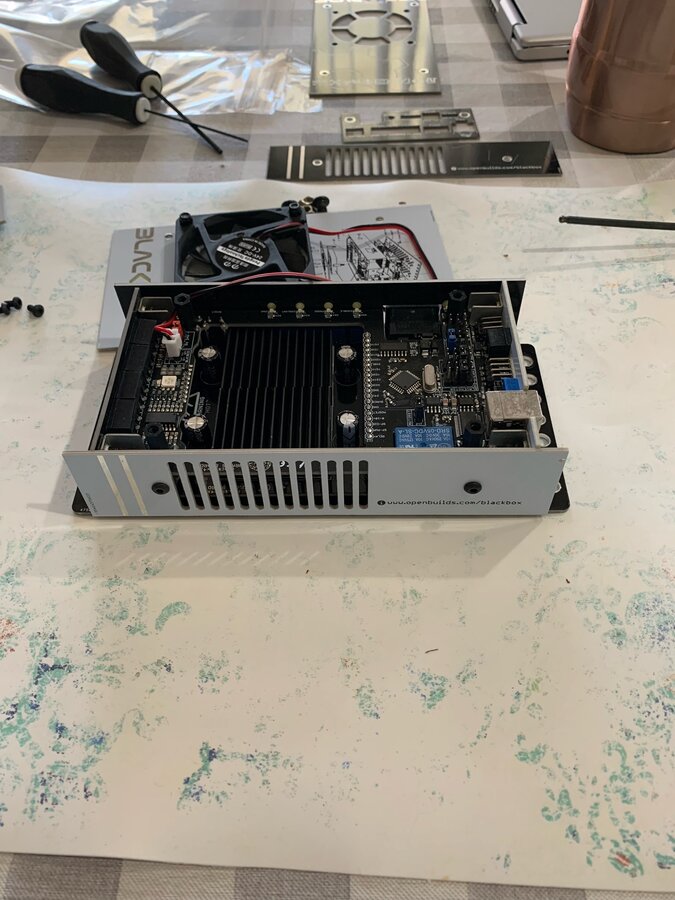
Step 1: Remove the top and fan (do not replace the top yet). Pay attention to how the fan lead wires are coiled around the support posts inside the controller. At this point you can place the fan on the new front panel if you want, or wait until Step 5.
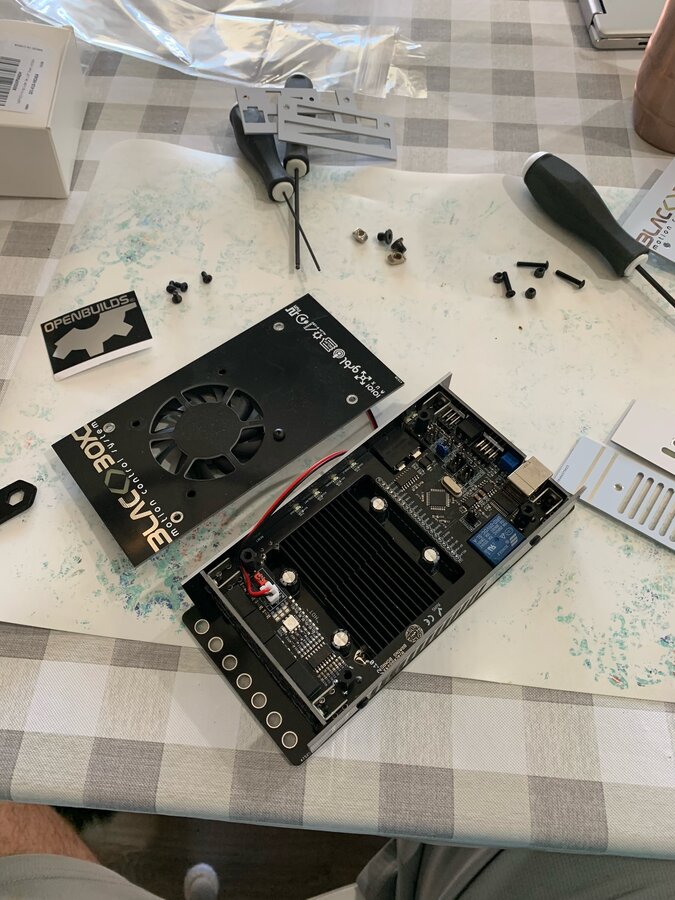
Step 2: Loosen the side plates. This provides a little extra wiggle room while removing the ends and placing the GHOST panels. The extra wiggle room is useful when positioning the new panels over the sensitive components, plugs, and outlets.
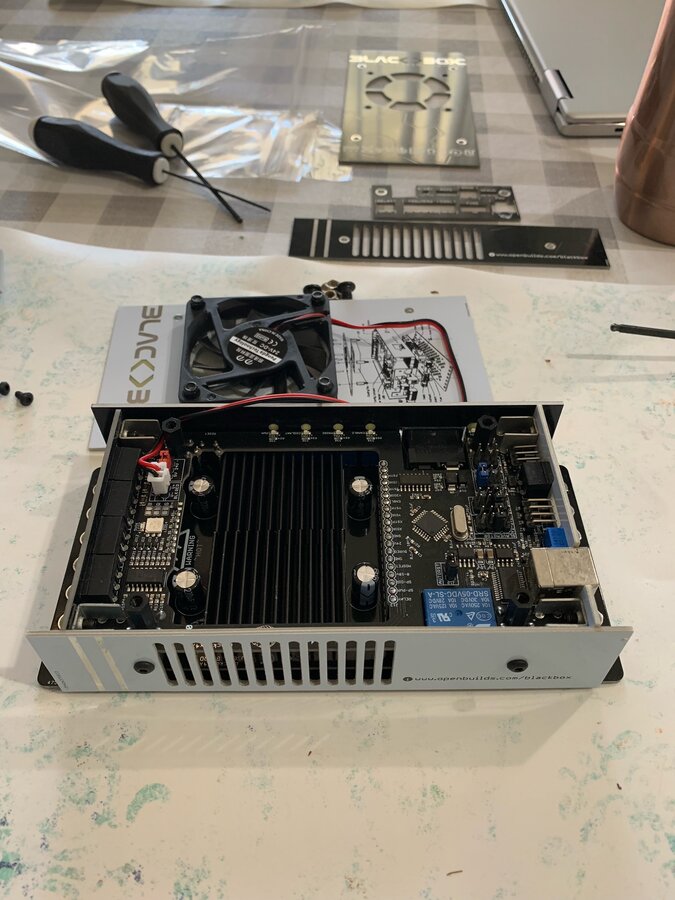
Step 3: Remove and replace the end plates. As stated above, careful of the sensitive components.

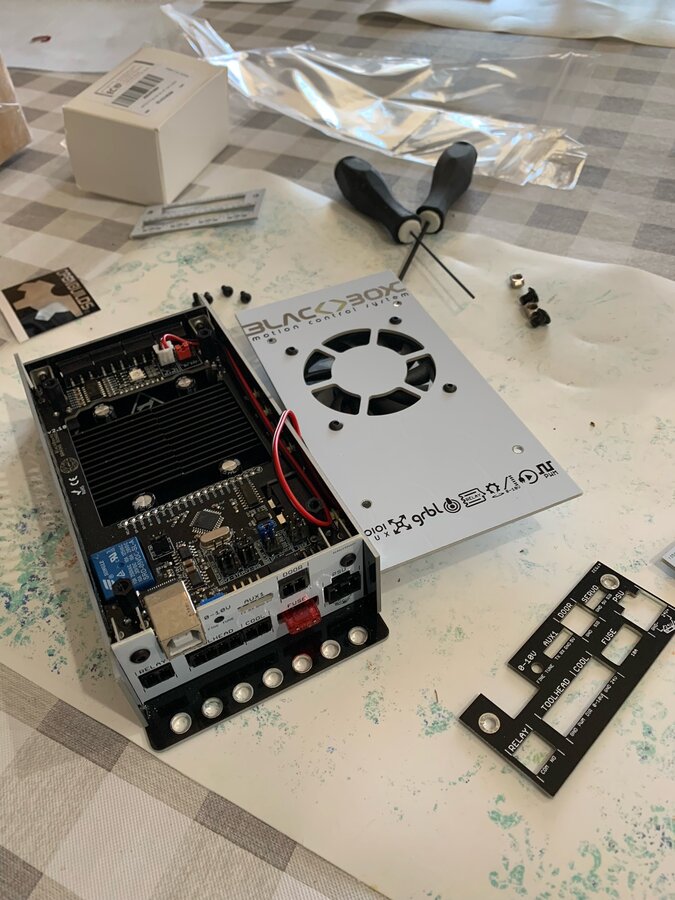

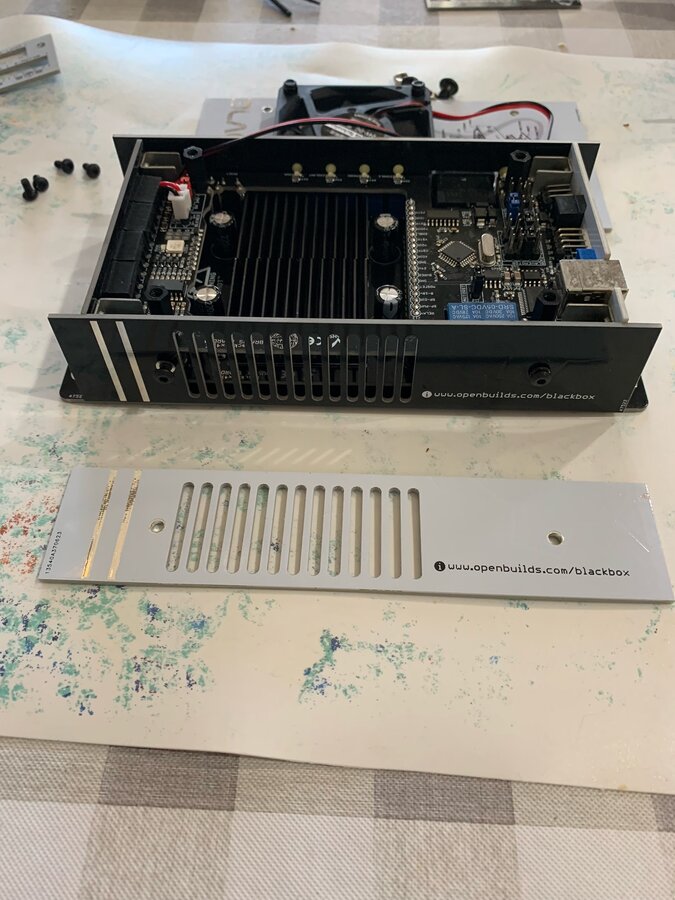
Step 4: Remove and replace the side plates.
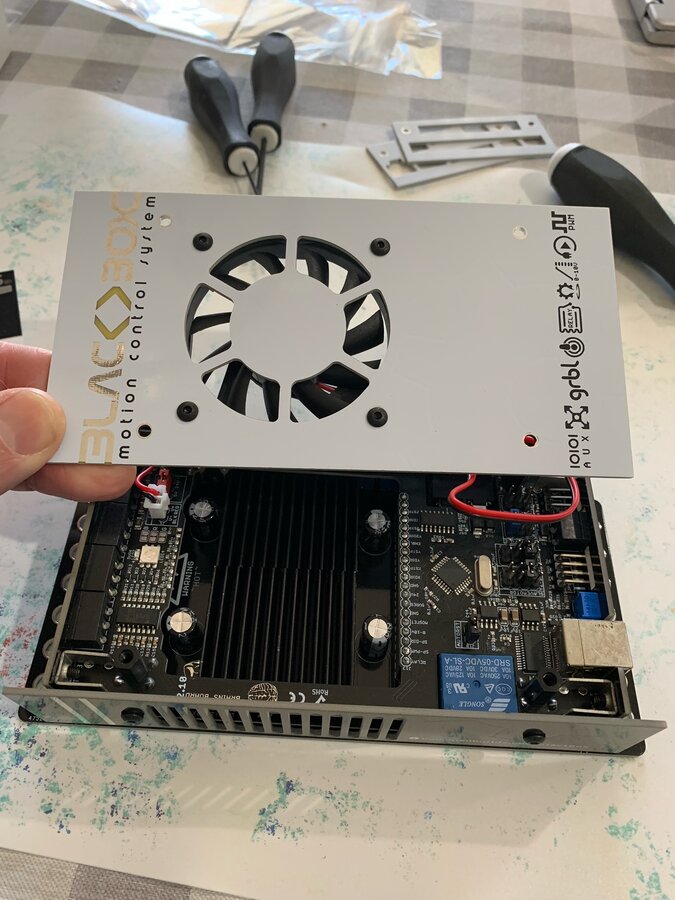
Step 5: Remove the fan from the original face plate, affix to the new GHOST plate (if you didn't do it earlier).
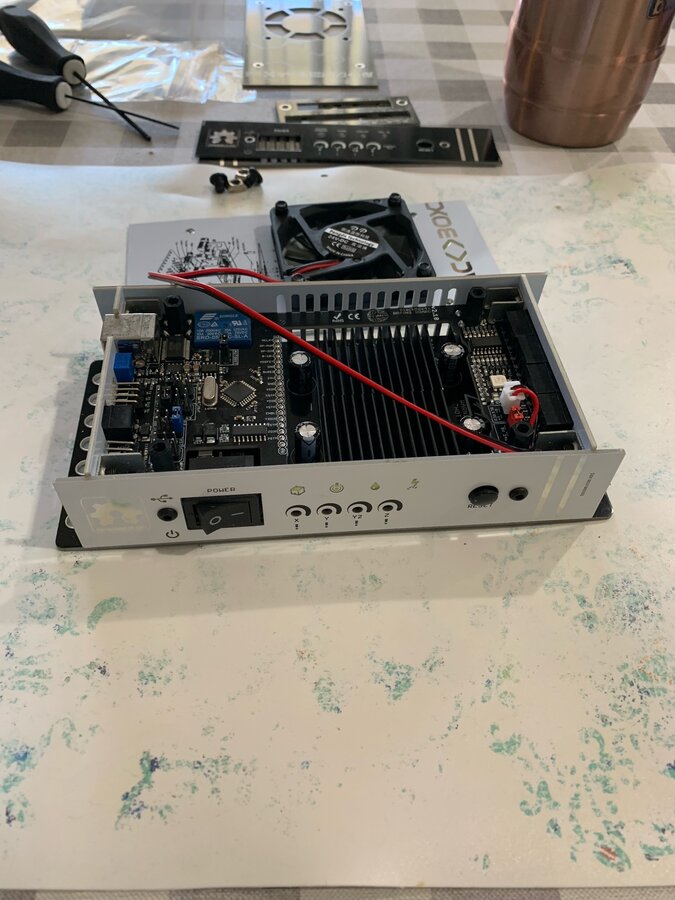
Step 6: Attach the new face plate. Careful to place the fan lead wires around the support posts as they were in Part 1.
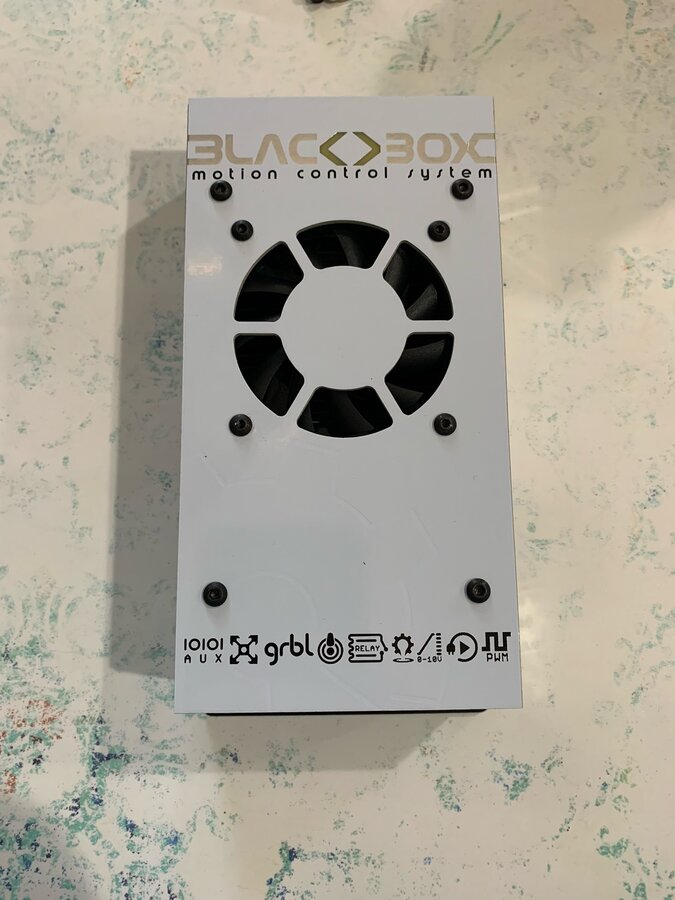
Looks awesome! Thank you for the upgrade!
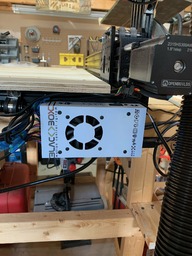
GHOST Case by Copper Pour
Build in 'CNC ROUTER BUILDS' published by DaveCharbs, Jan 17, 2022.
GHOST Case build for the OpenBuilds Black Box Motion Control System
-
-
Build Author DaveCharbs, Find all builds by DaveCharbs
-
- Loading...
-
Build Details
- Build License:
-
- CC - Attribution - CC BY