I got:
2 Nema23 1.26Nm steppermotors for the y-axis,(2Amps at 3.6Volts)
1 Nema23 1.26Nm steppermotor for the z-axis(2Amps at 3.6Volts)
1 Nema23 3Nm(435oz-in) stepper for the x-axis(4.2Amps at 3.78Volts)
Im driving the steppers with 4 TB6600 Stepperdrivers (one for each motor) controlled by an Arduino Uno with Grbl and Universal Gcode sender on my laptop.
There will be 2 SFU1605 ballscrews for the Y-axis, 1 SFU1605 ballscrew for the X-axis and one M16x2 threaded rod for the Z-axis.
Let's begin
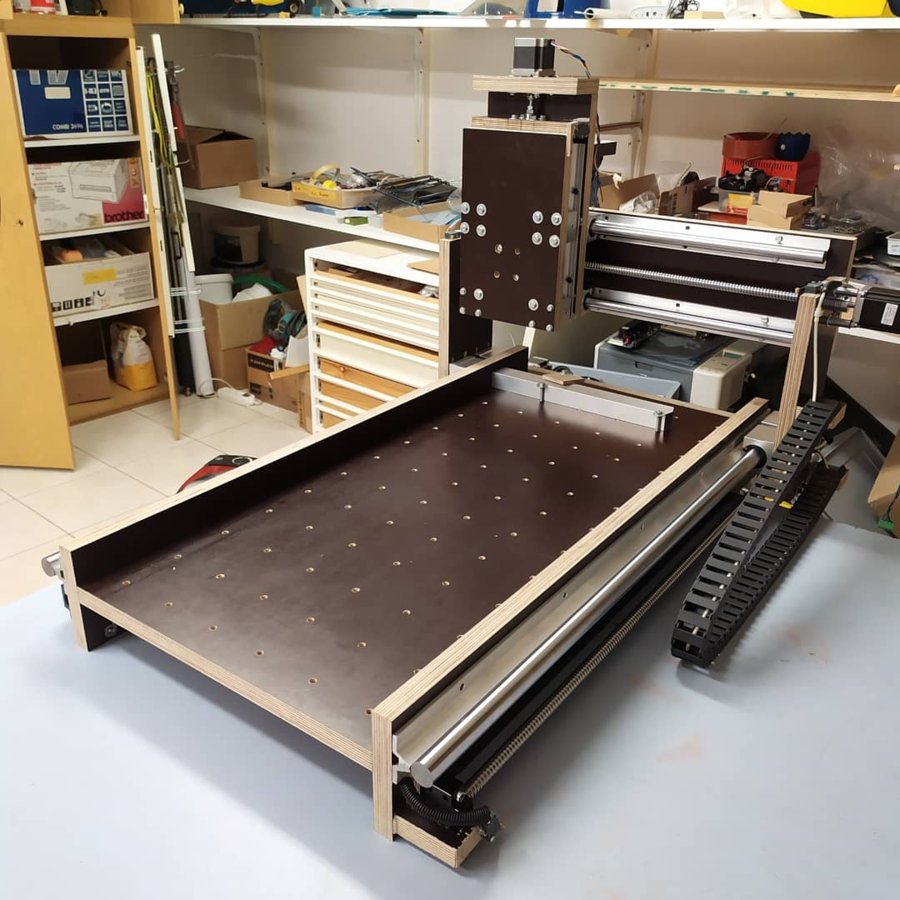
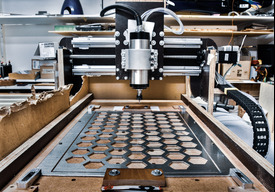
(10/13/2018) I just received the first batch of 2.3 cm plywood and started building. I started with the wasteboard and drilled all holes into it. This wastboard will not be "wasted", there will be a 1cm-2cm thick MDF board on top of it.
![IMG_20181014_173918[1].jpg](data/attachments/35/35481-40d2d5d918eac94d0bd9e9e7982be4f6.jpg)
(10/28/2018)
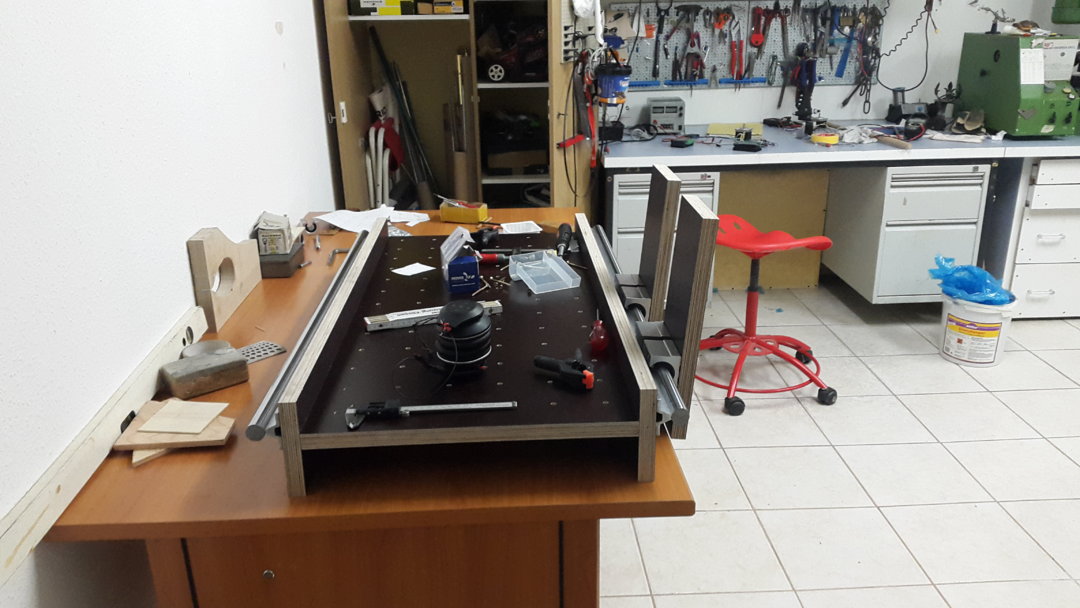
And this is the real life picture
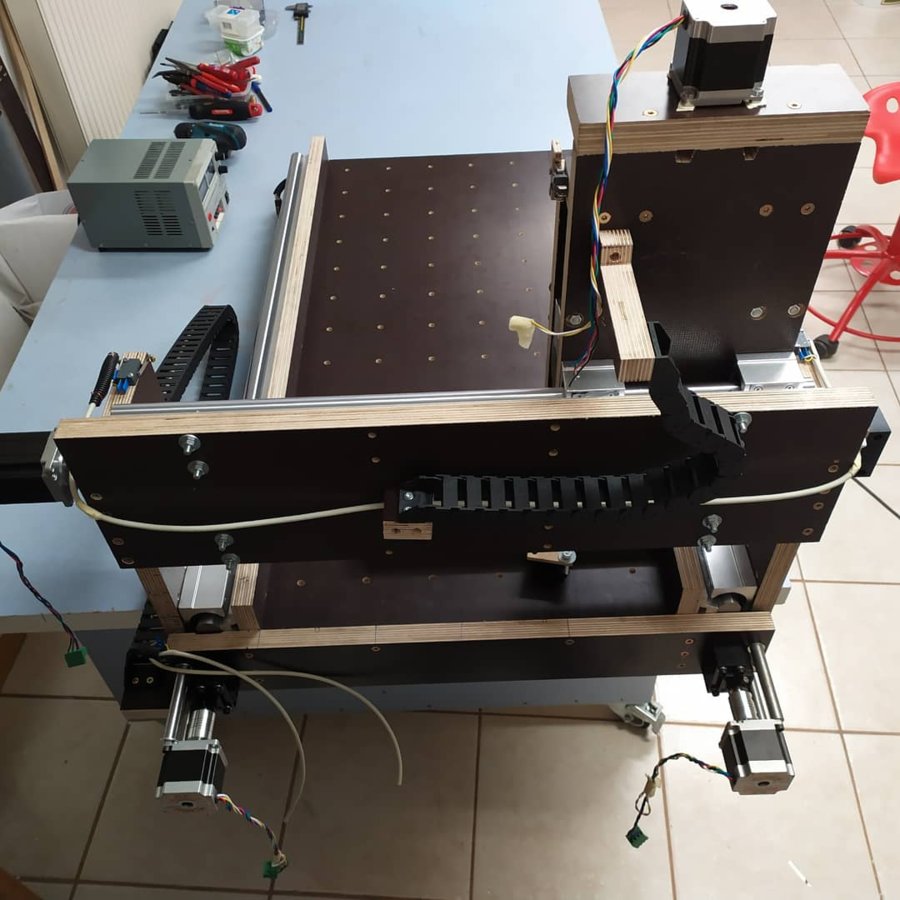
(12/2/2018)
I have now assembled the linear rails on the Z-axis and they are moving pretty freely and smooth.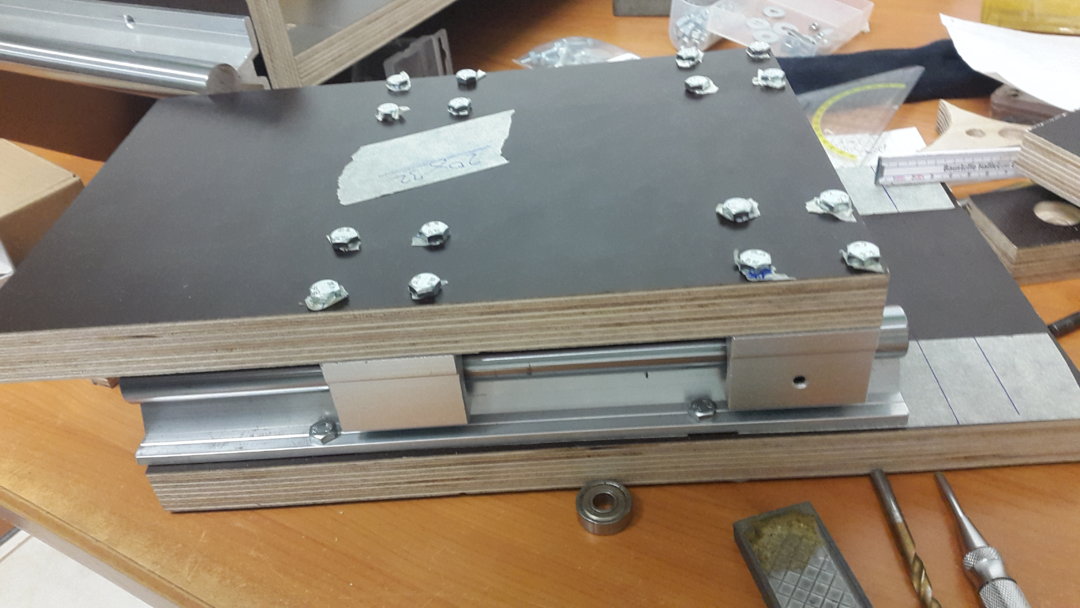
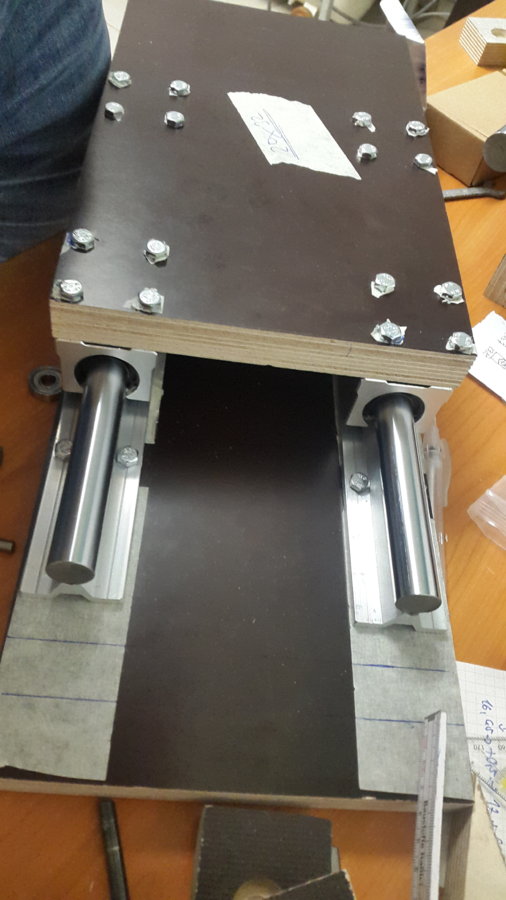
(first half 2019)
I have now finished the Z-axis. It weighs about 7.5 Kg (16 Pounds) and a speed around 400mm/min (15.8"/min) without loosing to much torque. (I may replace that part with a proper 8mm leadscrew)
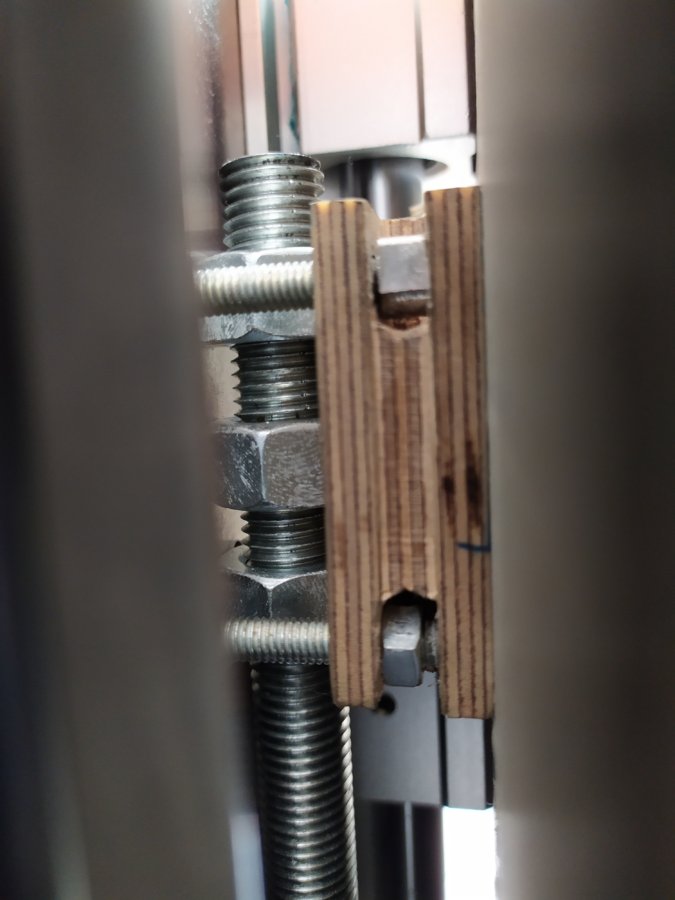
(the backlash is removed by tilting the nuts in different directions)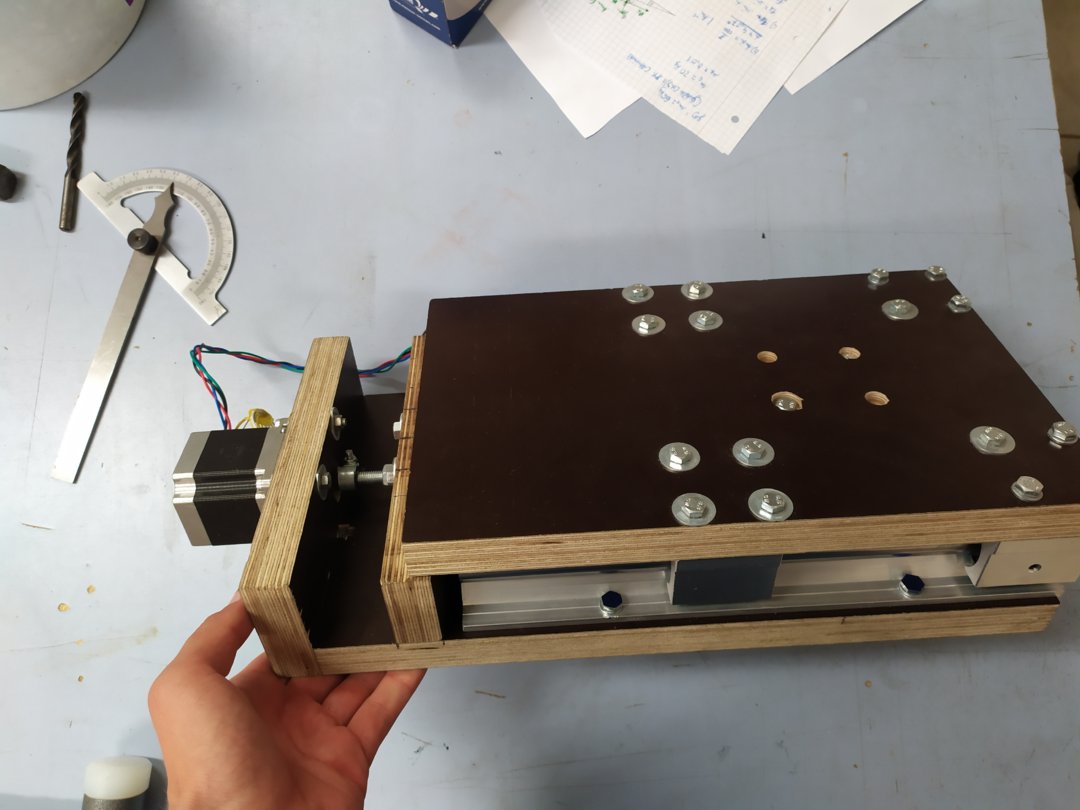
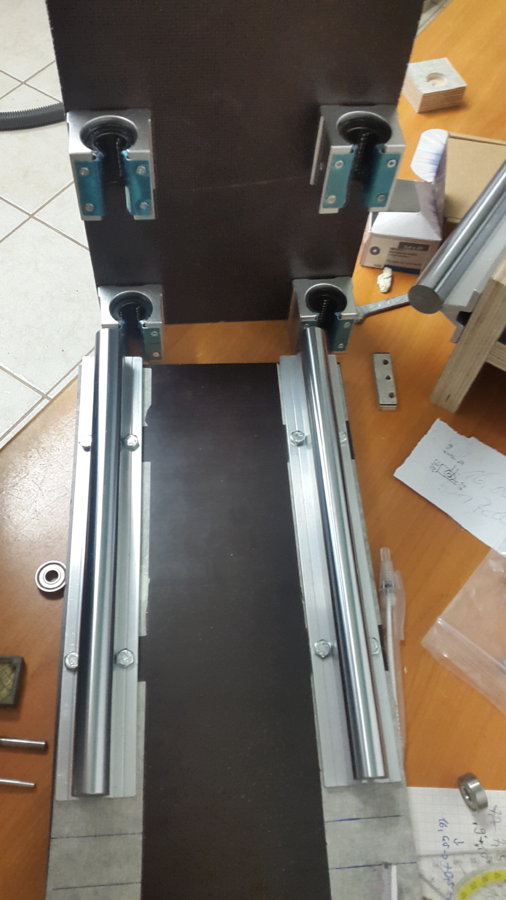
I have tried the same technique for the Y-axis which didn't worked that well because the resistance and backlash was way to high than what I considered good so I bought some cheap SFU1605 ballscrews from China as listed above.
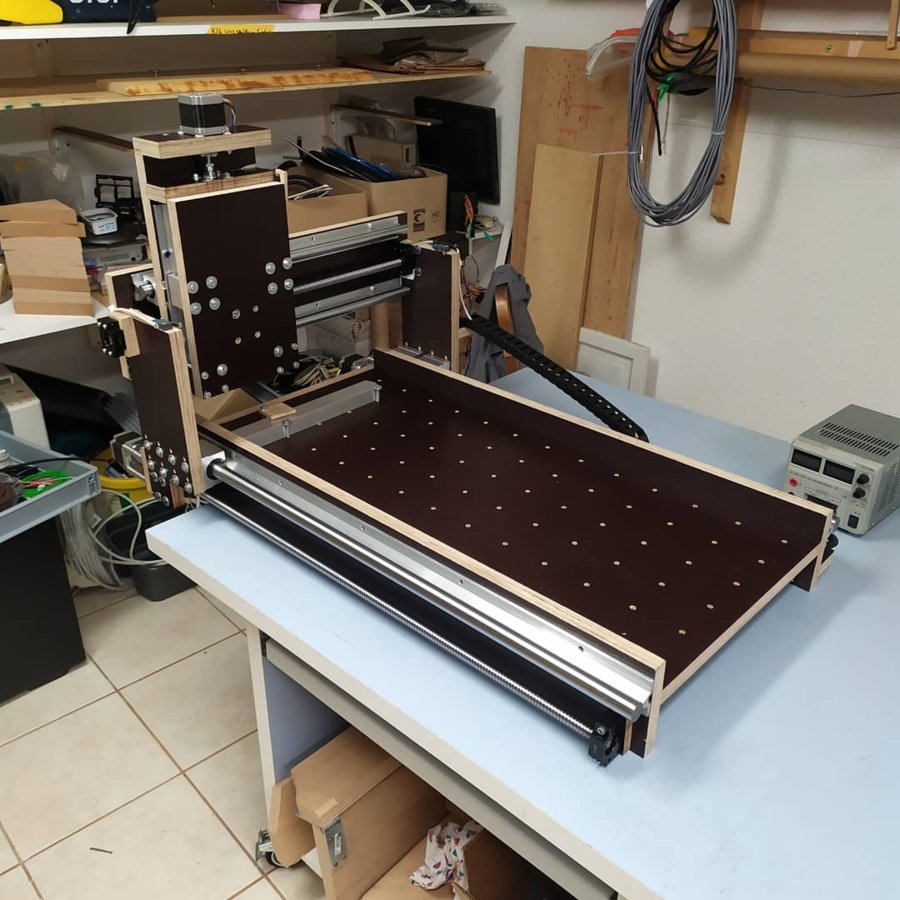
(8/9/2019)
In the past few days I assembled the first ballscrew on the Y-axis. The alignment was pretty good thus the ballscrew could turn with very low resistance and no backlash(by eye). The only problem is the way i have to mount the stepper to the frame of the CNC because the stepper is so far away from the frame of the CNC and the space is very limited.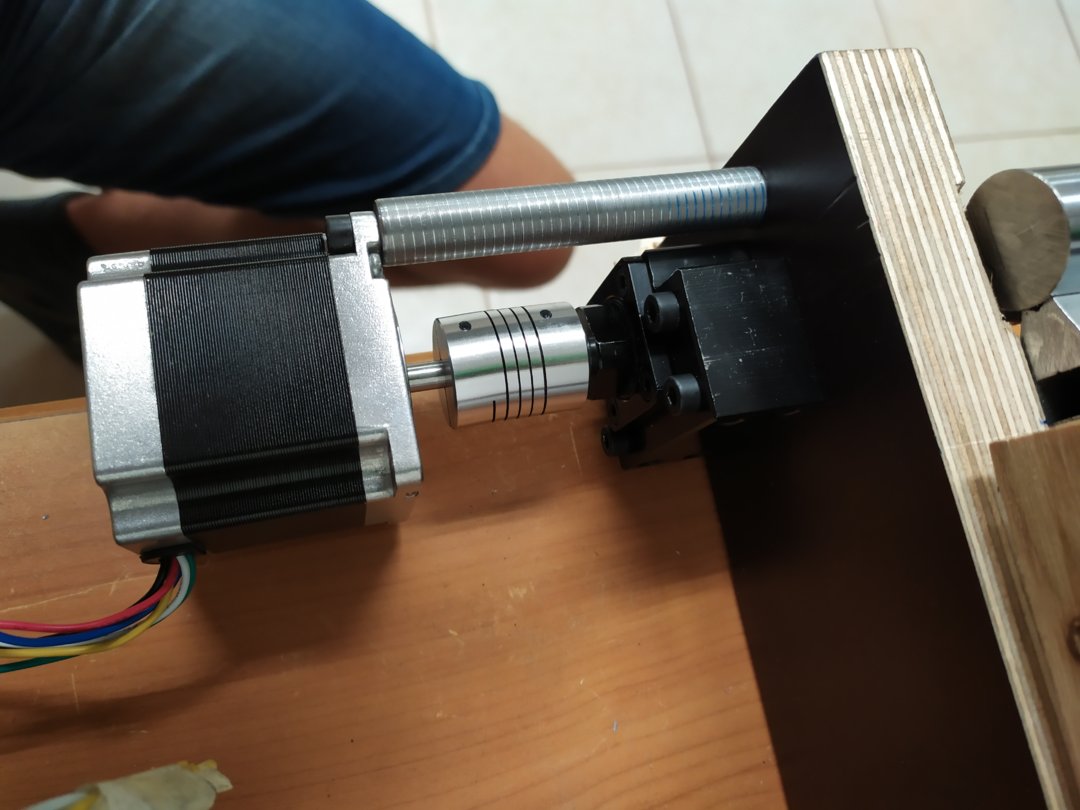
Right now I just got one of the supports of the stepper in place but that one alone would be probably enough. With this setup I could achieve a feedrate of 2000mm/min (78.8"/min) with no load (so probably just for rapids) and no obvious signs of the stepper loosing steps.
(8/12/2019)
In the time between the last post and today I have done a lot of testing with the TB6600... I found out that at some feedrates and no load I am loosing steps.(like <300mm/min; >1500mm/min and at some speeds in between). With load (ca. 5-15N) I am sometimes loosing steps worth of up to 0.15mm(0.0059") or even more. I also tried different microstepping settings like 200(no microstepping), 400A(2 times) and 800(4 times) steps/rev and found out that at I am loosing the most steps without microstepping (which could be just random).
(08/20/19)
I have now bought some other stepper driver's... There is still no Tb6600 chip in there but they seem to work for now. The work fine below 2000mm/min (81"/min)
(08/30/19)
I have bought a 1.5kw water-cooled spindle from China (ER16 - 24k rpm) and it just arrived. I have checked all the components and everything looks fine but I didn't expect it to be that big. After setting up the VFD I tested the spindle and it is super quiet - it sounds like an electric toothbrussh.
(9/18/19)
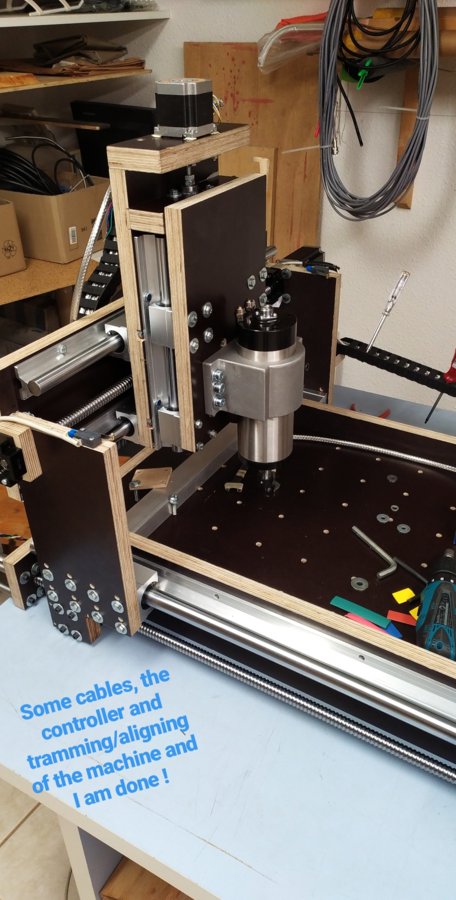
To make it short: I had to assemble, disassemble and reassemble the CNC multiple times and am now almost finished. I just need to wire up a quick controller to get it running before I go to EMO 2019 in Hannover and can show some results . I will be there on Thursday.
(3/3/2021)
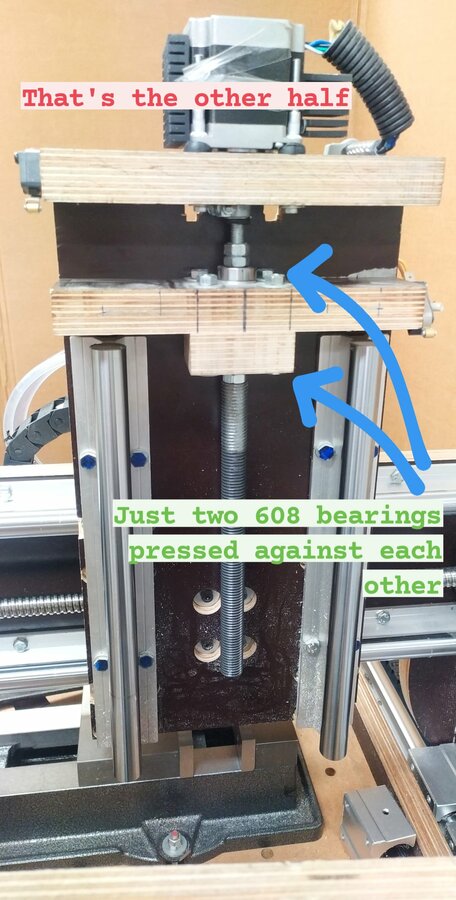
The CNC has been running for one year now and I am currently doing some upgrading on the Z axis... The old M16 screw wasn't bad and the backlash was considerably less with the 3 Nuts on there but it's still sketchy if you are milling steel or even doing helix's into metal at all. I ordered a SFU16*5 ballscrew a while ago and I guess it will improve it a lot. The speed of the Z-axis was around 900mm/min max with slow accelerations.
For woodworking purposes it's totally fine as you don't count on 100% precision in the Z direction so it's ok if it lifts up half a mm while roughing.
I can't recommend using those cheap round "bar type" linear rails as the linear blocks suck at constraining rotational loads (in all directions) which is why my Y axis blocks allow the whole gantry to rotate a little bit (box type linear rails are much better, even the cheapos)
One thing I found out is that you shouldn't drive two steppers with one driver: at some speeds the resonate and loose all their torque so no bueno. This limited the speed of my Y axis to below 1800mm/min at first. Now that I have two drivers everything works fine. When the drivers get to hot as they can't handle the current they just shot off - as the other motors are still moving you are going to have scrapped parts and smoked endmills so don't buy the cheapest drivers-sources like stepper online or similar are still dirt cheap but the chance of getting good results is greater than the cheapest thing I found on eBay or Amazon... I now got 6 bad drivers with no use and still had to buy the a little more expensive ones.
Btw if you want to find out more about the performance of this monster check out @c.cnc_ on Instagram
"Unfinished model of the cnc"
Gantry Style CNC from plywood
Build in 'Cartesian Style CNC' published by C-CNC, Mar 4, 2021.
I am currently 15 years old, from Germany and trying to build a low budged CNC router. I only designed this CNC based on other CNC routers that I have seen and what I am able of. It consists mostly of 2.3cm plywood to keep costs down. The size of the work area is approx. 40 x 80 cm. I would be really glad if you could give me advice's for improvement on the design and everything else ... ( I could really need your help :) ) enjoy :)
-
-
Build Author C-CNC, Find all builds by C-CNC
-
- Loading...
-
Build Details
- Build License:
-
- CC - Attribution NonCommercial - Share Alike - CC BY NC SA
Reason for this Build
I build this to get an insight to the world of machining. -


