
This is not really a build, but a concept for a small-medium sized bench top CNC Plasma Cutter.
It is an upgrade from my original concept Dragon Portable Plasma Cutter. Just daydreaming and had the idea after watching Extreme 4X4 one day and seeing their ESAB Crossbow CNC Plasma cutter. Not sure if that design is patented, but I assume not, since there are hundreds of clones on Alibaba and the like.
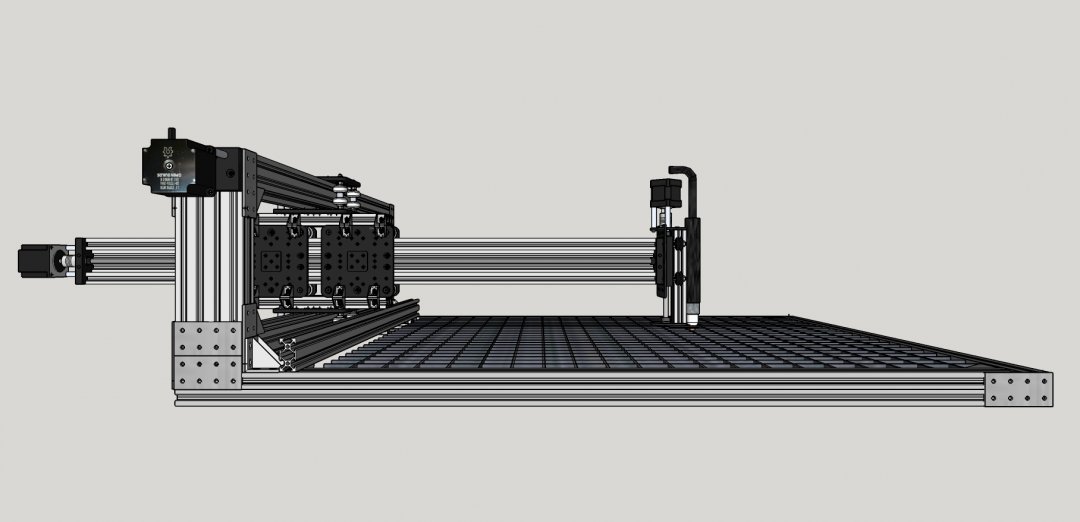
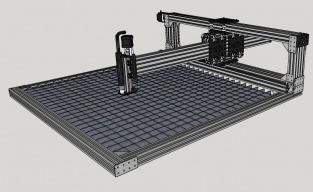
So this is an arm type XY table, with an optional Z axis mount for the plasma torch. It's just a concept, so there's lots of stuff missing, including screws, nut blocks, etc. It uses all stock OB parts, with a couple of small exceptions. Cutting area is around 700x700mm, which should be plenty for home use.
All the pieces of v-slot and c-beam are 1000mm in length, with the exception of the two verticals that separate the Y axis c-beams, and the two small 40x60x250's that form the frame of the trolley assembly. I have used some double angle brackets that I acquired from a Chinese web site, and the 40x80 8 hole joiner plates are a custom item that I had made for another project.
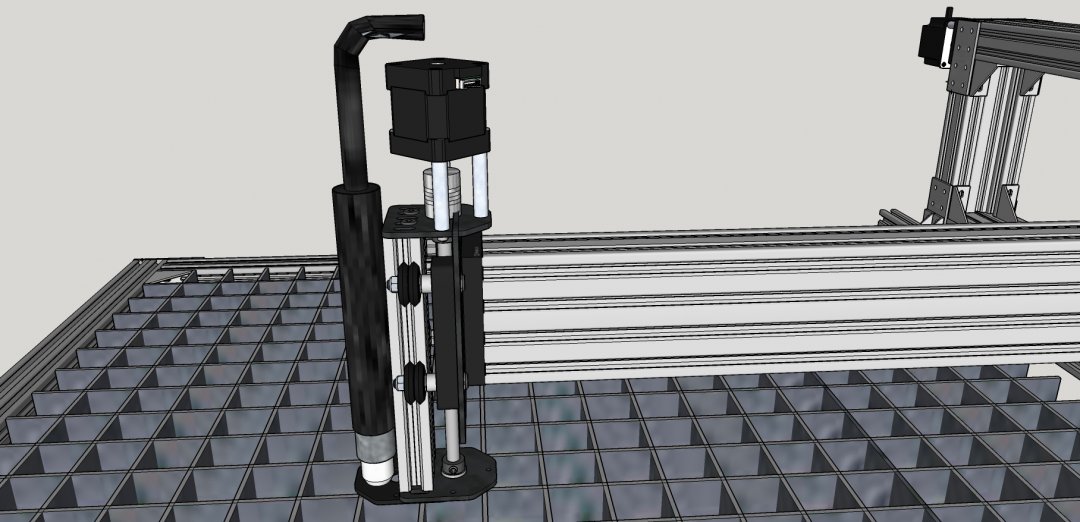
So, on to the design. The torch is held at one end of a C-Beam arm, (the X axis) with a motor on the other end. This arm can extend back and forth along a twin trolley made from 4 C-Beam XL gantry plates which supports it. The two trolleys are tied together using a couple of pieces of 40x60 tied top and bottom with angle brackets. There are two sets of wheels top and bottom on each trolley in the corner slots for maximum support. I used 3 x 9mm shims on each wheel axle to bring the width of the trolley to as close to 60mm as possible, outside to outside. This ensures that the 20x60 top and bottom beams of the trolley match up with the width of the trolley and the back to back corner brackets line up right. You'll have to experiment with the spacers under the nut blocks to get them to line up with the lead screw.
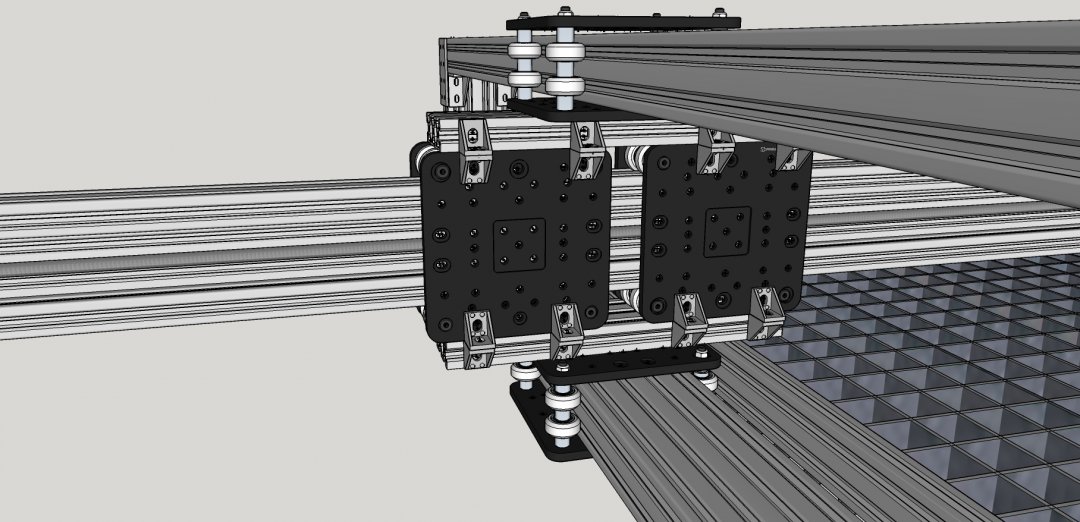
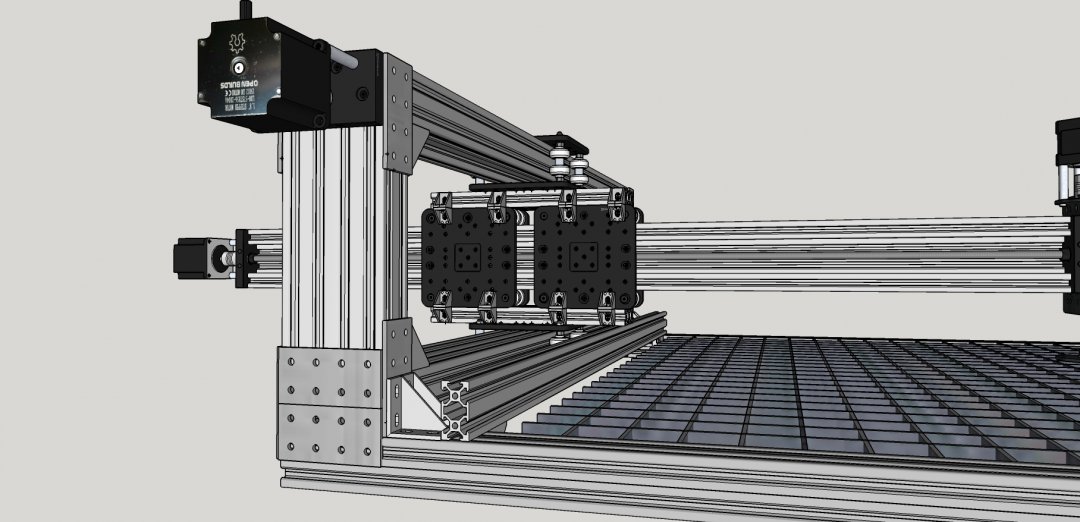
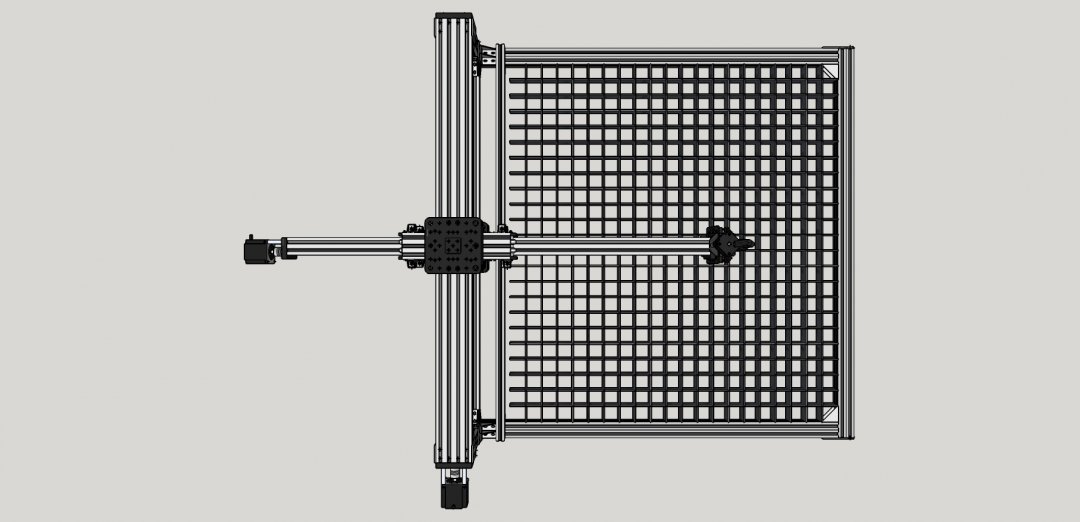
These two trolleys are supported by another identical set of 4 CBXL plates with 8 wheels each mounted horizontally top and bottom. These trolleys provide the Y axis movement along a pair of C-Beams built into a box configuration, with one rail top and bottom, separated by some short c-beam sections at each end. This box is joined by a bunch of 40x80 joiner plates I designed for another project. These are sprinkled liberally throughout the design to hold things together. The top c-beam rail has the motor on one end and the lead screw mounted in it. The bottom c-beam is just a passive track.
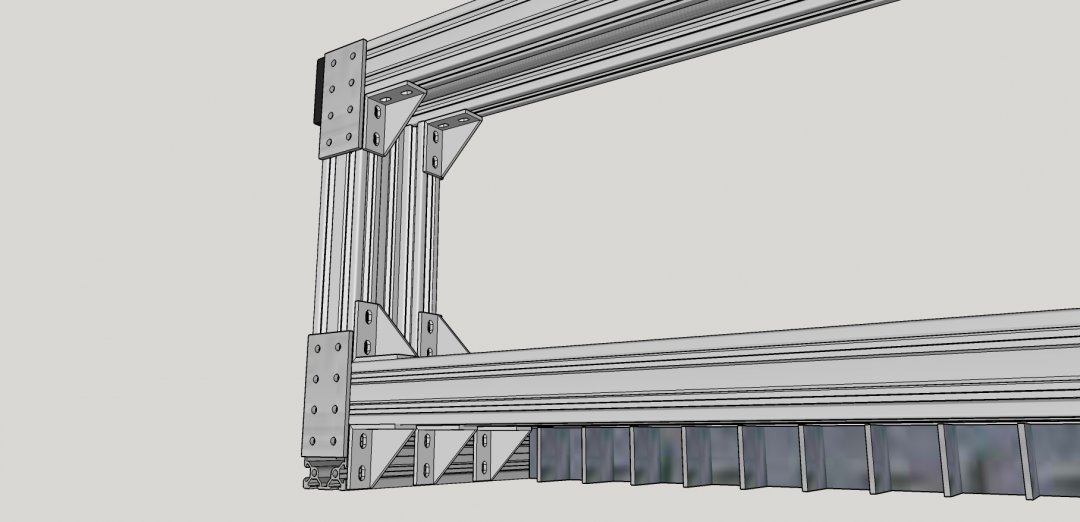
There is a table of sorts formed by 3 pieces of 40x40 extrusion forming a rectangular box. This is joined to the bottom c-beam rail and acts as a base. I have shown an "egg crate" insert inside the base rails as a support surface made from 40x3 mm flat bars. There is a 20x40mm v-slot across the base parallel to the Y axis to act as a straightedge to place the material to be cut against. You could add a water tank underneath, or just a flat steel table top to catch the metal particles.
The Z axis is a simple 4 wheel build plate with a 40x20 moving gantry. The torch is attached to this 40x20 using a motor mount plate and an unspecified clamp. I found a straight plasma torch on eBay that I thought would work good. An automatic Torch Height Control could be used to control the small, simple Z axis.
That's about it. I haven't quite figured out how to cable chain it yet. This could be a challenge. It may be necessary to put some kind of a "sock" or accordion cover over the X axis beam to prevent weld spatter from getting on the tracks where the wheels ride. Similarly, a "shower curtain" could be placed across the two sides of the Y axis to prevent grit and spatter from getting into the Y axis c-beams.
Sketchup 2017 model is posted in the files section. Feedback and design improvement ideas welcome.
Dragon Too Plasma Cutter
Build in 'Plasma Cutter Builds' published by Metalguru, Apr 2, 2017.
A Benchtop Plasma Cutter Concept
-
-
Build Author Metalguru, Find all builds by Metalguru
-
- Loading...
-
Build Details
- Build License:
-
- CC - Attribution - CC BY
-
Attached Files:
