This build is still on the drawing board, but I would be interested in any feed back people may have.
My original goal was to design a system with 1 cubic yard printable area. This comes close, but I am concerned with its stability. I may purchase the parts for a system taller than what is shown, test it, and down size as necessary.
You may notice that I have very few custom parts on it. The only ones present are non-critical. This is because I don't have access to a printer, or cnc. This build is intended to be put together with a miter saw and hand tools. Unfortunately, this both increases the piece count, and cost.
Features:
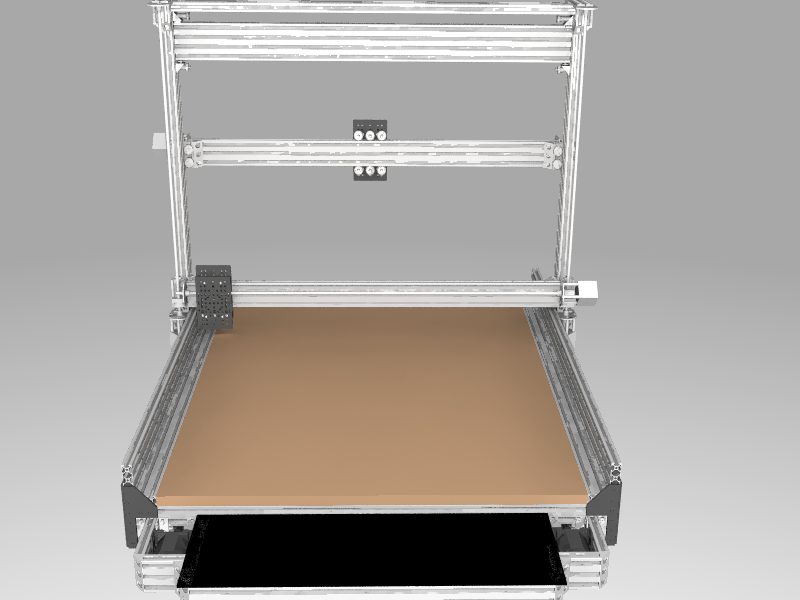
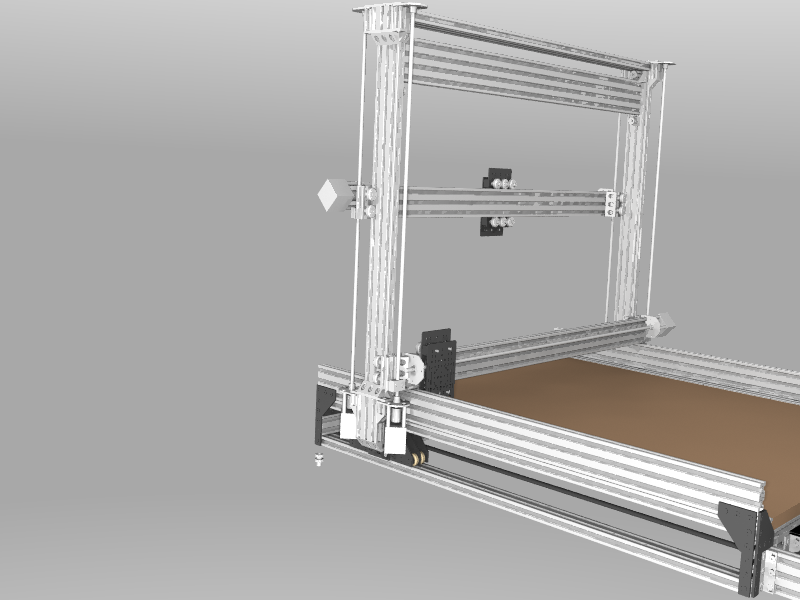
Double X-axis:
- Can be used as supplementary platform (ig. a second color/size/cnc bit)
- Can be used in tandem (dual production lines)
Large Printable Volume:
- 500mm risers: 800x800x280 = 0.1792 m^3 (2.62'x 2.62'x 0.91')
- 750mm risers: 800x800x530 = 0.3392 m^3 (2.62'x 2.62'x 1.73') (Shown)
- 1000mm risers:800x800x780 = 0.4992 m^3 (2.62'x 2.62' x 2.55')
Sway Bar:
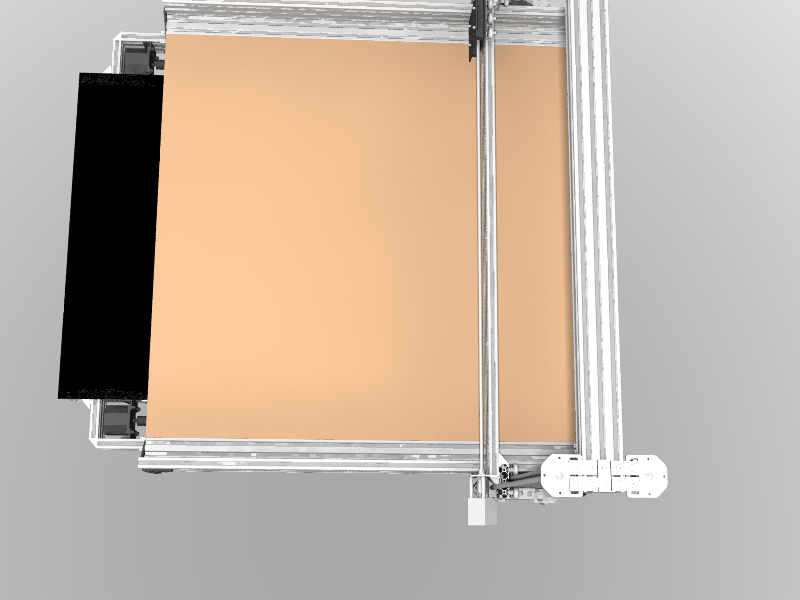
Console:
- Limits the actual sway of the Gantry through reinforcement.
- Includes Z Stop Blocks for both X Tracks.
- Adjustable:
- Reduces leveraged weight to the lowest feasible point for current job.
- Reduces run time by reducing travel time.
- Sufficient room for Mini-ITX and hardware.
- 180x632x57mm (about 7x24.8x2.2in)
- May increase 20-40mm in height if once hardware is selected.
- Minimal processor needed, can use second hand hardware.
- Uses multiple controller cards via USB. (cheep)
- Scalable axis platform (mainly CNC related)

ToDo Progress:
- Make X platform Universal (Complete)
- Publish parts file for FreeCAD
- Add parts I am not using
- Wiring System
- Create Wiring parts (In progress)
- Place Wiring parts
- Designate wiring plugs for quick change platform
- Add-on Wiring/Plug location(s)
- Recheck parts
- Apply materials attrib.
- Apply actual Colors to parts
- Check proper placement/clearances for all parts. (ig. is the screw long enough).
- Adjust Y runner (Complete)
- Lower the lower Z support (Complete)
- Decide on Tabletop securing method
- Place cross members
- Clamps
- Ray-Trace (In Use)
- Rename all parts for PovRay compatibility (ouch!) (Complete)
- Exploded views
- Instructions
- Parts list
- Purchase (Save $$$)
- Build
- Customize control software
- Test
- Final publication


DoubleX
Build in '3D PRINTER BUILDS' published by greg97233, Sep 23, 2014.
This is a Dual X-axis platform.
-
-
Build Author greg97233, Find all builds by greg97233
-
- Loading...
-
Build Details
- Build License:
-
- CC - Attribution - CC BY


