
Just a quick update. I changed the water cooling system and I’m working on turning one of the touch screens into a controller for the system.
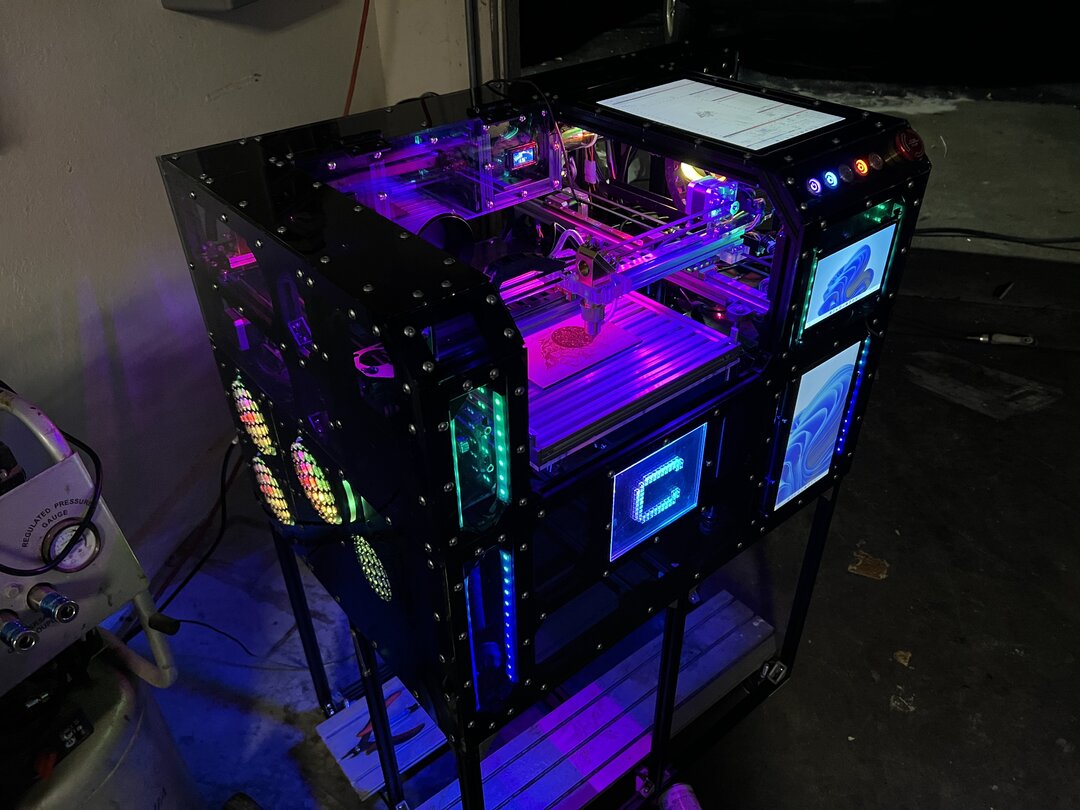
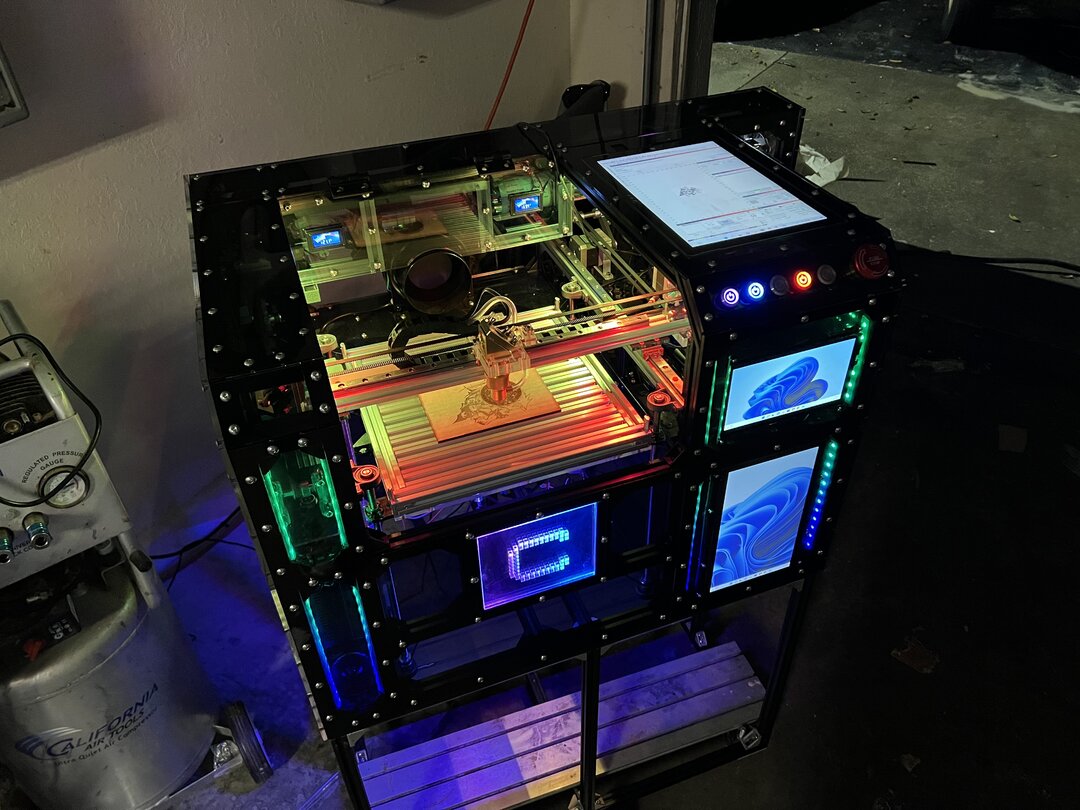
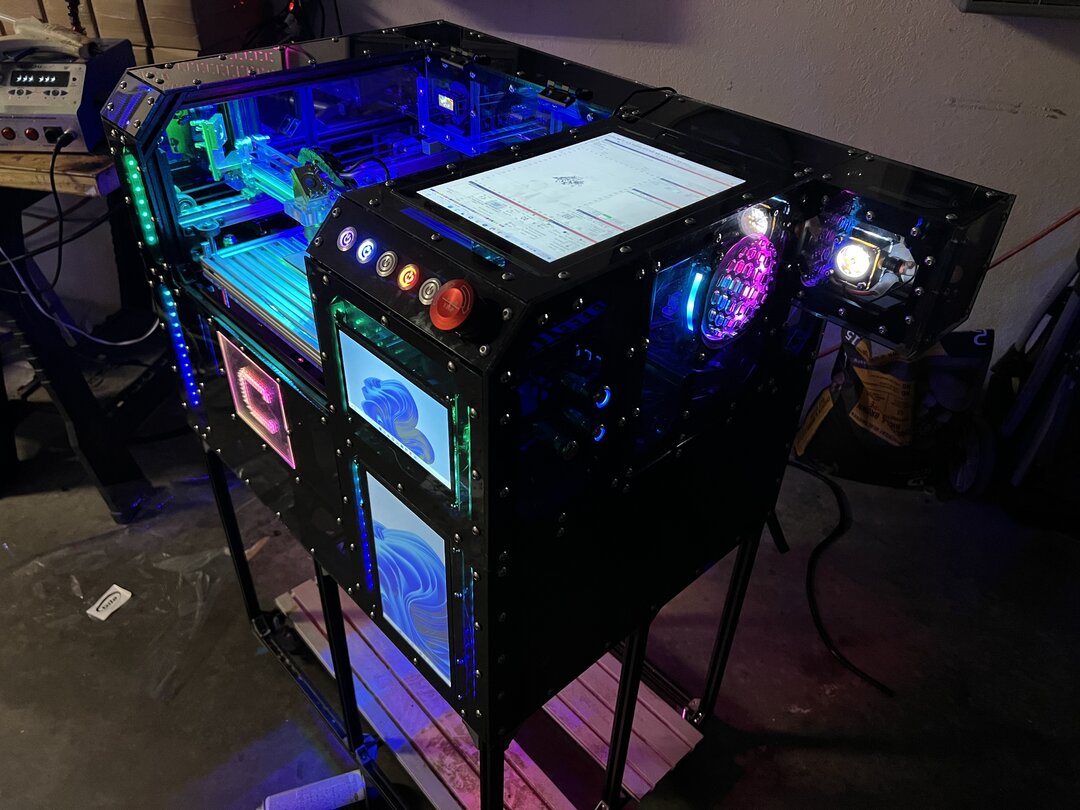
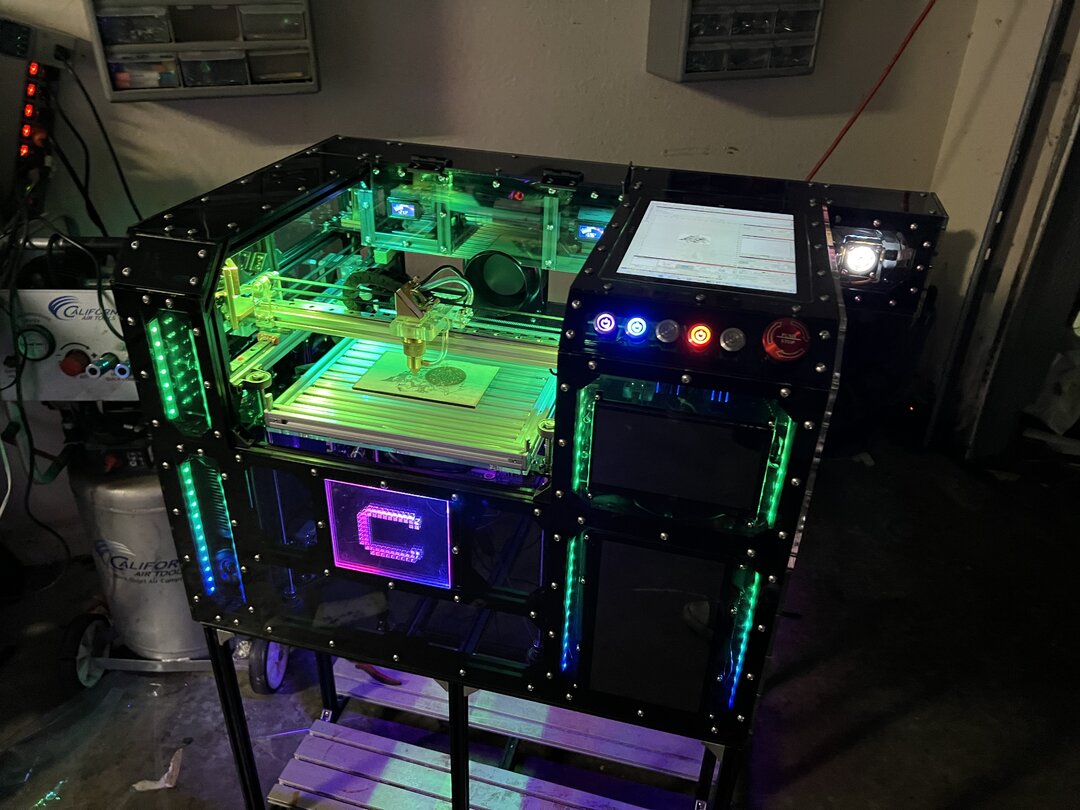
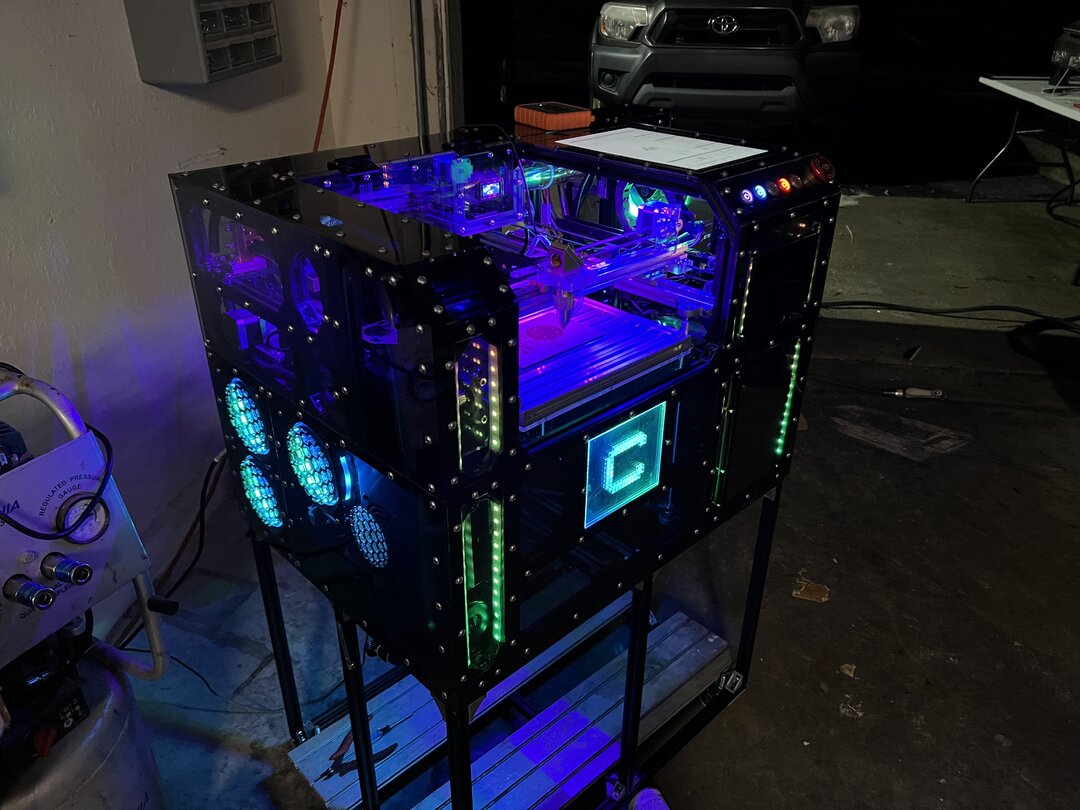
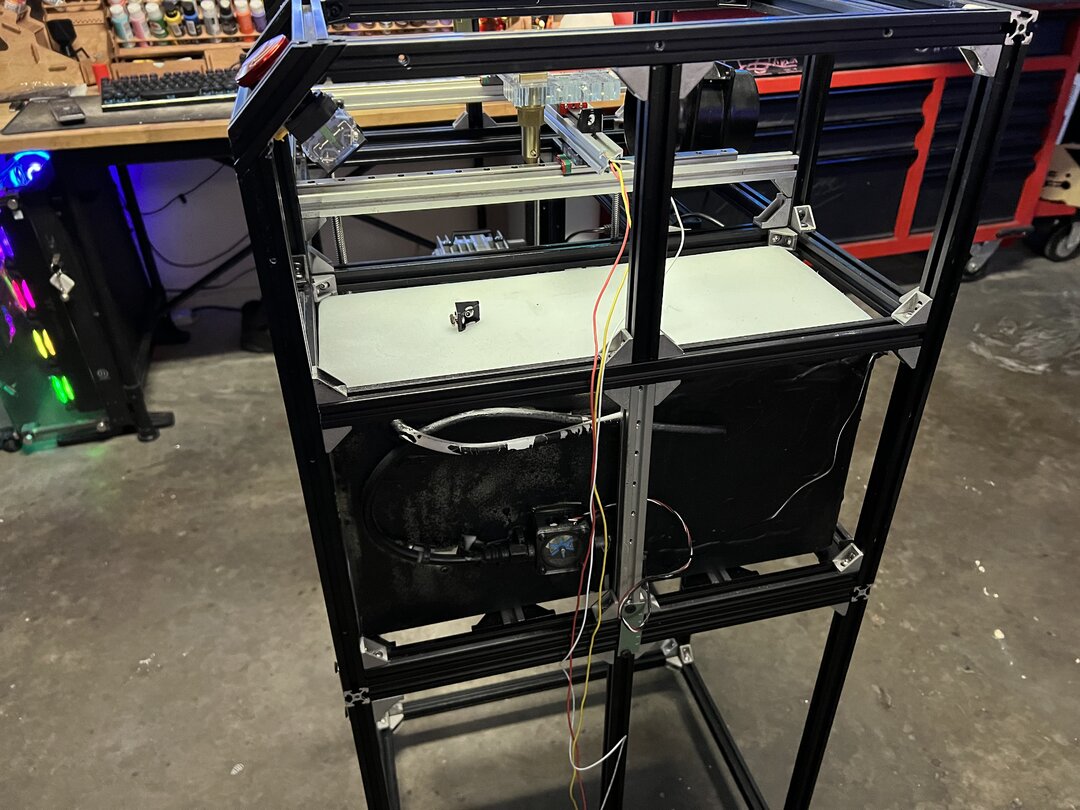
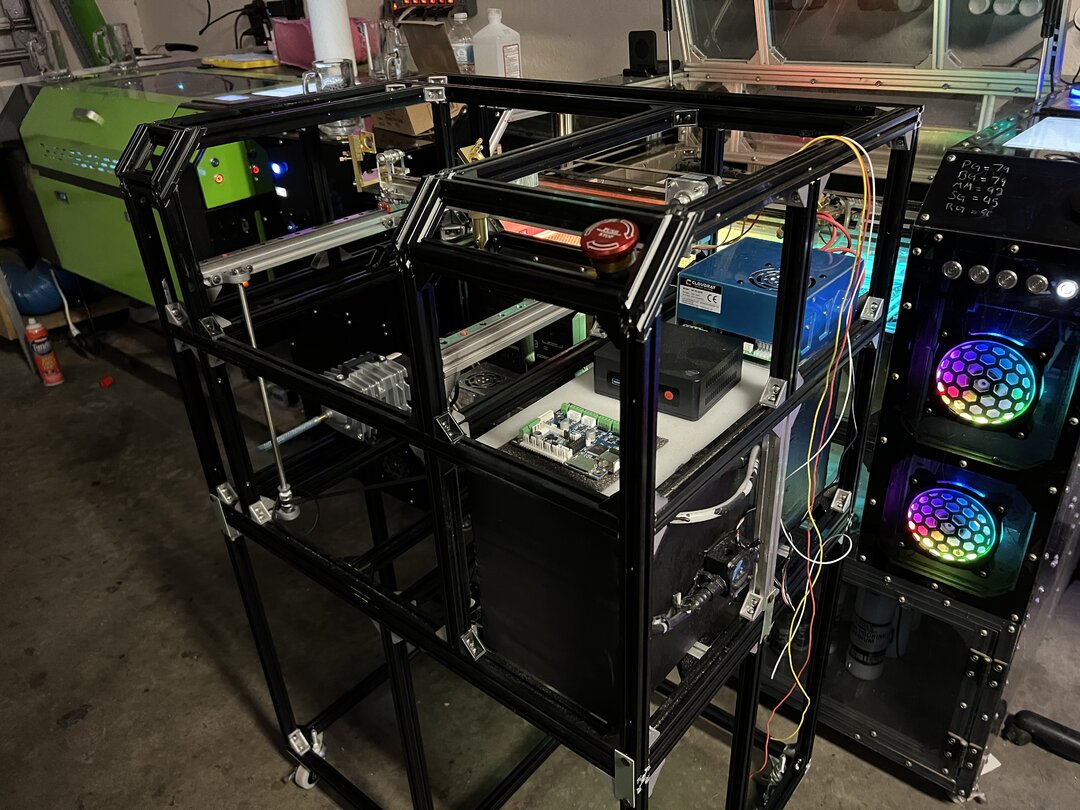
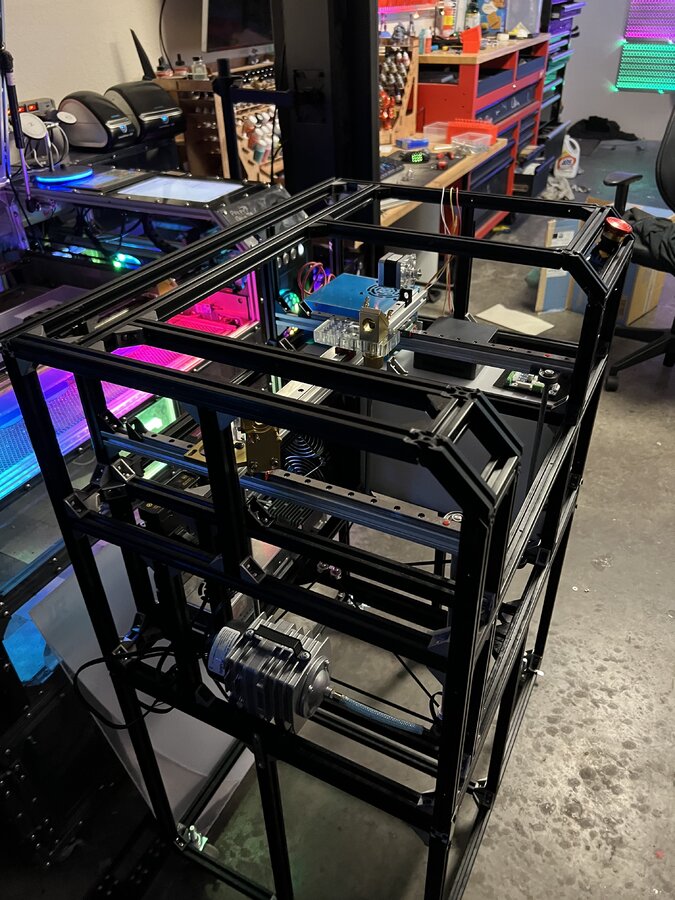
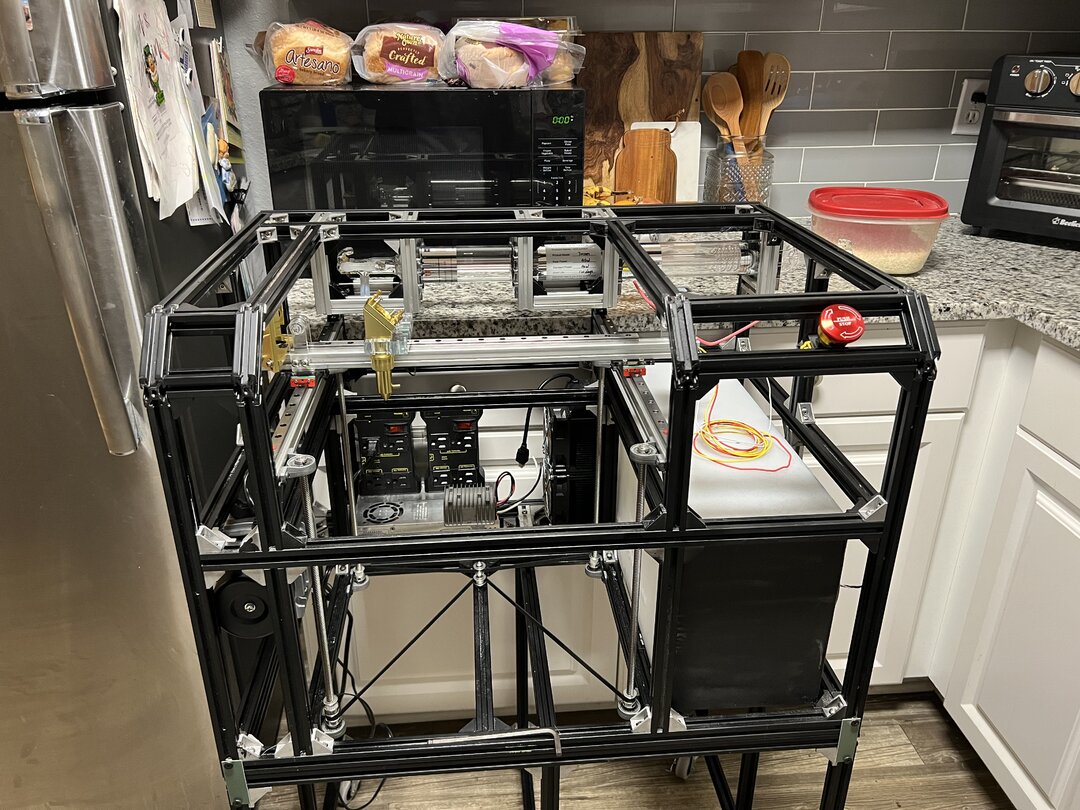
Alright, so the machine is nearing 100% completion. I finished paneling everything with the exception of the back and bottom of the machine as well as the lid which I haven’t made yet. Everything is working as I hoped and really couldn’t be happier. Just a bit more work to do.
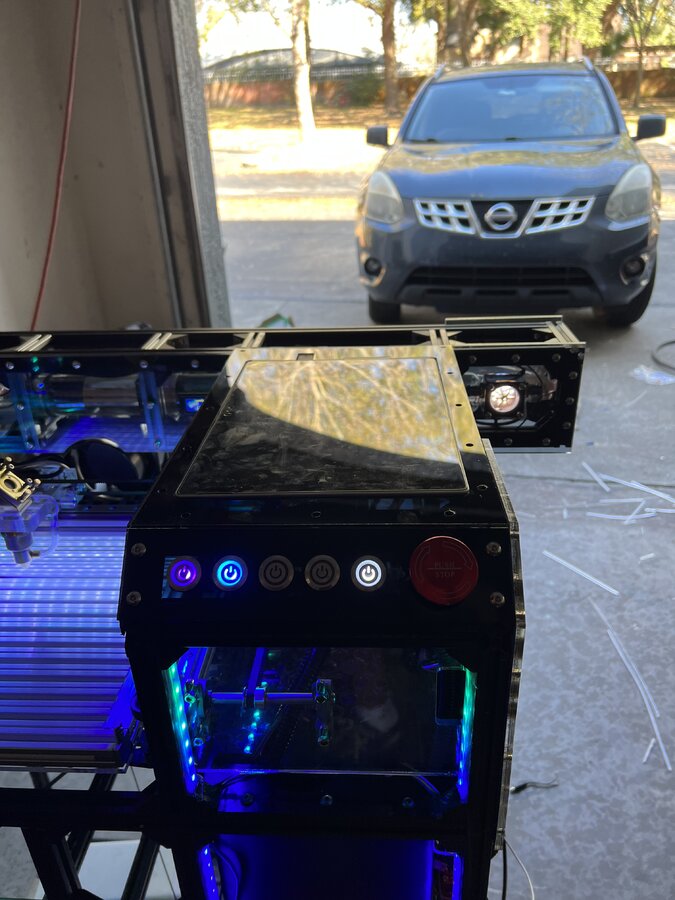
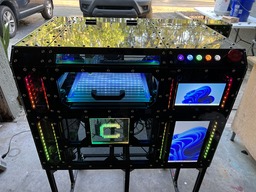
Alright so I got the replacement tablet in place and I actually like it better than my previous setup so I guess all that pain was worth it in the end.
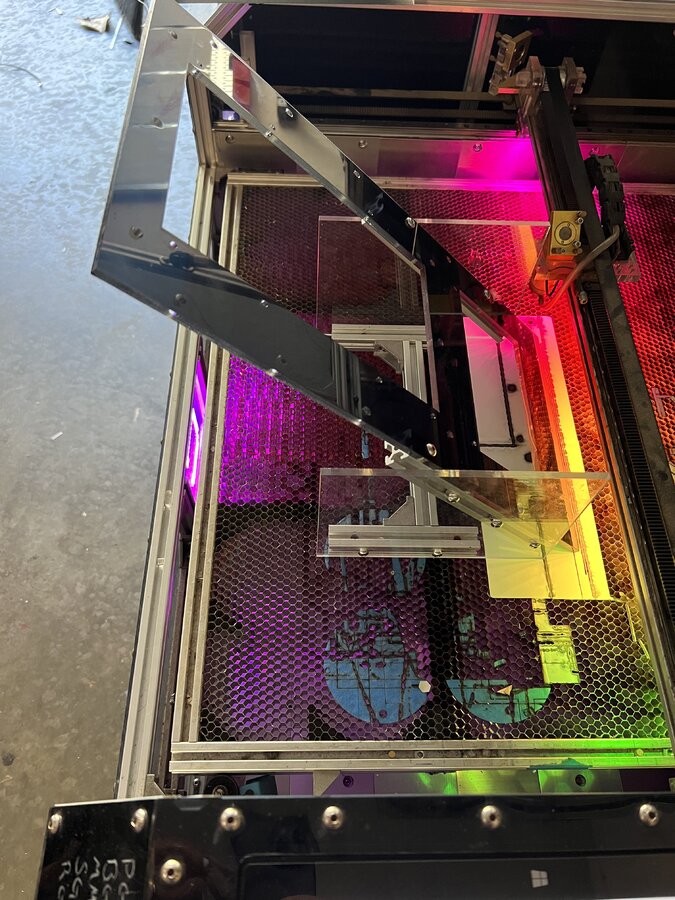
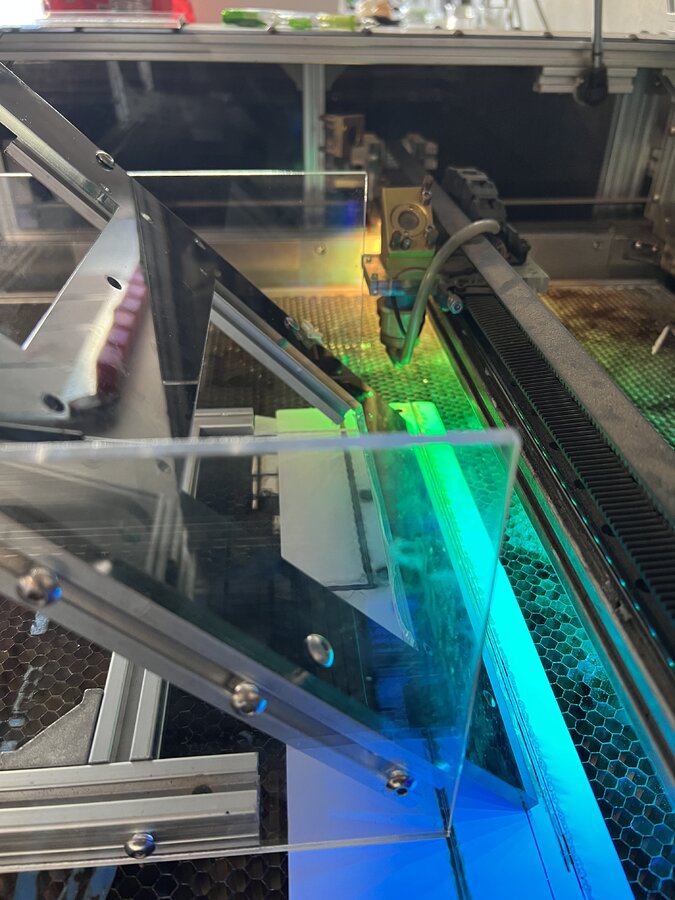
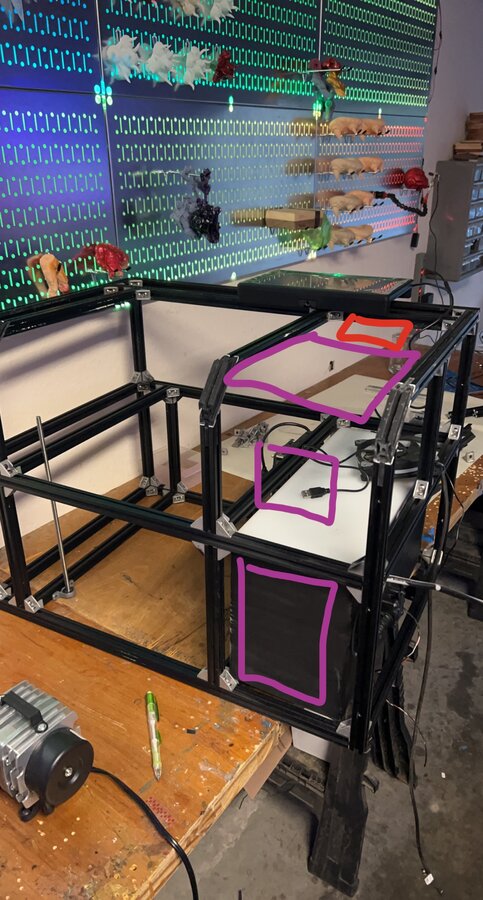
Since I have those angles on the machine I had to get creative cutting angles on the acrylic. It worked out beautifully.

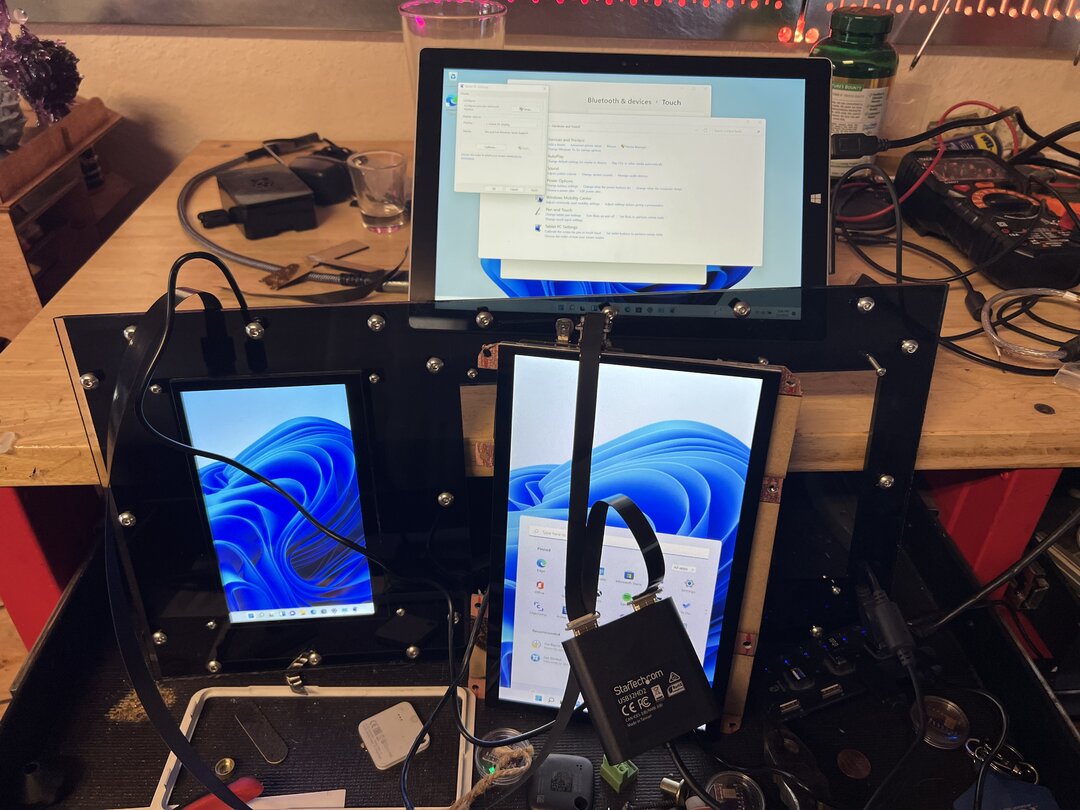
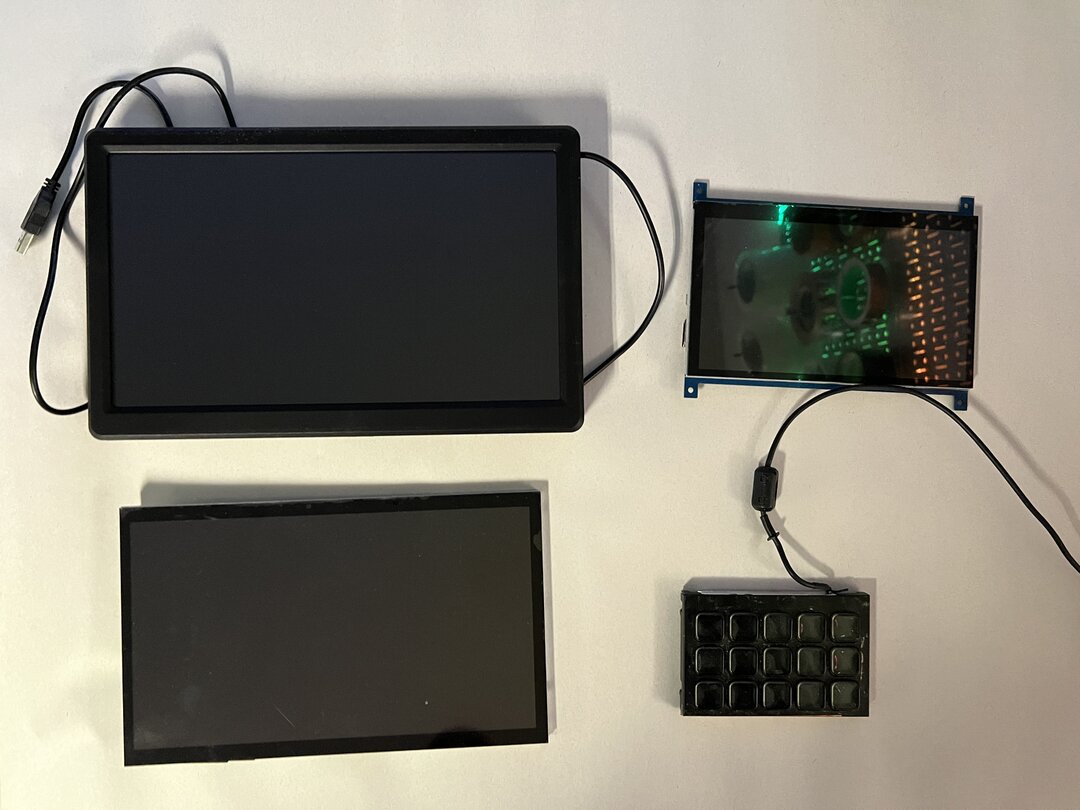
Here I am bench testing all the monitors making sure they all work together before installing.
Ok, so the past week and a half have been daunting. I was having issues with flickering led lights and I was having an issue with the computer I was using. The lights issue was only cosmetic but the lights being a big part of my build had to get fixed. I was getting some interference and the lights would blink and flicker randomly when the laser was engaged, if the laser tube was off the lights would work like normal. I had to pull a bunch of cables, reroute a few things, and place ferrite beads everywhere I could place them and that fixed that issue.
The major problem I was having was that whenever I would start a job, the machine would work for 5-10 seconds and it would halt and give me an error. While the computer was transferring the data to the control board it would bug out and skip lines on GRBL so the machine would haunt knowing it wasn’t right. I tried multiple usb cables, I got a shielded cable, I got a shielded and gold plated cable, I changed power supplies, I ran updates on the computer, changed power settings, unplugged everything in my garage, tried different outlets and it would still bug out.
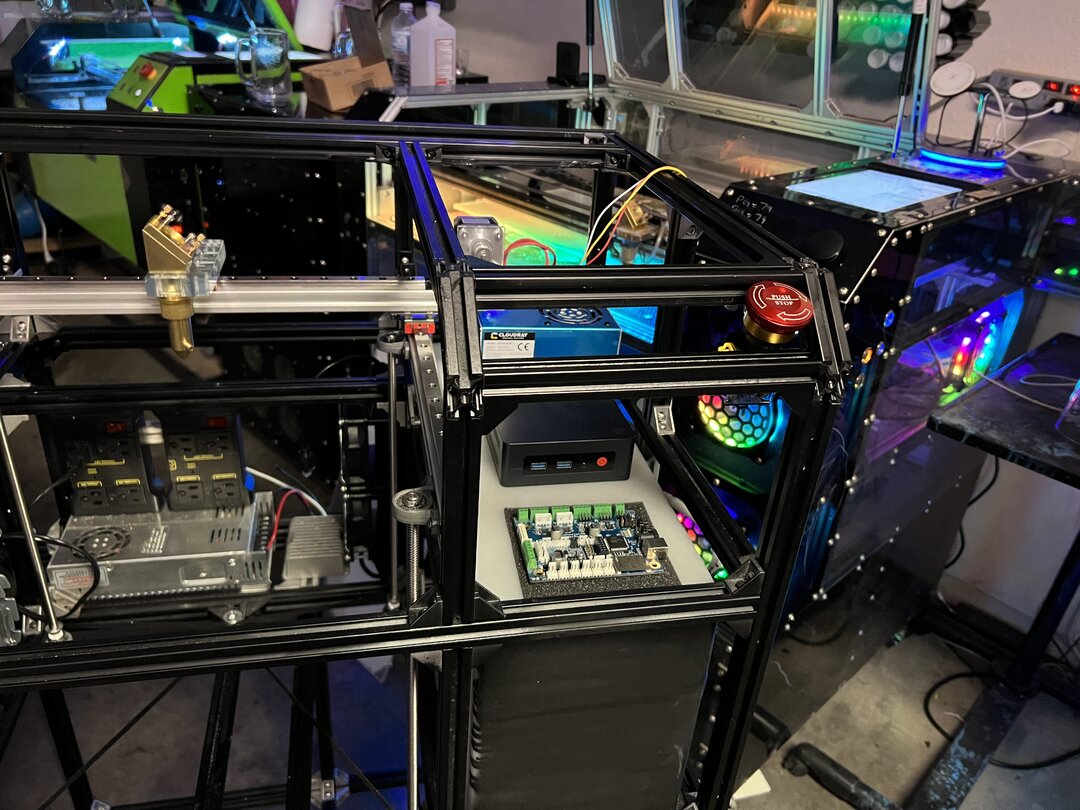
I then tried plugging it into my desktop computer and it worked so I knew then that it was probably the computer I was using. I then tried a surface pro 3 that I have and it worked on there as well so I found the culprit, the mini PC. Since I’m going to be using the surface pro 3 instead, I’m going to have to move a few things around and probably will have to remove the stream-deck buttons unless I can find a different place to put them but that’s no big deal. The important part is that I finally got the machine working so I can now proceed with the build.
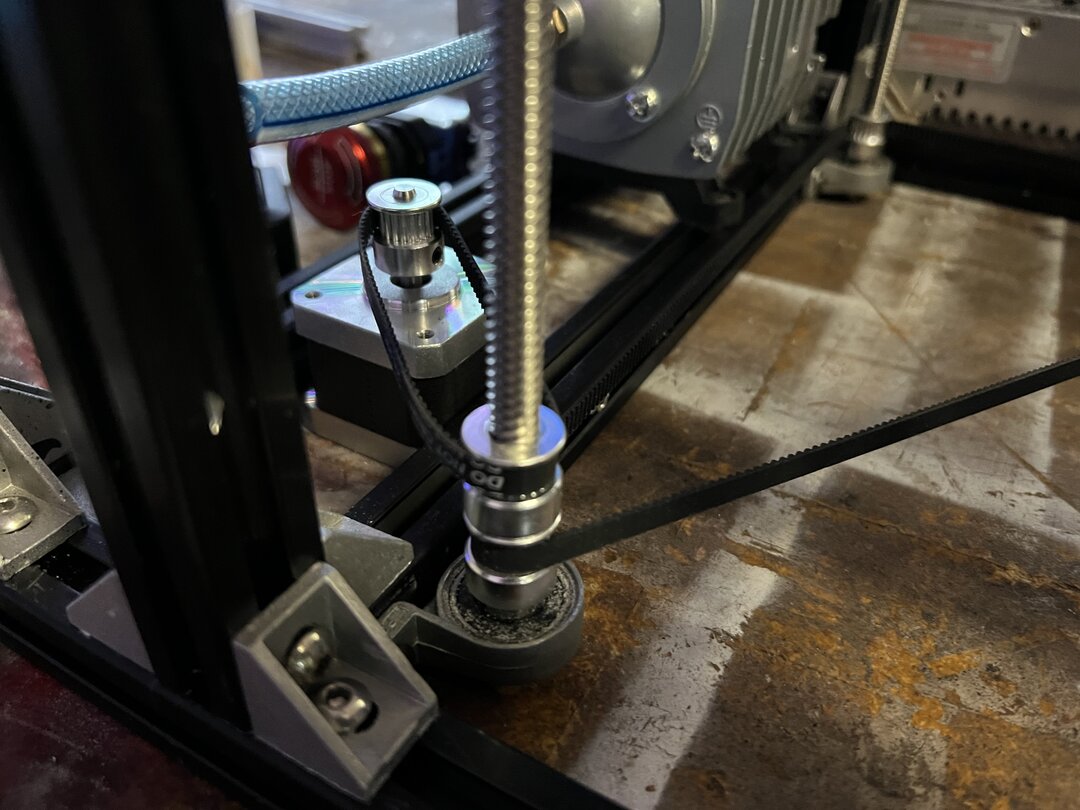
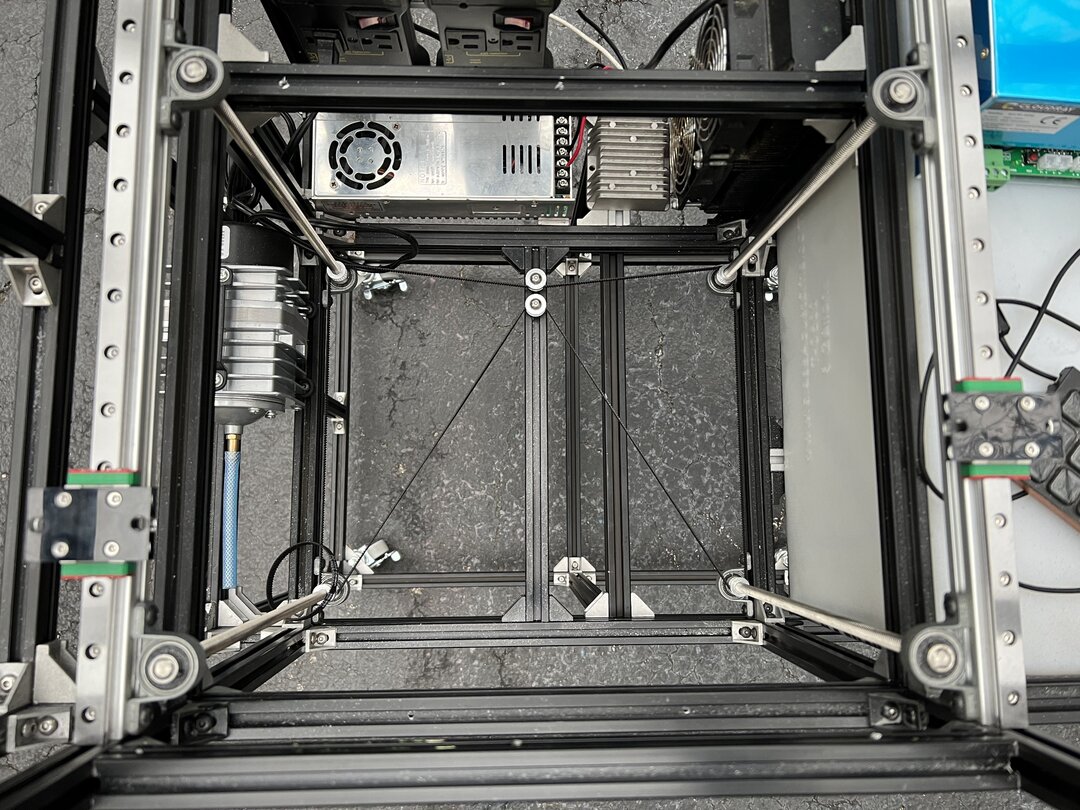
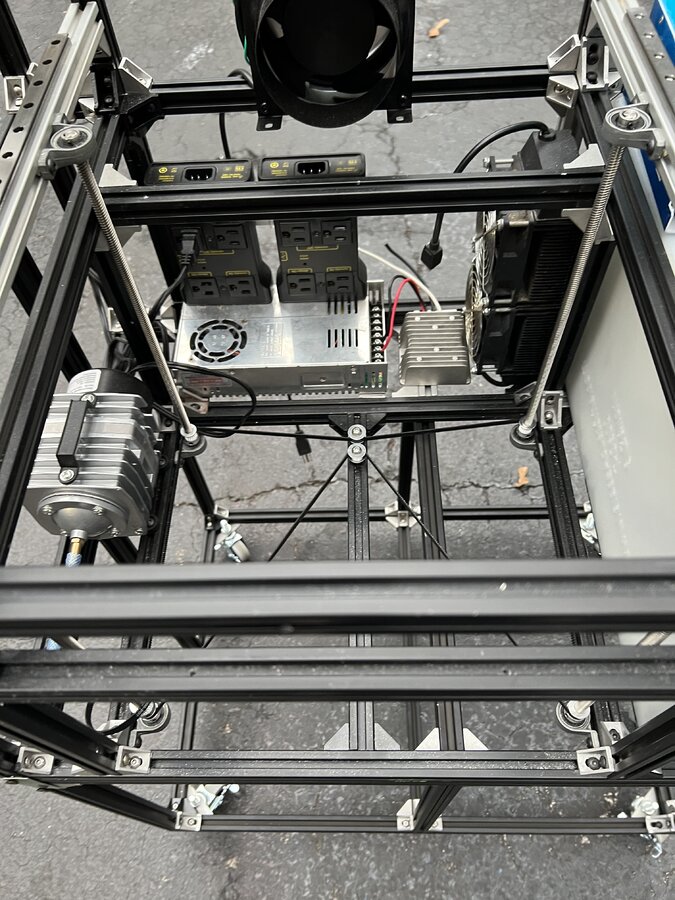
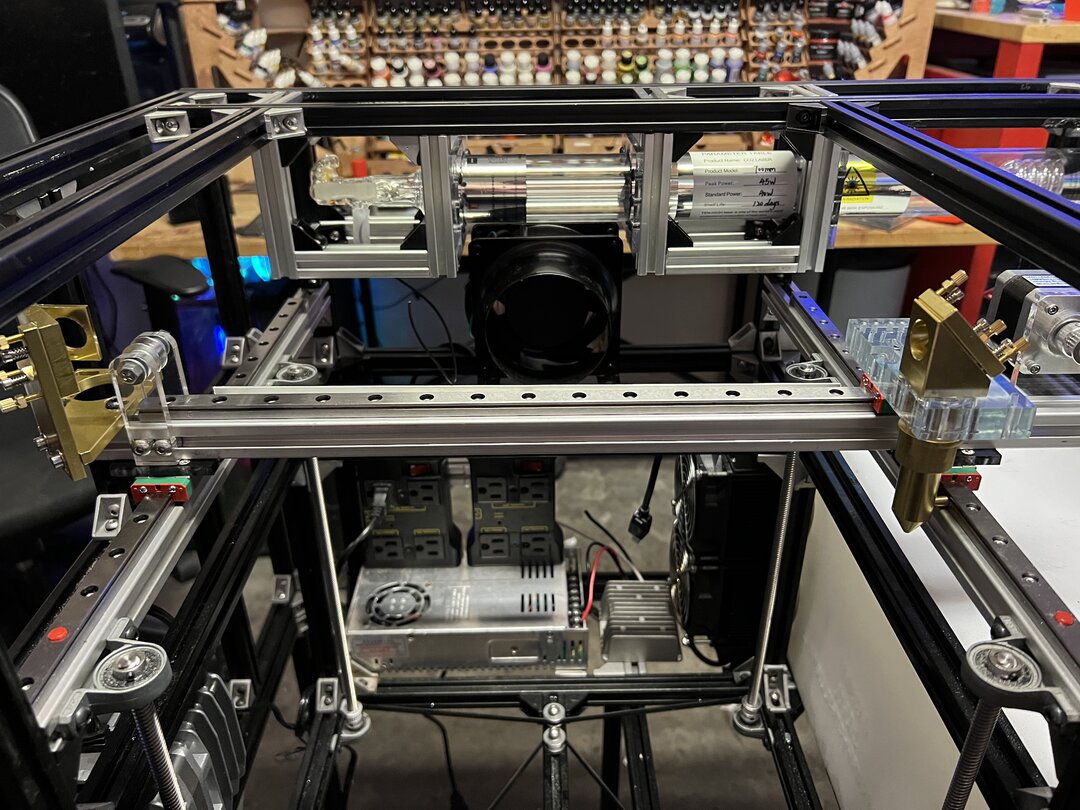
Alright so today I officially flipped the switch and the didn’t blow up with is a good thing. I was able to jog and move the laser head around and played with Z a little bit. X is perfect other than me needing to rerun the cables, Y definitely needs an external driver to run, since it’s splitting power to two separate motors but it seems like it will work just fine. Z also needs an external driver which I went ahead and installed already and works beautifully. I might however switch from a NEMA 17 to a NEMA 23 so that I can drive heavier things (I have a lot of ideas for peripherals). So far so good and hopefully by tomorrow, I can have most of those things worked out and get ready to test the laser tube itself.
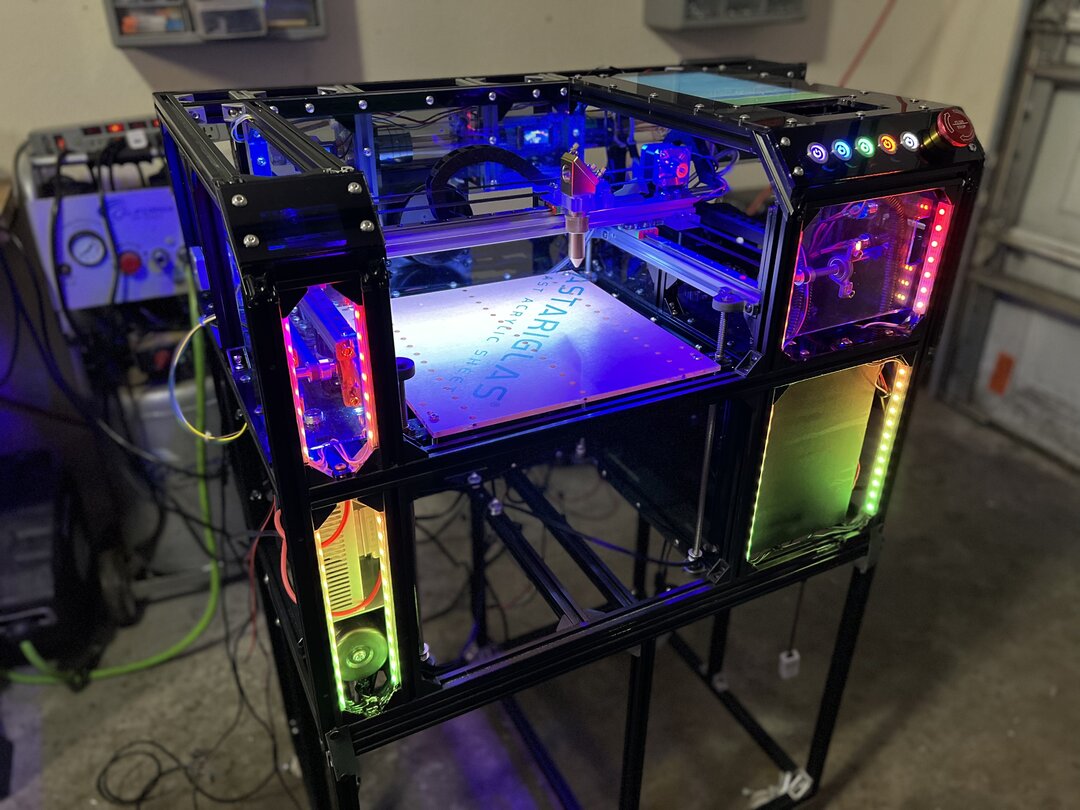
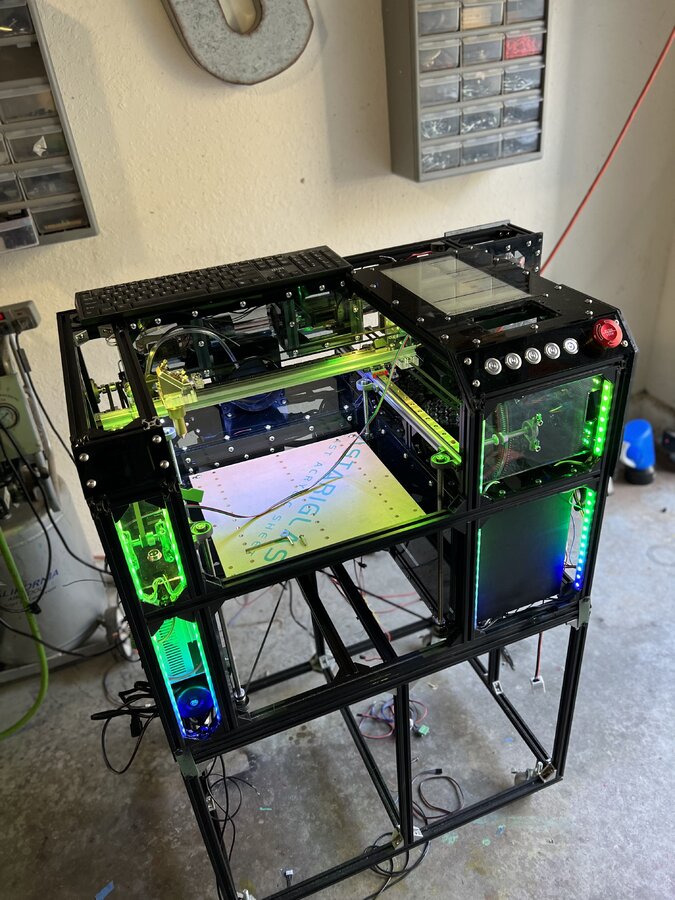
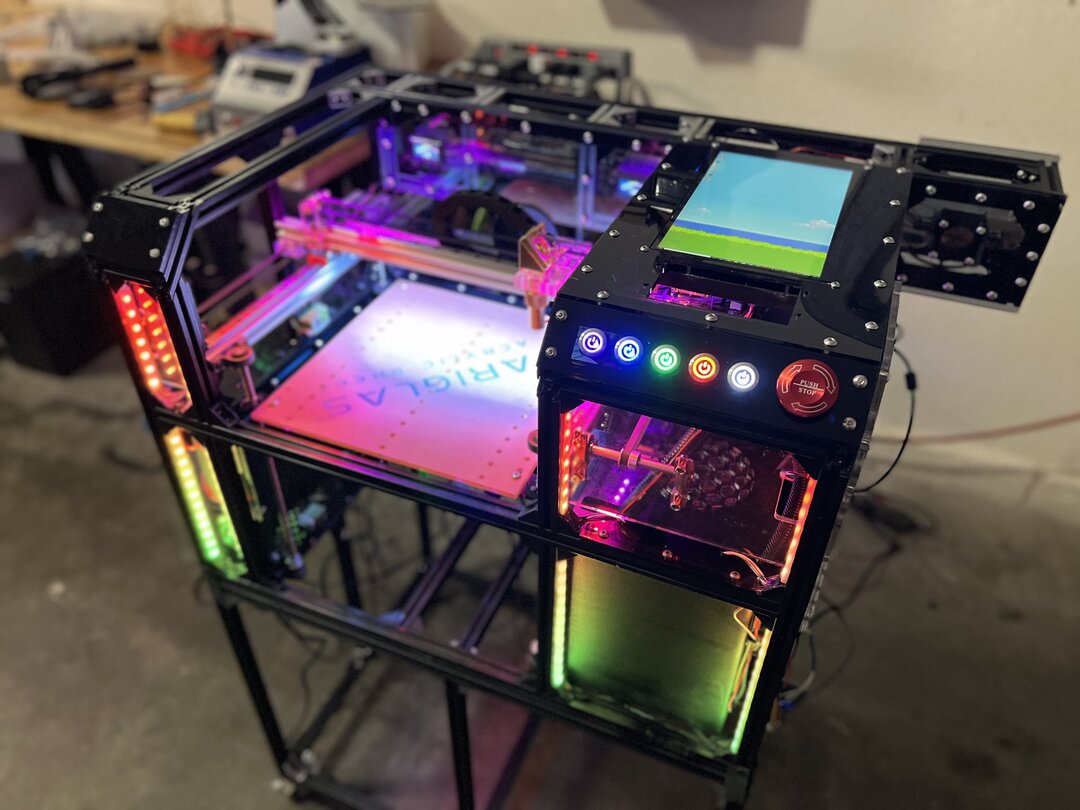
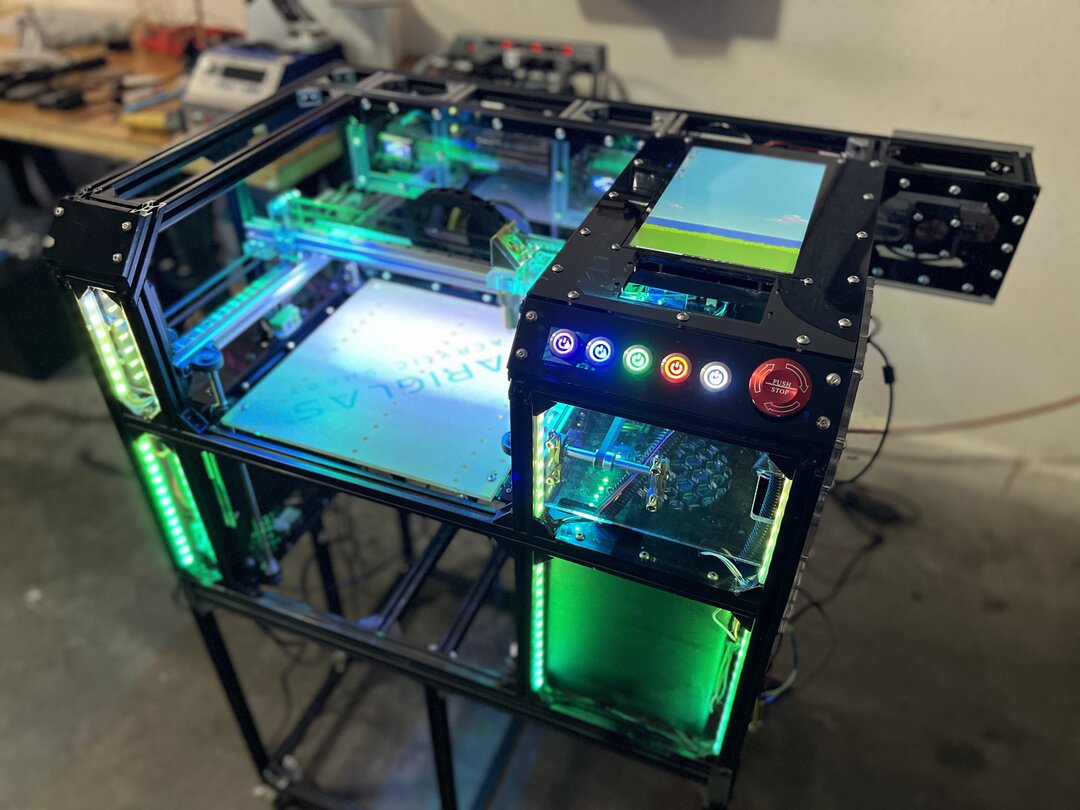
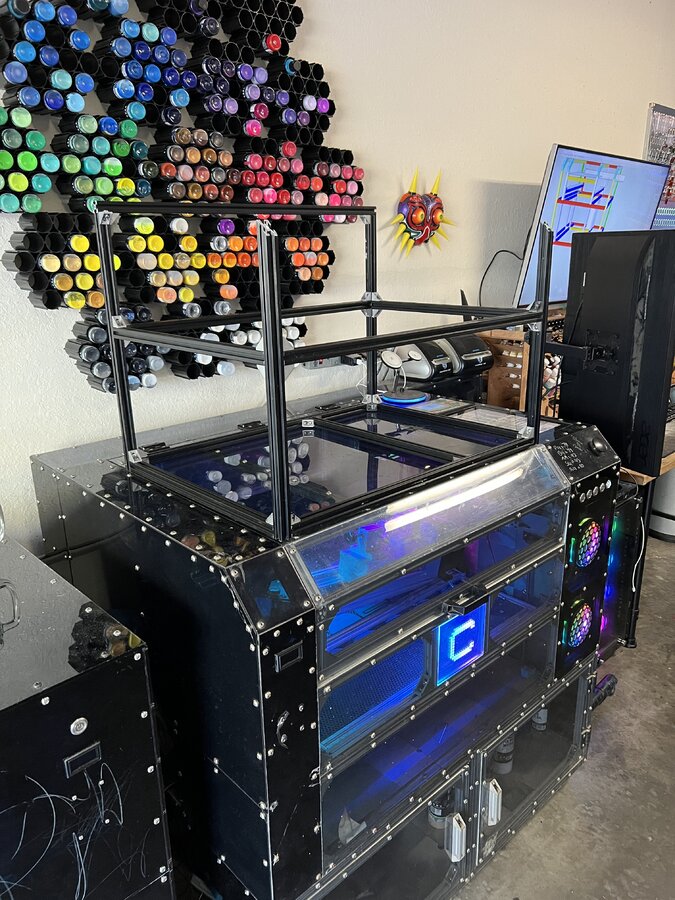
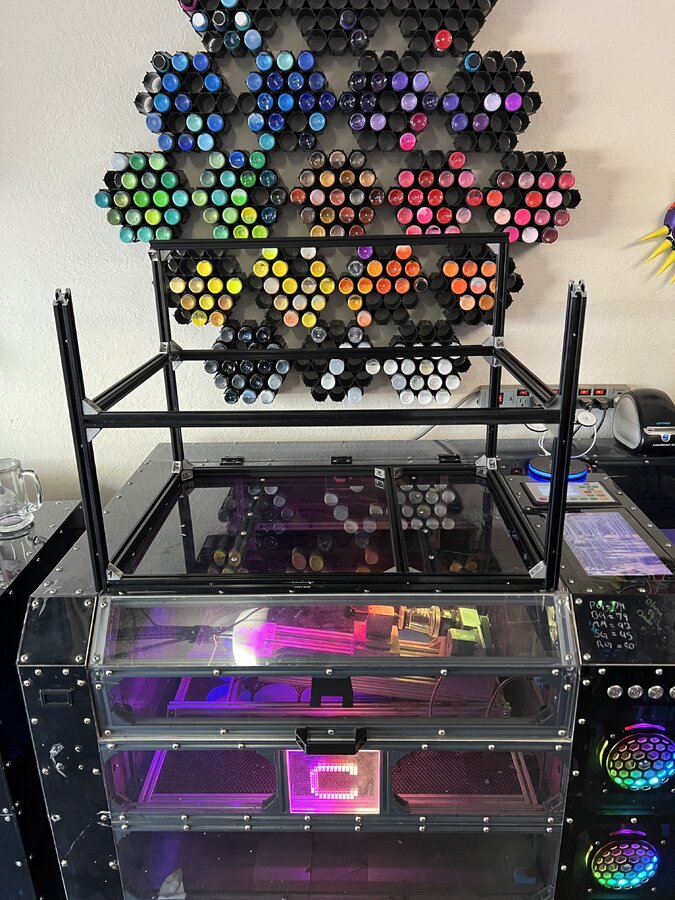
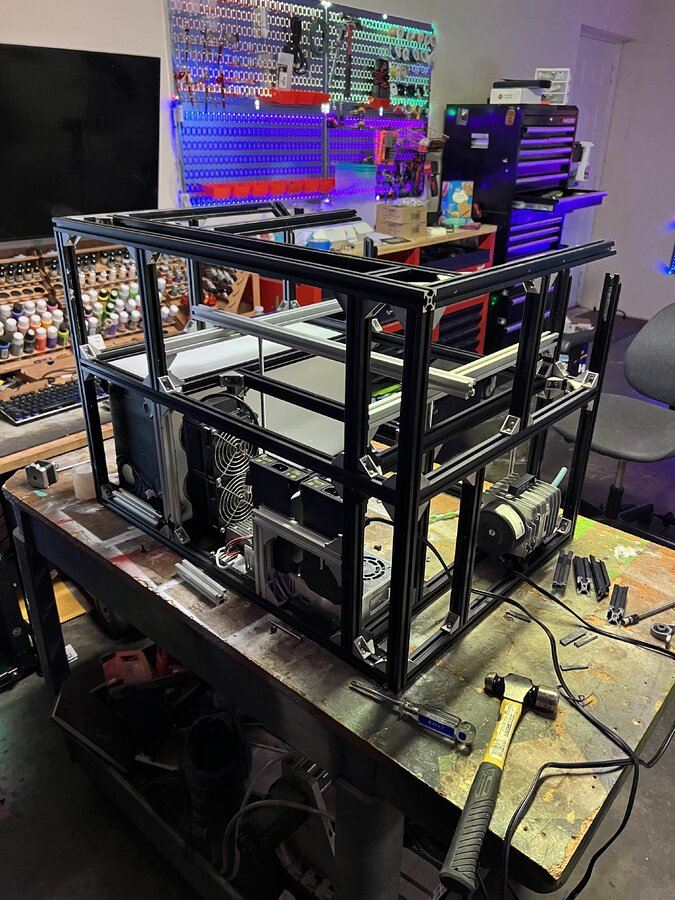
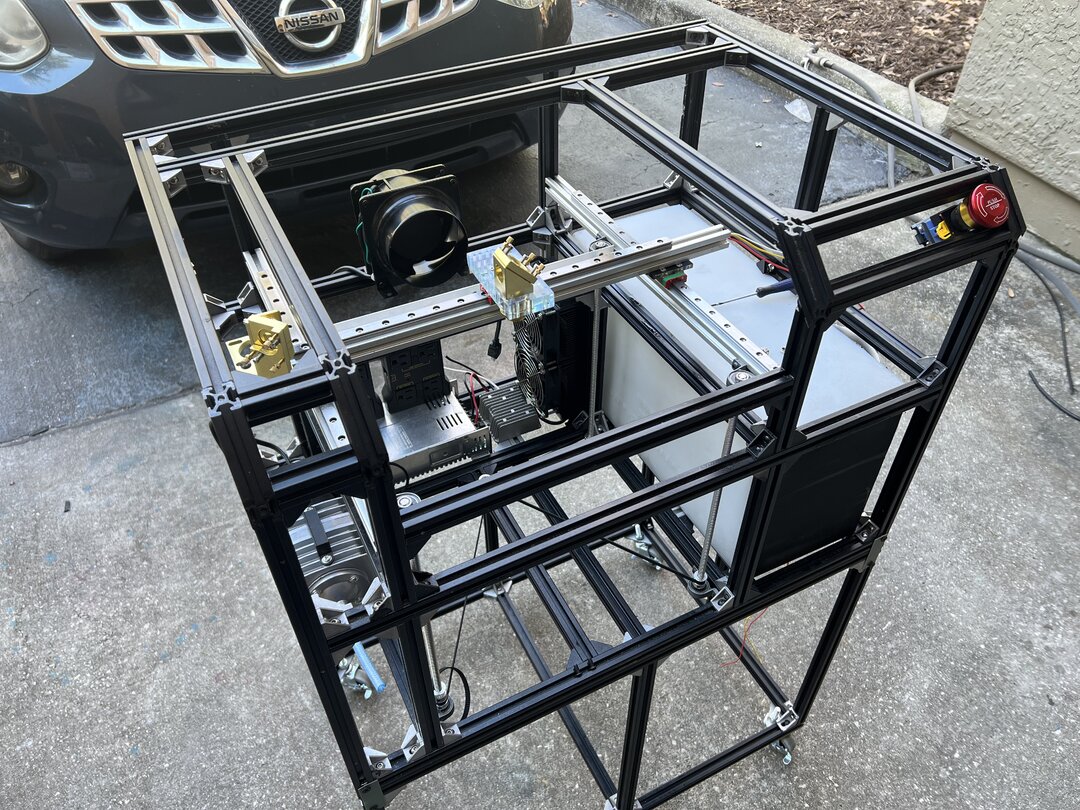
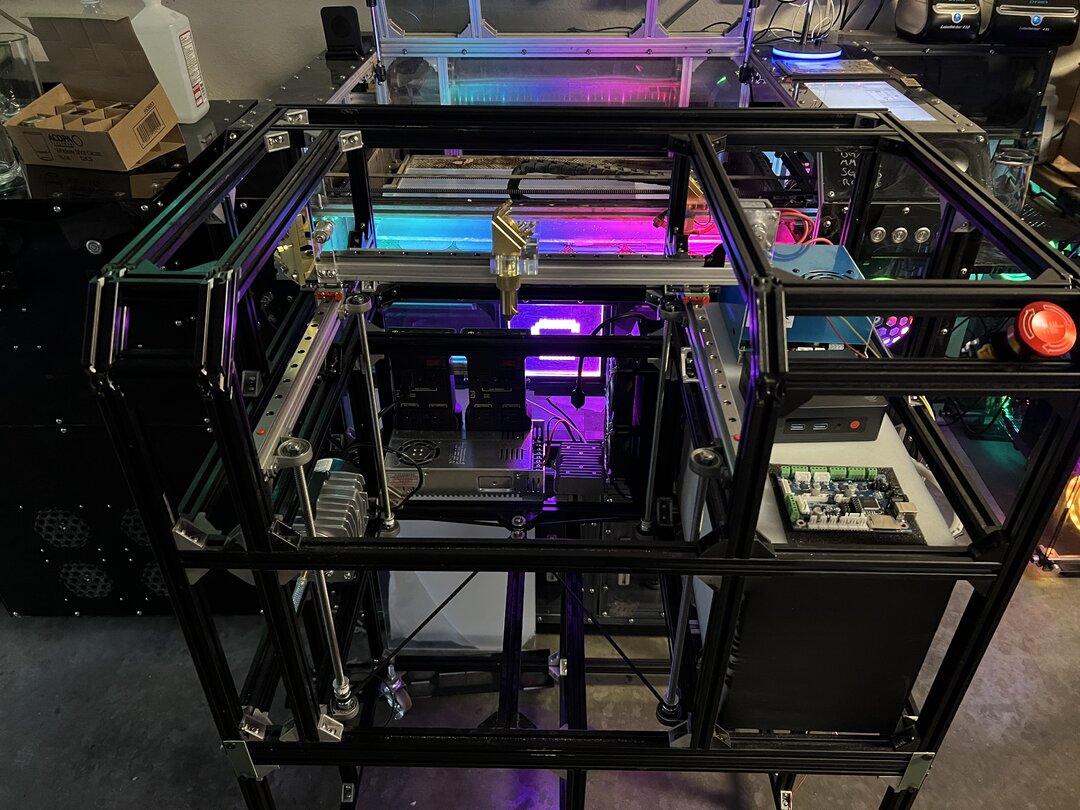
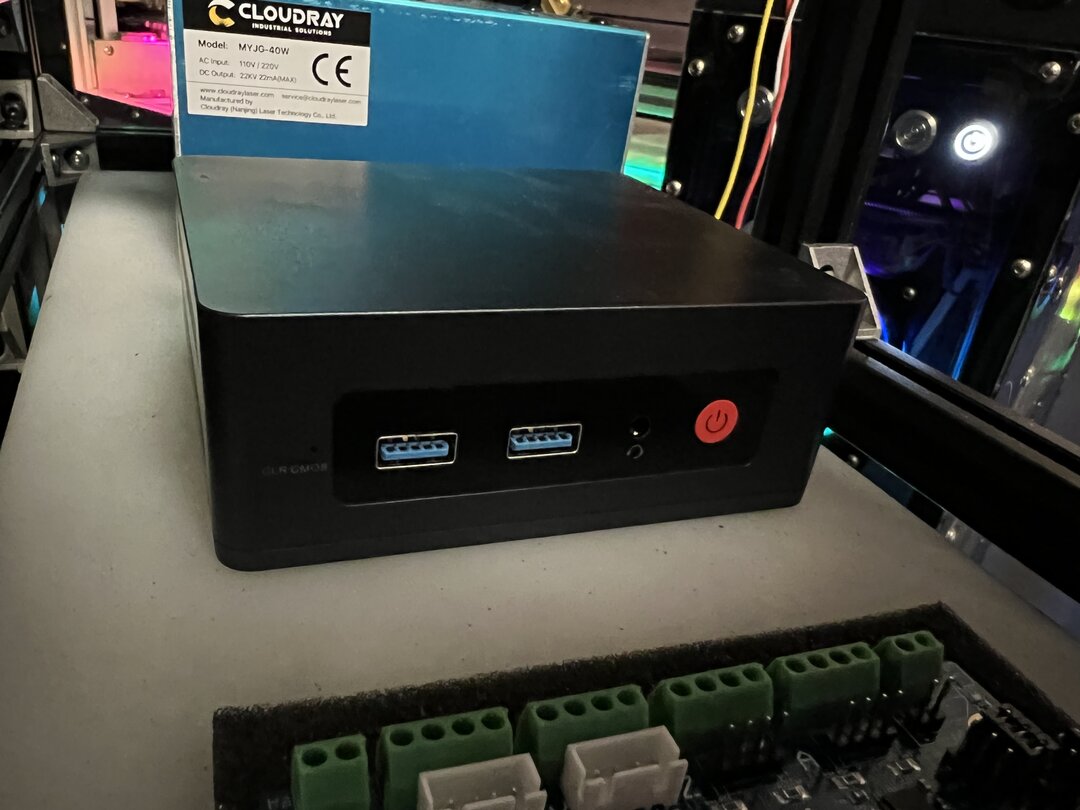
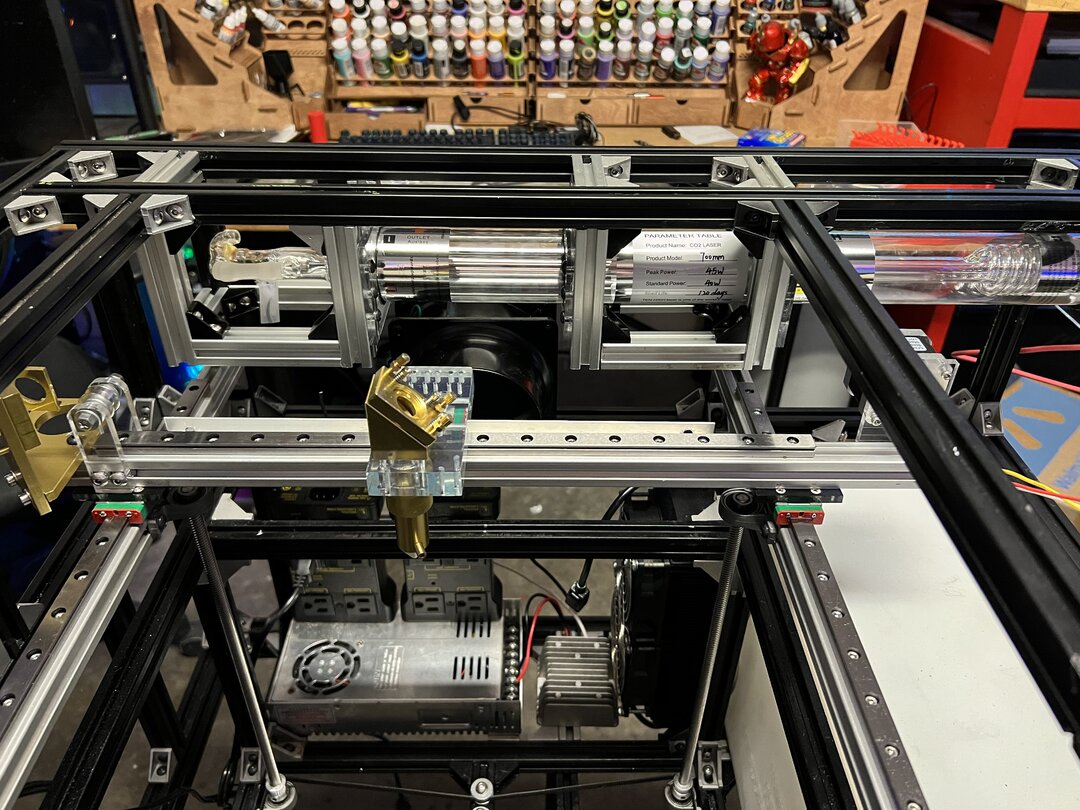
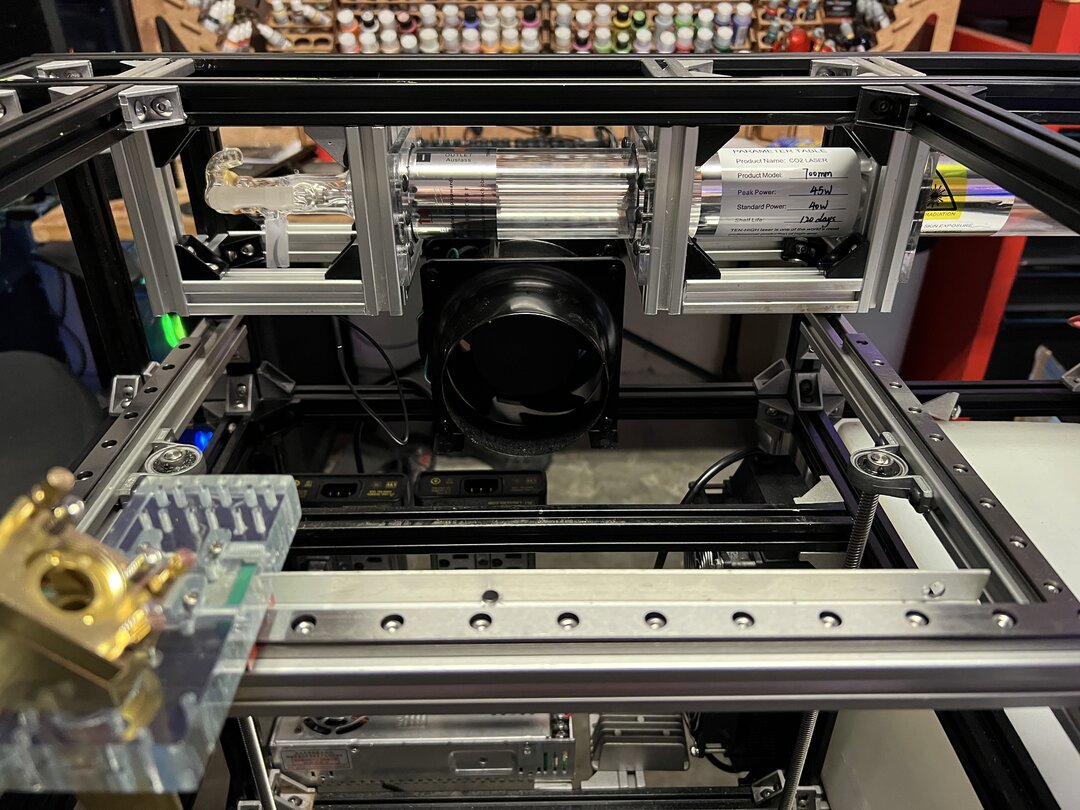
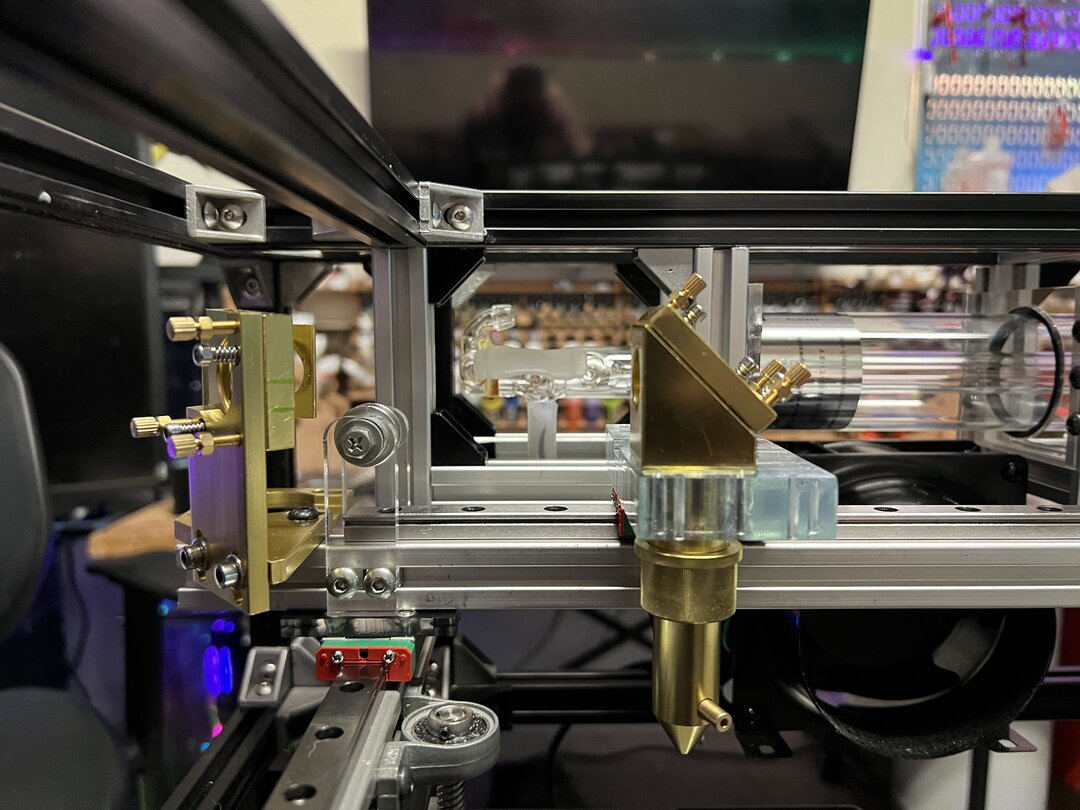
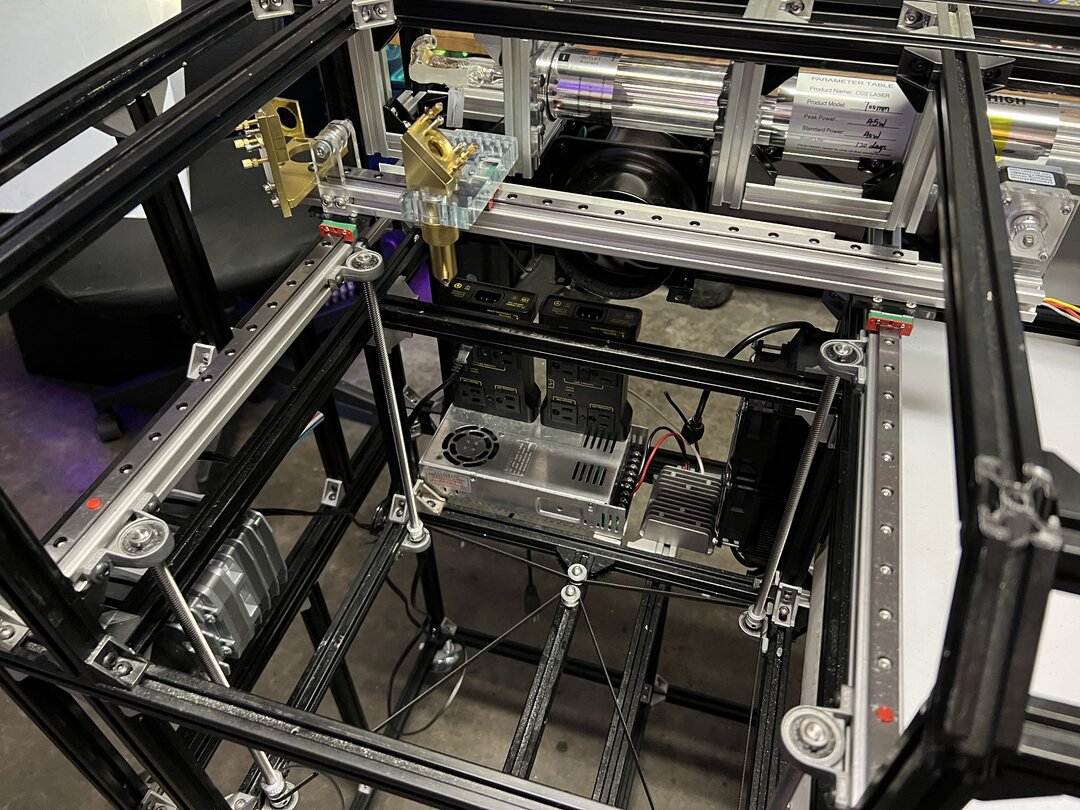
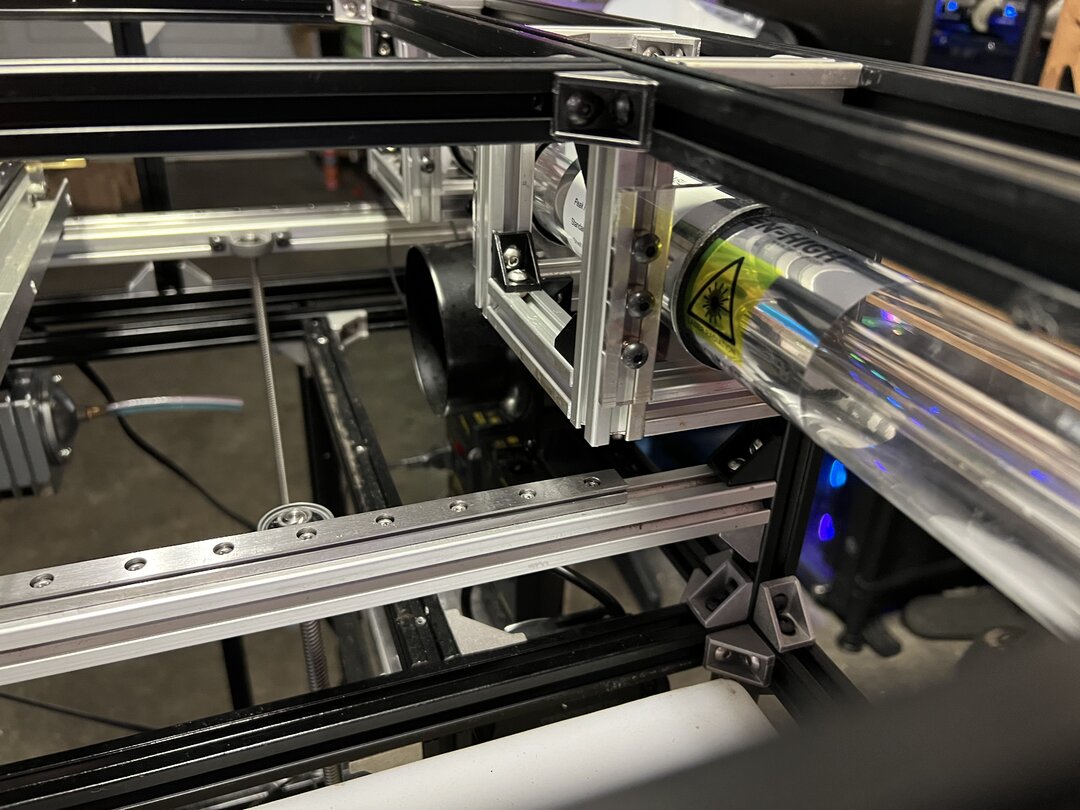
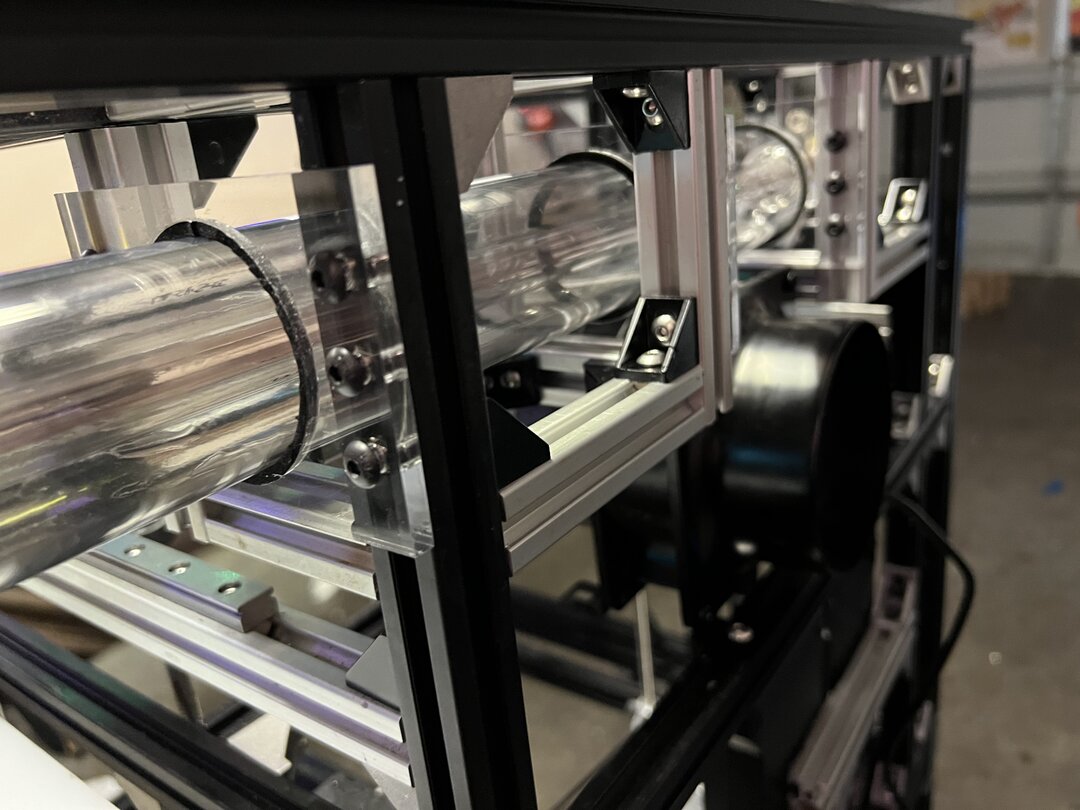
So this is my custom 40W build. I wanted to make another laser similar to the one I built but a lot smaller and an all in one system so that if I ever decide to do a farmers market or makers fair, I wanted to be able to put the laser on the back of the car and drive to whatever location. I think it's going to work. It will be see-through with lights and screens everywhere. The lights alone should attract people like flies. That's the plan anyway.. I will be updating as I go along.
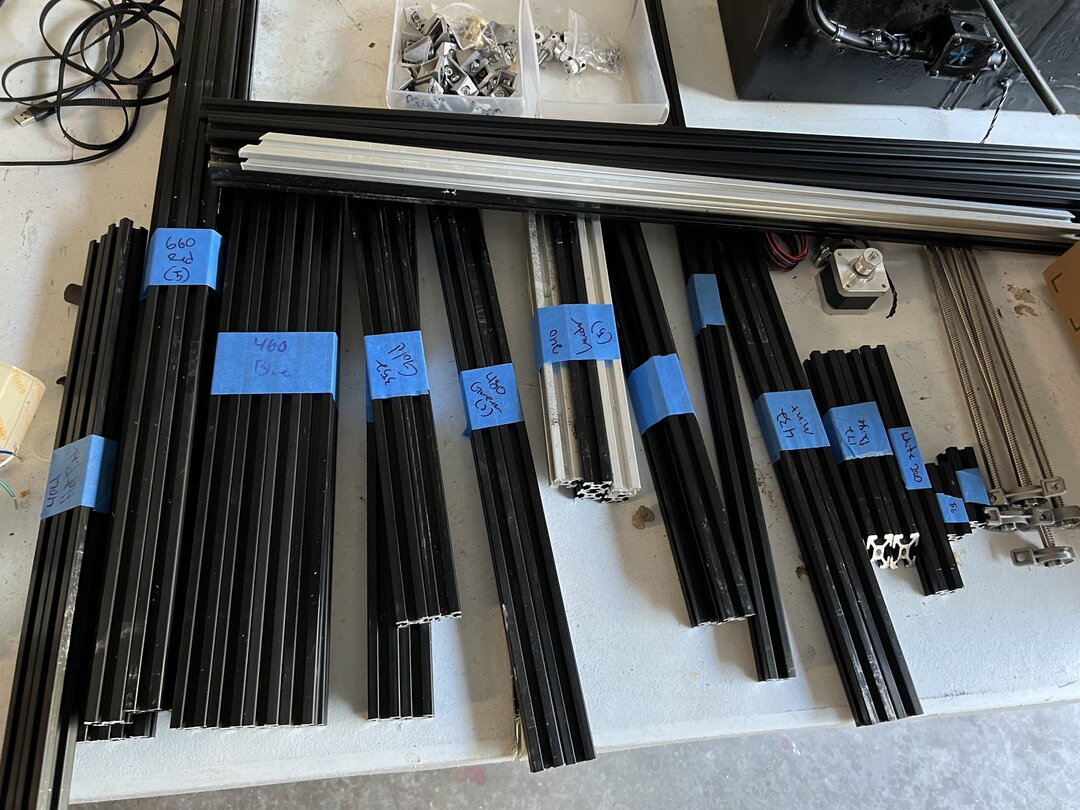

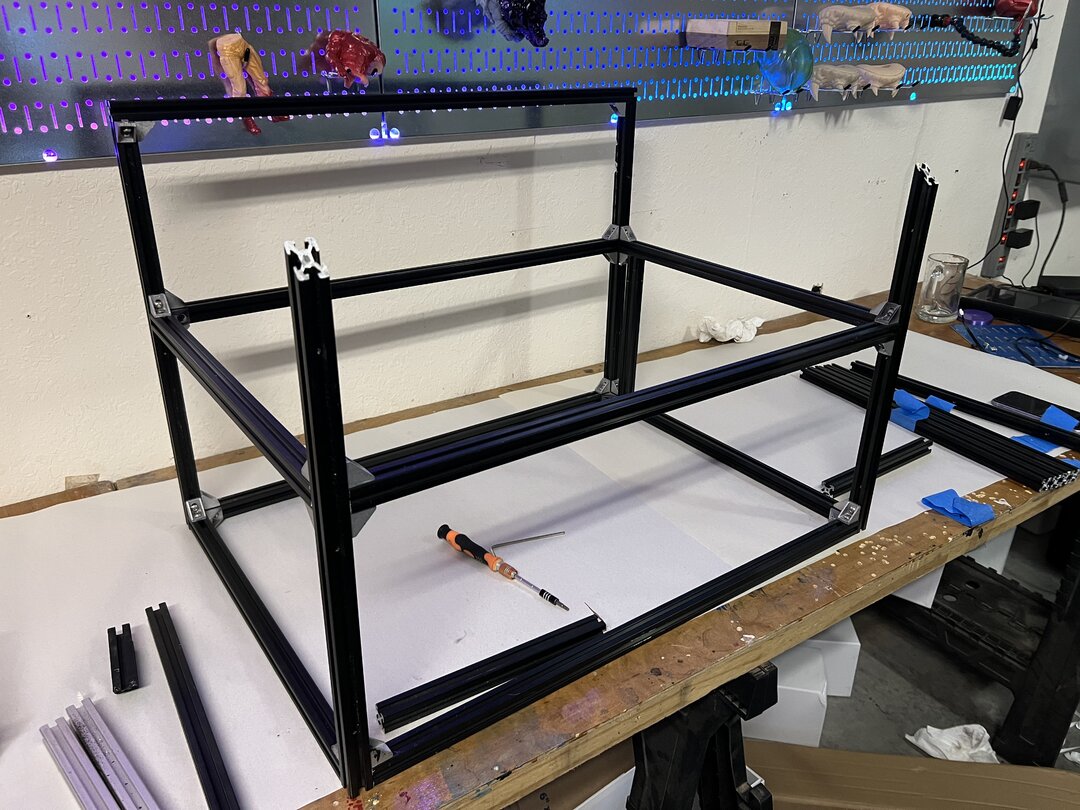
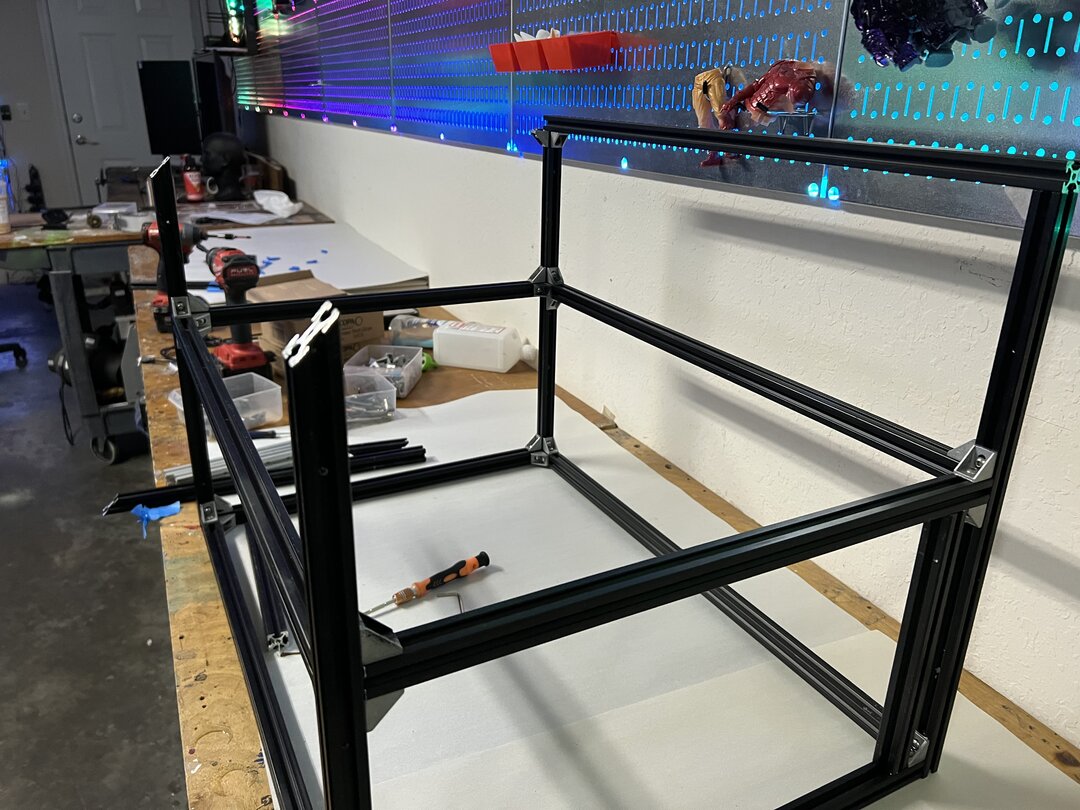

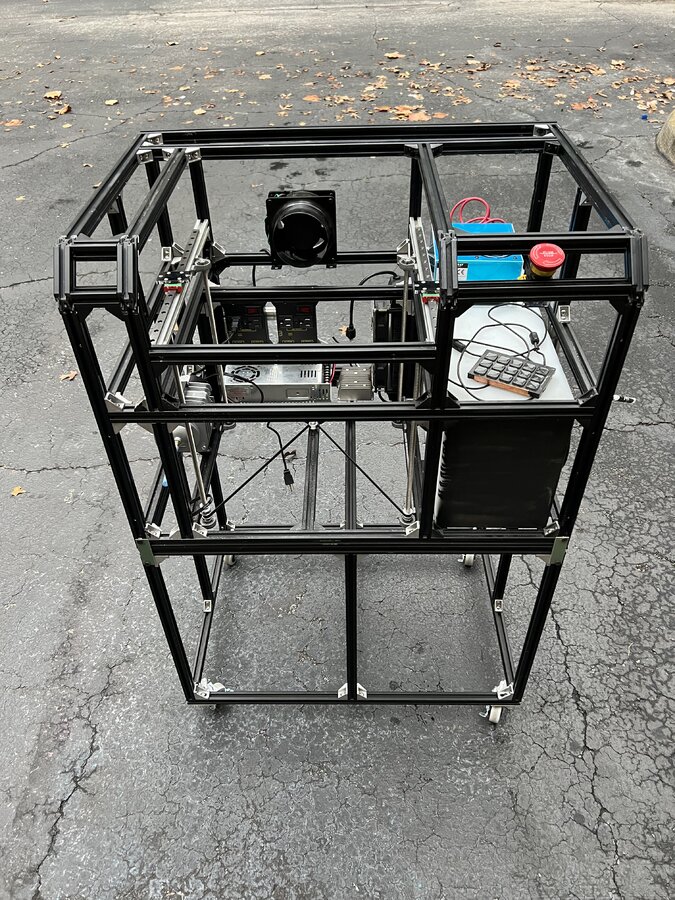
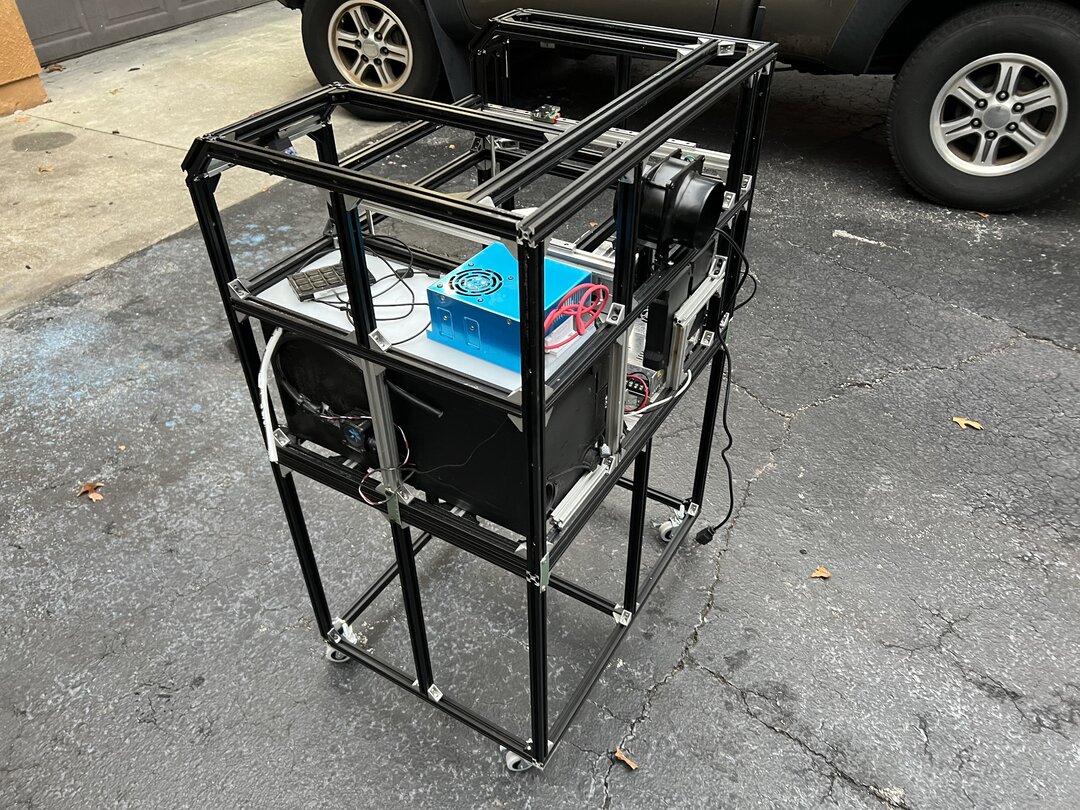
So I decided to build a cart to move the machine around. It’s going to be detachable so if I ever do a market or something similar I can separate both halves and either reattach on location or just use the top section.

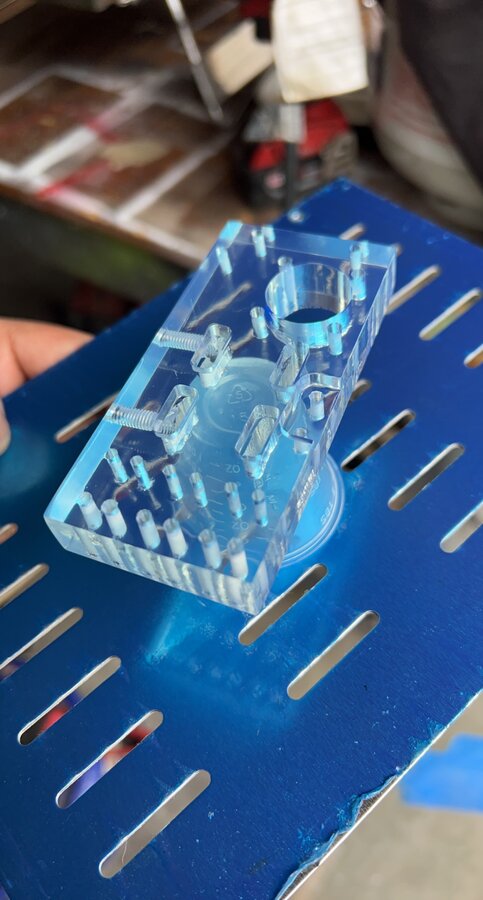
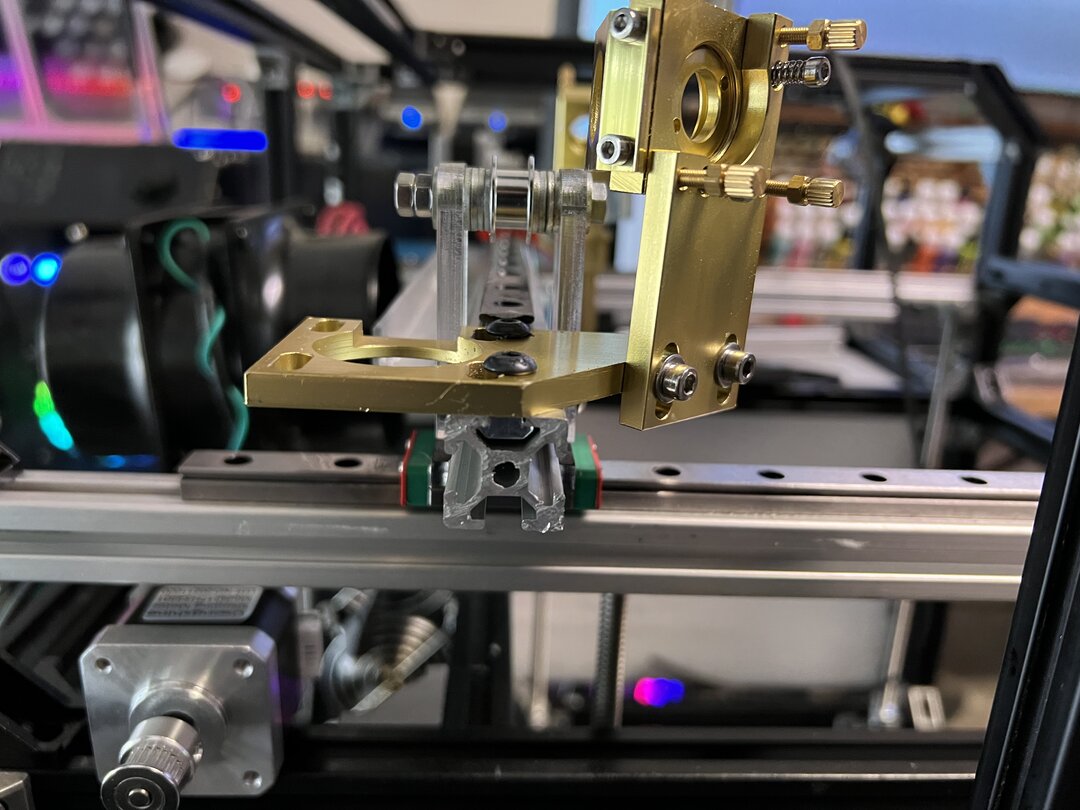
^ so this clear bracket was actually resin 3D printed. I would normally cnc this out of acrylic but my machines are buried in the garage and one of them is being upgraded with a black box so they are out of commission. I recently got a resin 3d printer, and to me, it’s crazy that you can 3d print pieces that clear and precise. I tapped the holes but everything else was done by the printer.
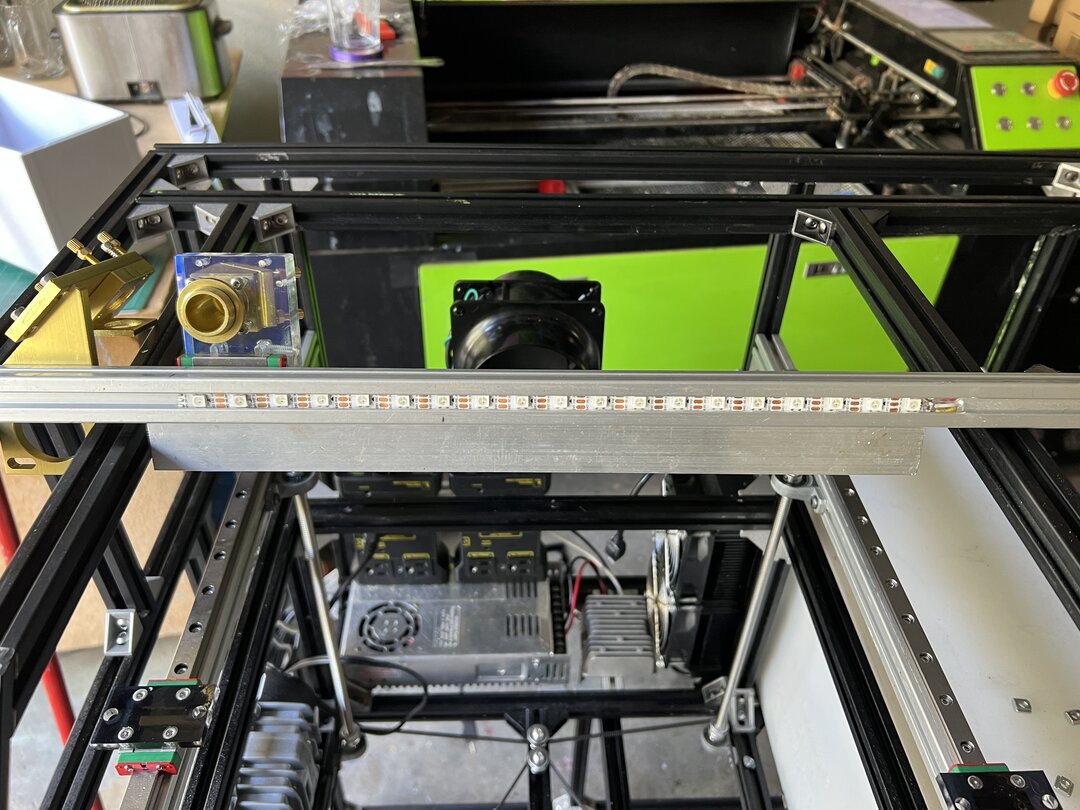
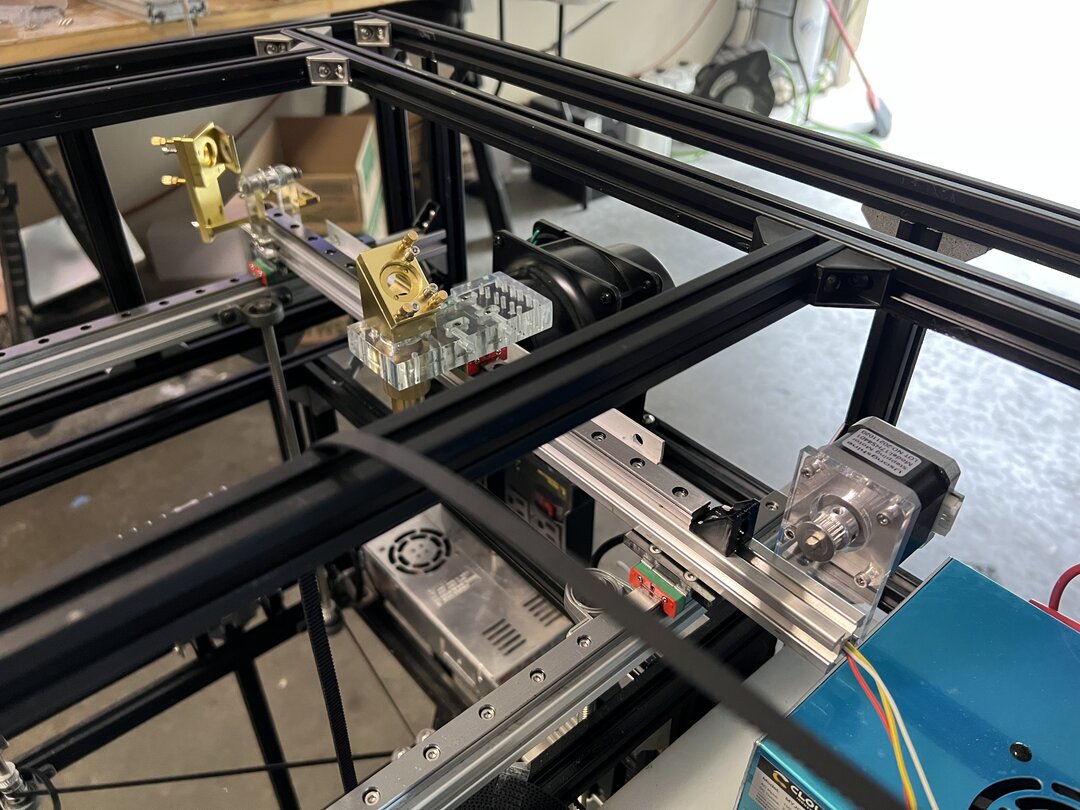
^ I slid some addressable LEDs under the gantry to be later used as lights. I had to drill a hole and fed the cables until they came out and then I soldered the terminal to the strips if any of that makes sense.


My wife loves it when I bring my toys inside with me… I need to brainstorm some.
Custom 40W Laser Cutter
Build in 'Laser Cutter Builds' published by CChico, Oct 11, 2022.
So this is my custom 40W build. I wanted to make another laser similar to the one I built but a lot smaller and an all in one system so that if I ever decide to do a farmers market or something similar, I wanted to be able to put the laser on the back of the car and drive to whatever location. I think it's going to work. It will be see-through with lights and screens eveywhere. The lights alone should attract people like flies. That's the plan anyway.
-
-
Build Author CChico, Find all builds by CChico
-
- Loading...
-
Build Details
- Build License:
-
- CC - Attribution NonCommercial - CC BY NC
