
This is going to be a slow build as I am needing to spread my costs out over time, but I look forward to the process.
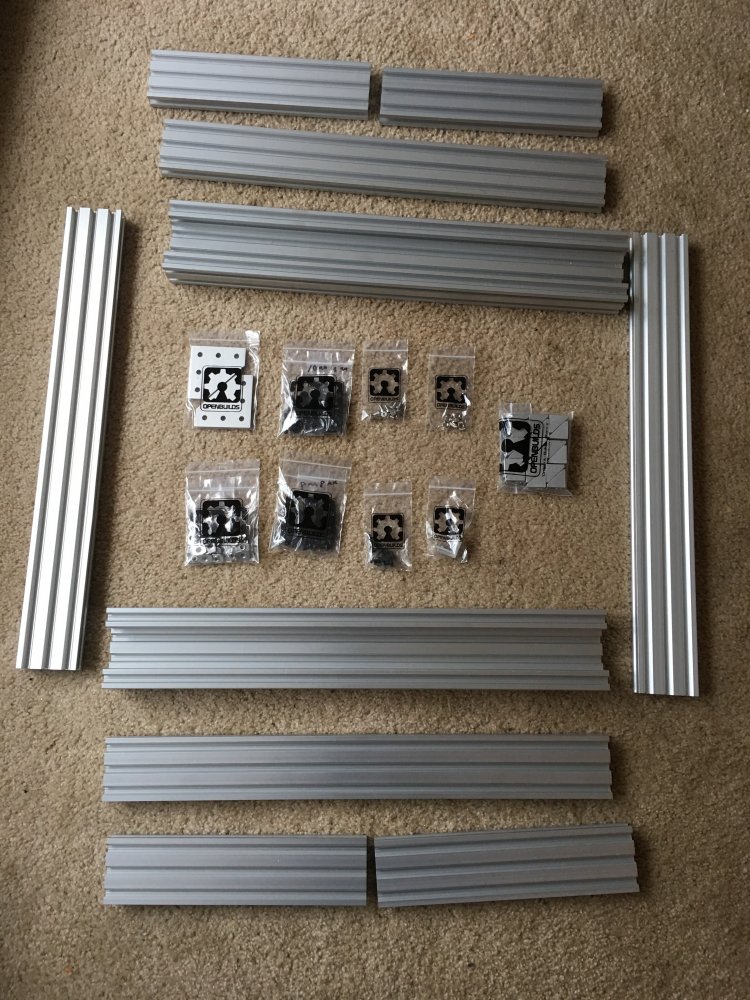
Unboxing the frame parts.
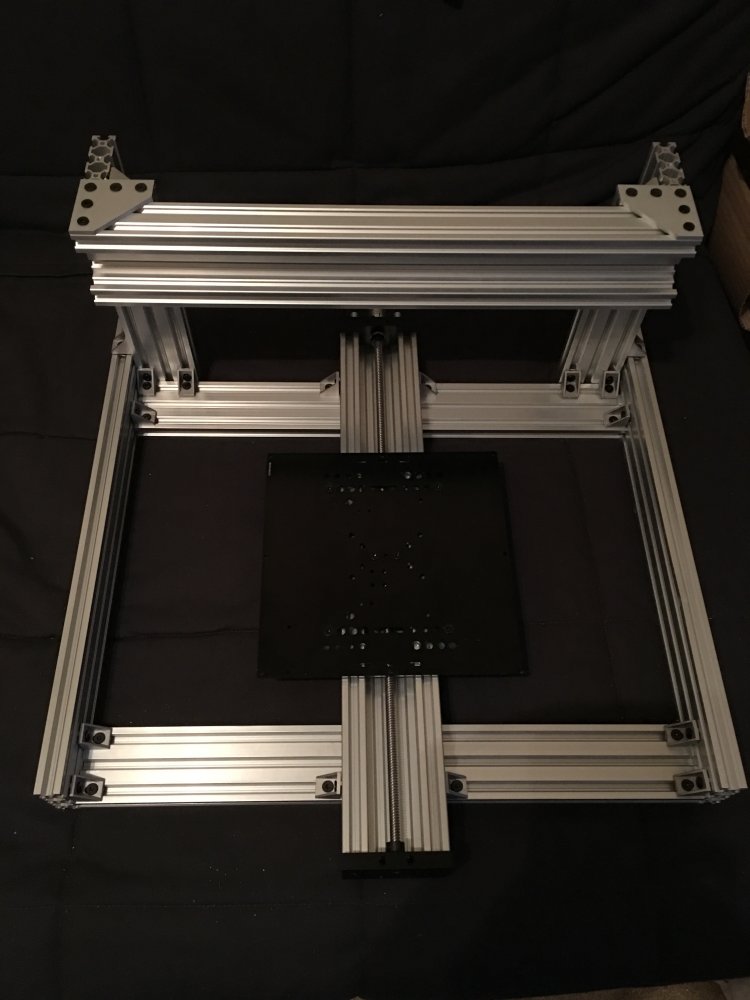
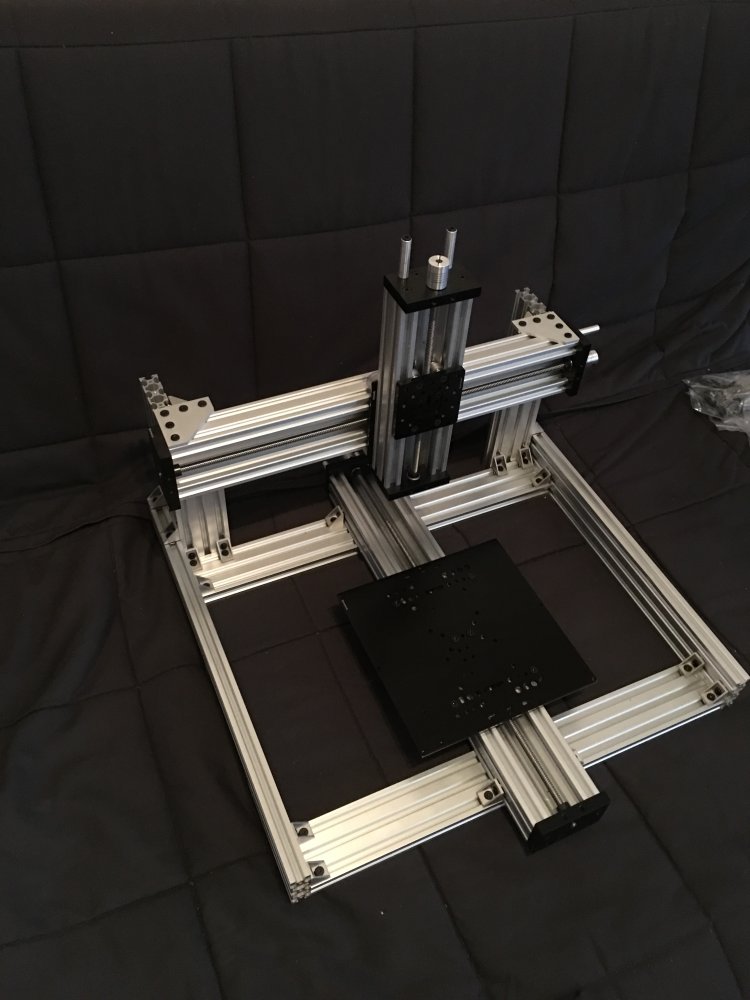
Frame assembled.
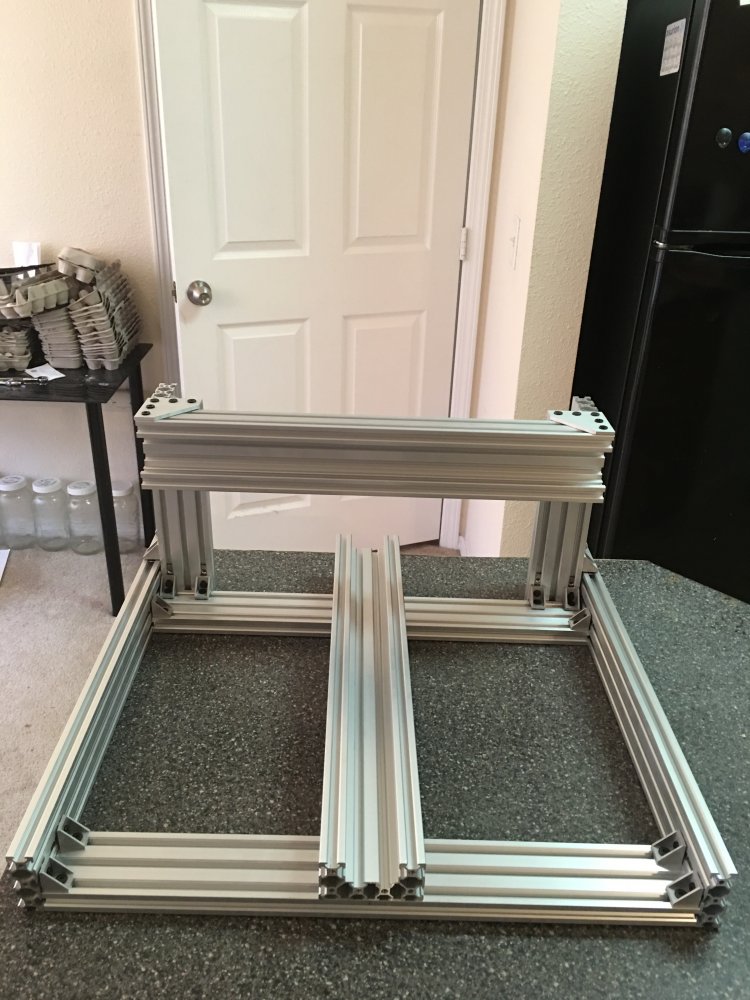
The frame seems very rigid, although I apparently miscounted the number of cast corners that I needed for the frame as I was 8 short, but I've got those parts on my next order. I've ordered the rest of the bit (minus steppers) for the Y axis. I look forward to receive the parts and getting that much closer to a completed machine.
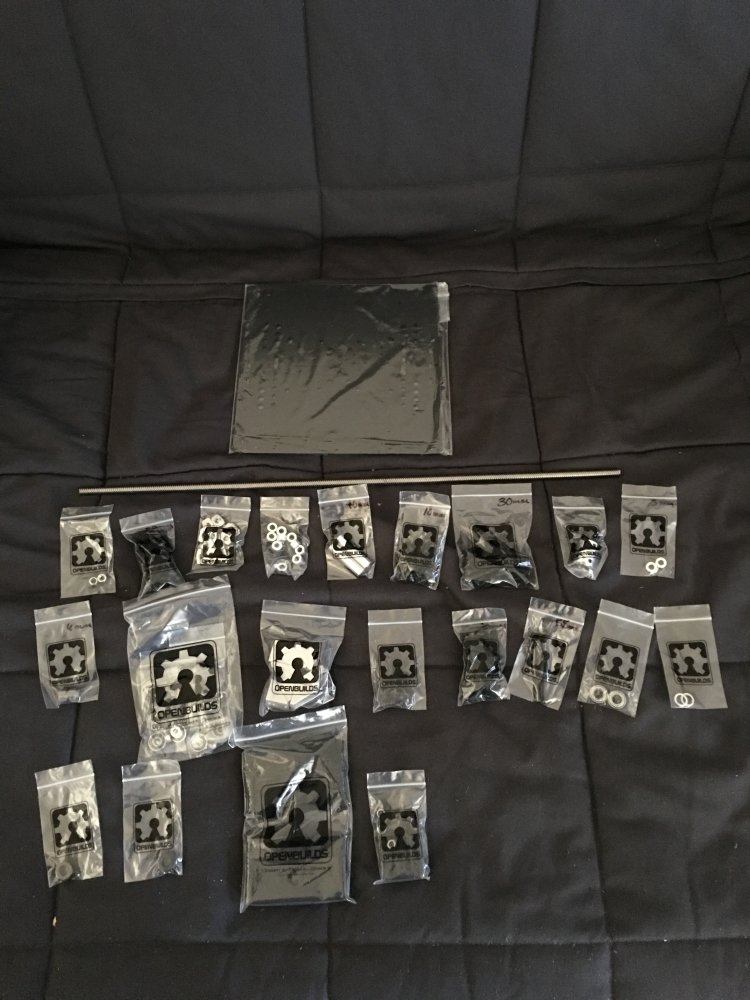
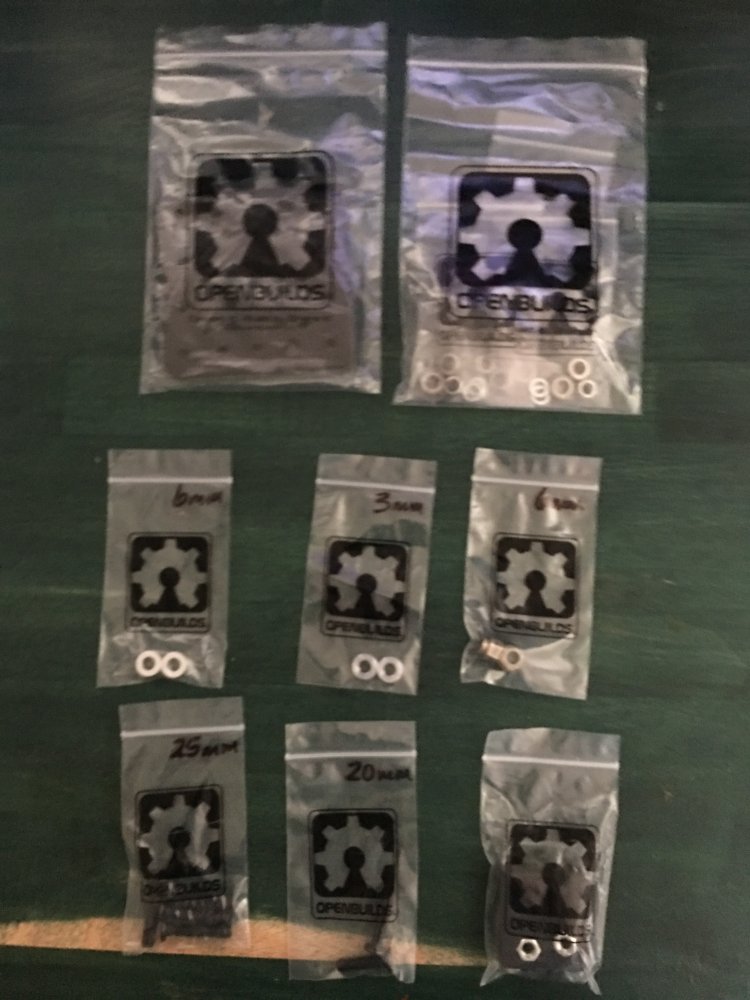
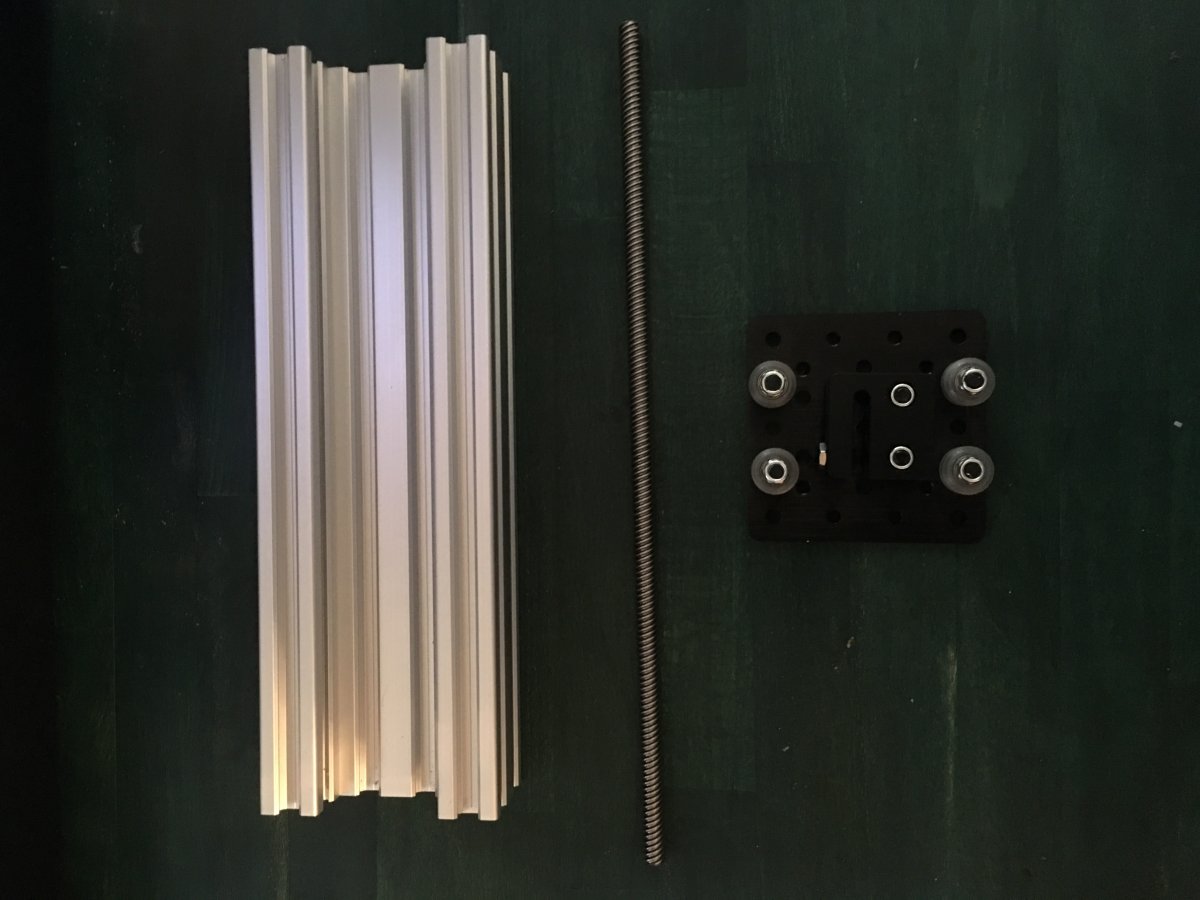
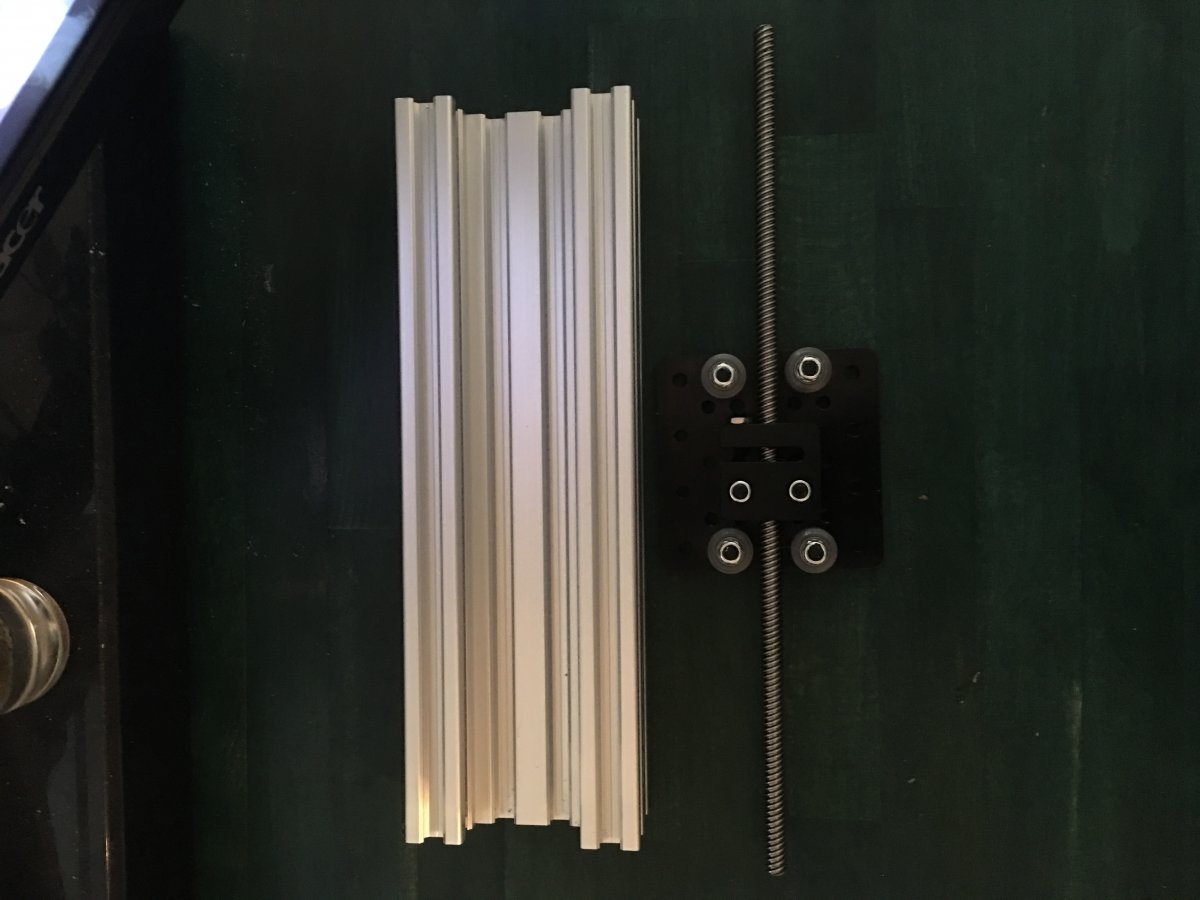
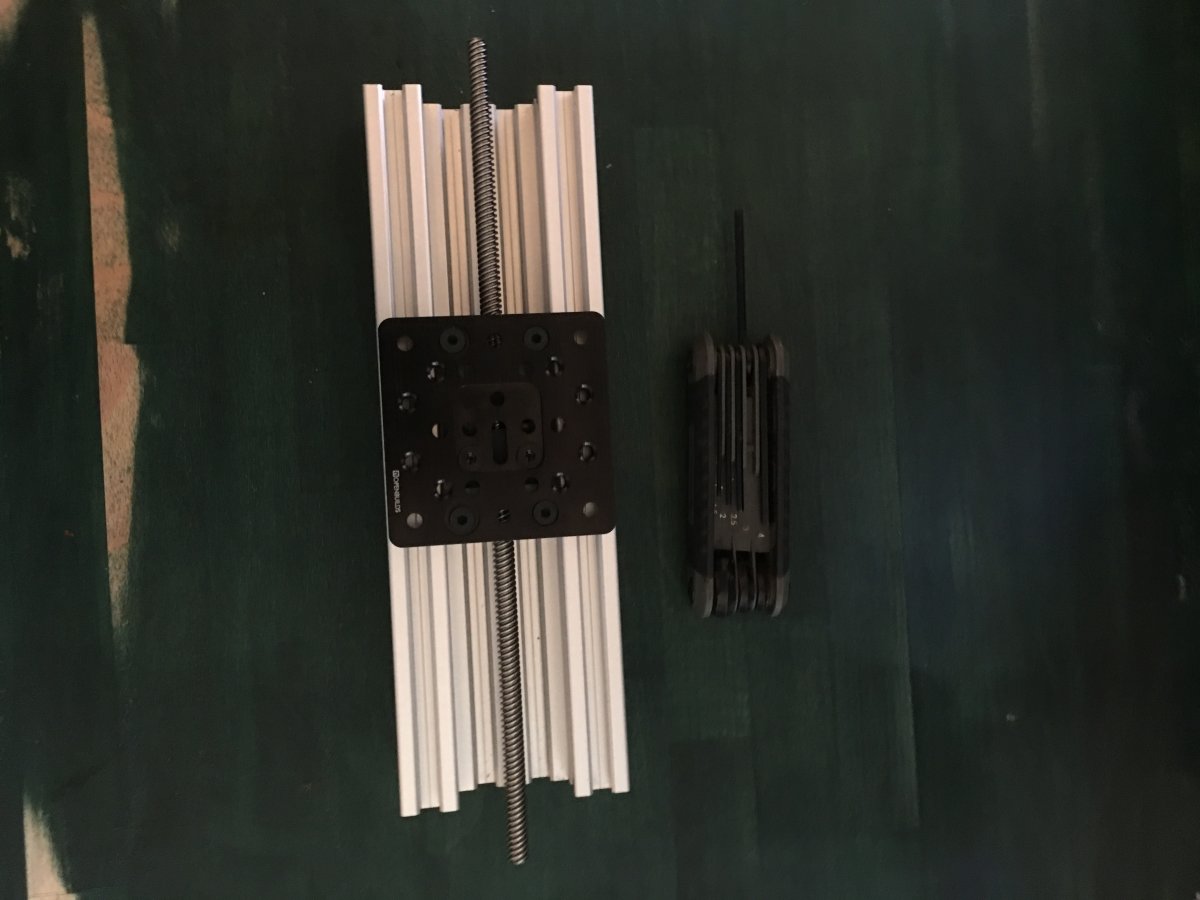
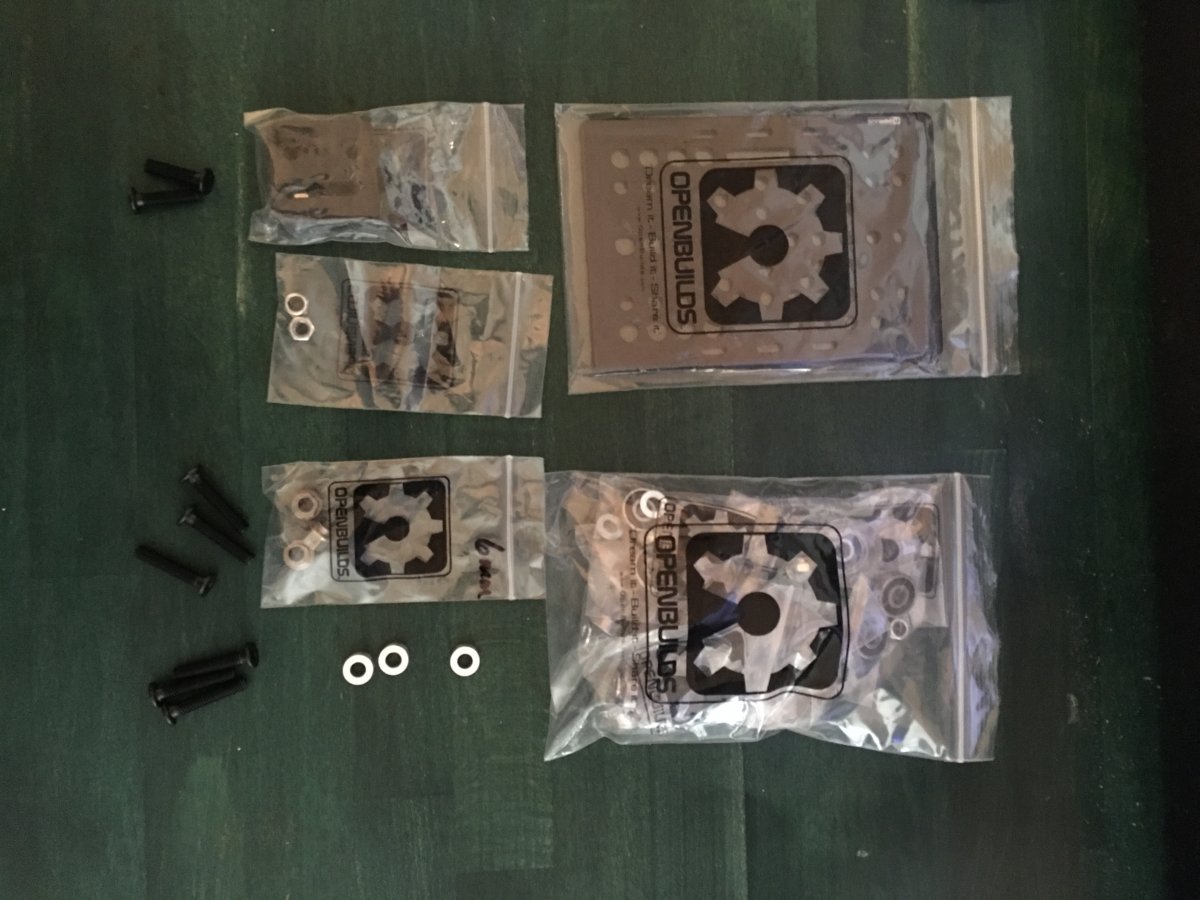
Y axis parts received.
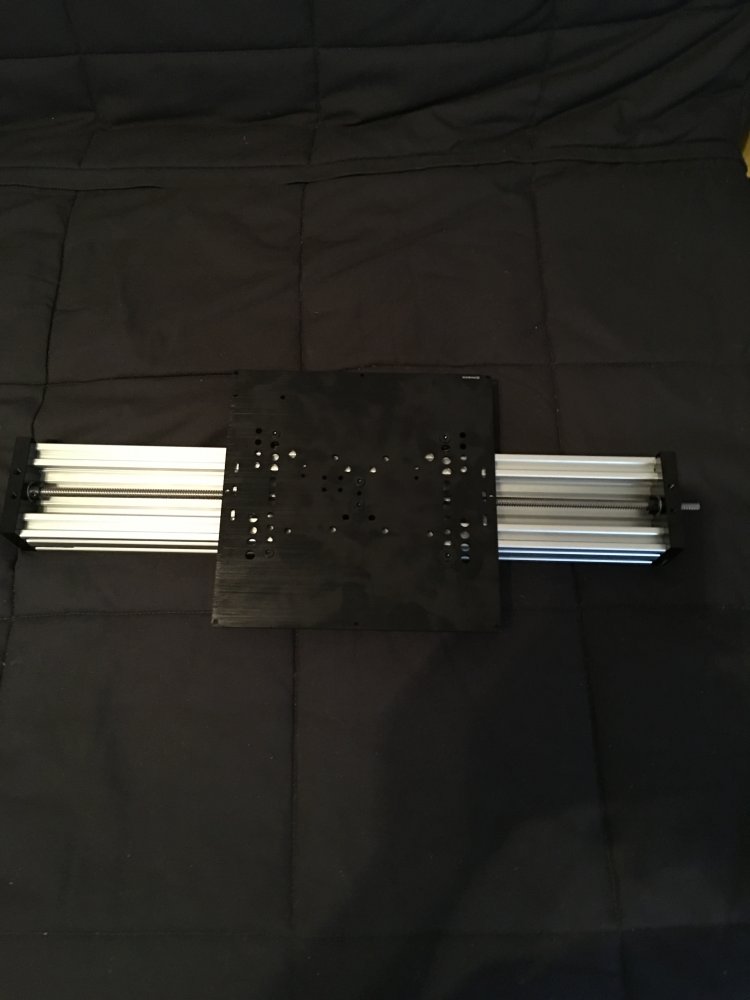
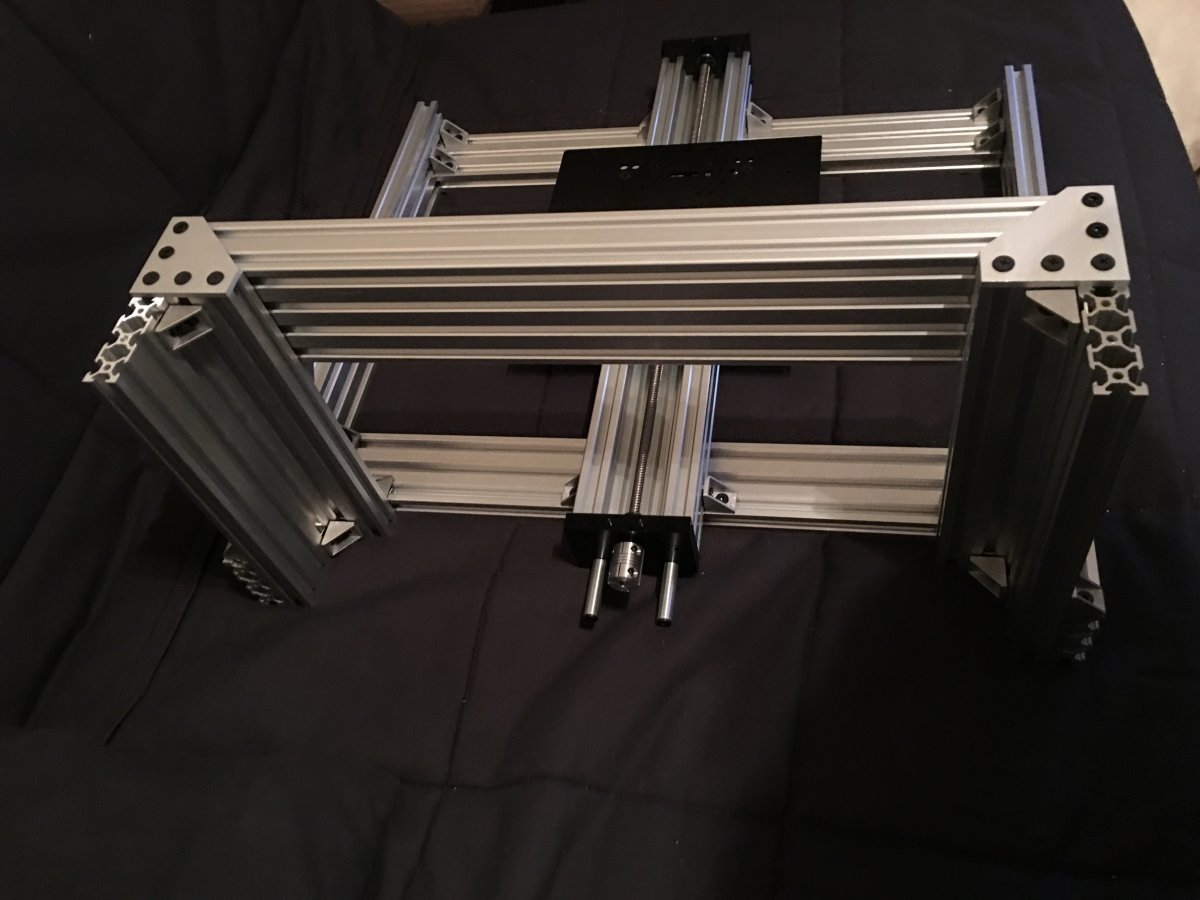
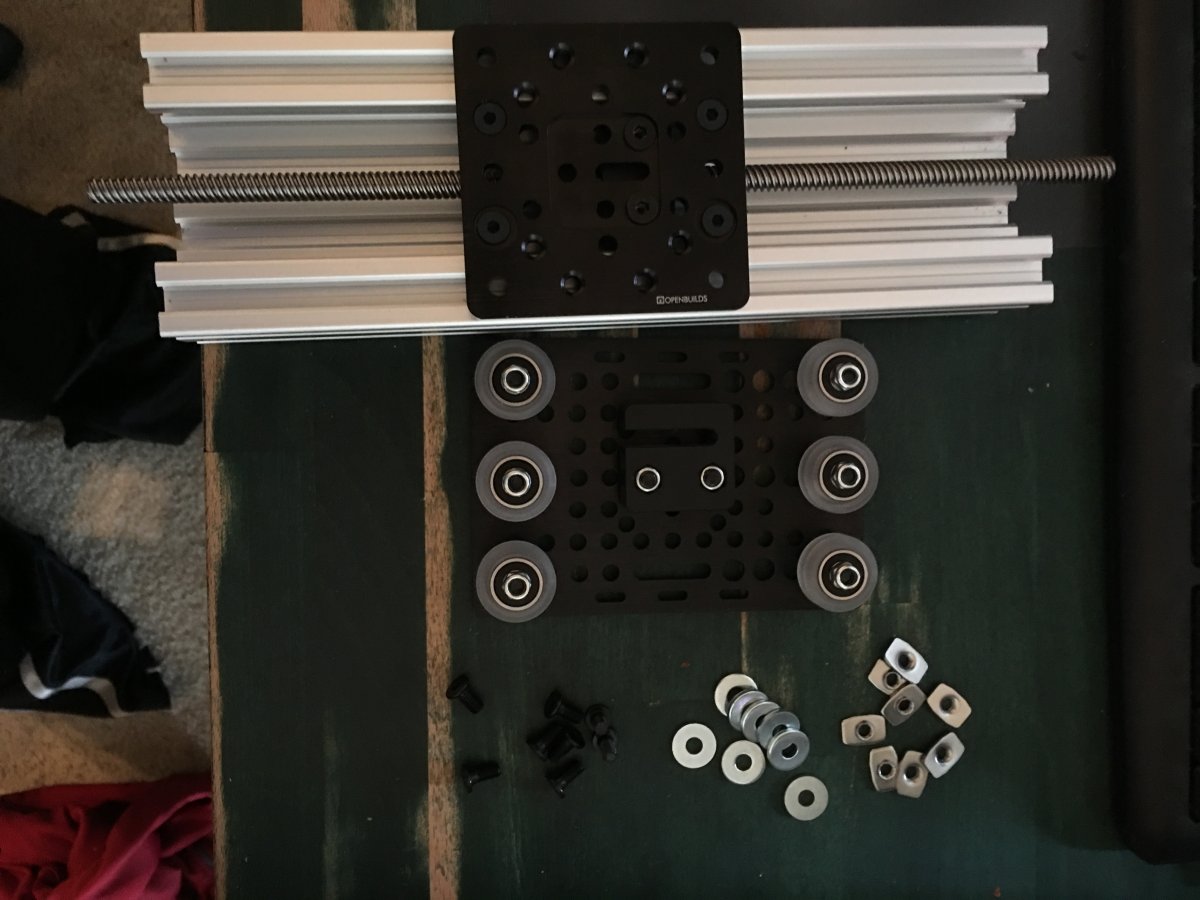
And Y axis assembled.
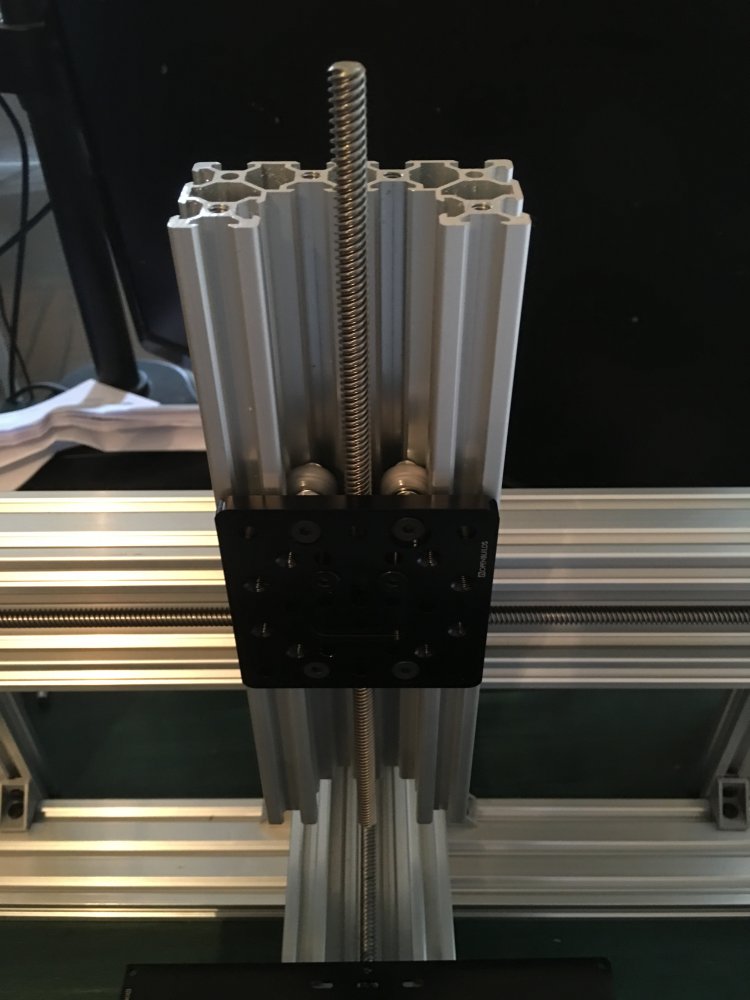
And attached to the main frame.
Now I can't wait to get my X and Z axis to get the rest of the mechanicals taken care of.
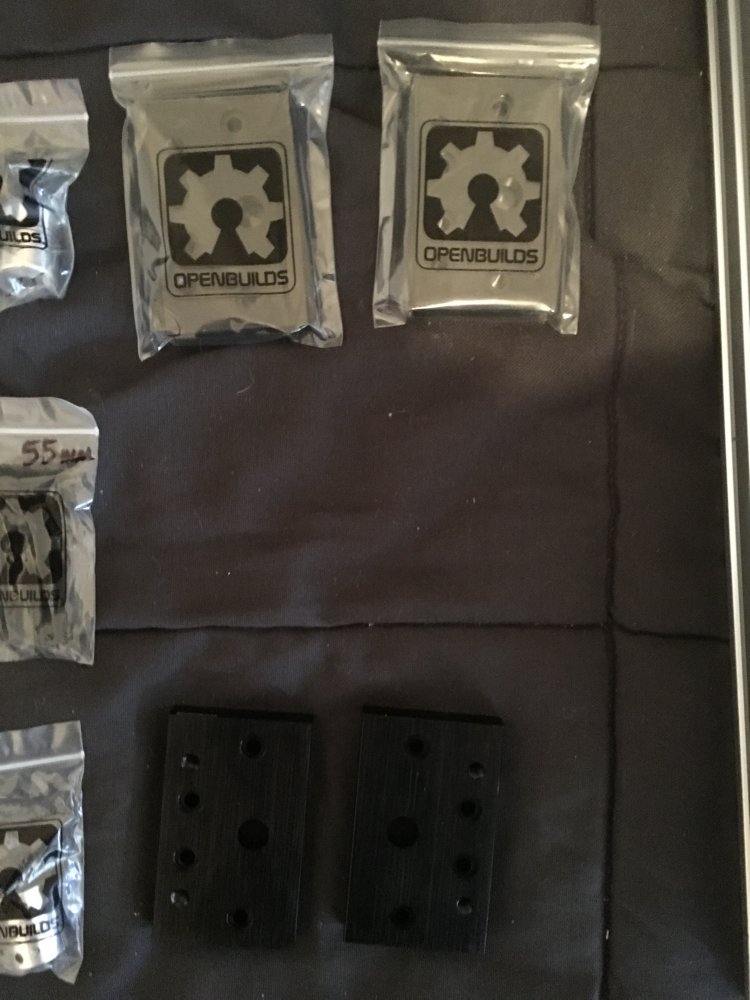
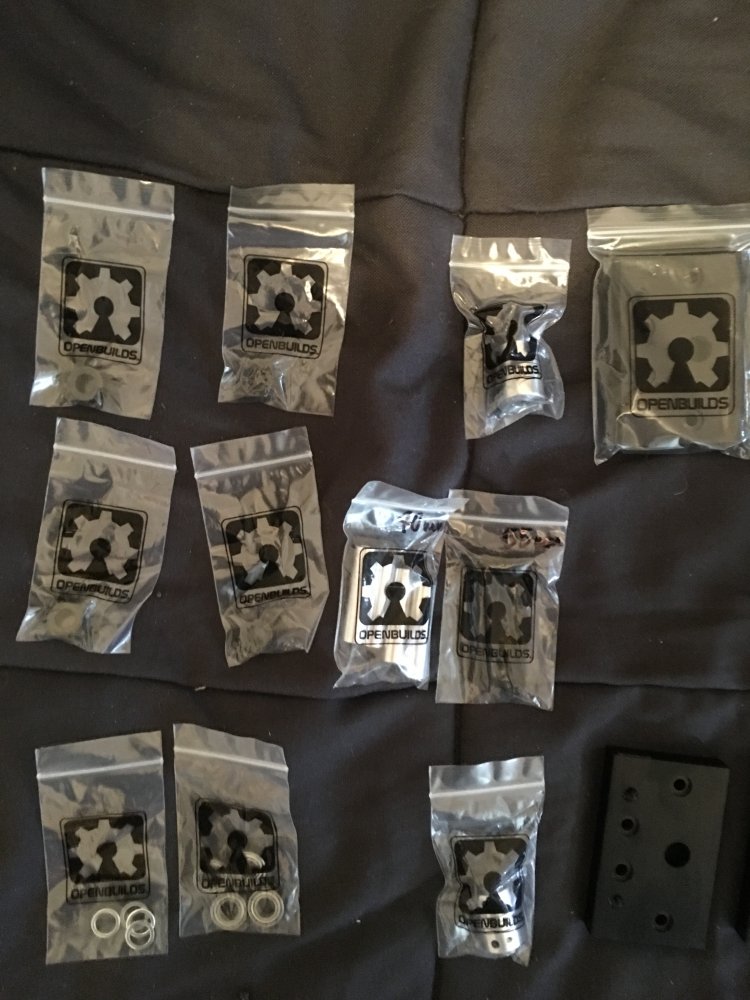
Woo hoo, more parts
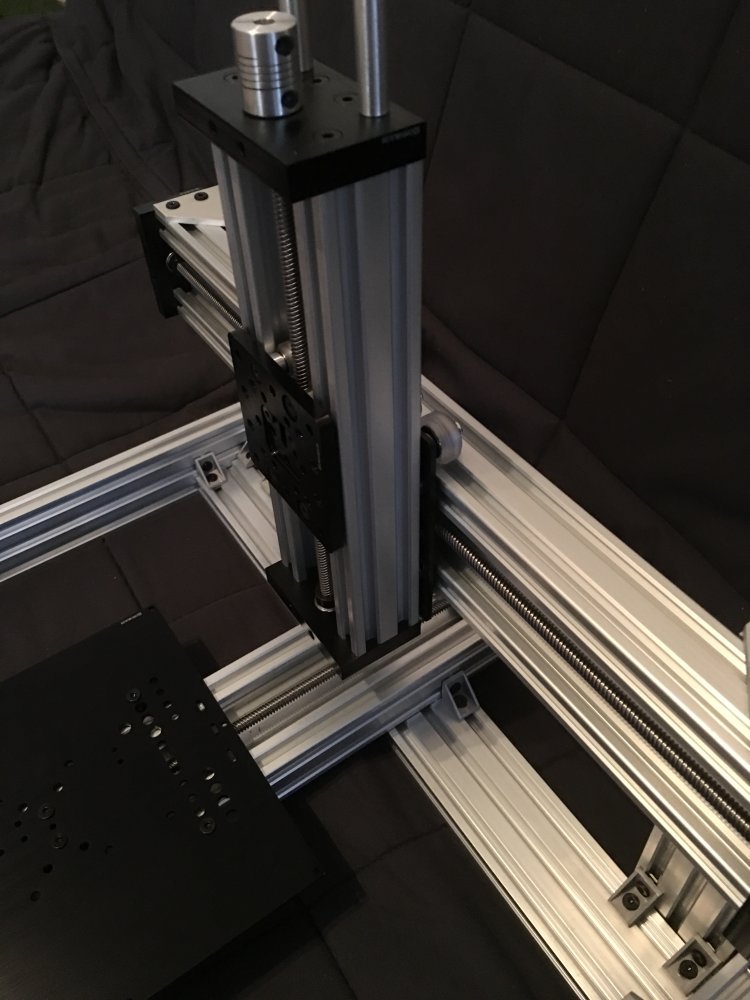
Lets start with the C-Beam Gantry Plate.
And then the V-Slot gantry plate.
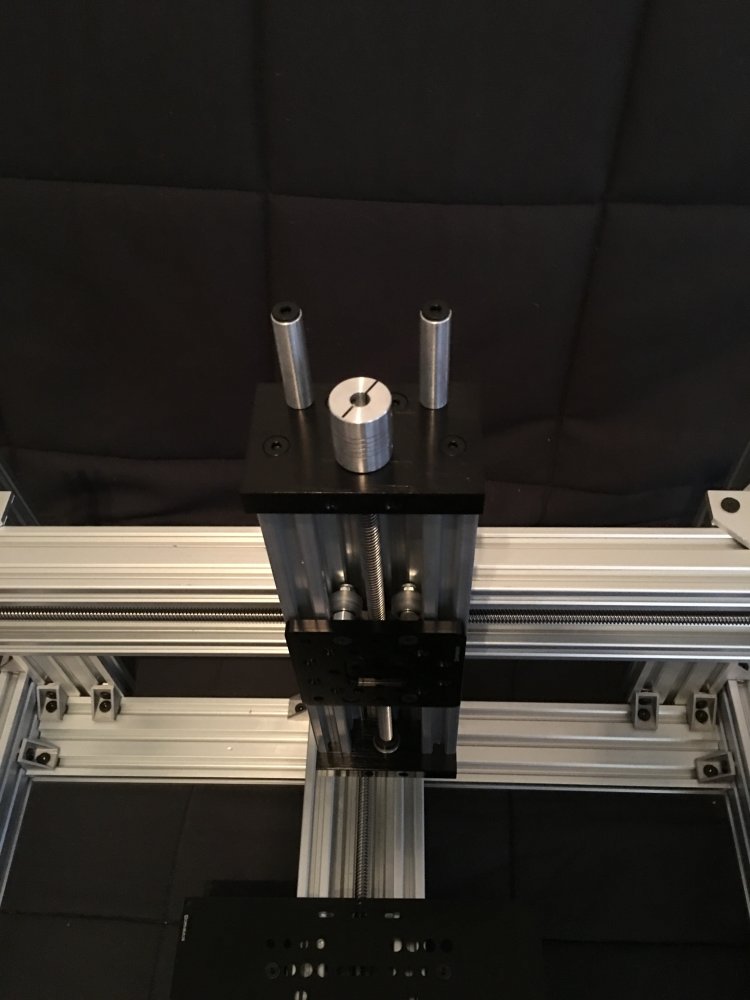
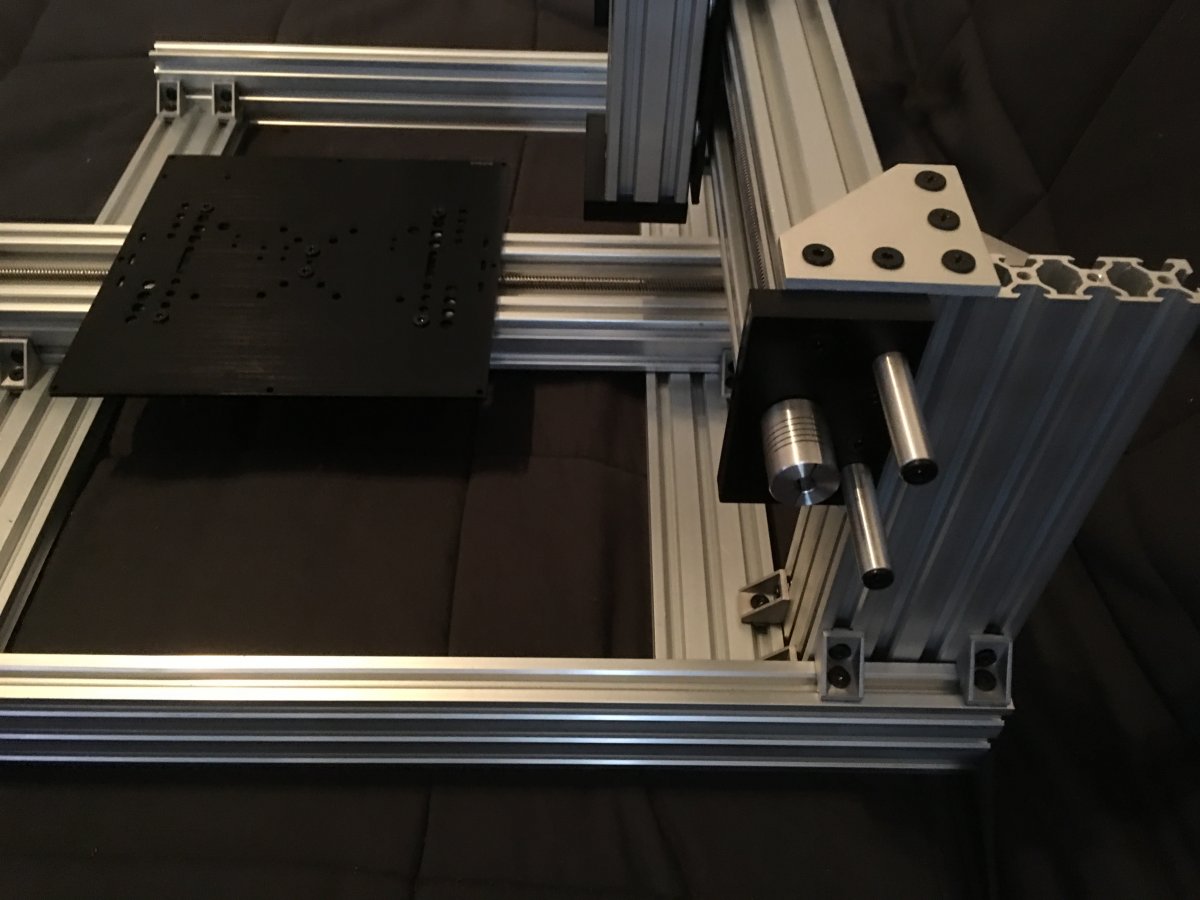
And then to join the Z and X axis.

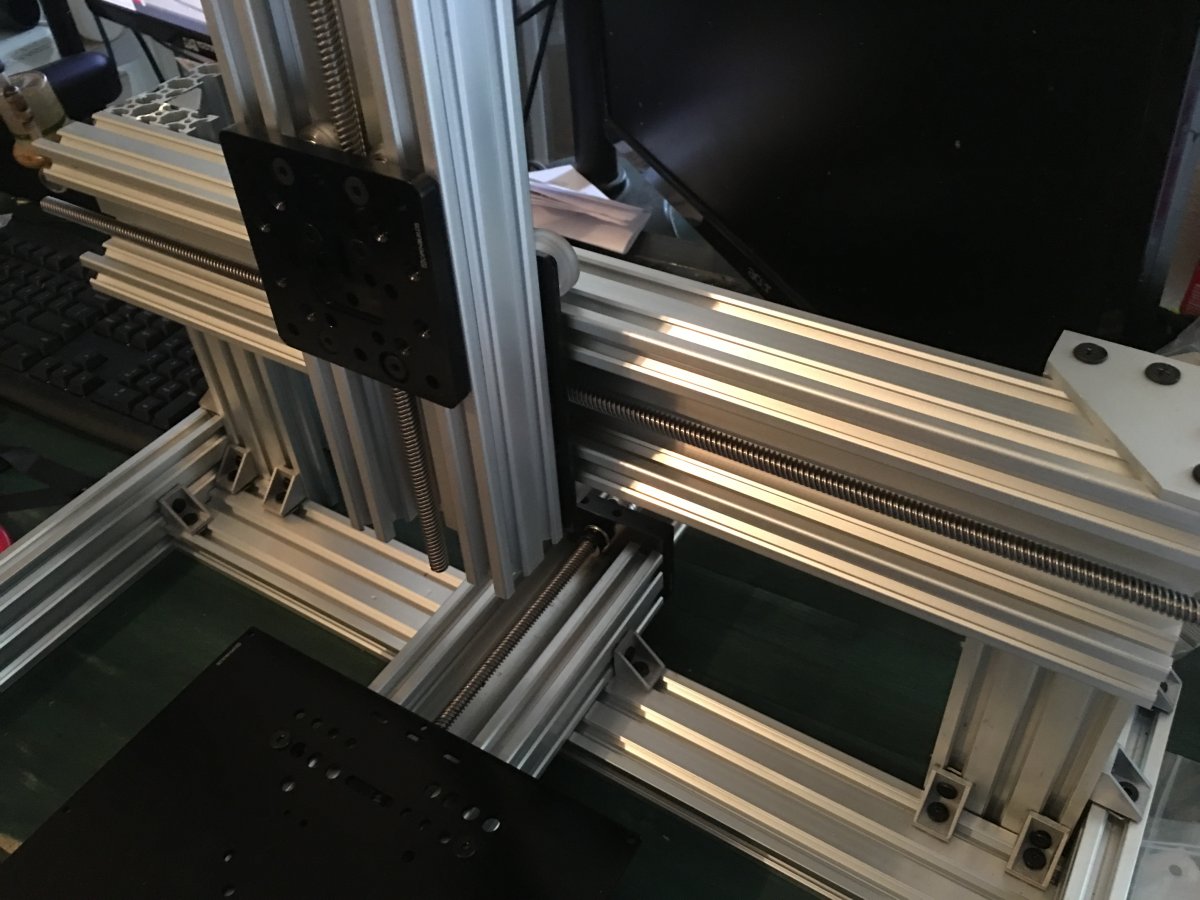
Now I just need to get my C-Beam end mounts and then I'll be able to wrap up the mechanicals.
Woo Hoo End Plates!!!

Still gathering all of the electronics I'll need, here is a sample. Raspberry Pi 3, Protoneer CNC Hat, Power Switch, E-Stop, Panel Mounts for the Pi (Ethernet, 2xUSB, HDMI)
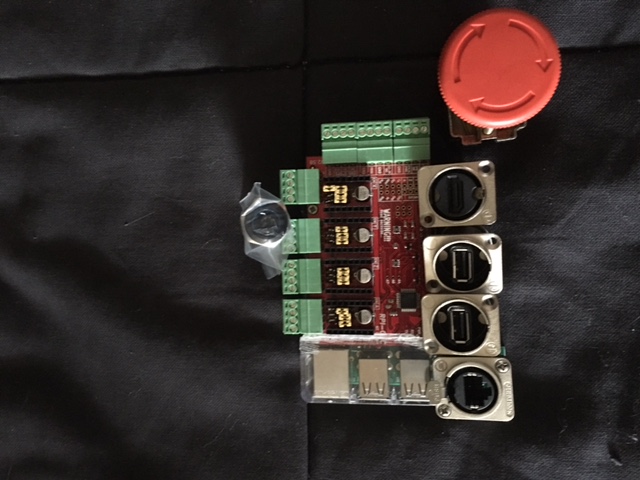
Power Supplies (48V, 36-48V IN to 12V Out, 12V IN to 5V Out)
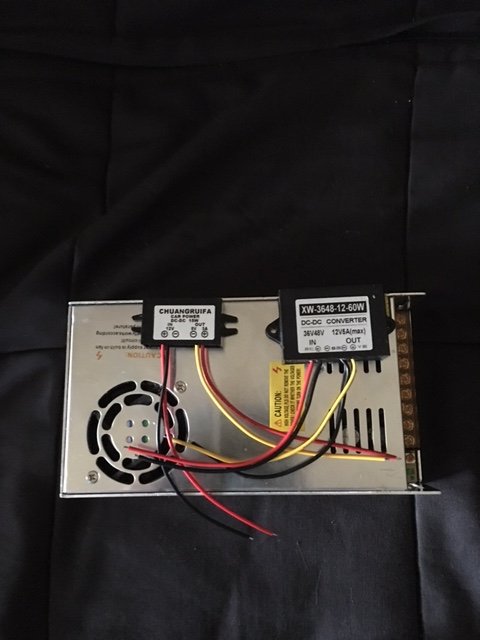
I'm eagerly awaiting some other misc items, (power inlet, momentary switches). But I'll be ready to order drivers and steppers soon.
More parts

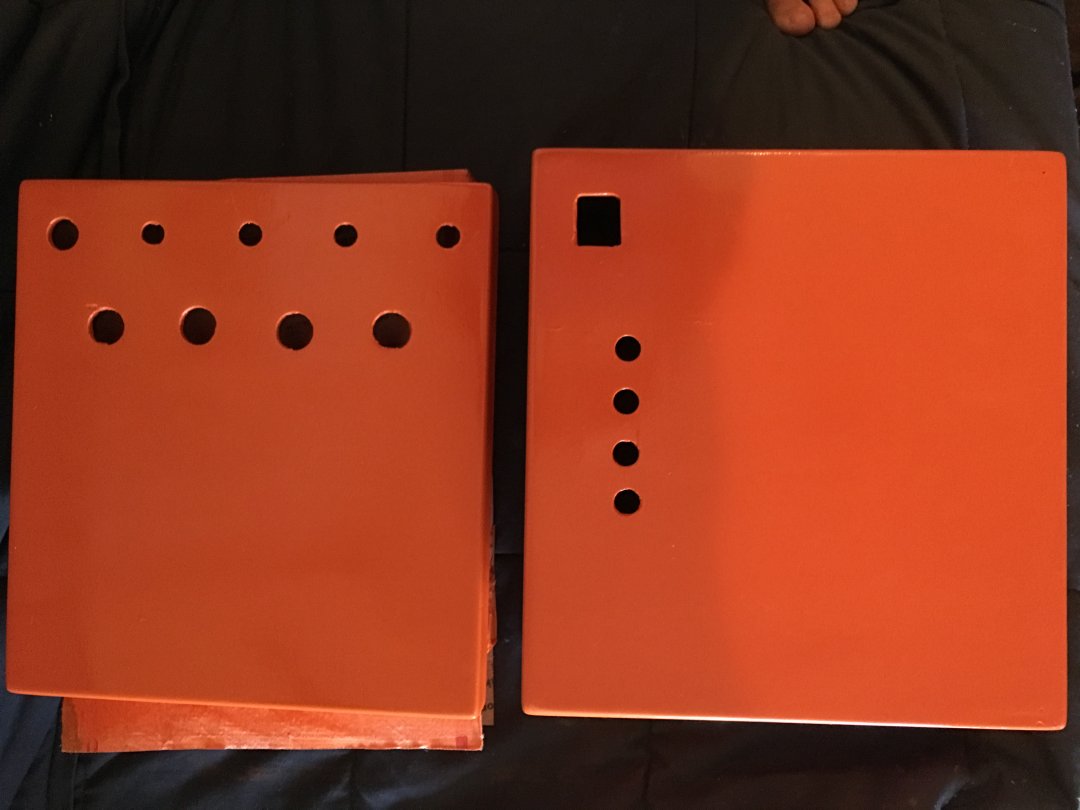
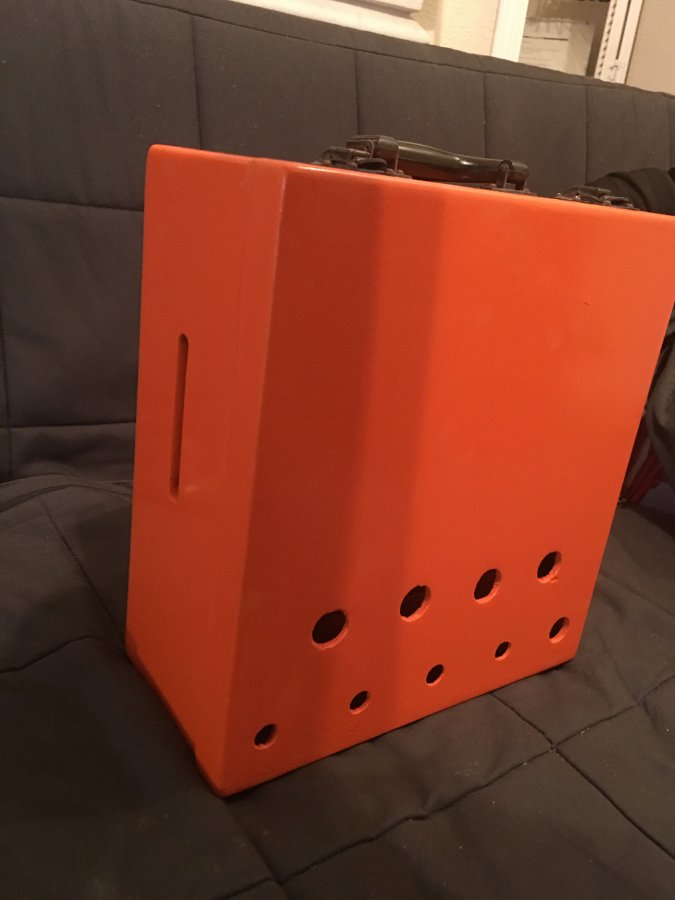
Here is the start of the enclosure I'll be using. That wooden box started life as an old tube tester, I thought I would re-purpose it.
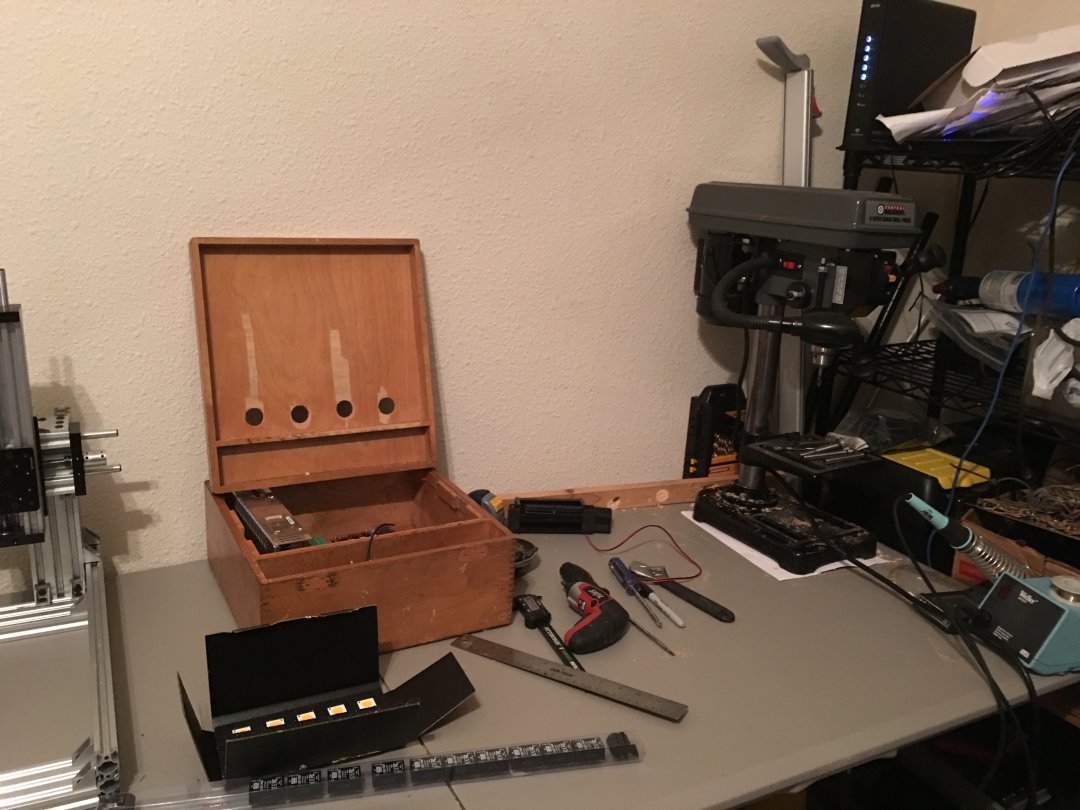
Test fit of some of the parts.
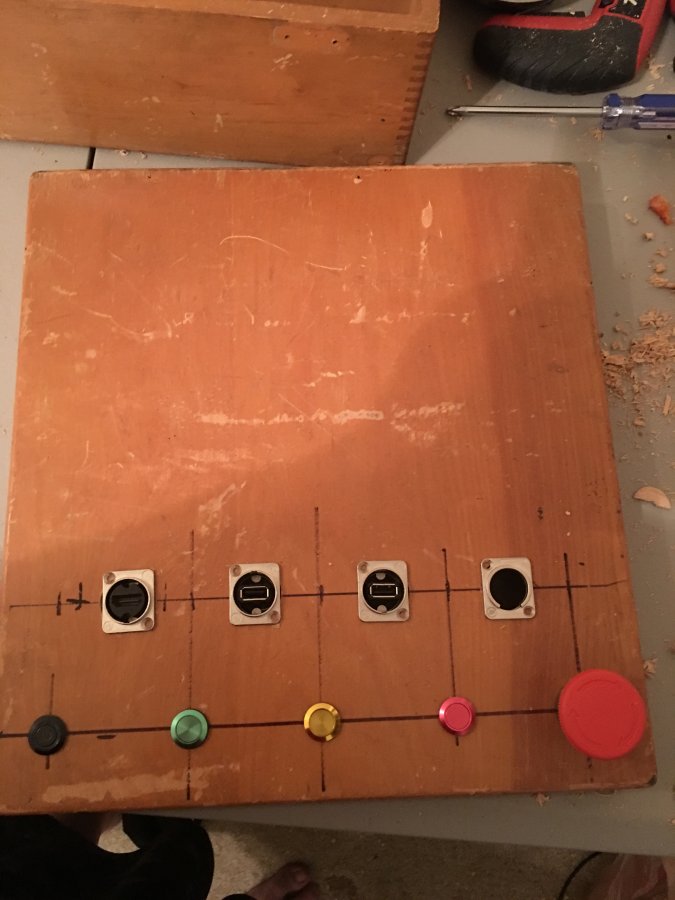
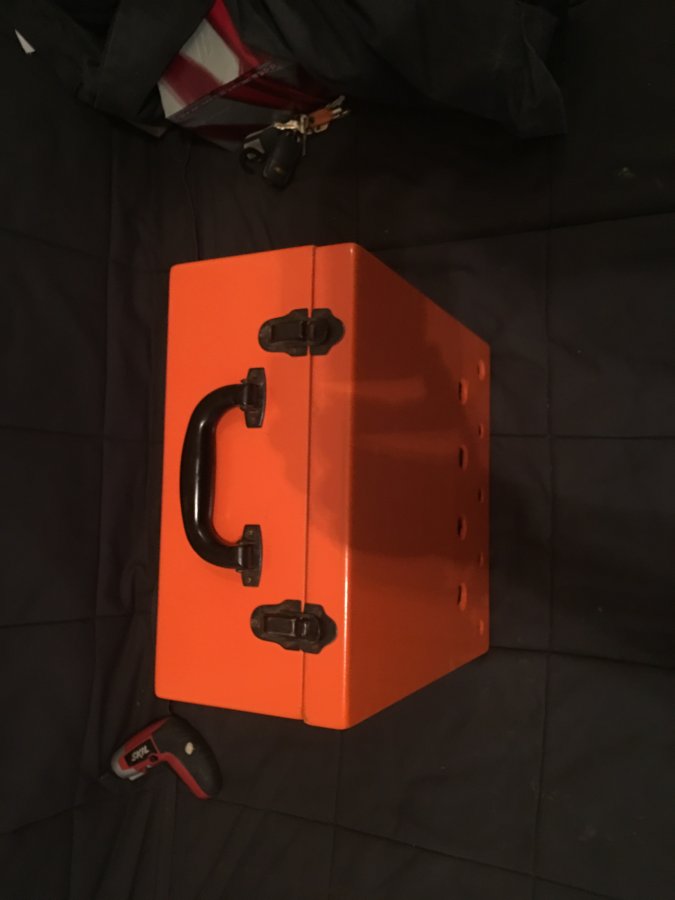
Painted.
Next step will be to start wiring. Once the power supplies, raspberry pi, buttons and connectors are installed I will be ordering my drivers and steppers. Starting to get close. I will be starting on the machine enclosure soon as well.
Started wiring.
More wiring.
Tinned ends.
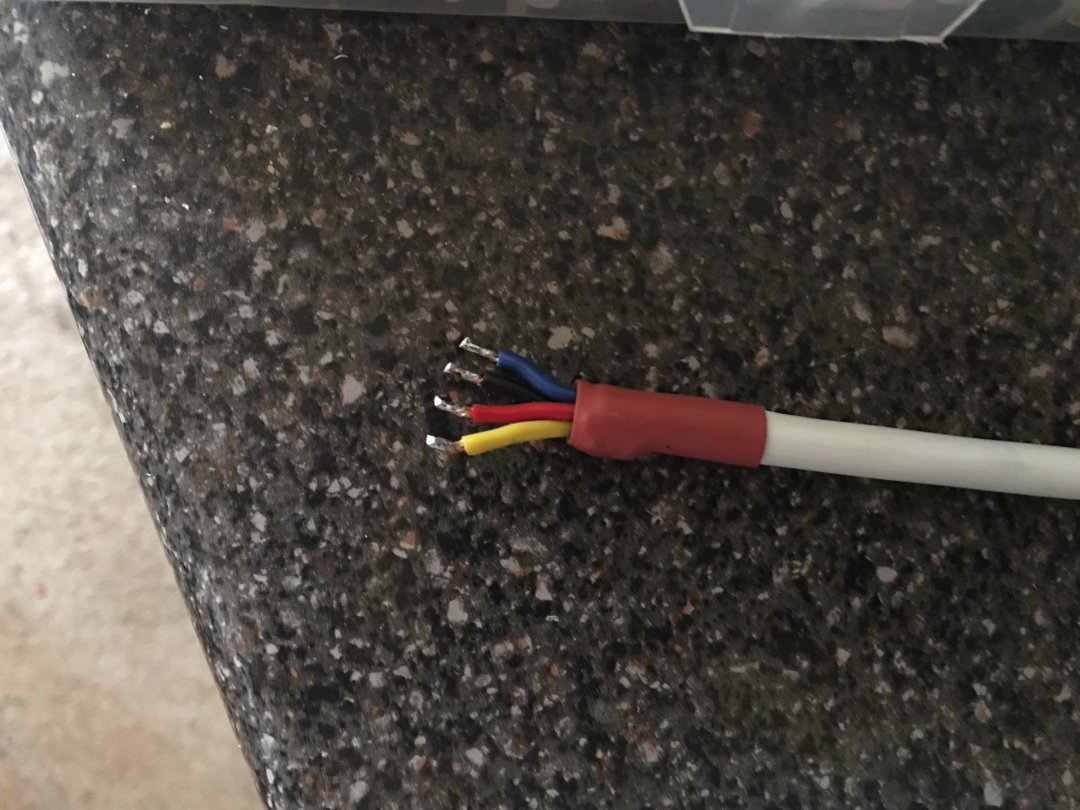
Driver input cable single axis, with ground lead for shielded cable.

Cables for all axes.
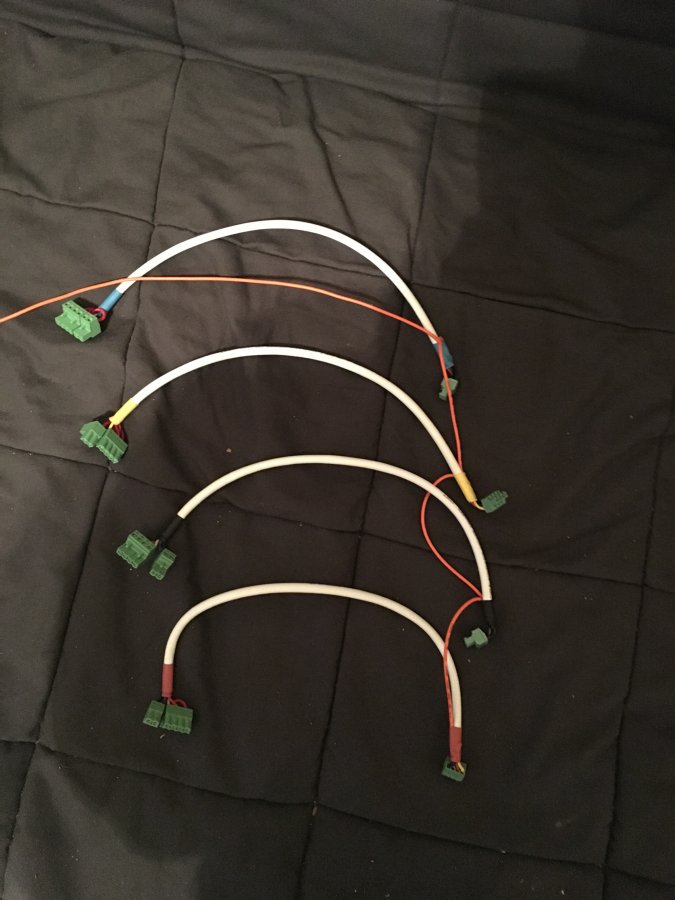
Test fitment.

Now on to the output cables.
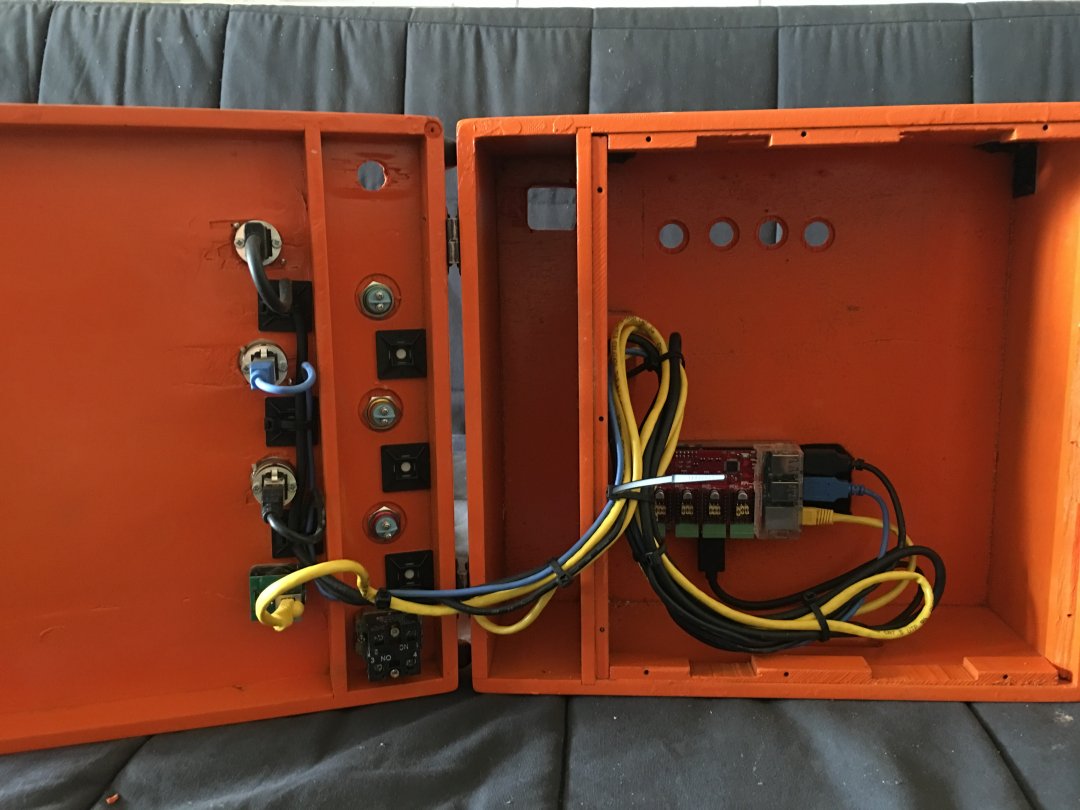
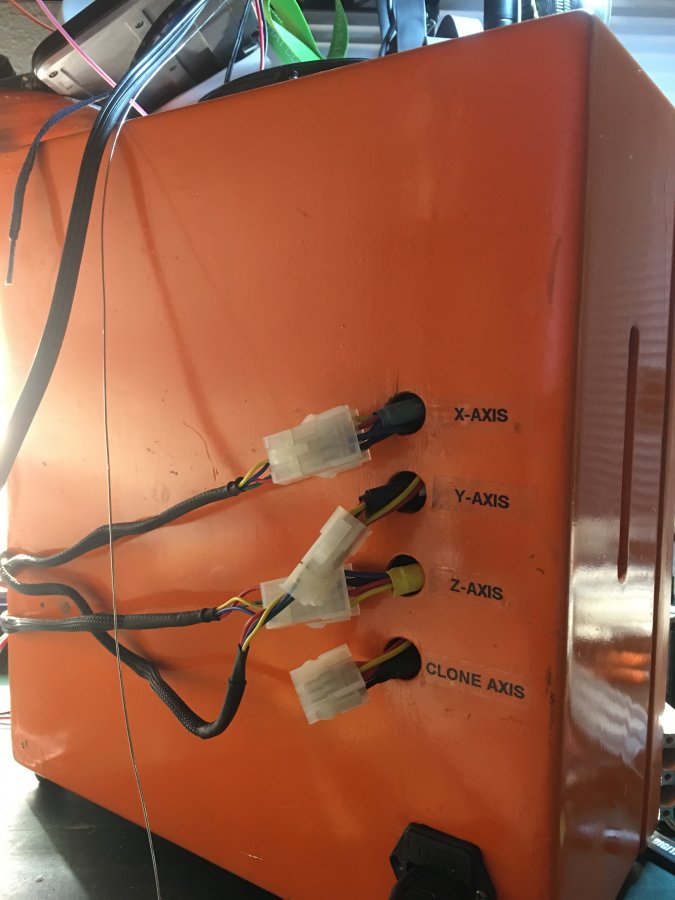
It's been a while since my last update, I decided against using the 6-pin DIN connectors as I was having problem soldering the 6 conductor shield cable to the 6-pin DIN. I think 18 AWG wires were just a bit too much to try and fit in there. Or I need to keep brushing up on my soldering skills. I ended up switching to molex connectors instead. This was much easier to work with. It does mean that I will eventually move to an entirely new enclosure not only to better mount the molex connectors but to achieve a better layout that won't be such a rats nest of wiring.
Speaking of the rats nest here is the current state (I believe I can still tidy this up a bit, but not as much as I would like.
Also here is a test g-code file running.
Long time since my last update, I got side tracked building my cabinet for the machine. I’ve now got the cabinet finished to the point I can make my first cut, but I need to find the details of how to setup and configure the machine for bCNC running on the raspberry pi with protoneer hat.
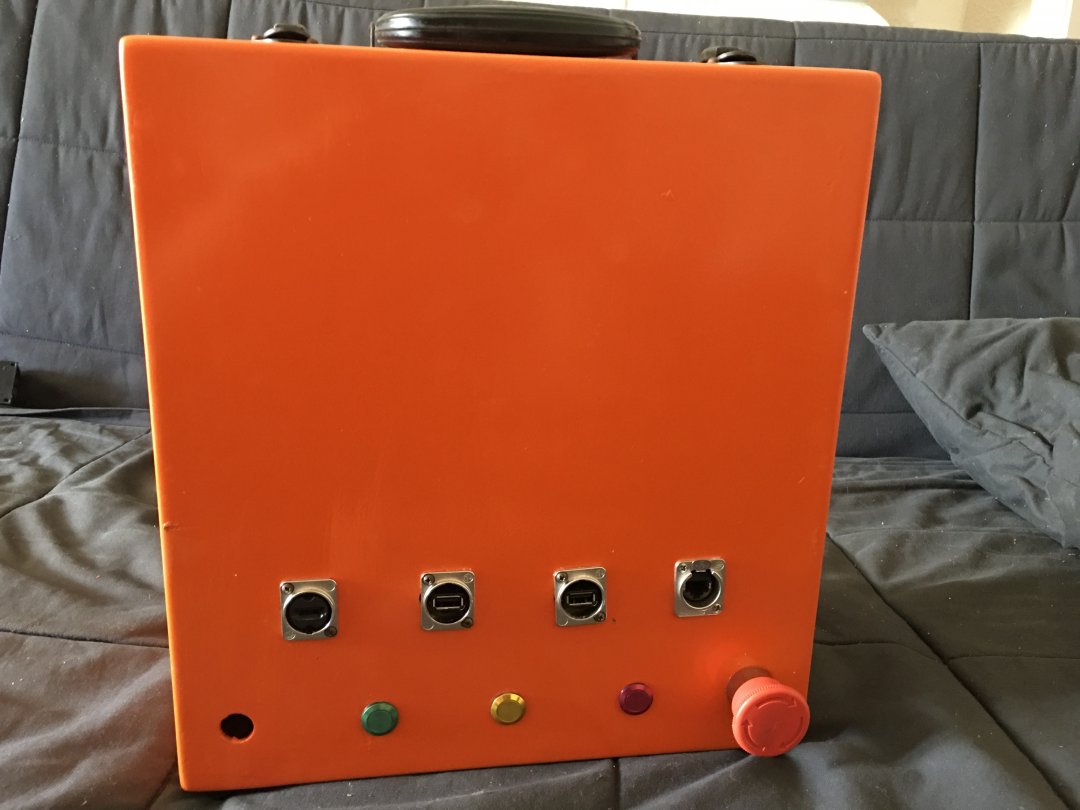
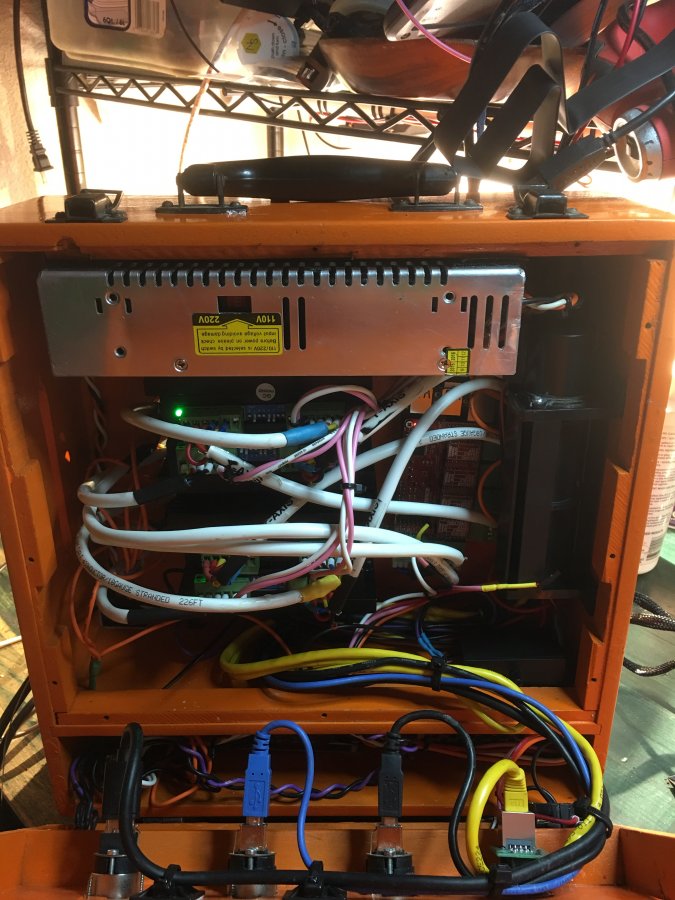
Reworking the electronics to work with he enclosure.


First cut, build complete!


C-Beam Machine - MyFirstCNC
Build in 'X/Y Table Style CNC Mill' published by Paul Stoller, Mar 30, 2018.
This is my first foray into CNC machines, after much review I decided on the C-Beam machine as it seemed easy to work with and will enabled me to build more and larger machines as I gain knowledge. I am planning on building the machine largely unmodified from the reference design. I will be building the machine an axis at a time as I need to spread out costs over time.
-
-
Build Author Paul Stoller, Find all builds by Paul Stoller
-
- Loading...
-
Build Details
- Build License:
-
- CC - Attribution - CC BY
Reason for this Build
I have long wanted to build a CNC machine, I always have different ideas of things I could make or design but have always lacked the means to make them. With the building of this machine I look forward to being able to turn my ideas in to real physical things.


