
This is my third RC spindle build and they say the third time is the charm
Here are some short clips of my last spindle
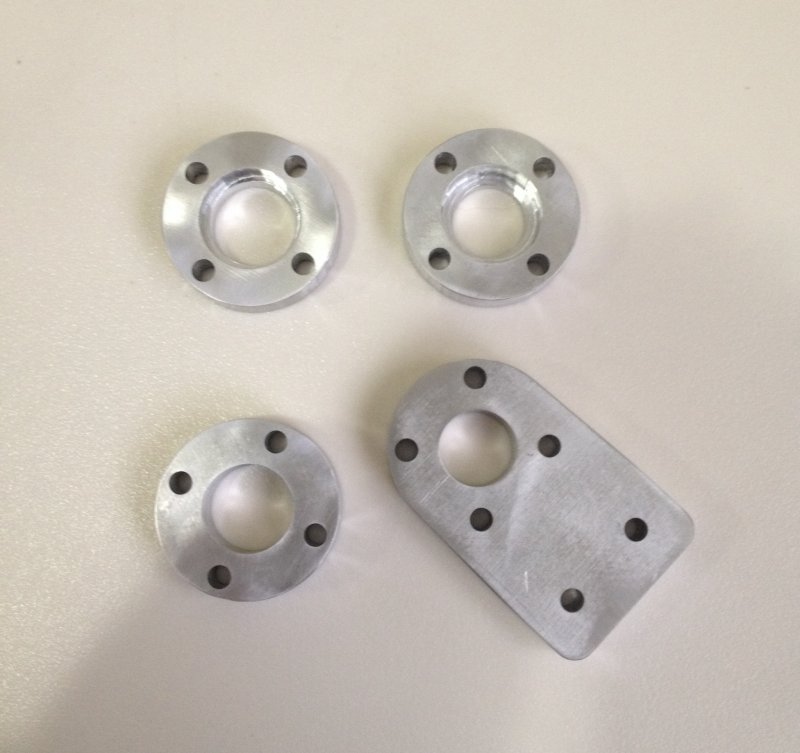
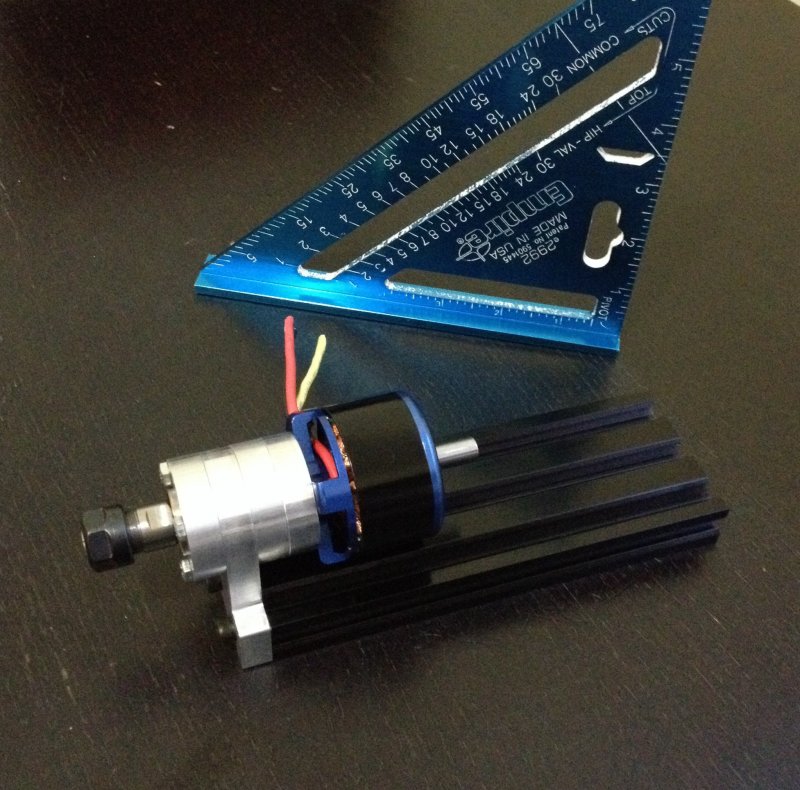
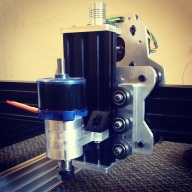
Here is a pic of all the parts
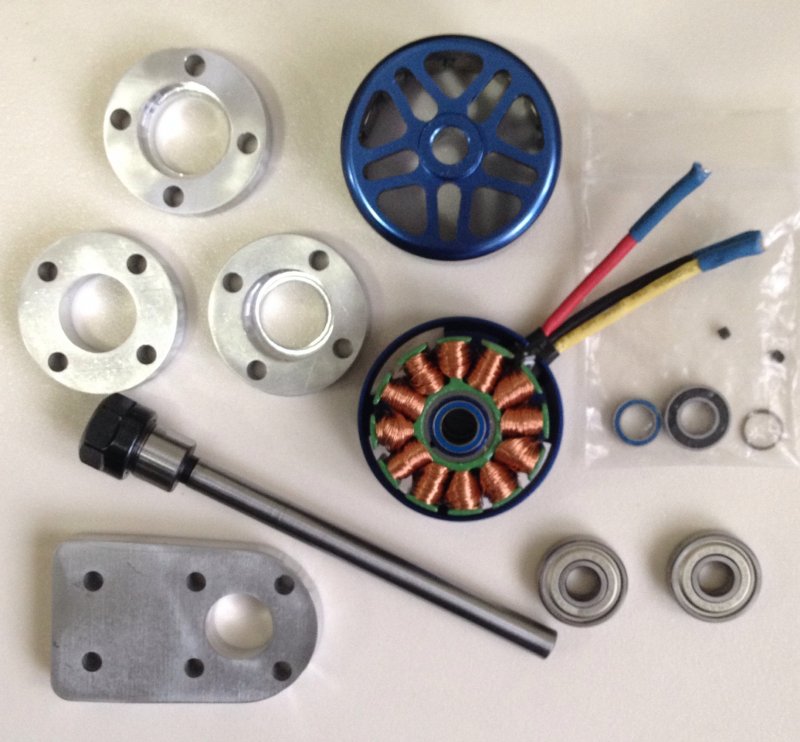
Now I know not everyone has access to a mill to cut the parts I made in sketchup but I have uploaded the files for anyone to use or mod.
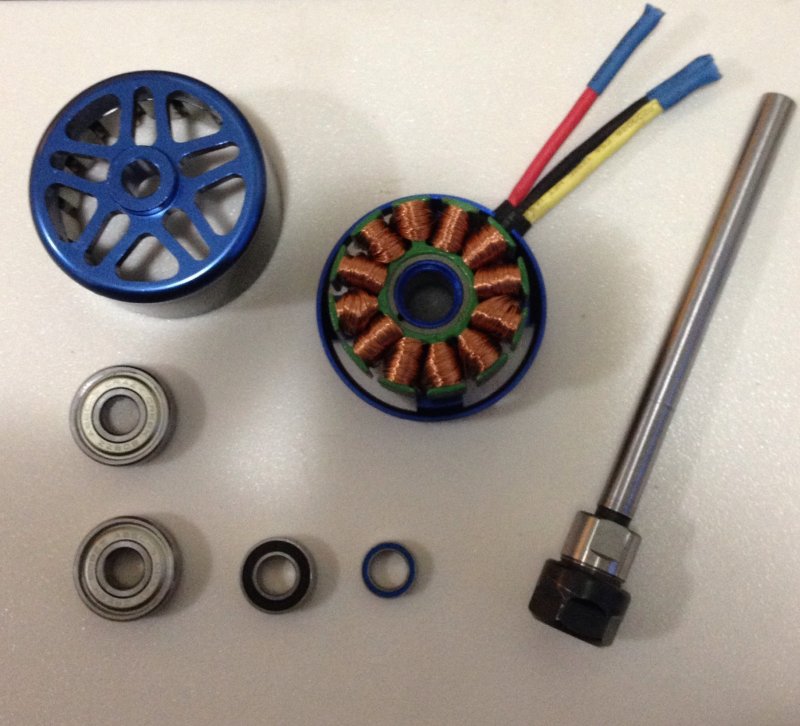
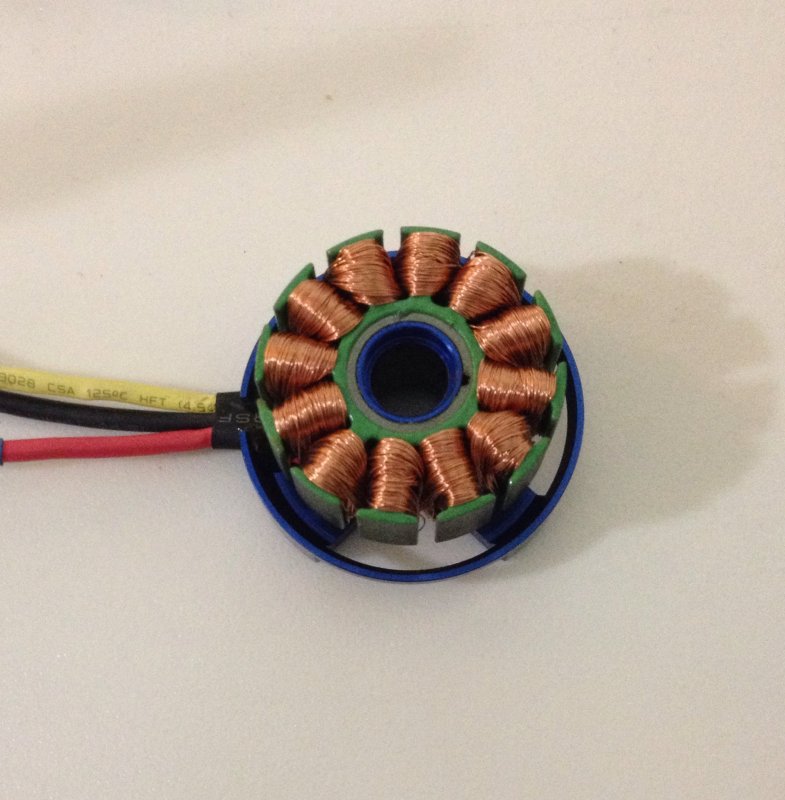
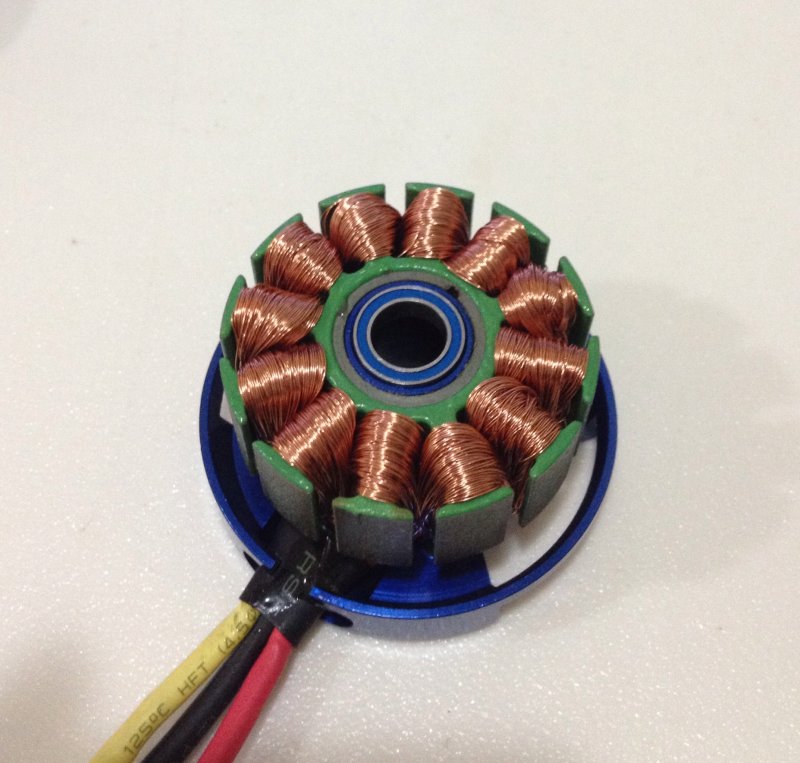
First thing you need to do is disassemble the outrunner right down to the bare bones.
I used my drill press to push out the shaft.
I only removed the outrunners bearings because they needed to be replaced.
Next as always with me, it's off to sketchucam to design some parts
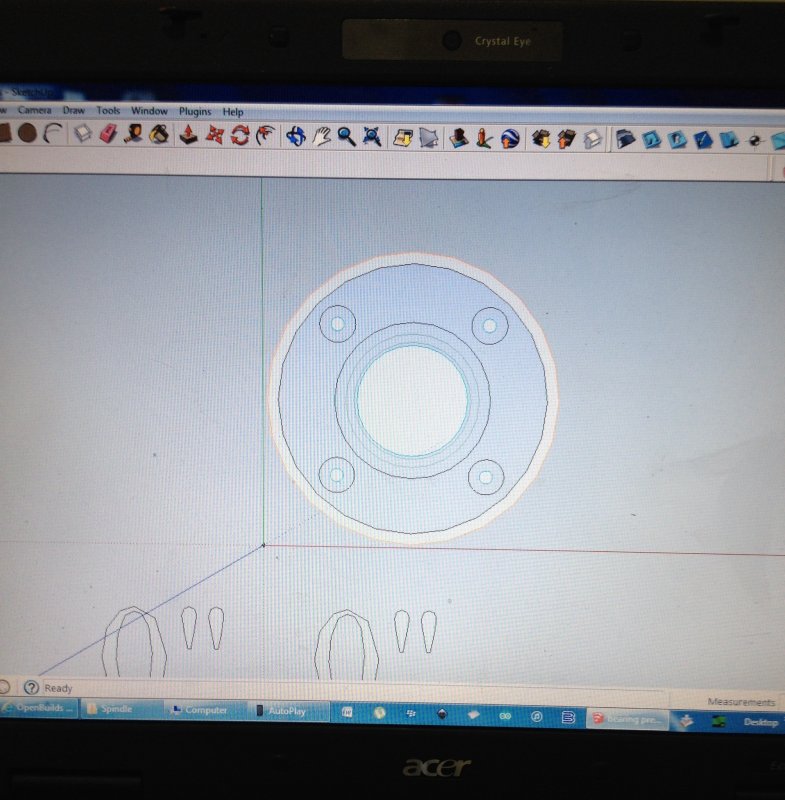
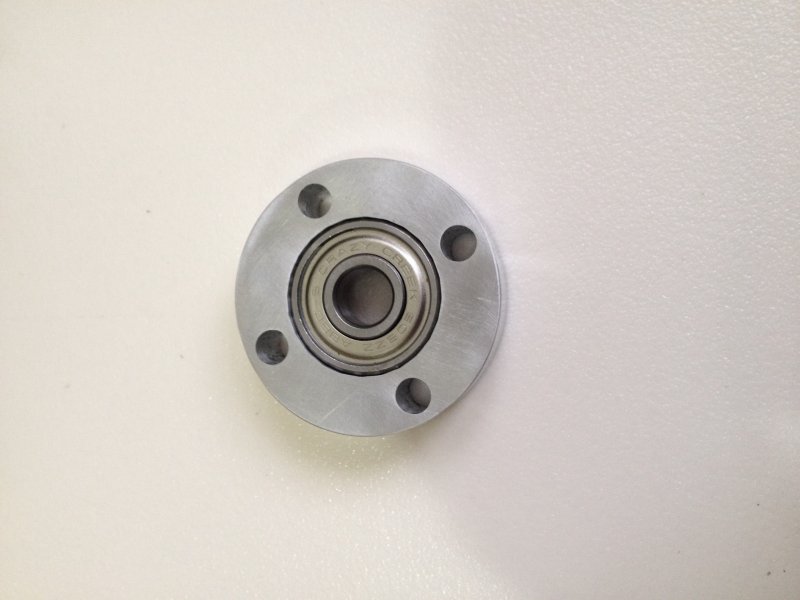
I designed the first 608zz bearing press so that the bearing sticks out about 3mm.
This way it will allow clearance for the collet when securing bits with a wrench.

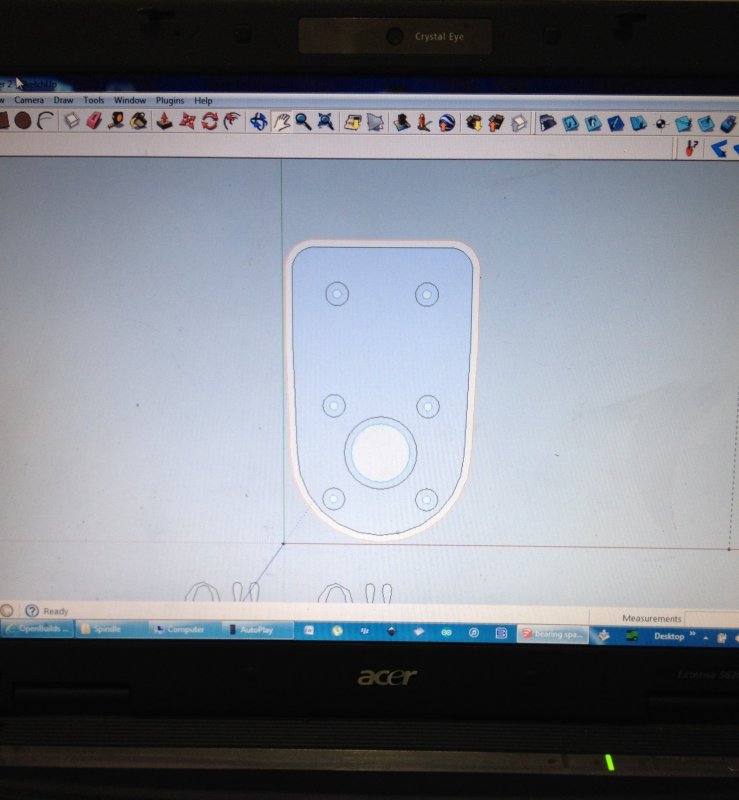
Next comes the mount/spacer
Then the parts are all milled and cleaned up.
The second bearing press is counter sunk flush so that it gets held in place by the spacer.
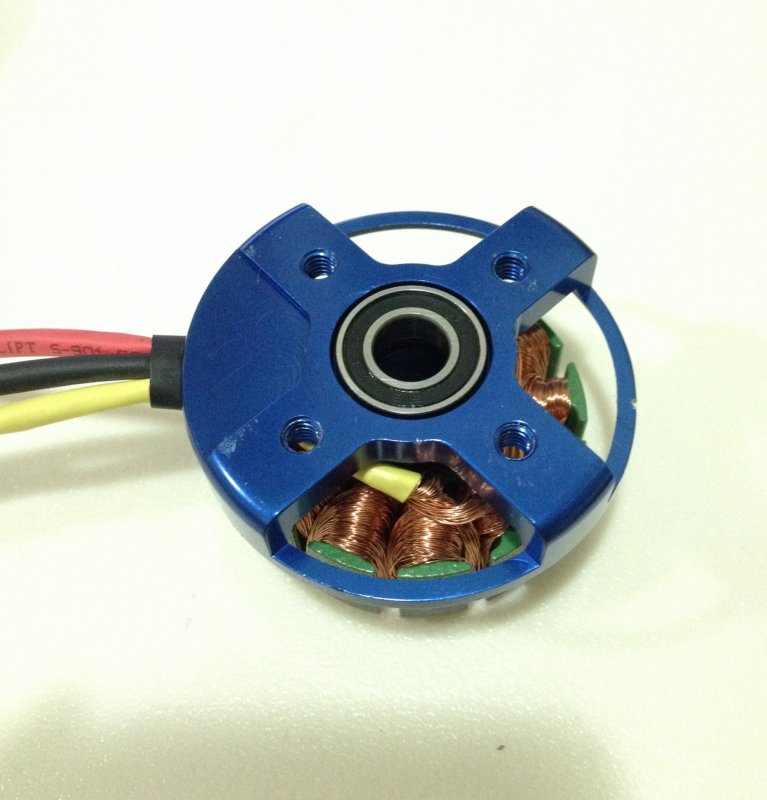
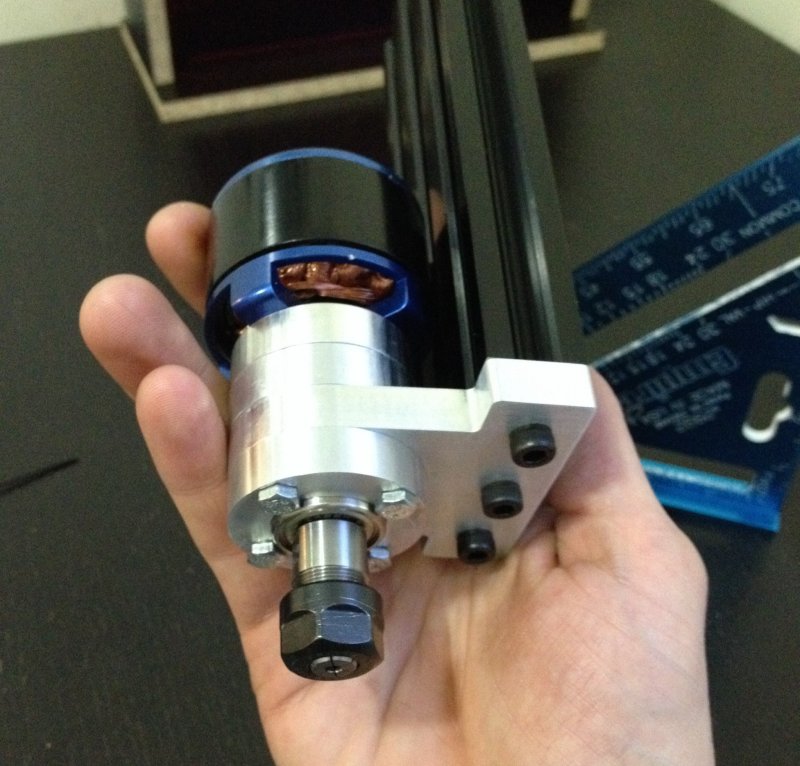
Then a loose test fit of all the parts with bearings in place.
The spacers center hole have bin made larger as to create a place for some bearing grease.
Fill the spaces with grease
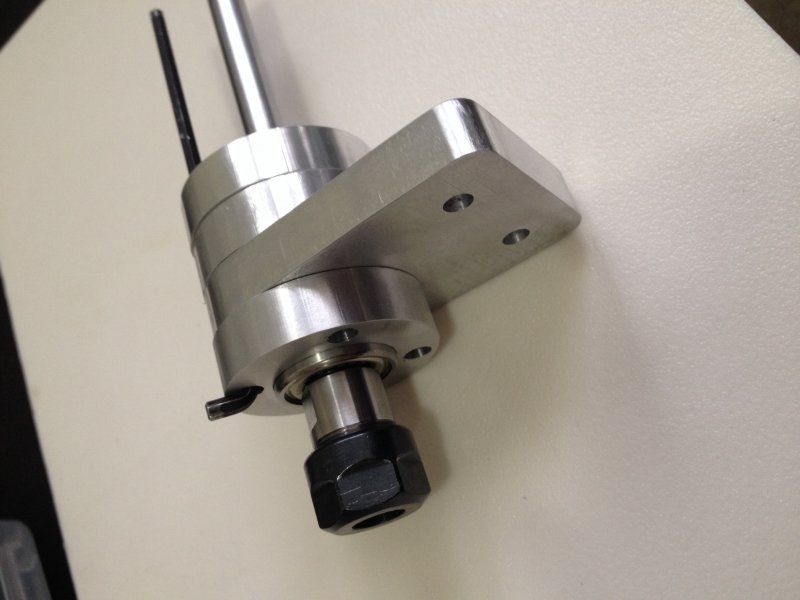
then press in the new outrunner bearings and press it onto the ER11 collet

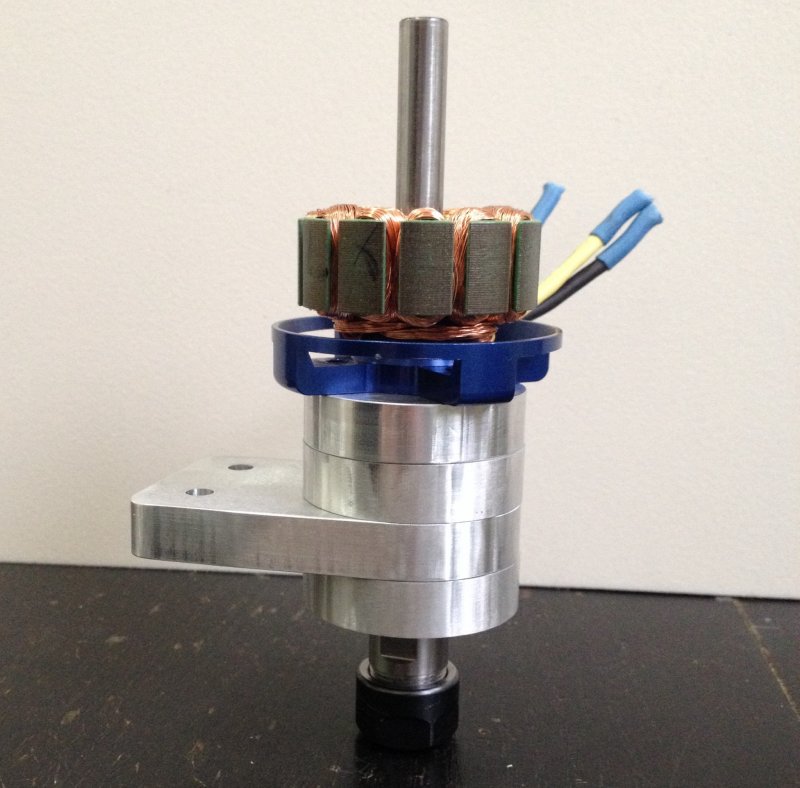
Then it's simply a matter of bolting it all together using M4x45mm screws and pressing the motor together.
Don't forget to put the little copper spacer onto the collet shaft before putting on the last part of the motor

DING DING now for the final weigh in for our light weight contender
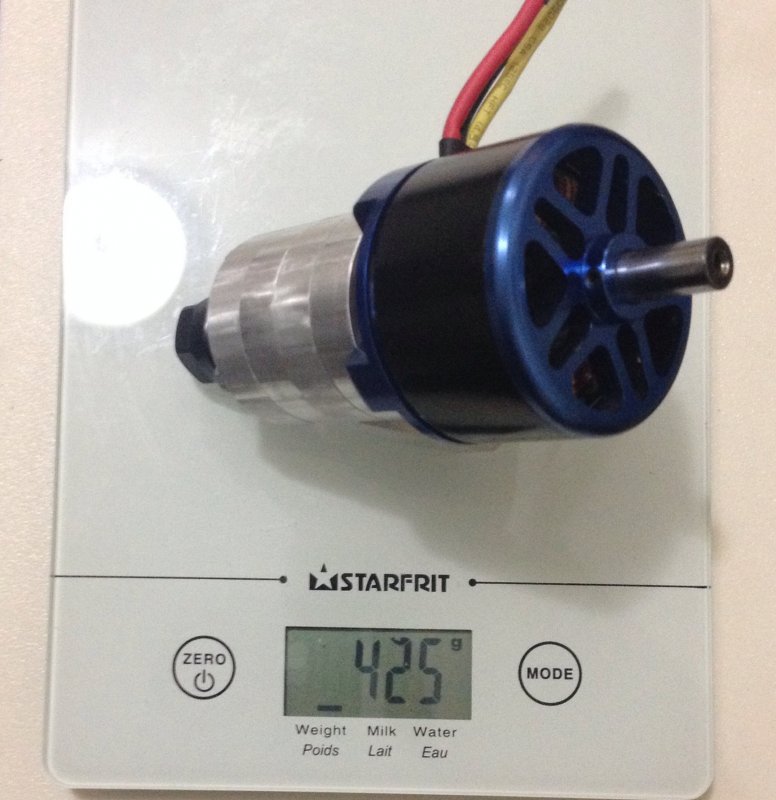
.936964 lbs
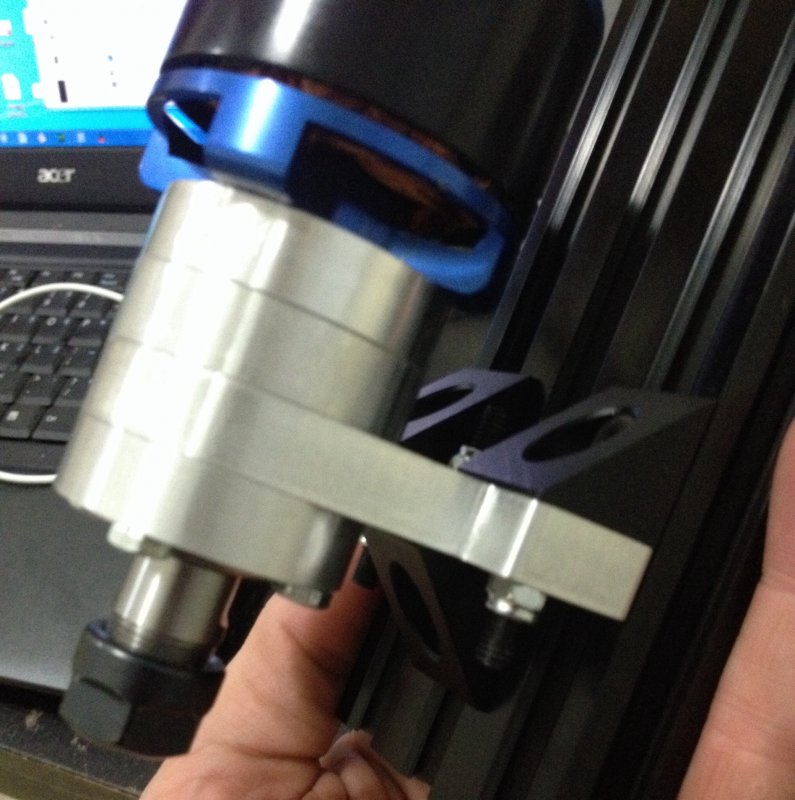
Since the OX has 20x60 used for the Z I have modified the mounting spacer to fit.
I will leave both files in the build for you to pick
Off to the mill I go!
Well here it is mounted to the Z 20x60 and checked for squareness
This is it mounted and test fit for the stepper and leadscrew assembly
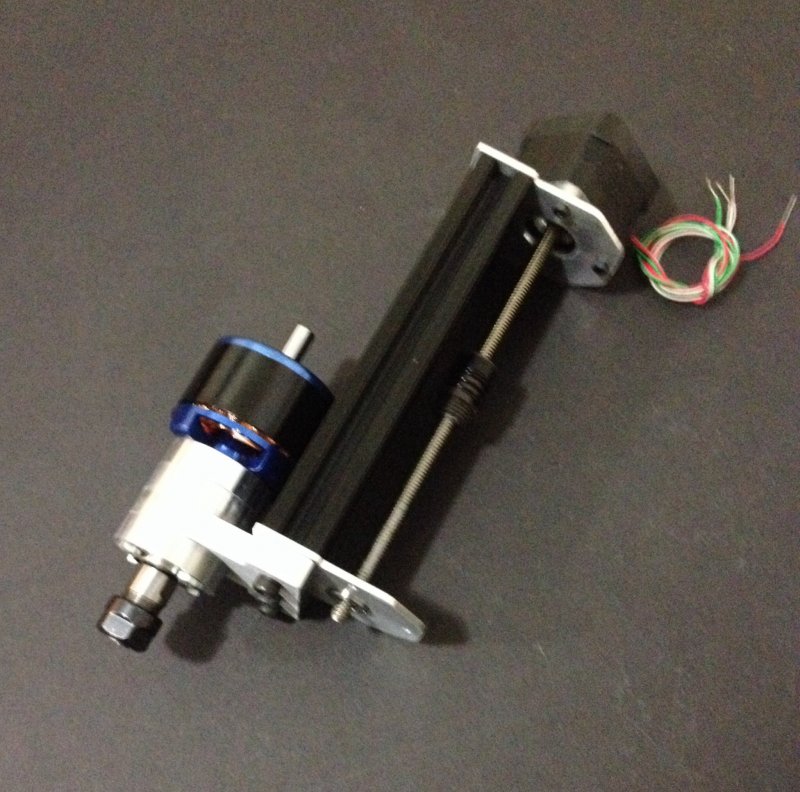
After some test fitting I decided to mount the spindle so that it's adjustable with a few turns of the screws.
This will allow for a variety of bit lengths to be used and only requires 3x90s black not cast
890KV OX RC spindle
Build in 'Everything Else' published by Robert Hummel, May 26, 2014.
This build is intended as a light alternative to the Dremel rotary tool.
-
-
Build Author Robert Hummel, Find all builds by Robert Hummel
-
- Loading...
-
Build Details
- Build License:
-
- CC - Attribution - CC BY
-
Attached Files:
