About a year ago, I bought an El-Cheapo MarkV 10W laser, intending to build a laser cutter. I hesitated though, because I wanted a big table, but that was a lot of extrusion to buy. I finally decided to build a more modest table, and placed an order. They day after it shipped, openbuilds announced the ACRO. Anyhow, I'm going ahead with the parts I got.
I'm starting with some detail about the controller. I'm a fan of GRBL and BigEasyDrivers. Here's a fritz:
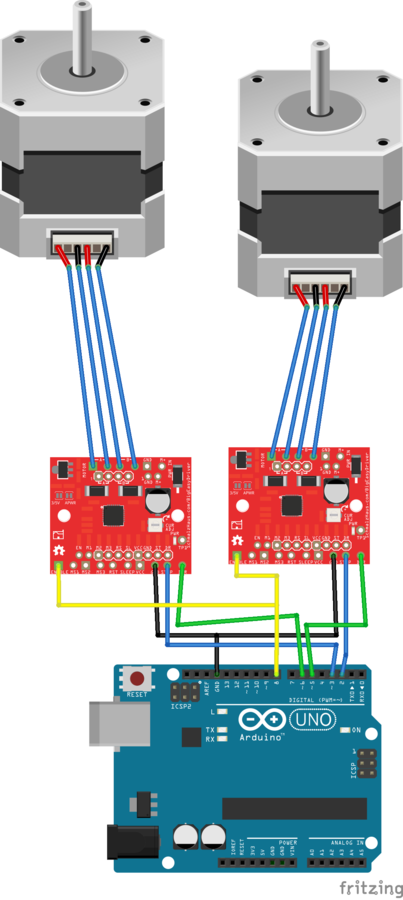
The BEDs come from sparkfun via creatroninc in Toronto. In the following photo, I have an arduino breakout cape. I got it from creatron, but I would recommend looking on tindie for a grbl specific cape. The terminals are bigger, better labelled, and in the centre where they are easier to use, while being a smaller cape. When all is said and done, the controller will be submerged in mineral oil to keep everything cold.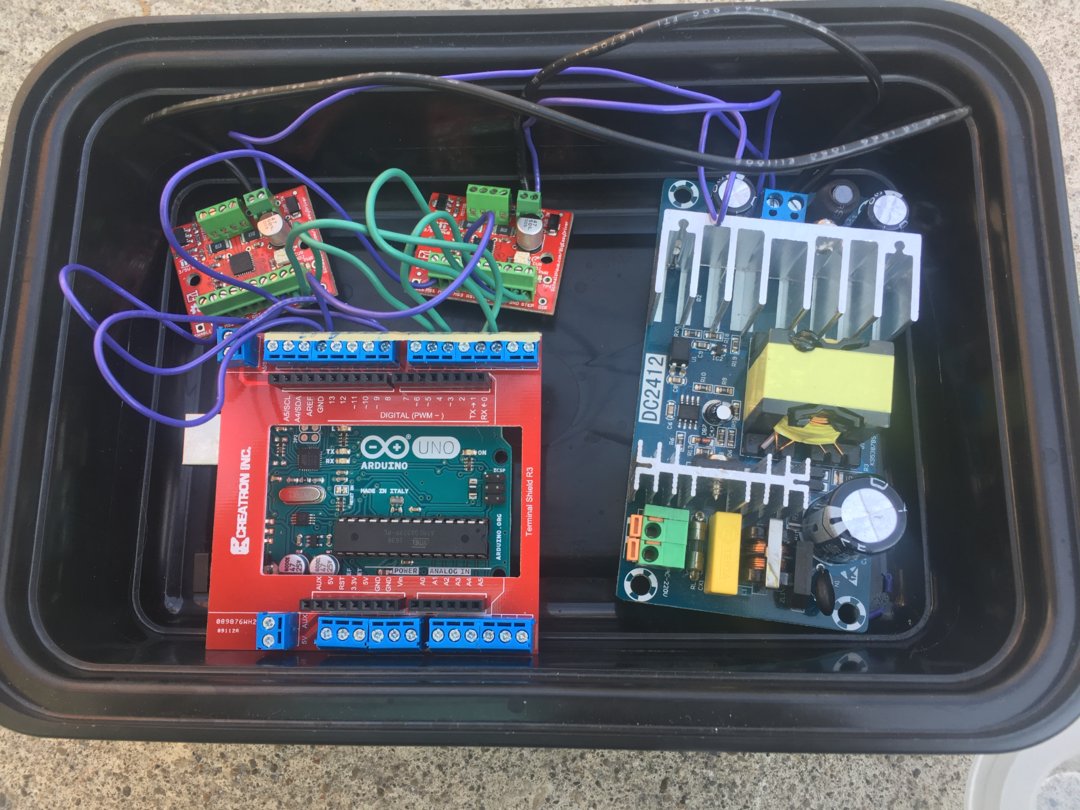
Next up: the motion platform! This is pretty simple, but having built it, I would recommend others not directly copy it. The fasteners at the corners are totally in the way, and hence waste about 2 inches at end of each axis. Also, the hidden right angle brackets are pretty but not very rigid, so I ended up using plates as well. A normal corner bracket would have been simpler, smaller and cheaper. I'm not sure it would be stiff enough for me, but probably.
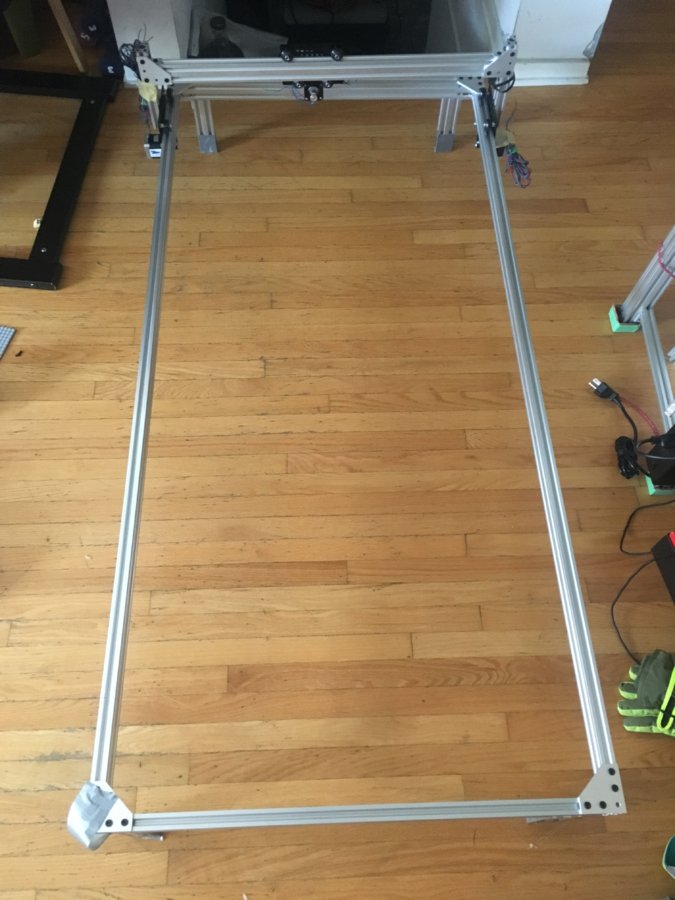
It's basically three big belt and pinion drives on 2040. Note to self and others: procrastinate cutting your belts as long as possible. No, really. You're doing it too soon. Yes, you.
September 26, 2017
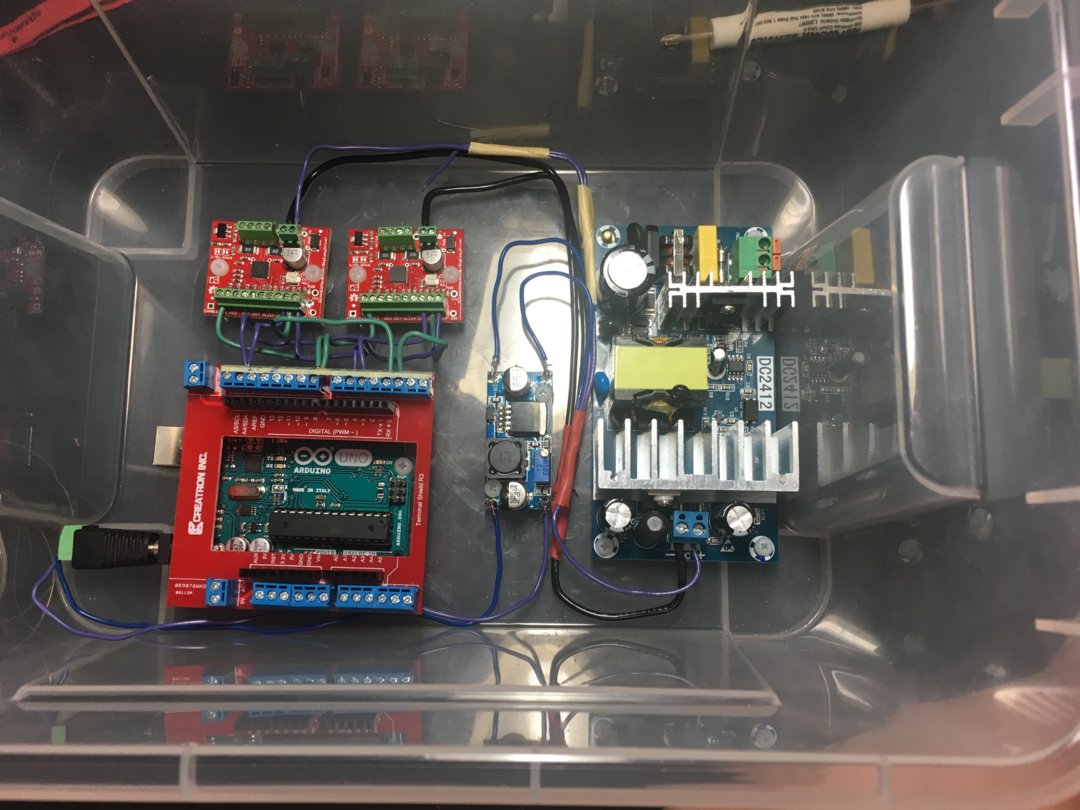
I redid the controller box. It's done except for power, USB, wires for motors and limit switches, and cooling. I'm going to flood the box with mineral oil and I have a pump and radiator for it. I'm not sure how I will power it yet, but I'll probably use the 12V that powers the arduino.
October 1, 2017
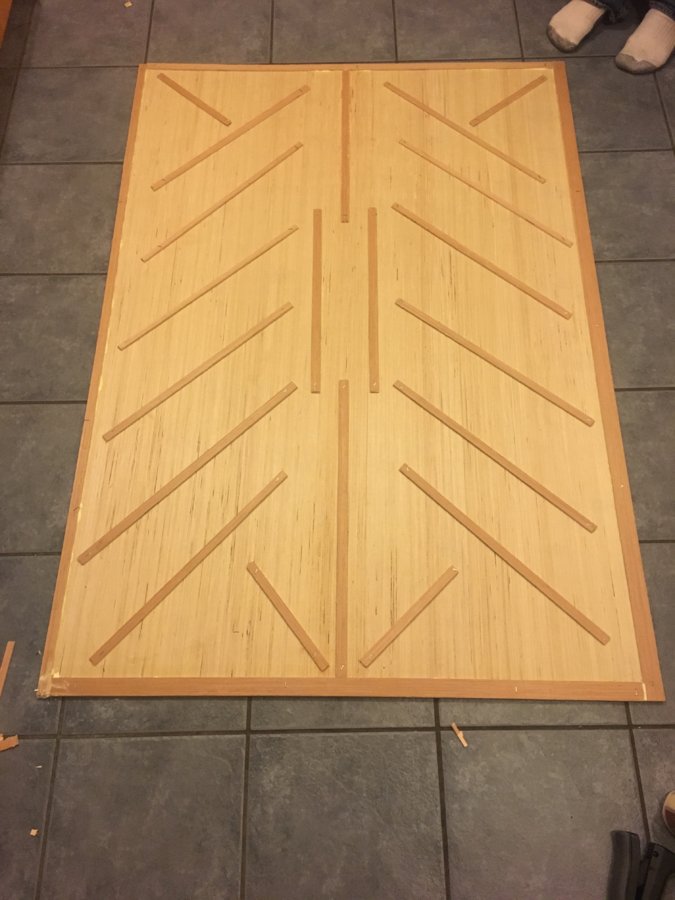
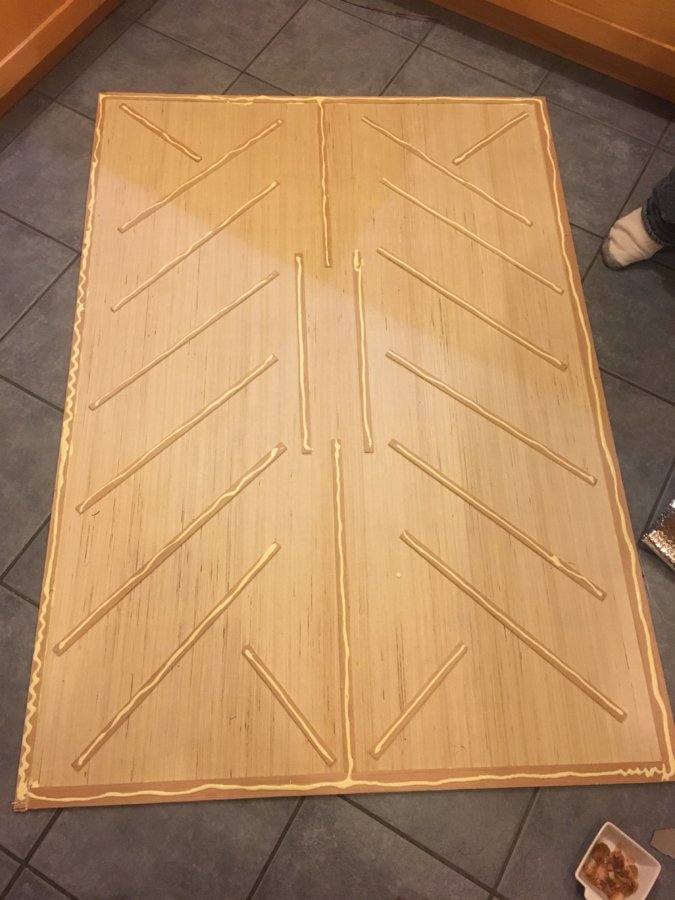
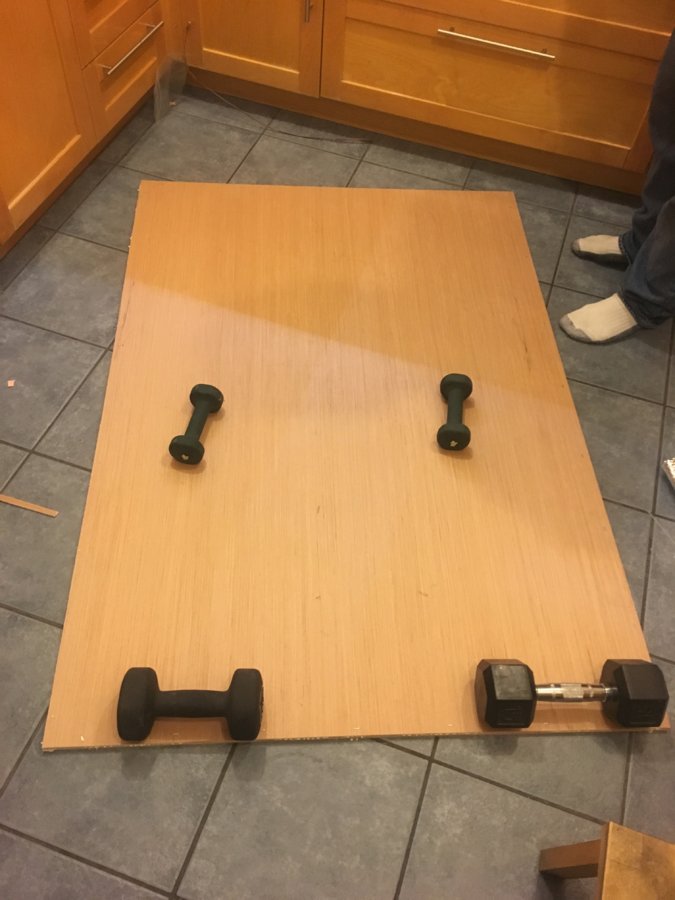
Ron and I built the vacuum hold-down table. Its based on the table in , but the table isn't structural, so I didn't build it as heavy as that. I used 2 4x8 sheets of 1/4-inch plywood. Basically, we cut the sheets down to 4x3 and then cut some of the offcuts into strips about half an inch wide. We were moving fast, so the widths of the strips is not consistent, and we used the widest ones on two sides: the table needs to be trimmed very slightly to fit, so we're going to trim on the side with the wider strips. Once its all mounted and leveled, we're going to try to use the laser to cut the holes. I think it'll go through 1/4 ply without too much trouble, but worst case, we'll use the laser to mark out the grid, and then hand-drill. This weekend, I also changed the width of the table from just under 3 feet of travel to just over, attached the radiator for the oil chiller to the frame, and mounted the end-stops. I don't have photos for all that, at the moment.
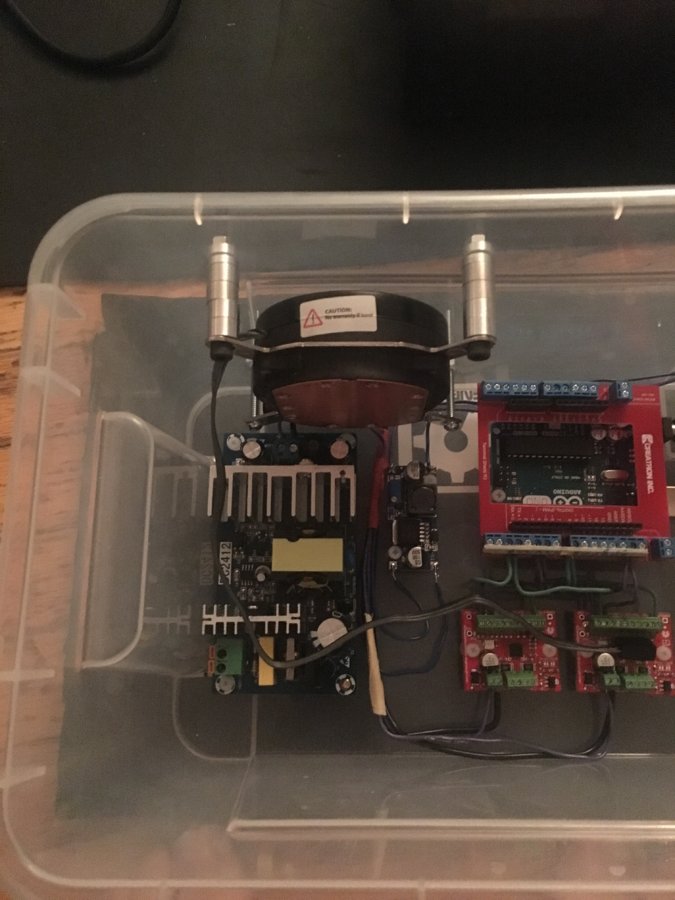
While proof-reading, I realized I hadn't posted an updated phone of the controller box. The round thing in the top of the photo is the pump for the oil cooling. Next time I do something like this, I'll probably do it all in a different order... The box is basically a plastic shoe box from Ikea. I laid out the boards, and then used a soldering iron to poke holes for the screws. I then bolted it all down and trimmed the wires . That's all great, but I came away with 2 regrets:
1) I didn't think hard enough about where to put the pump, so its in too close to the power supply.
2) I should have done all the waterproofing before installing the electronics! I could have used WATER instead of oil to test for leaks, and done my proofing both inside and outside the box.

4' by 2' Lasercutter
Build in 'Laser Cutter Builds' published by MTO, Oct 2, 2017.
4foot by 2 foot, 10W El-Cheapo blue laser
-
-
Build Author MTO, Find all builds by MTO
-
- Loading...
-
Build Details
- Build License:
-
- CC - Attribution Share Alike - CC BY SA
Reason for this Build
LASER.Inspired by
Real Genius (1985) -
Parts list
Qty Part Name Part Link Comments 40 2040 V-Slot Extrusion, 1500mm length http://openbuildspartstore.com/v-slot-linear-rail/ Link