2-14-2021
2 large upgrades over covid fall and covid winter.
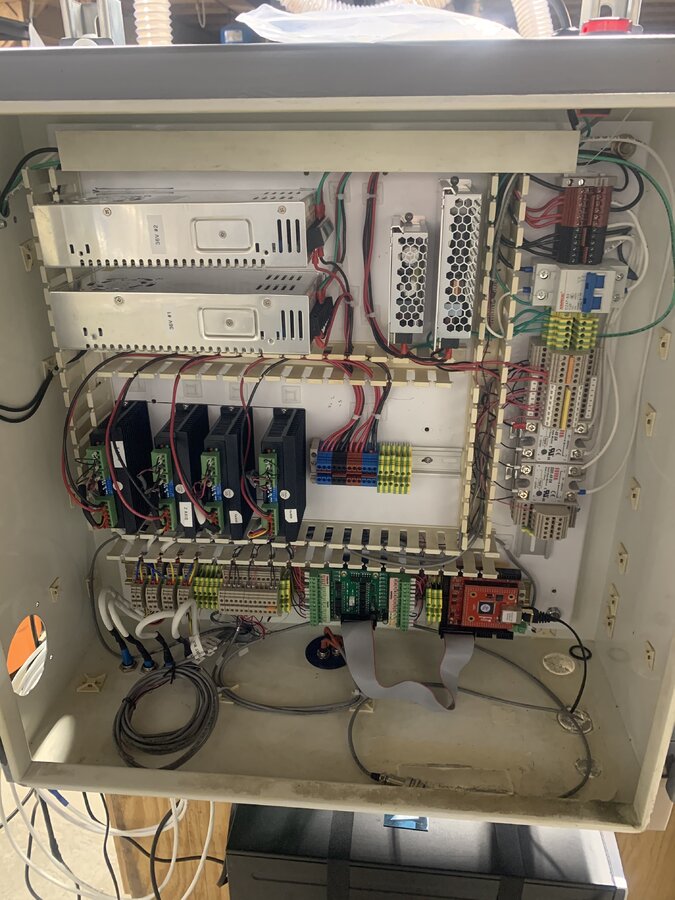
I switched to UCCNC and decided to get an adult electrical enclosure to go with it.

I put a relay and switch controlled vacuum plug to operate the dust collection from the front.
In addition I picked up a cheap touch screen from ebay to so with the UNCNC interface.
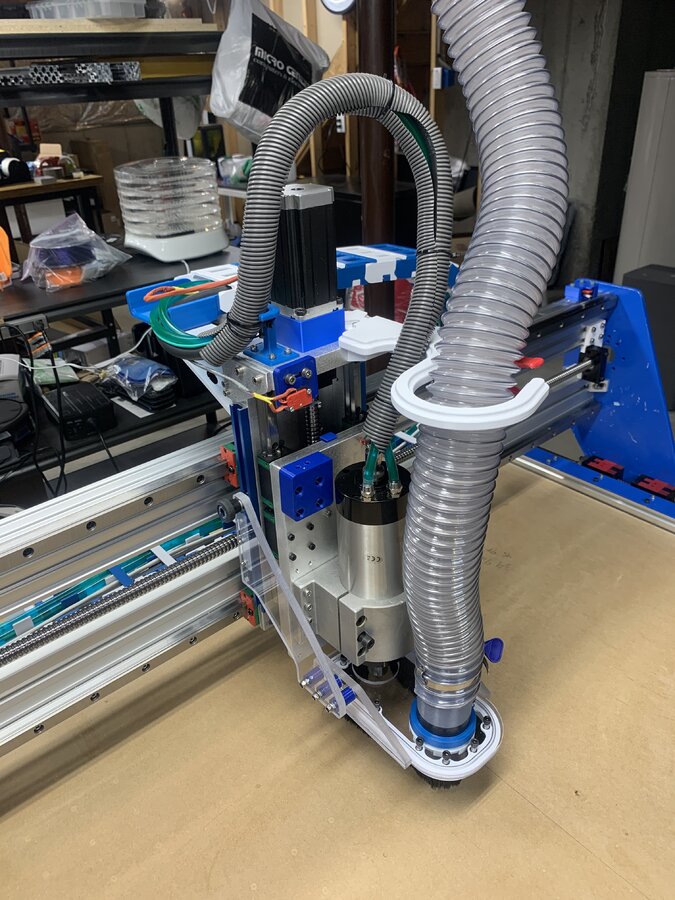
Then around Christmas I decided to upgrade to a spindle. This was a pretty big undertaking as I needed a 220V drop, new dust shoe, drag chain and cooling system.


View attachment 6
I do not recommend the multiple shelf controller concept. I couldn't find a reasonably priced electrical enclosure, and did not want to use wood, but, this has caused more problems then it's worth. I thought I could keep it modular with the shelves, but, they did not help.

The first and largest issue was resistance in my satellite terminal blocks. I thought I was following the "star ground" concept by having a main ground terminal block at the mains entrance and satellite ground terminal blocks on the other levels. I initially ran with a 18 Awg ground wire between the terminal blocks, but, due to the resistance in the wire, over only 20", I was reading a measurable resistance between the blocks. A 12 Awg wire fixed that. This caused cross-talk on the motors. When X+ was receiving a signal, Z- would move as well.
I originally used cat5 cable for the limit switches and had them running parallel with the router AC cord in the drag chain. Lots of false limit triggers until I switched to shielded 19/2 wire, separated my switches from power on either side of my drag-chain, and added ferrites to the router power cord.
So far I've run about 5 hours without another trip, that's quite a few, 10+ setups, over multiple projects.
My Ridgid router is working fine, but, since the variable speed only reduces to 20K, I haven't tried running aluminum.
3D printed dust shoe has worked better then I hoped. Virtually no dust left on the machine and nothing in the air while routing MDF. I added a thein separator and the HEPA bag/filter to my wet vac.

Basic installation, but, seems to work as planned. There is room for improvement as it would be helpful to be able to adjust the dust collection independent with the router. Some of the deep cuts are putting the dust shoe in odd positions. It has separated 2-3 times during cuts.

I changed the status to build complete, as the machine is fully functional, but, are we ever really done?
Future improvements:
- Purchased a UNCNC controller. UC300ETH-LPT with a opto-isolated breakout board to allow 24V limit switch signals. I'll install this with the next upgrade along with some relays to allow easier control over the dust collection and router.
- I bit the bullet and I am purchasing a 24" by 24" enclosure. I was able to find a used enclosure local that was reasonable. I'm not sure when I'll rebuild, I might wait until fall when I have more time to spend modifying instead of running
- I made a little remote dongle for simple controls. Was really built before the decision to upgrade to UNCNC, but, I'll likely still be able to use it.
- Need a zero probe, bought the AL, just need to get it installed
- Acrylic spindle mount. The 3D printed mount has a little flexiblity, and I would like to be able to see the bit with the shoe on. I'll remake a dust shoe that mounts to the support plate so it's independent of the router mount.
- Router upgrade. At the very least I'll go for a Makita 0701.
First cut video is posted (~3 false limit alarms before I got through a simple message)
Parts list with costs posted.
3-29-2020
Completed the build enough to move the axis and home. Almost ready for the first cut.

Completed multiple 3D prints to support components, including a drag chain.


Initial Post
1-11-2020
Getting started on the build, design complete, less the details on the router mount.
Started with a deal on some FUYU 800 mm linear rail assemblies and a Long's Motor motor driver kit.
This led me to use the linear rails and ball screws used on the Y axis. This is the reason for the MGW12 rail blocks on the Y-axis. If I don't like them I'll replace eventually.
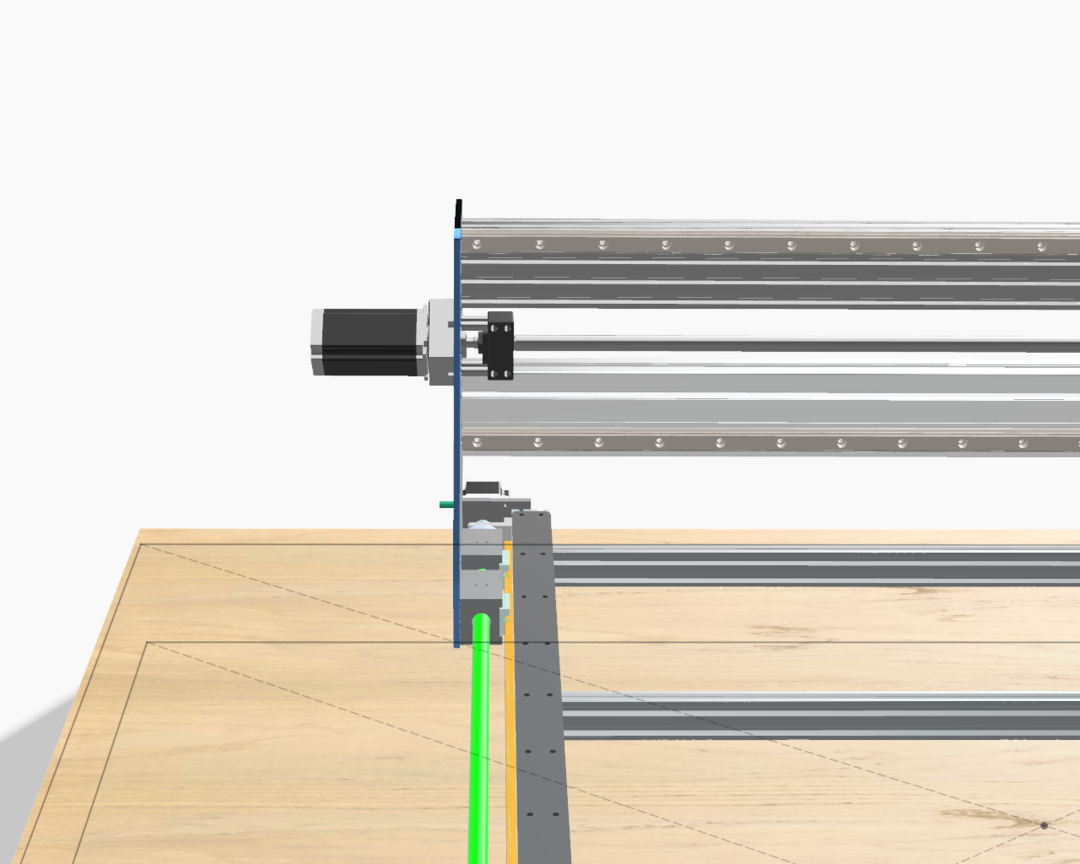
I had previously purchased some C-Beam and 8020 extrusions from Openbuilds, so I used these for the base assembly. The 1/8 plates are added to reinforce the 8020 and 2040 side rails. I still need to design end braces. I may 3D print some until I get a spindle and can mill them.


Base is complete. It's a 4" torsion table on a 24" cabinet. I wanted it on the low side to allow easy reach across the router and to allow room for a future enclosure.
Parts list is still a work in progress. Prices reflect what I paid, not retail.


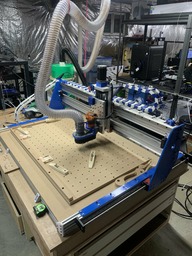
27" by 40" CNC
Build in 'Cartesian Style CNC' published by mathom713, Feb 14, 2021.
DIY design and build of a roughing 2' by 3.5' CNC router
-
-
Build Author mathom713, Find all builds by mathom713
-
- Loading...
-
Build Details
- Build License:
-
- CC - Attribution - CC BY
Reason for this Build
Primary use will be wooden sheet goods. Would like to add add non-ferrous milling eventuallyInspired by
RigidOko -
Attached Files:
-

