
Ever since getting VCarve Desktop v11 I have enjoyed making 3D carves from wood. My current Ox variant was limited to 70mm in the Z axis so there were some carves I was unable to do at the scale I wanted (roughly 400x250mm by 150+ in the Z). I was also getting ready to completely disassemble it and modify it to be similar to the LEAD 1010 High Z (except with a 1500mm Y). This would leave me without a CNC router for some time. One day I was looking at my lathe and I realized I could easily get the XY size I needed by simply building a removable Y table, essentially making a C-Beam XL with about a 6-7 inch DOC. The following is how I did that:
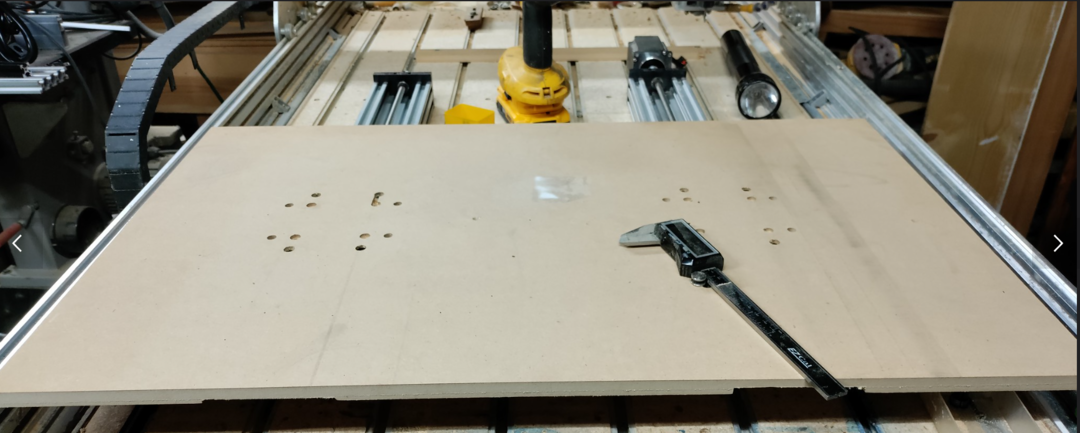
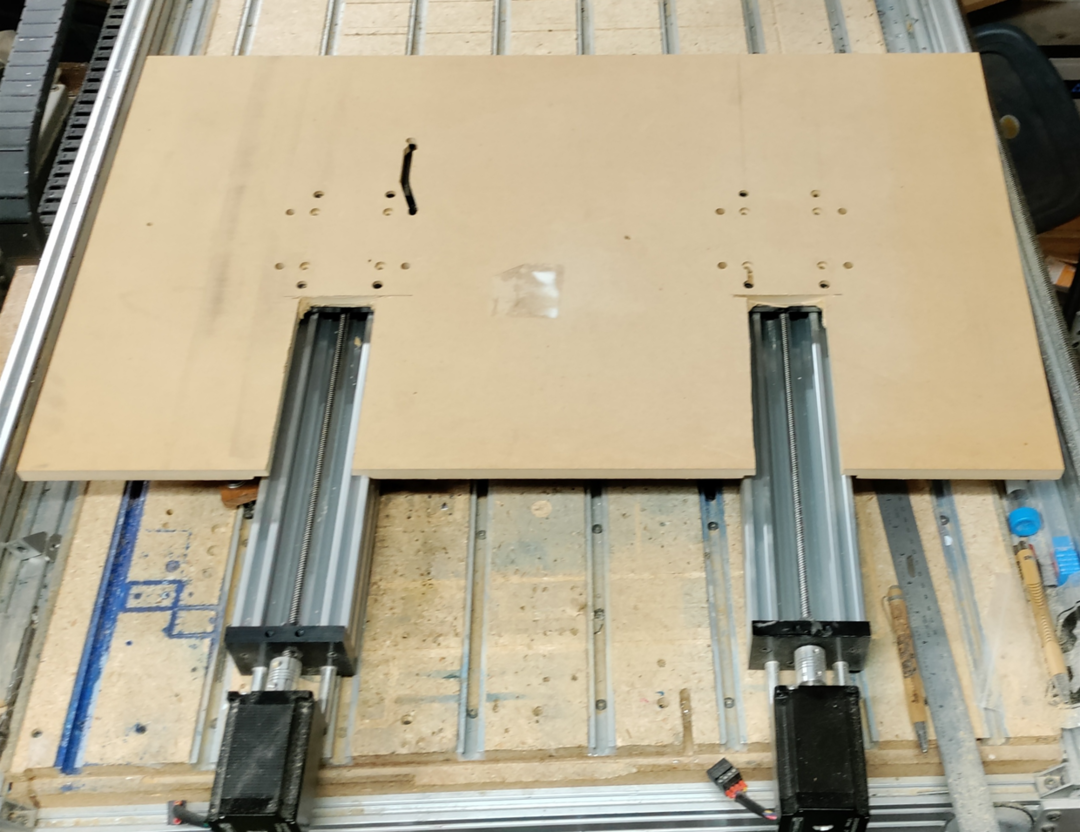
First, I purchased two 500mm C-Beam® XLarge Linear Actuator Bundle with 2 NEMA 23 Stepper Motor - High Torque Series. I assembled them as per the instructions. Then, using my existing CNC Router, I cut out the spoil board from MDF and machined a slot in the bottom so the C beam end plates could clear the MDF.
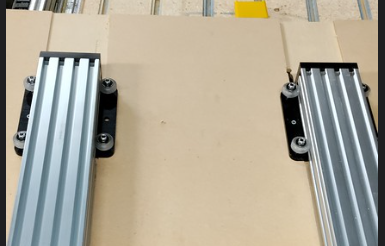
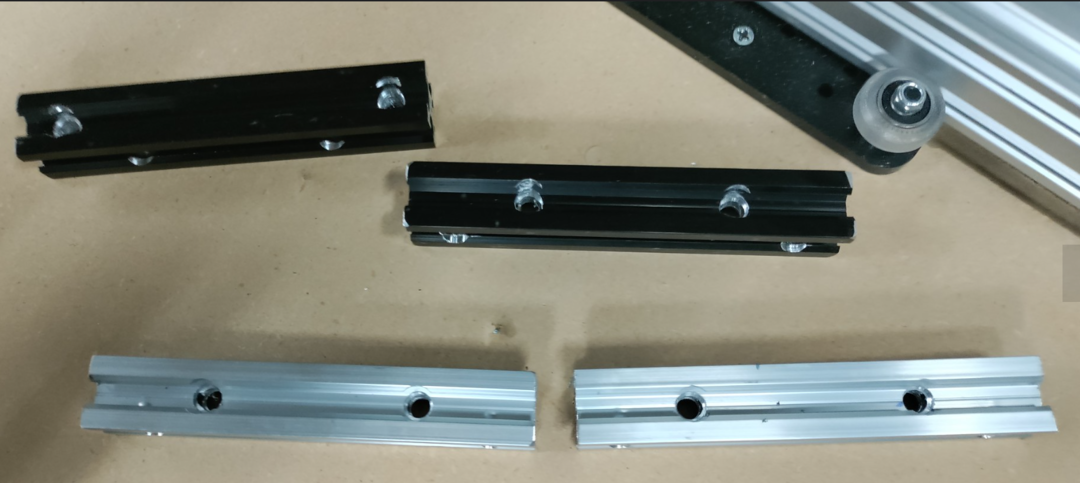
To mount the spoil board to the actuators, and to make them easily removable, I used scrap 2020 Vslot pieces that I drilled holes through so they could be attached to the lathe tailstock C beam.

I then measured from one end of the C beams, centered where these "mounting brackets" should go, squared them up, and attached them. I then mounted the C beam actuators to a spare piece of 2080 V slot to confirm everything was square.

Very quickly (upon wiring up and crashing during the test) I realized that I would also need a slot for the stepper motors to clear, or I would severely limit my Y travel. I cut that with a circular saw.
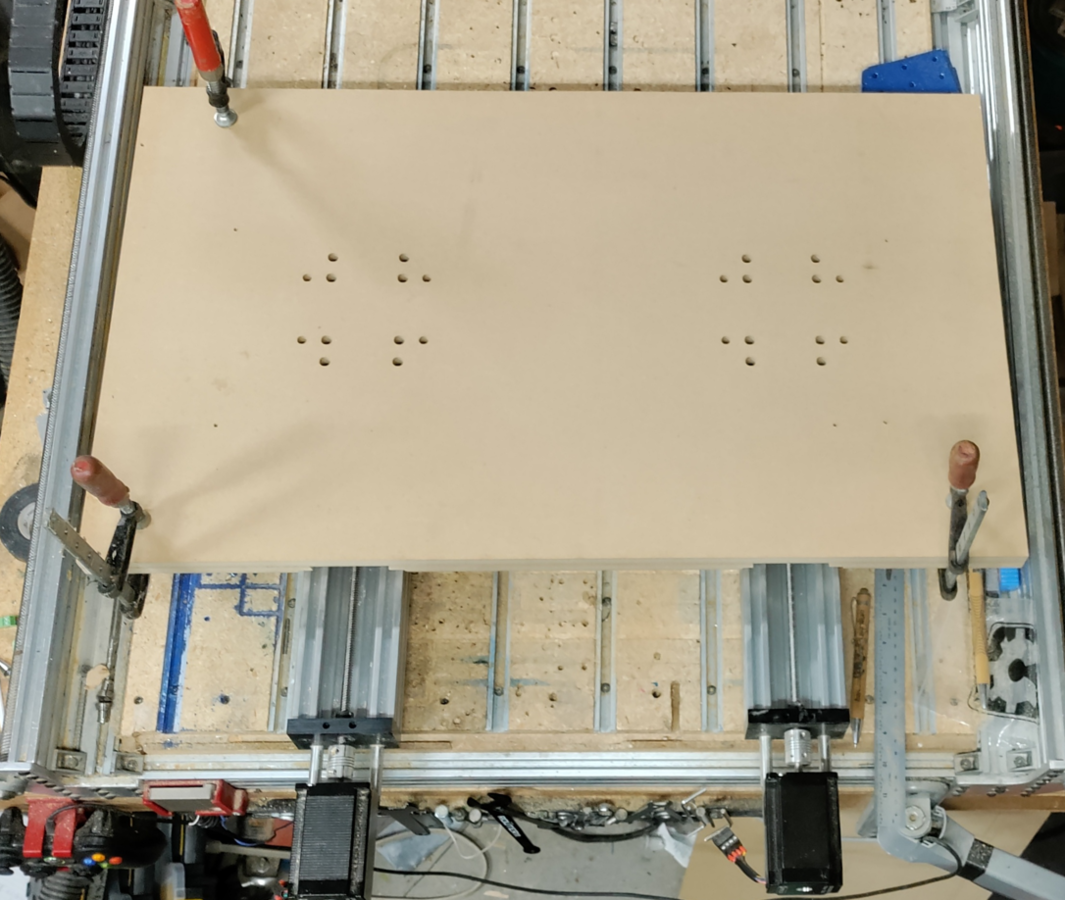
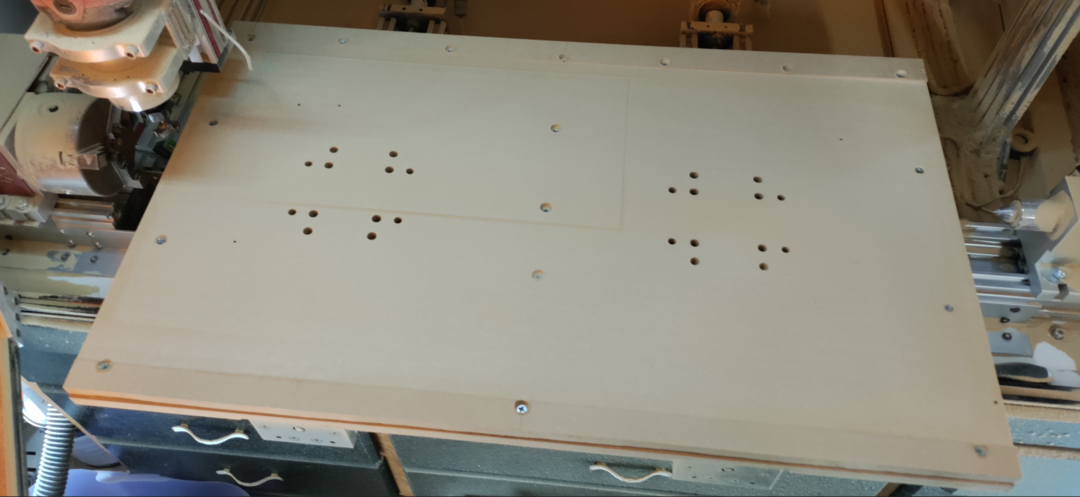
I now needed to double up the spoil board. I had planned to do this anyways, so I cut another piece with matching holes so I could reach the screw heads on the lower board that fasten the spoil boards to the linear actuators. I clamped them together and fastened top to bottom with a number of counter sunk screws so the spoil board could be surfaced numerous times.
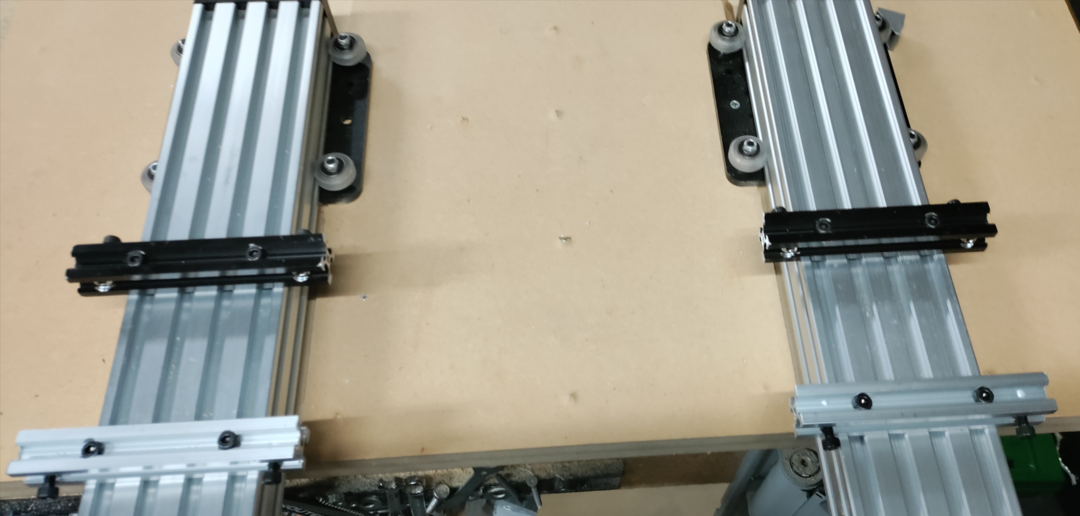
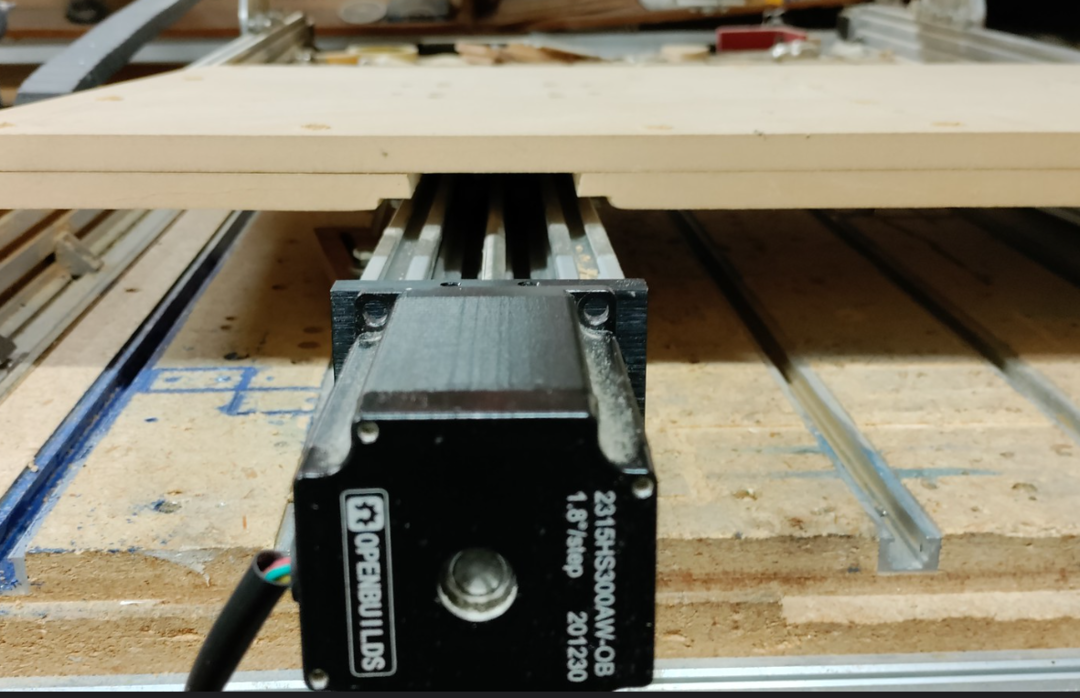
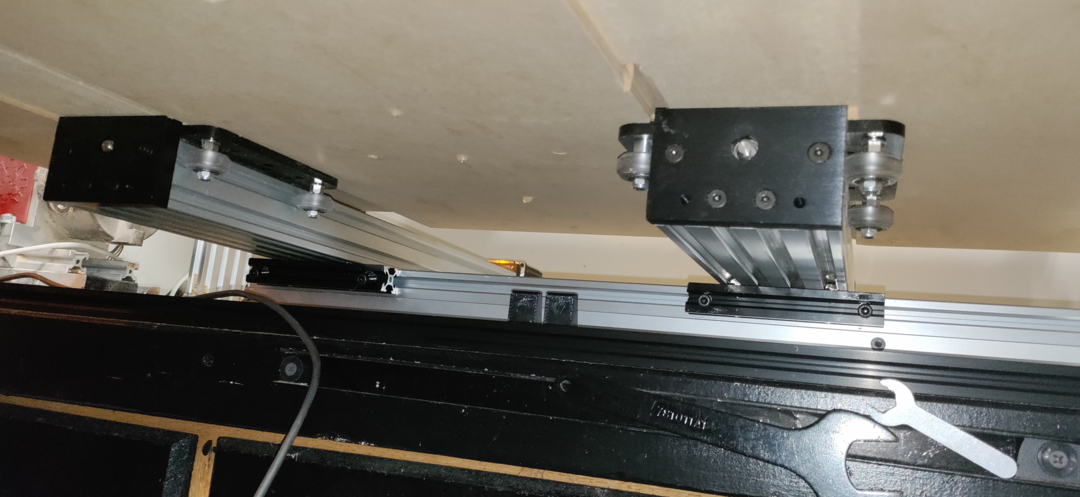
Here you can see how it is fastened to the tail stock C beam with the 2020 pieces and drop in t nuts for easy removal and attachment.
View from the top and you can see the counter sunk screws holding the 2 layers of spoil board together.
The only drawback I have found for doing this is that I can no longer close the doors of the OpenBuilds Modular Enclosure System when this is on and in use.
To use it, I just hook up the Y limit switch that is in parallel to the Lathe Y switch and unplug the lathe Y rotary stepper and plug that cable into one of the Y cables and plug a cable from the Y slave plug to the other. I then change my Y axis Grbl settings (making sure to remember to write down the rotary setting). After calibration of the Y I surfaced the spoil board.
For what little work this took to do, and the limited expense compared to another whole machine build, I am very happy with how it turned out. I have only used it for a few things so far because I have been too busy salmon fishing, but once it gets cold and rainy and the fish are gone, I will start some more carves.
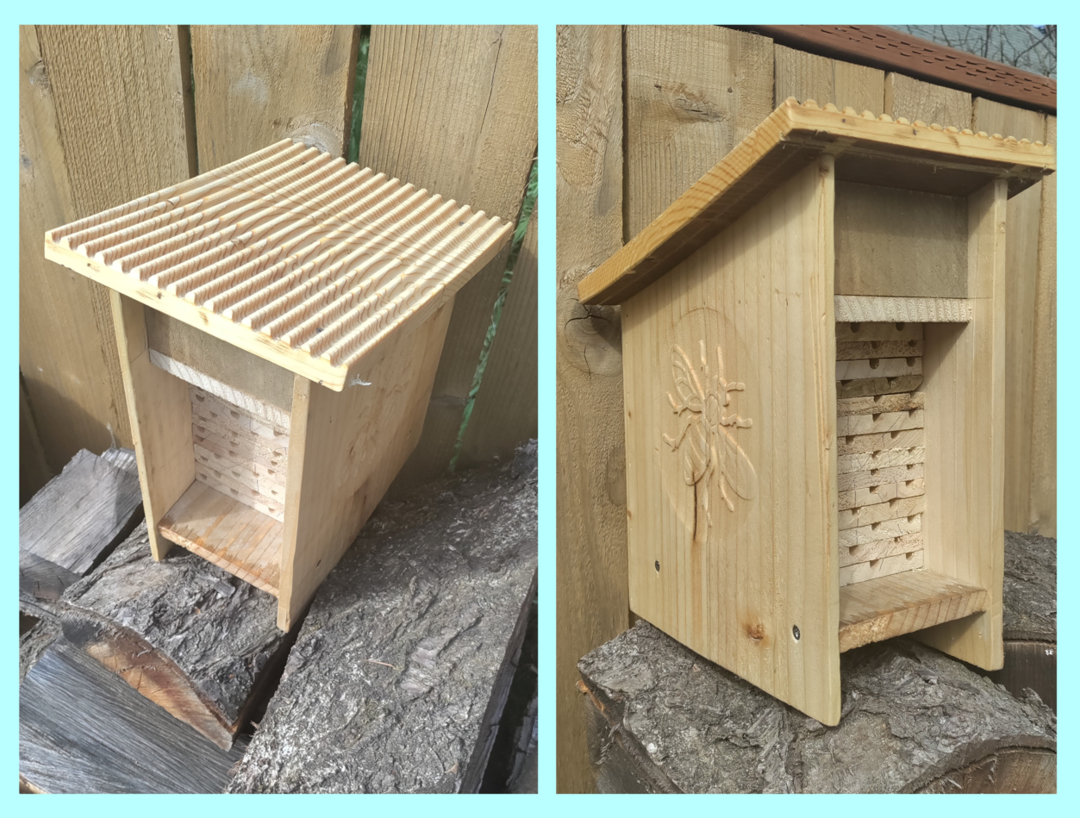
Here is a video showing the test. I cut a roof for a mason bee house I made. It was a scaled and cut version of this model railroad building roof from Thingiverse. Watchtower by Pietia

Y table for LEAD Lathe - essentially a High Z Cbeam XL
Build in 'X/Y Table Style CNC Mill' published by Giarc, Sep 17, 2022.
I built the lathe as a dedicated rotary axis, but I soon realized I could have a back up CNC for very little expense.
-
-
Build Author Giarc, Find all builds by Giarc
-
- Loading...
-
Build Details
- Build License:
-
- CC - Attribution - CC BY
Reason for this Build
To do larger 3D carves
To have a back up CNCInspired by
C Beam XL -
Parts list
Qty Part Name Part Link Comments 1 V-Slot® 20x20 Linear Rail https://openbuildspartstore.com/v-slot-20x20-linear-rail/ Link 2 C-Beam® XLarge Linear Actuator Bundle https://openbuildspartstore.com/c-beam-xlarge-linear-actu... Link 2 NEMA 23 Stepper Motor - High Torque Series https://openbuildspartstore.com/nema-23-stepper-motor-hig... Link 16 Drop In Tee Nuts https://openbuildspartstore.com/drop-in-tee-nuts/ Link 16 minimum 0 Link 1 Xtension Limit Switch Kit https://openbuildspartstore.com/xtension-limit-switch-kit/ Link I needed one more wired in parallel to the original Lathe switch. 0 Link