This is my first CNC build, and while there have been a few bumps along the way, I have enjoyed it immensely!
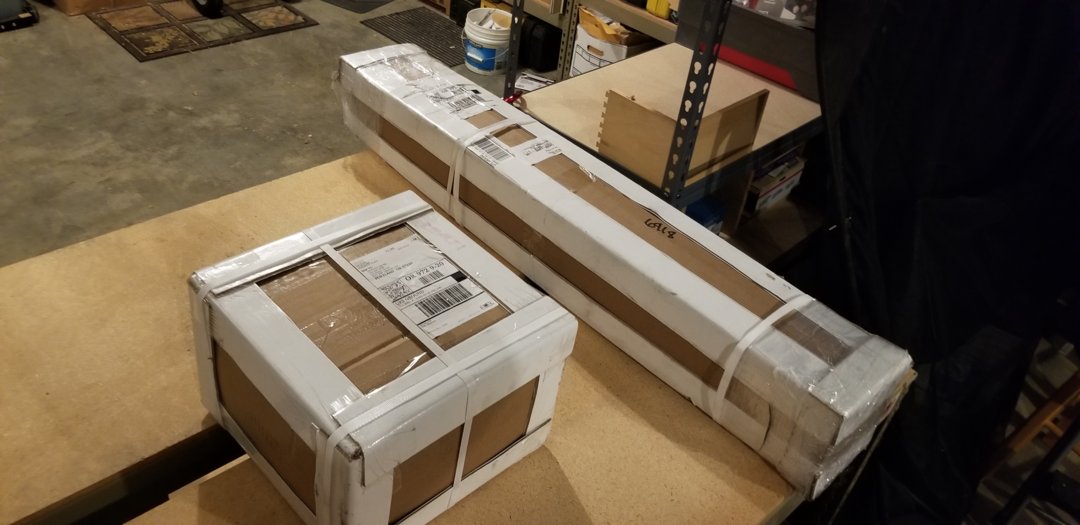
The initial build took a little over a week, with the build video by Openbuilds providing a very useful reference. The only real issue I encountered was a stepper motor wire color difference versus the video.
Following the advice I found online, the first test of the CNC were done with a pen, rather than a router. I found a pen holder design which I modified to attach to the front of the router fixture, and issued the obligatory "hello world"!

I spent the next few weeks working on vacuum based spoiler boards, as my first projects require a full profile route, so clamp based hold down is sub optimal. I started with a shop-vac powered setup to hold the work piece down during hardwood routing, but even with a two stage vacuum configuration, the work piece still broke free sometimes. In the end, I switched to a vacuum pump arrangement, which has worked more consistently.

Fusion 360 was the work horse for the design of the vacuum spoil boards and projects, as well as CAM and tool paths. I started my laser engraving efforts using Inkscape for design and G code generation, but have moved to Lightburn (yes, you have to pay $) and would not consider going back. UGS is my primarily G code sender, with Joy2Key to enable a USB game controller for jog control. I did develop a handful of Python scripts to deal with some G code issues between Fusion/Inkscape and UGS - nothing too exotic, but too much to deal with manually. Another script was required to translate the G code X-axis to Z-axis, so that an image can be applied to the edge of a work piece. In the process, I did stumble across a UGS bug in visualizing G2/G3 moves in the Z plane, but was able to get the CNC to do the right thing, so it was more of an annoyance than anything.
A laser was mounted adjacent to the router to allow engraving/cutting, and a prism attachment developed to allow the laser to engrave the side of work pieces. I also added air assist using a fish aquarium pump and some fluid flex pipe, which I have found to enable a more consistant result. So far, the laser setup has yielded pretty impressive results.
Here is a link to the 3D printer model of the laser adapter: Workbee CNC/Endurance Laser Adapter by dustnnotes
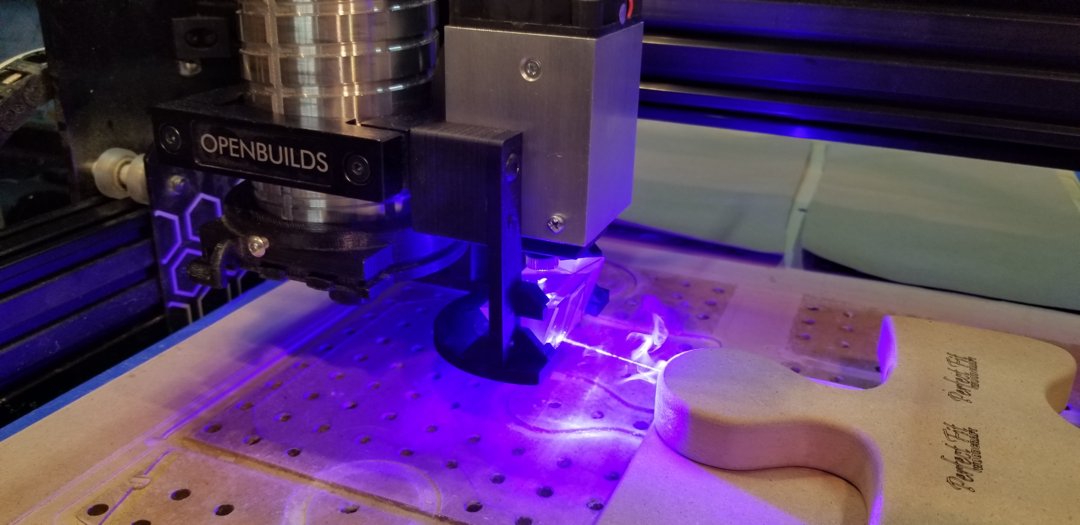
I have been using a second dust shoe attachment to remove smoke during a laser operation, using the filtration of the dust collection system to provide a coarse level smoke particle removal. My most common mistake is to have some issue in the alignment of the job coordinates with the machine coordinates. So with a Python script, I have added a "marker" header to the beginning of the laser engraving G code so you can see where the image will be engraved - saves on wasting material.
There were a few more additions, including mounting an USB endoscope camera on a flexible fluid pipe, and inserting it through hole in the dust shoe to monitor the router in action. I have found this a valuable tool in monitoring the job progress, and in providing an early warning when things are going sideways before too much damage is done.

I also purchased an XYZ probe from eBay, and wrote the macros to automate work piece location on the machine - a necessary step to remove the tedious manual alternative. Highly recommended.
This year, for our annual Super Bowl Squares game poster, I used the CNC as a basic plotter. I went back and used the pen adapter equipped with a sharpie, and wrote a quick python script to lift and lower the pen whenever the bit Z height went through 0. With more time, I am sure I could improve the resulting image, but it served it's purpose here, just fine.
I have implemented a grid hold-down spoil board system, dual air assist and explored a number of fixture solutions for projects that appear in the video, but I have not yet described in detail here - a project for another day.
To be honest, I have achieved a bit more success than I envisioned, and am look forward to building on my budding CNC usage repertoire.
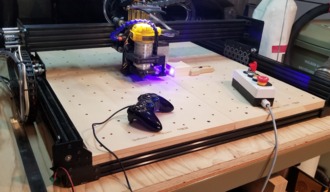
Workbee CNC Router/Laser/Plotter
Build in 'X/Y Table Style CNC Mill' published by Leonard Cross, Jan 31, 2022.
A CNC machine with an expansive 30x30" work area, supporing a router, laser, simple plotting and work monitoring camera. Control includes a tethered control box, game controller style jog control, and relay controlled AC outlets for all appliances. Accessories include a 3D printed dust shoe, a complete spoilboard and hold down system, an XYZ touch probe and multiple vacuum retention boards to support full profile routing.
-
-
Build Author Leonard Cross, Find all builds by Leonard Cross
-
- Loading...
-
Build Details
- Build License:
-
- CC - Attribution NonCommercial - Share Alike - CC BY NC SA
Reason for this Build
Learn about CNC hardware and software and augment my maker skills -
Parts list
Qty Part Name Part Link Comments 1 Openbuilds Workbee 1010 https://openbuilds.com/builds/openbuilds-workbee-1010.7198/ Link Great machine for the price! 1 DeWalt 611 Router https://www.amazon.com/DEWALT-DWP611-Torque-Variable-Comp... Link I would like lower RPM options - would look at the Makita RT0701 1 Endurance 10W+ Laser https://endurancelasers.com/diode-lasers/10watt-endurance... Link I started with the 5.6W version, but upgraded just a few months later. More is better! 1 Openbuilds Workbee wiring kit https://openbuildspartstore.com/wiring-kit-openbuilds-wor... Link 1 3D printed Router dust shoe https://www.thingiverse.com/thing:1243484 Link 1 CNC Corner Zero finder/Touch Plate/Edge Finder/XYZ https://www.ebay.com/itm/CNC-Corner-Zero-finder-Touch-Pla... Link Have gotten my $$$ worth on this one 1 Round Nozzle 1/4PT Flexible Oil Coolant Pipe Hose https://www.amazon.com/gp/product/B071JQ38N5/ref=oh_aui_d... Link Used to position the endoscope camera and for dual air assist 1 USB Endoscope camera https://www.amazon.com/DEPSTECH-Semi-rigid-Inspection-Wat... Link Use it every time I route! 0 Link 0 Link 0 Link 0 Link 0 Link 0 Link
