

I would like to point out that many of the OpenBuilds parts I am using could be 3D printed if all you want to do is use it as a 3D printer and have no plans to add a spindle to it at a future date, as the 3D printed parts would flex too much for routing or milling., But for a 3D printer they are more than adequate and would save a large amount of money. So the choice is yours.
As well, I am open to providing the acrylic laser cut parts for a small fee for anyone who wants to use them, but do not have access to a laser cutter. 3D printed parts could be made available as well, PM me if you are interested.
April 16, 2018
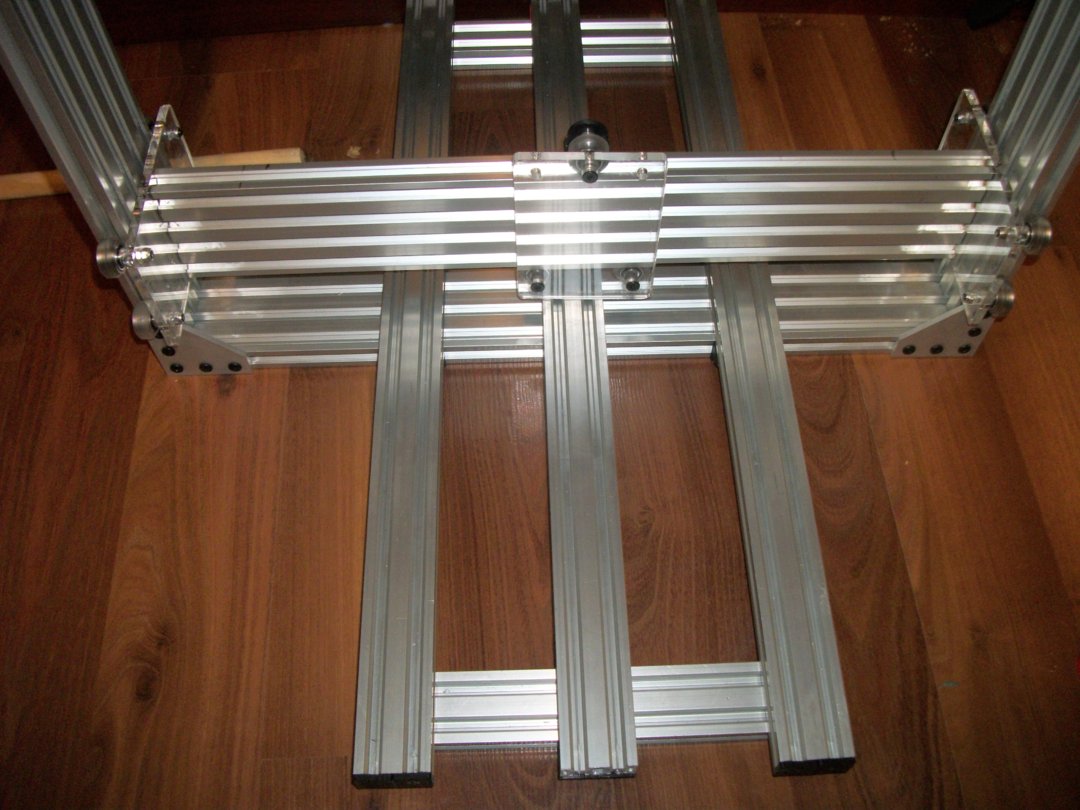
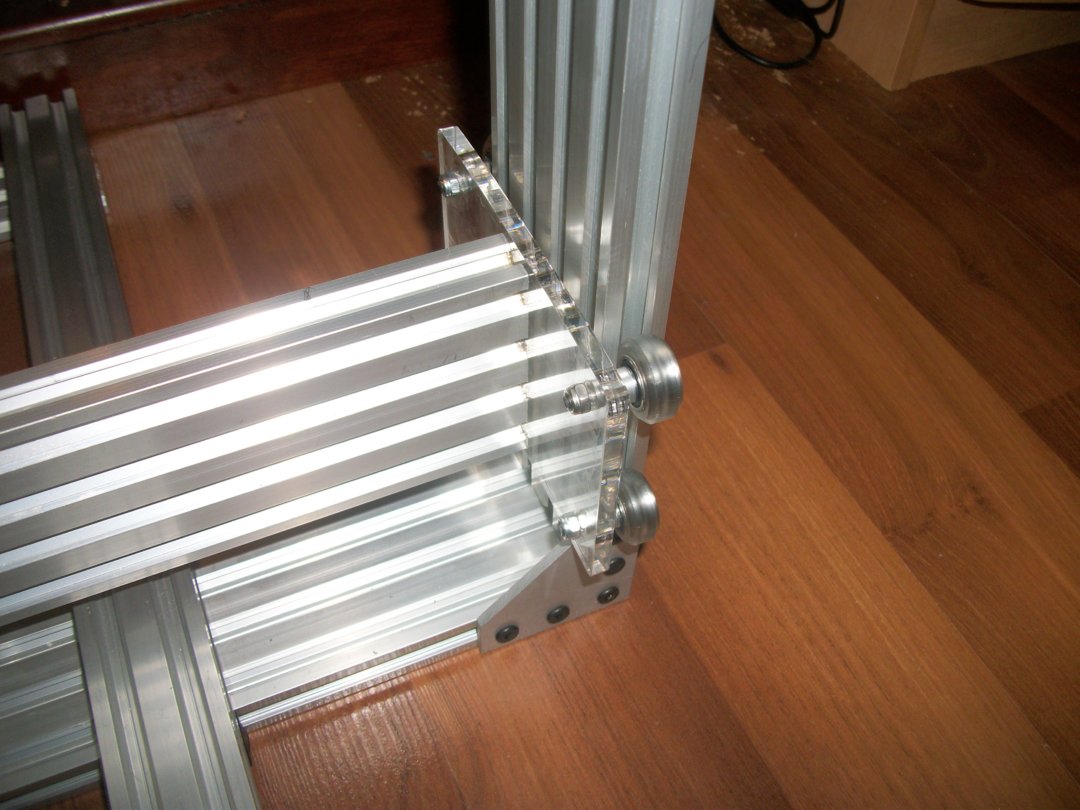
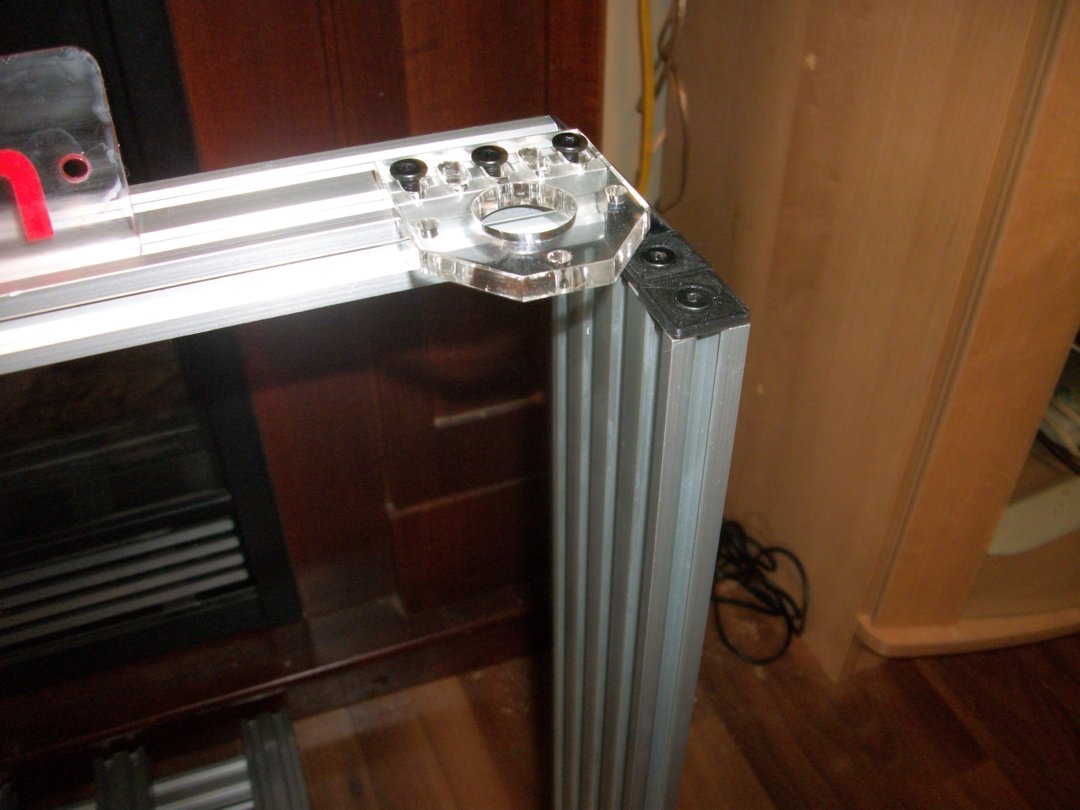
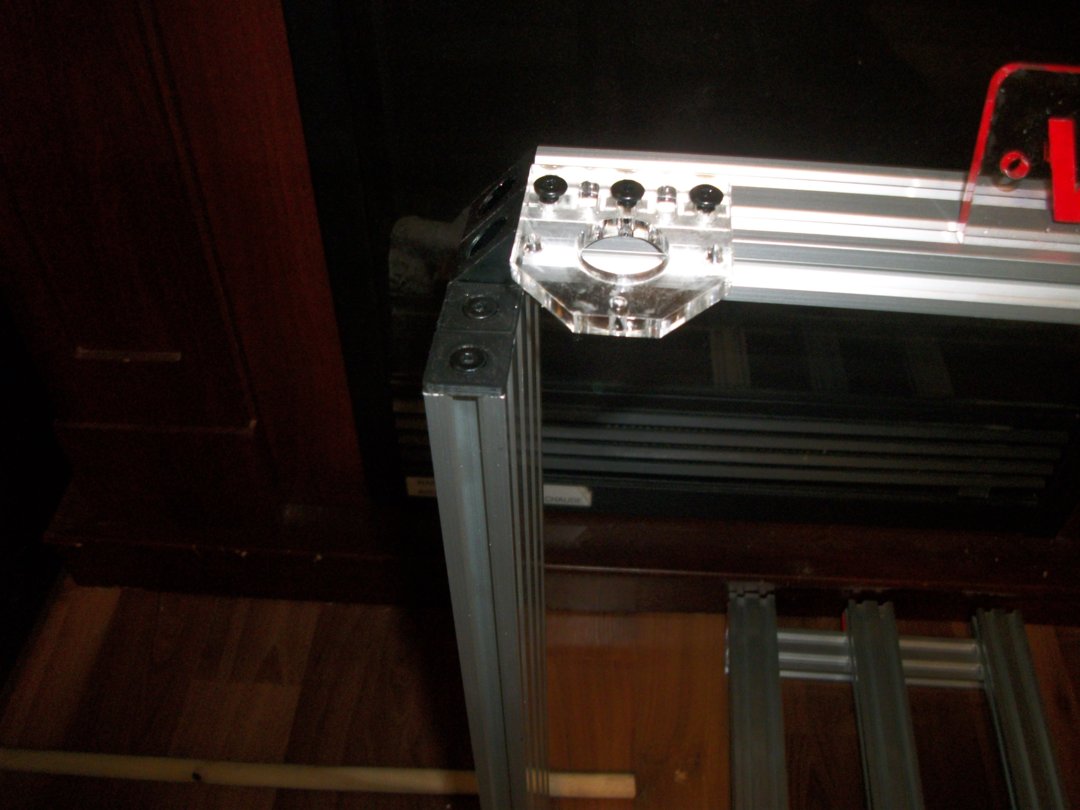
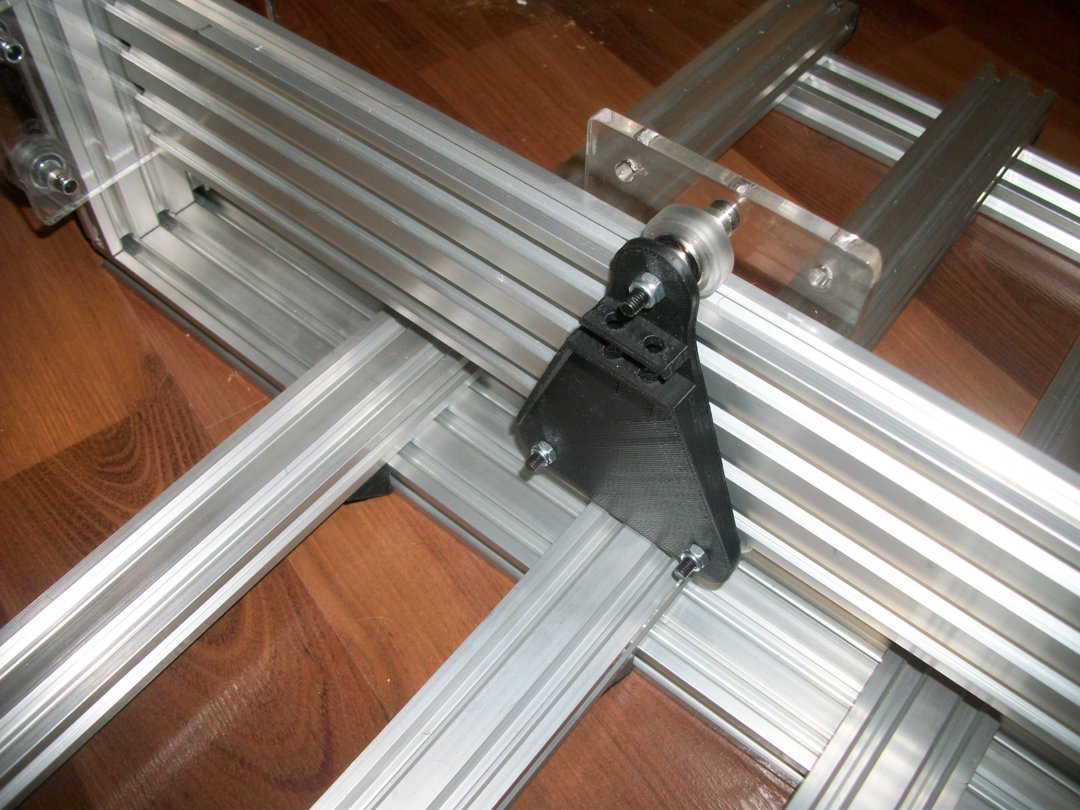
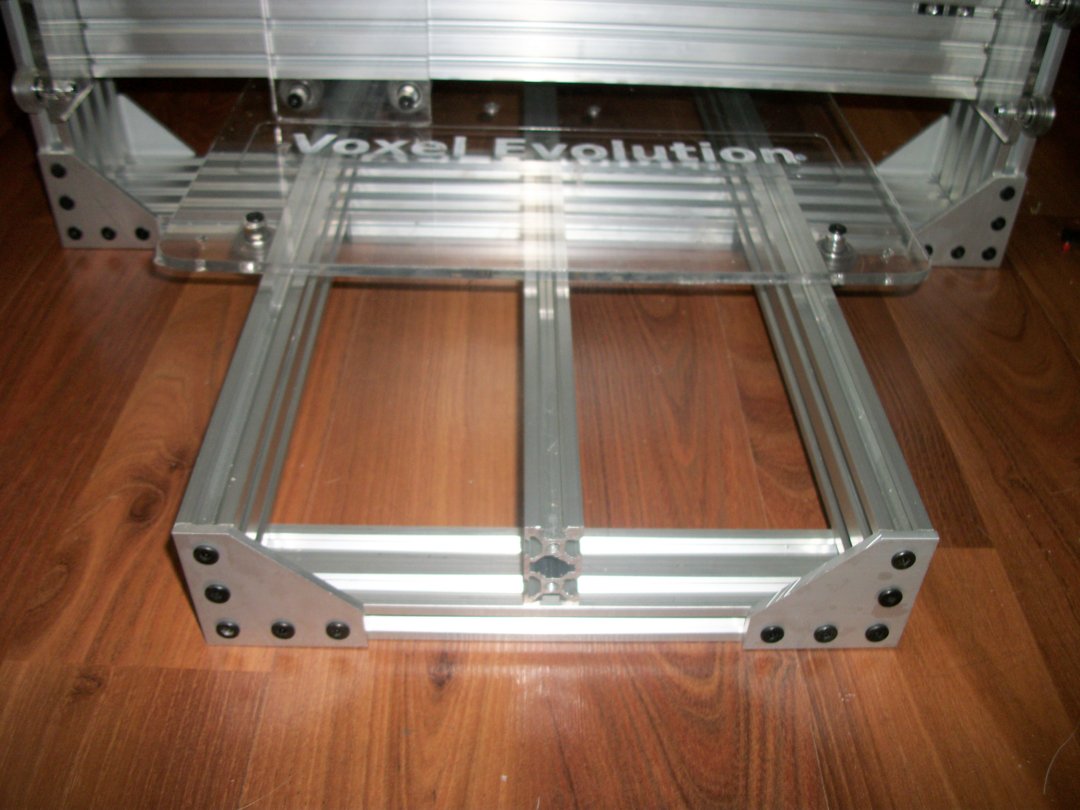
I finally started construction of this printer after months of various design iterations on paper (and in my mind) I tend to design on the fly after I have settled on a concept, and this project is no different. During the initial mock up today, I changed a few of my design choices to eliminate as many 3D printed parts as possible, and to utilize as many OpenBuilds standard parts as possible, to allow others to build it without access to any specialized equipment such as laser cutters or 3D printers. As it sits now, there are some laser cut plates, however you can substitute the original OpenBuilds plates in their place, I just like to prototype using acrylic as I can make changes very easily. And the current design uses 3 3D printed parts, but I have an alternate way of doing these using Openbuilds plates.
April 17, 2018
Project is on hold until I receive my order of Tee nuts, as I have run out of the ones I had. Should have them by the end of April. Until then I will work on getting the laser cut and 3D printer files uploaded, as well as updating the BOM.
April 24, 2018
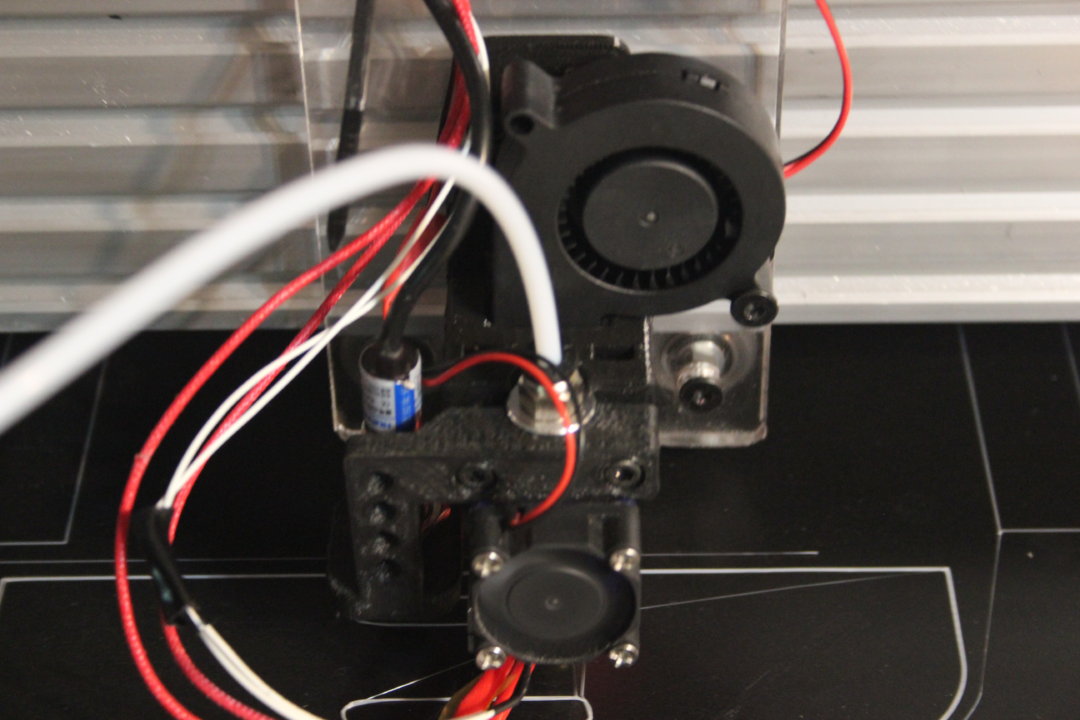
Finally received my Tee nuts and can continue the build process. Will be working on the Y axis today, as well as figuring out how I want to deal with cable management, I really like using slot covers to hide wires, but cable chains will be inevitable given the fact there are moving parts on this printer.
April 25, 2018
Redesigned the X axis back plate that was 3D printed to be a laser cut acrylic plate. Will post a picture of the redesigned plate when I can find my camera again (lol) Will be posting files tomorrow for all the plates.
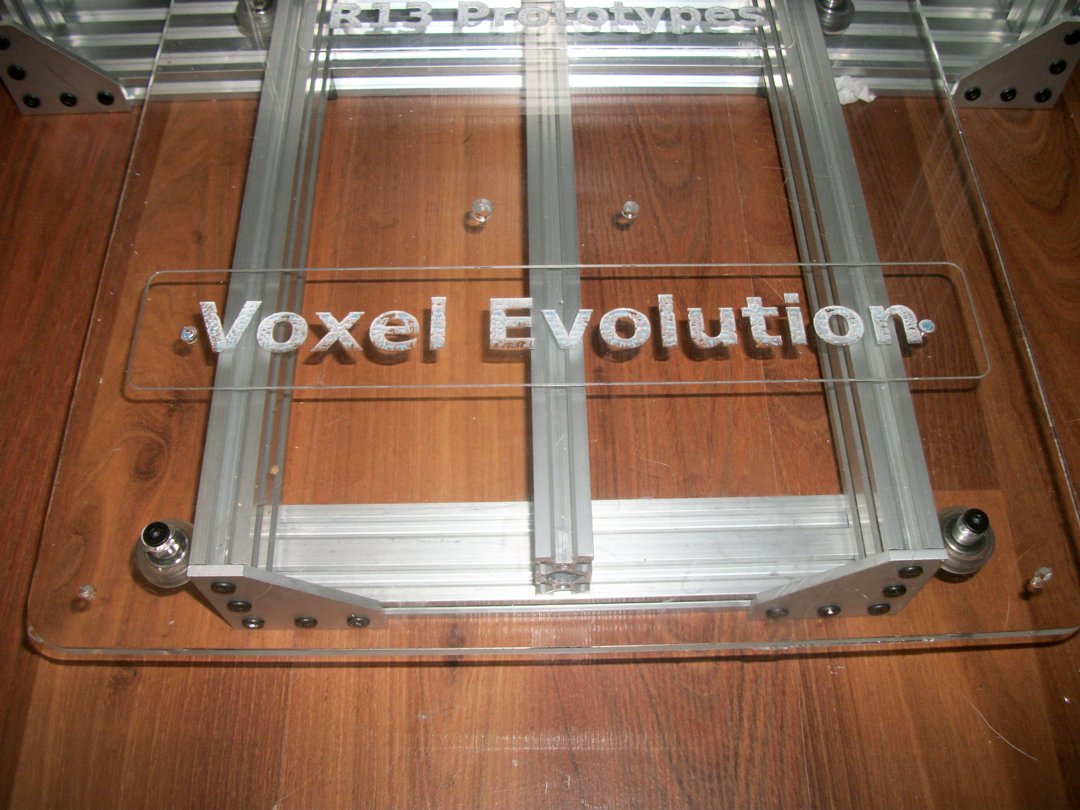
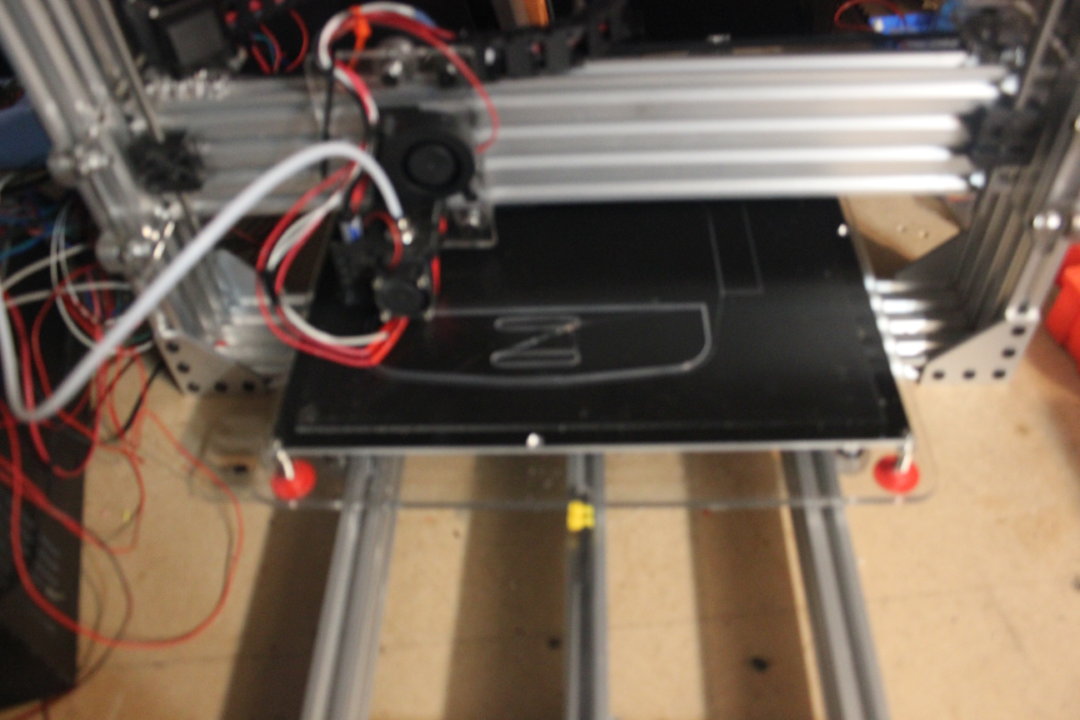
One of today's adventures has been creating the Y axis carrier plate for the heated bed. Since it is very large (360mm X 360mm X 6mmm) I decided on a 6 wheel design, the usual 4 wheels in the 4 corners, but added 2 wheels in the center to help support it and keep it from bowing (Picture to follow soon).
April 27. 2018
I had to modify the base of the printer to allow the Y axis carriage wheels to pass over the cross bars, I placed the 3 20X40 extrusions vertically instead of laying flat. I need to make 2 new holes for the Y carriage center wheels because of this change (They were spaced for the 40 mm width, and now it is 20mm) This is an easy change, will just use my drill press to make the change to the Y carrier plate.
April 29, 2018
Just finished up the design of the Y axis motor mount and idler plates. Not sure if I am satisfied with them, so I will think about the design some more. Started mounting motors today, still playing with cable management ideas, I want as many of the cables as possible to be hidden from view, I like a clean look in my designs. Mounted the heated bed to the carrier plate then remembered I needed to add the 2 center wheels so off it cam. Will put it back on tomorrow.
June 24, 2018
It's Alive!!!!!
All I need to do now is clean up the wiring and button up the controller case and tweak a few firmware settings.
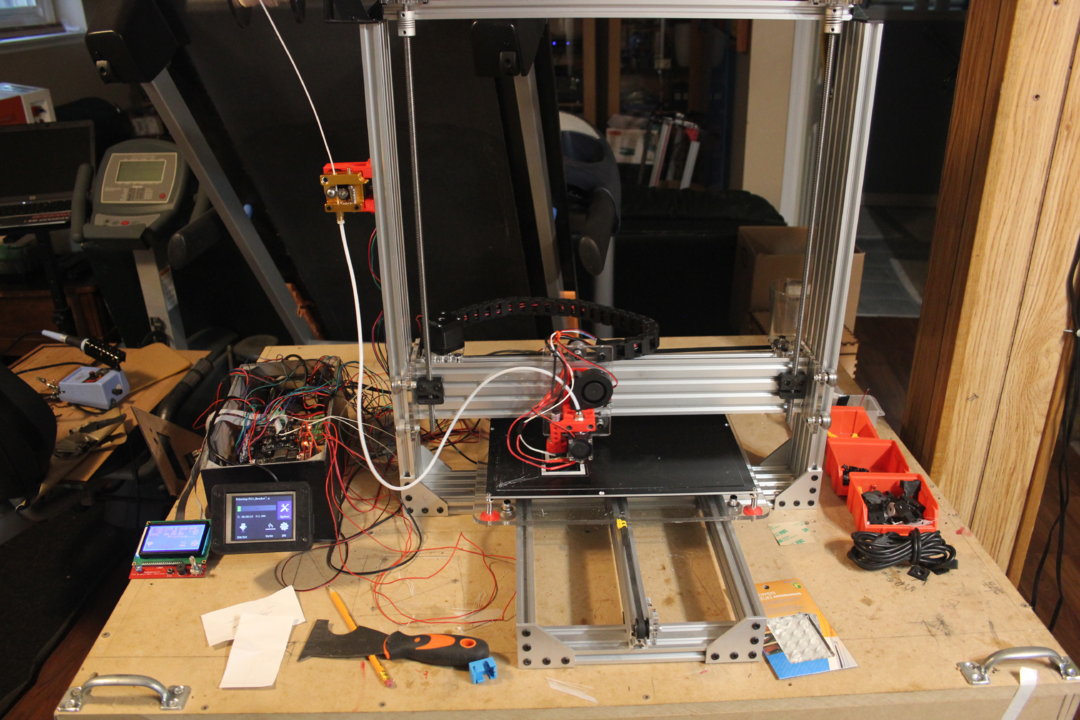
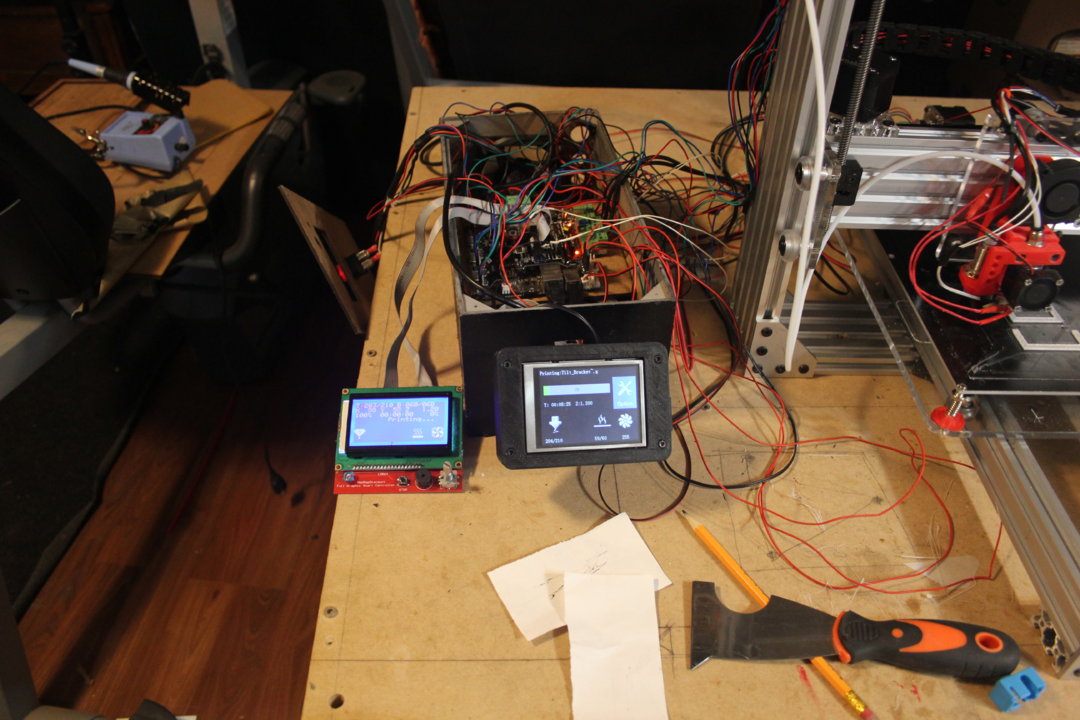
GLCD and a MKS TFT touch screen (The MKS TFT does not have access to all the functions the GLCD does, hence the dual install)
I need to figure out how to enable the bed leveling inductive sensor in Smoothieware, but for now manual leveling is OK, it seems to hold it's setup for a long time.
It's been a fun journey, and is now a part of my little farm consisting of 3 Wanhao Di3's (Upgraded to smoothie, one with a touchscreen), a Printrbot Simple Pro, and a Tronxy X1.

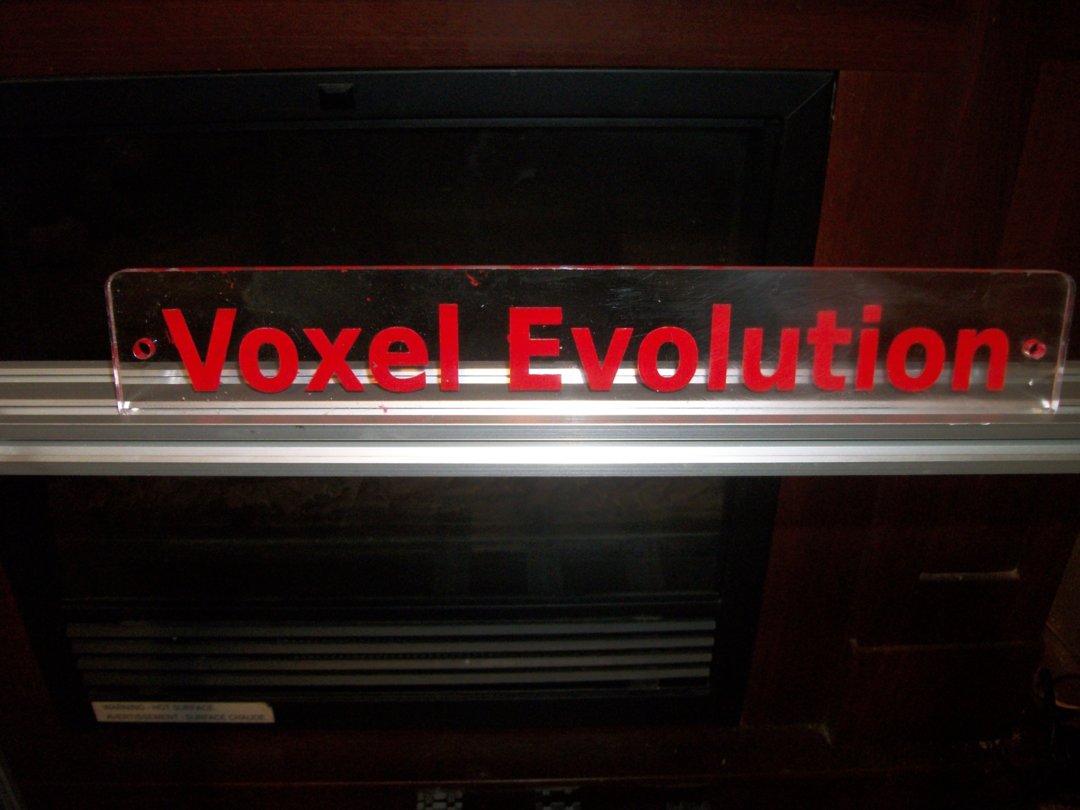
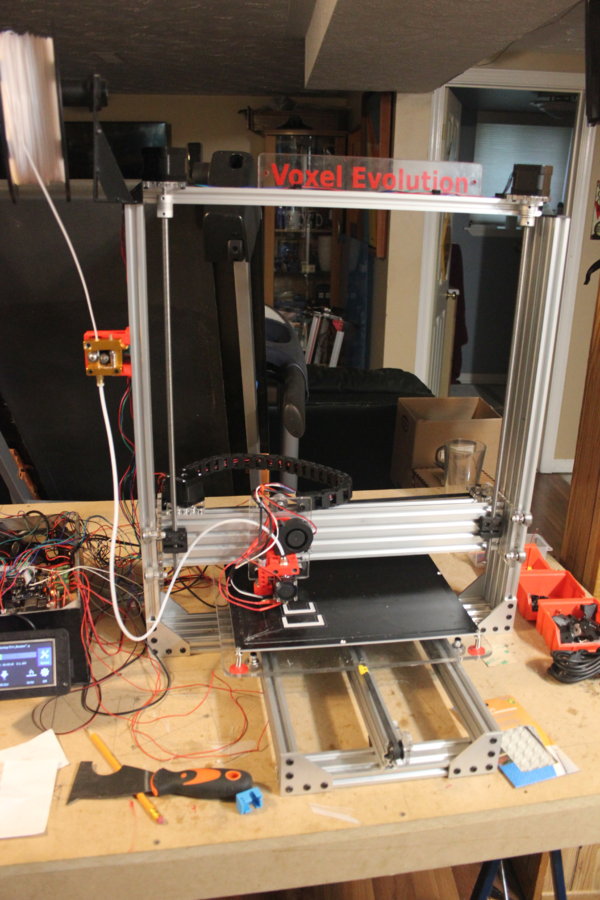
Voxel Evolution
Build in 'Cartesian Style Bots' published by Anthony Bolgar, Jul 4, 2018.
This is a remix of Marshal Peck's Voxel OX, with some design tweaks inspired by Makerparts and jjcolletta. It has a build area of 300mm X 300mm X 480mm, but is easily configured for just about any build area up to 500mm X 500mm X 750mm. I have used some laser cut acrylic plates and a couple of 3D printed parts in its construction, however it can be assembled using nothing but OpenBuilds parts with the exception of the heated bed and the Y axis carrier for the heated bed.
-
-
Build Author Anthony Bolgar, Find all builds by Anthony Bolgar
-
- Loading...
-
Build Details
- Build License:
-
- CC - Attribution - CC BY
Reason for this Build
I have always wanted a large format 3D printer, and figured that using OpenBuilds parts would allow me to build an accurate, strong machine using an easy to prototype system.Inspired by
Marshal Peck, Makerparts, jjcolletta -
Parts list
-