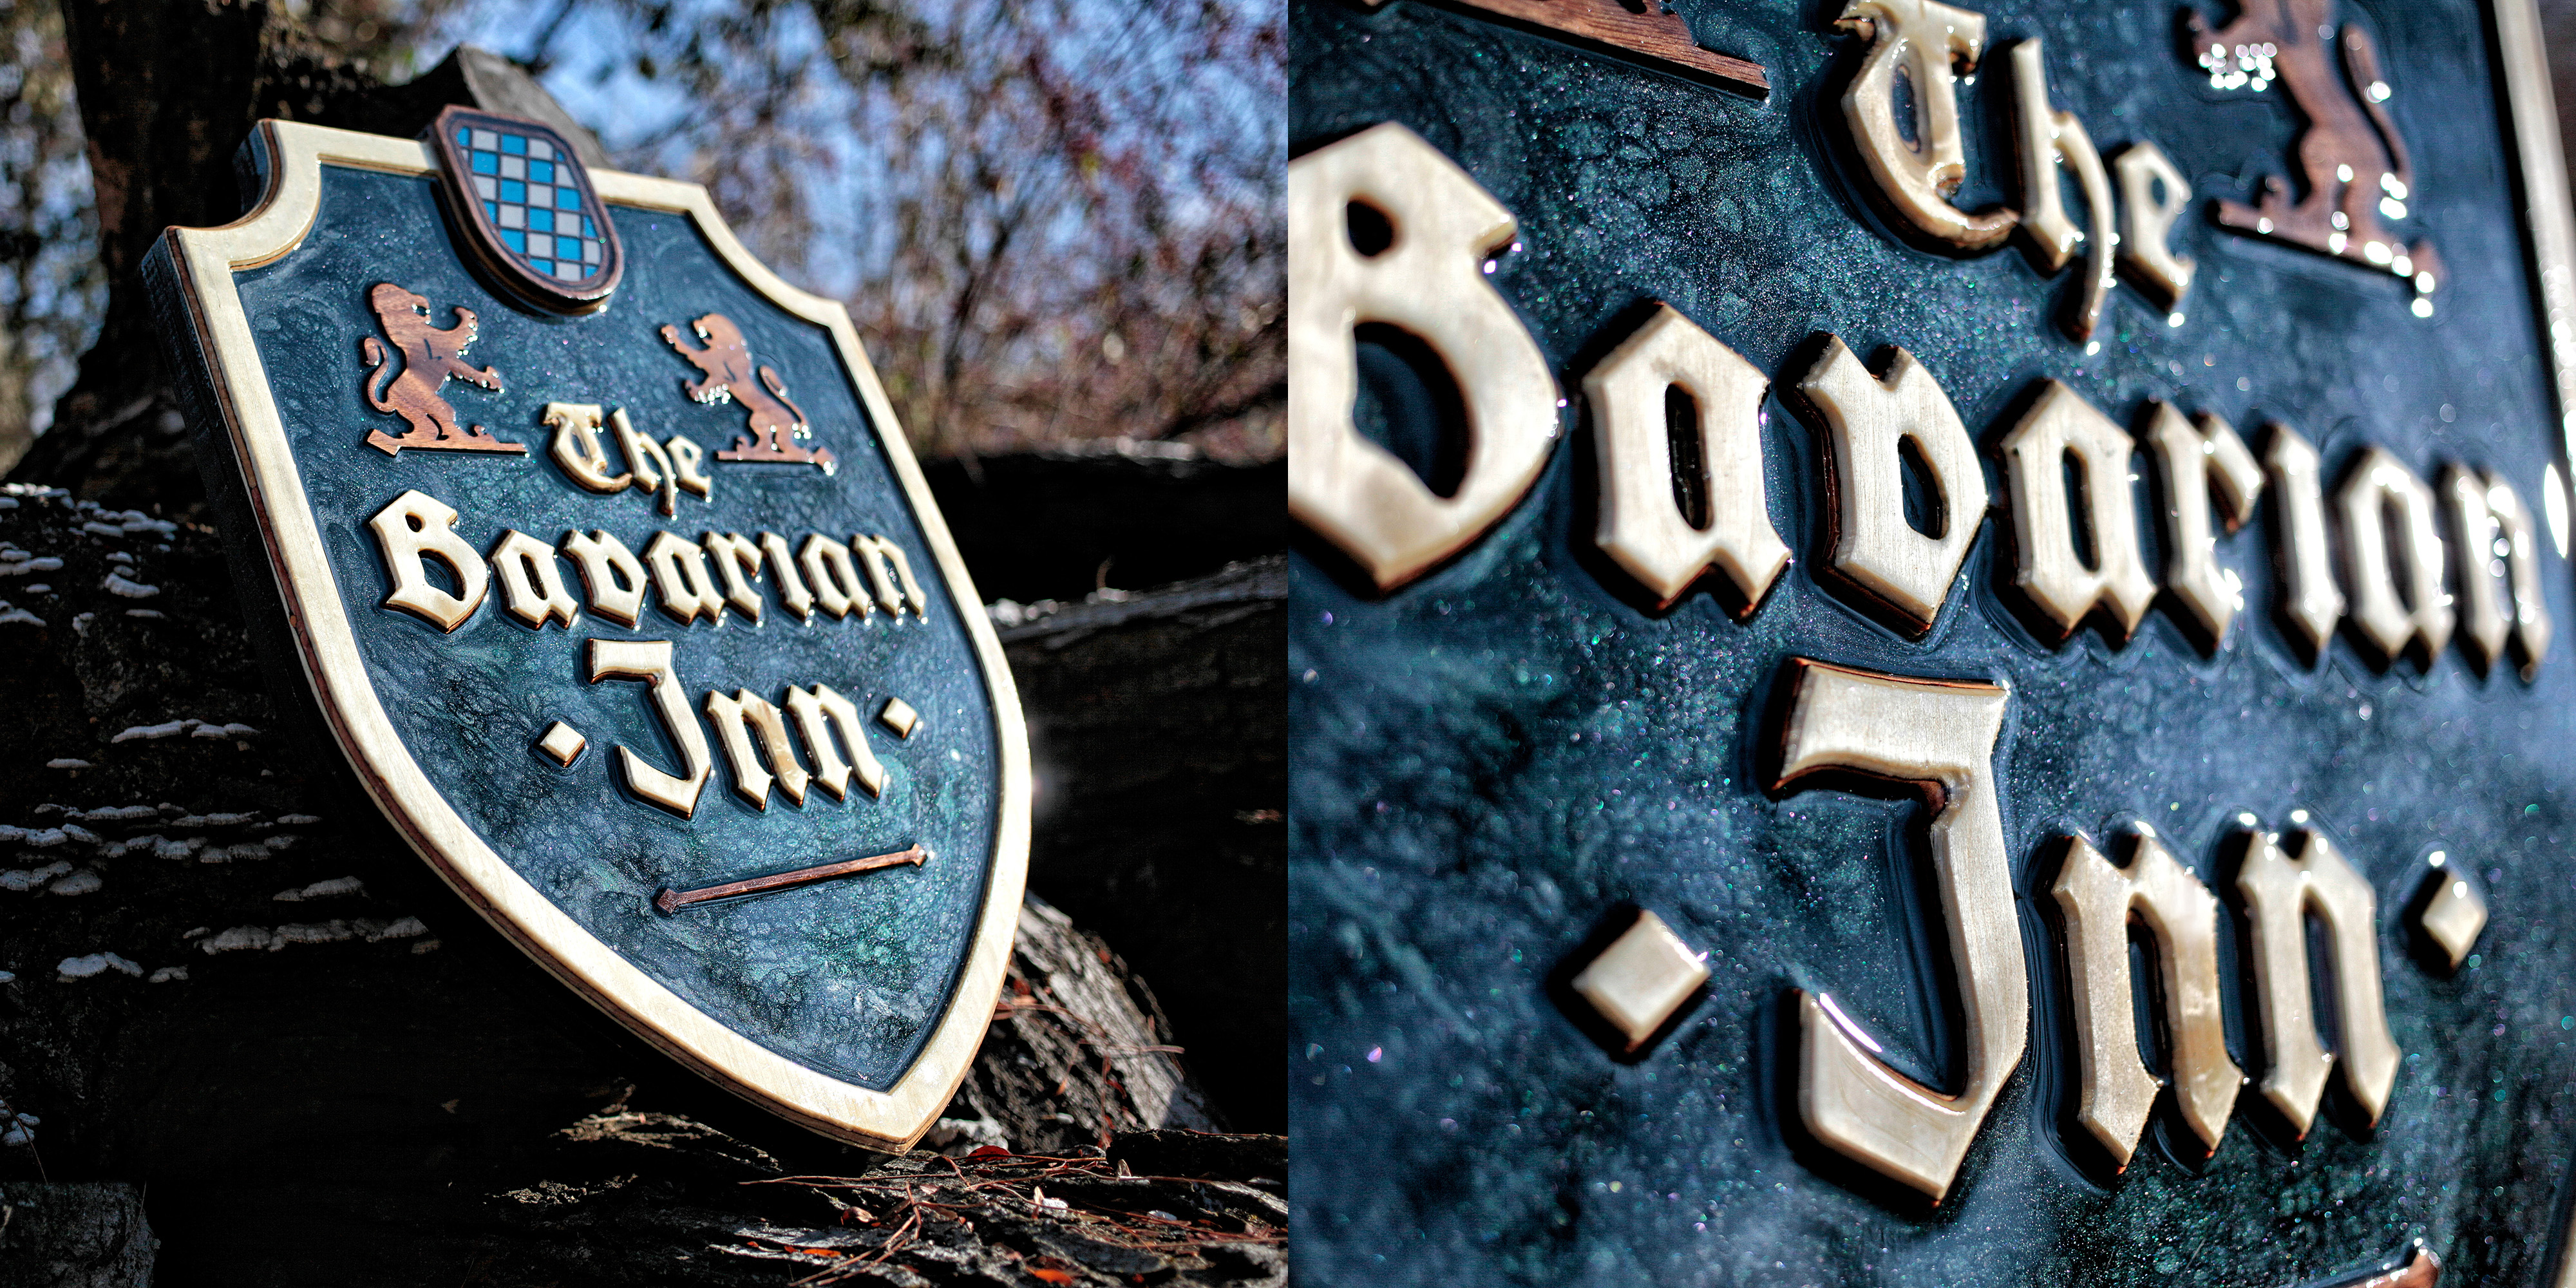
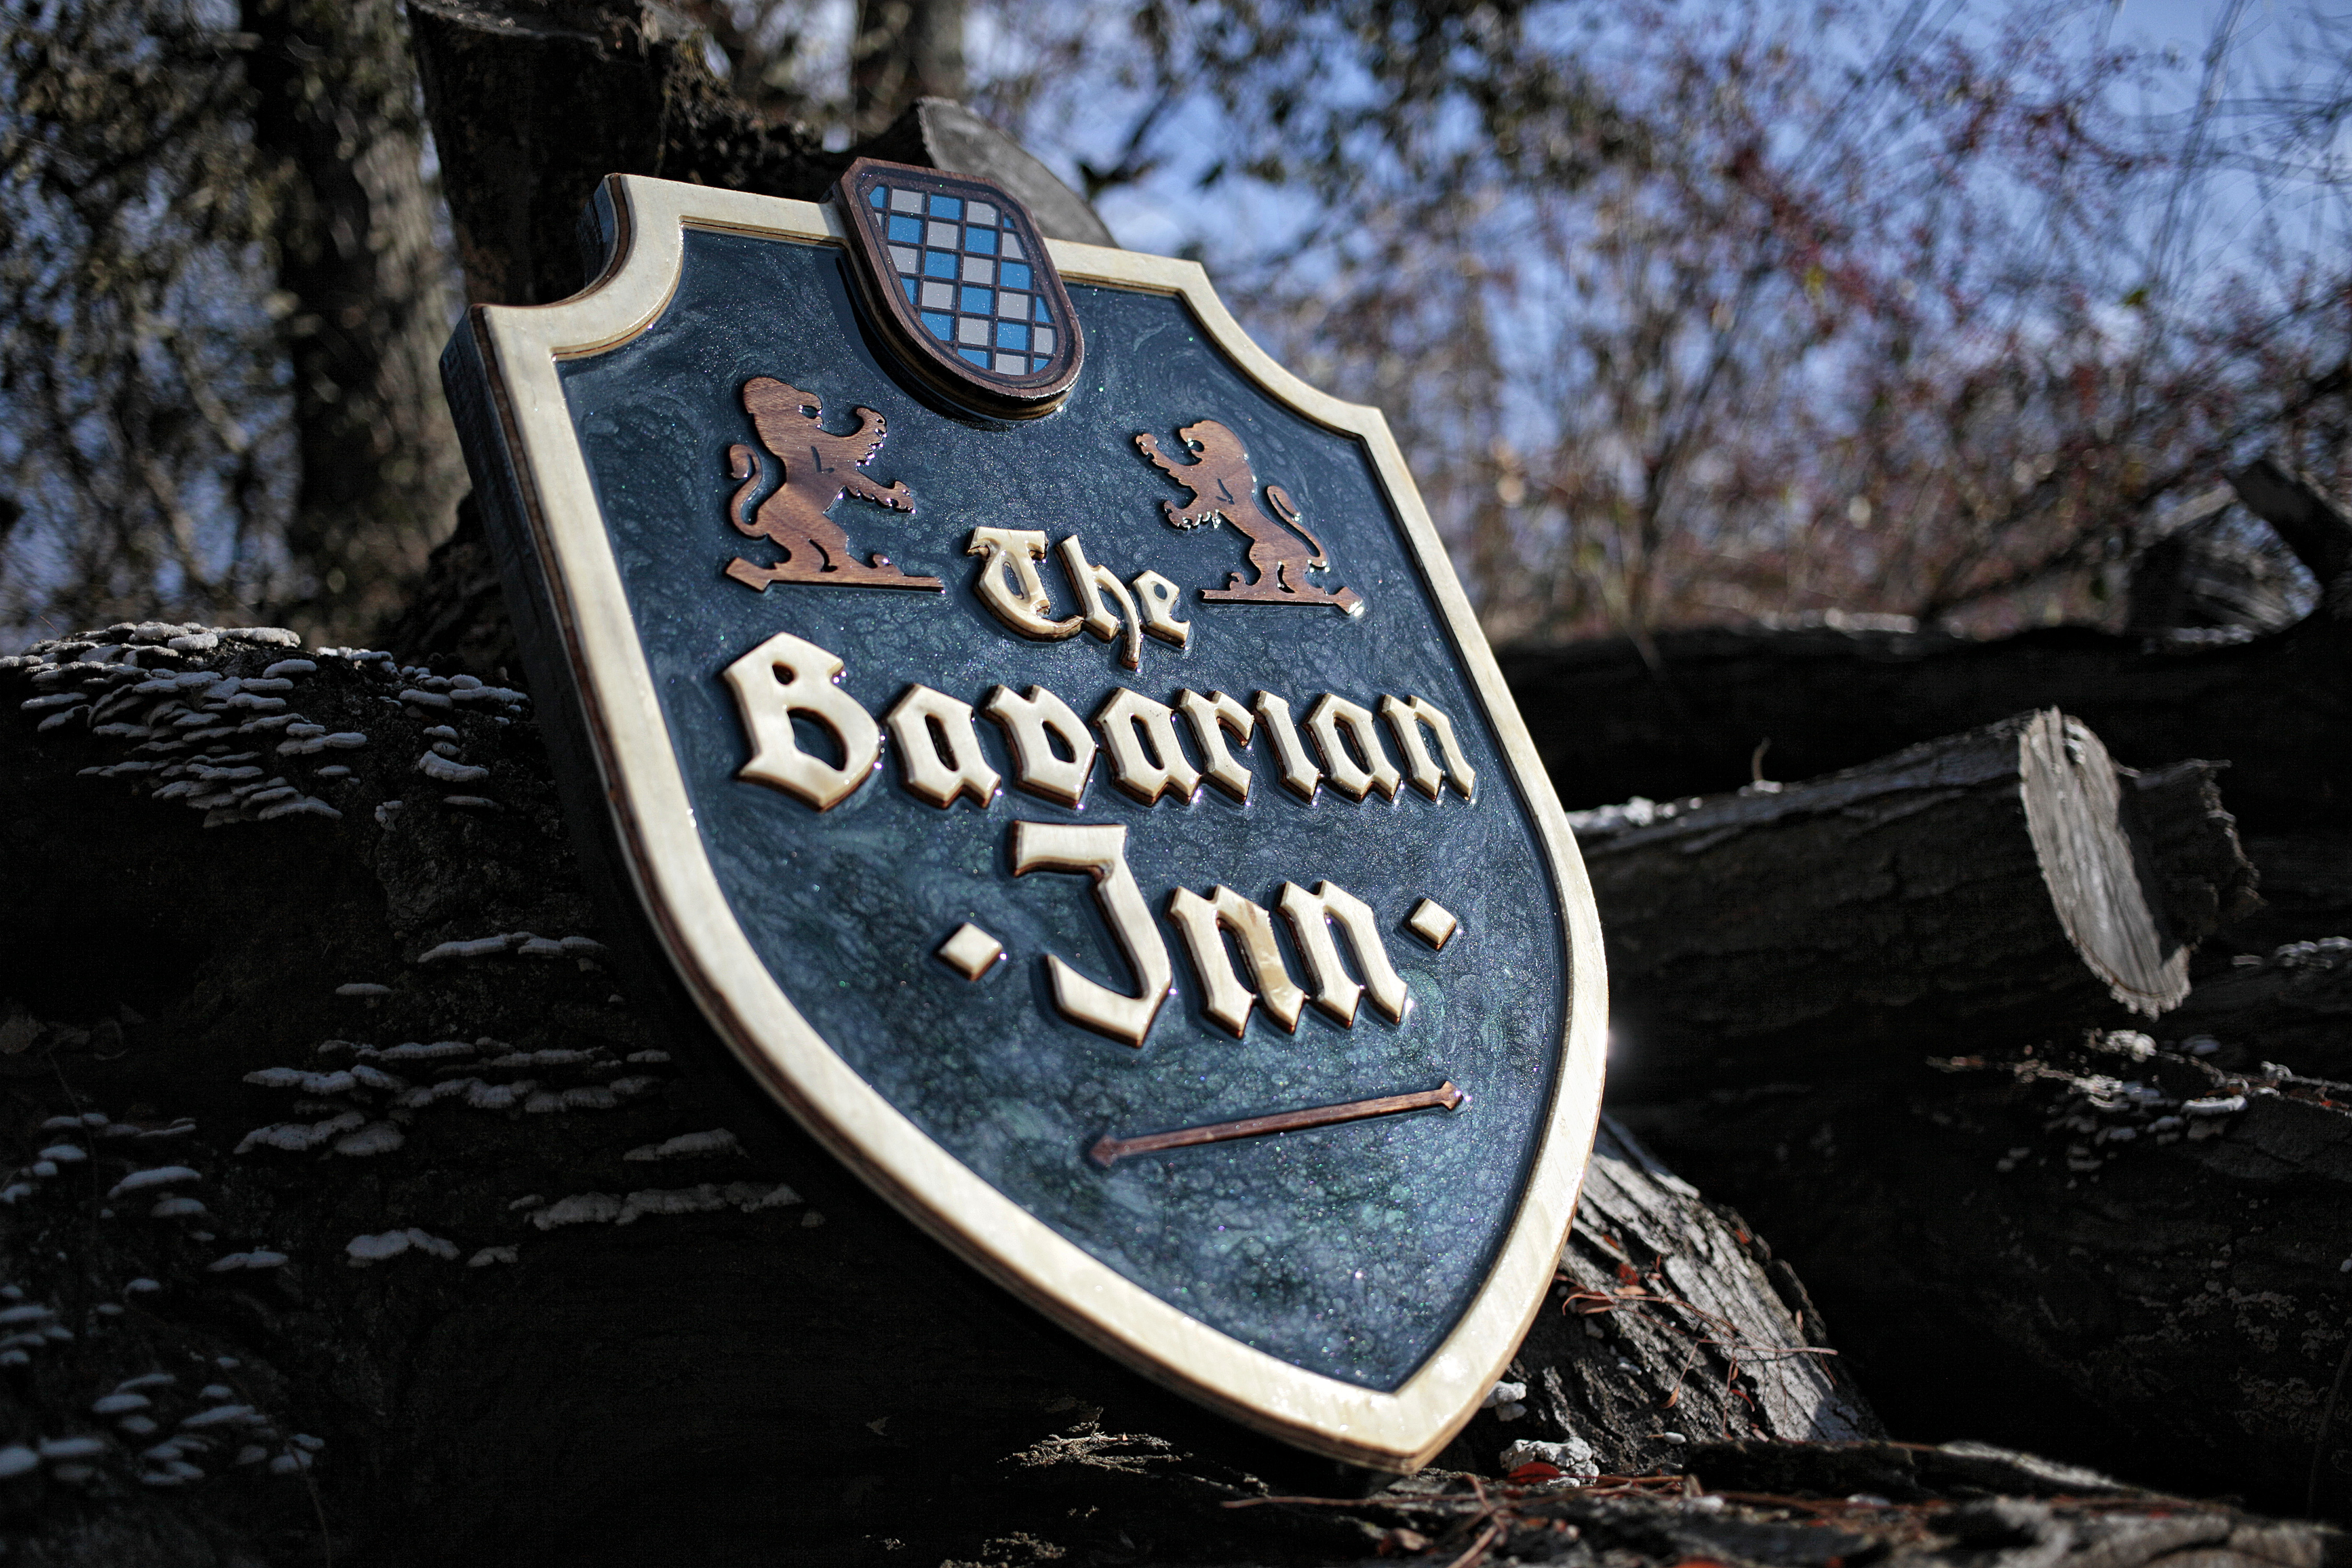
Here's how I made a inexpensive hanging sign out of plywood, epoxy resin, some walnut scraps and engraving plastic. Given the relatively low cost of materials, I think the result is pretty striking. Best of all, the process is quite simple (as long as you have a solid CNC router!).
- Machine Type:
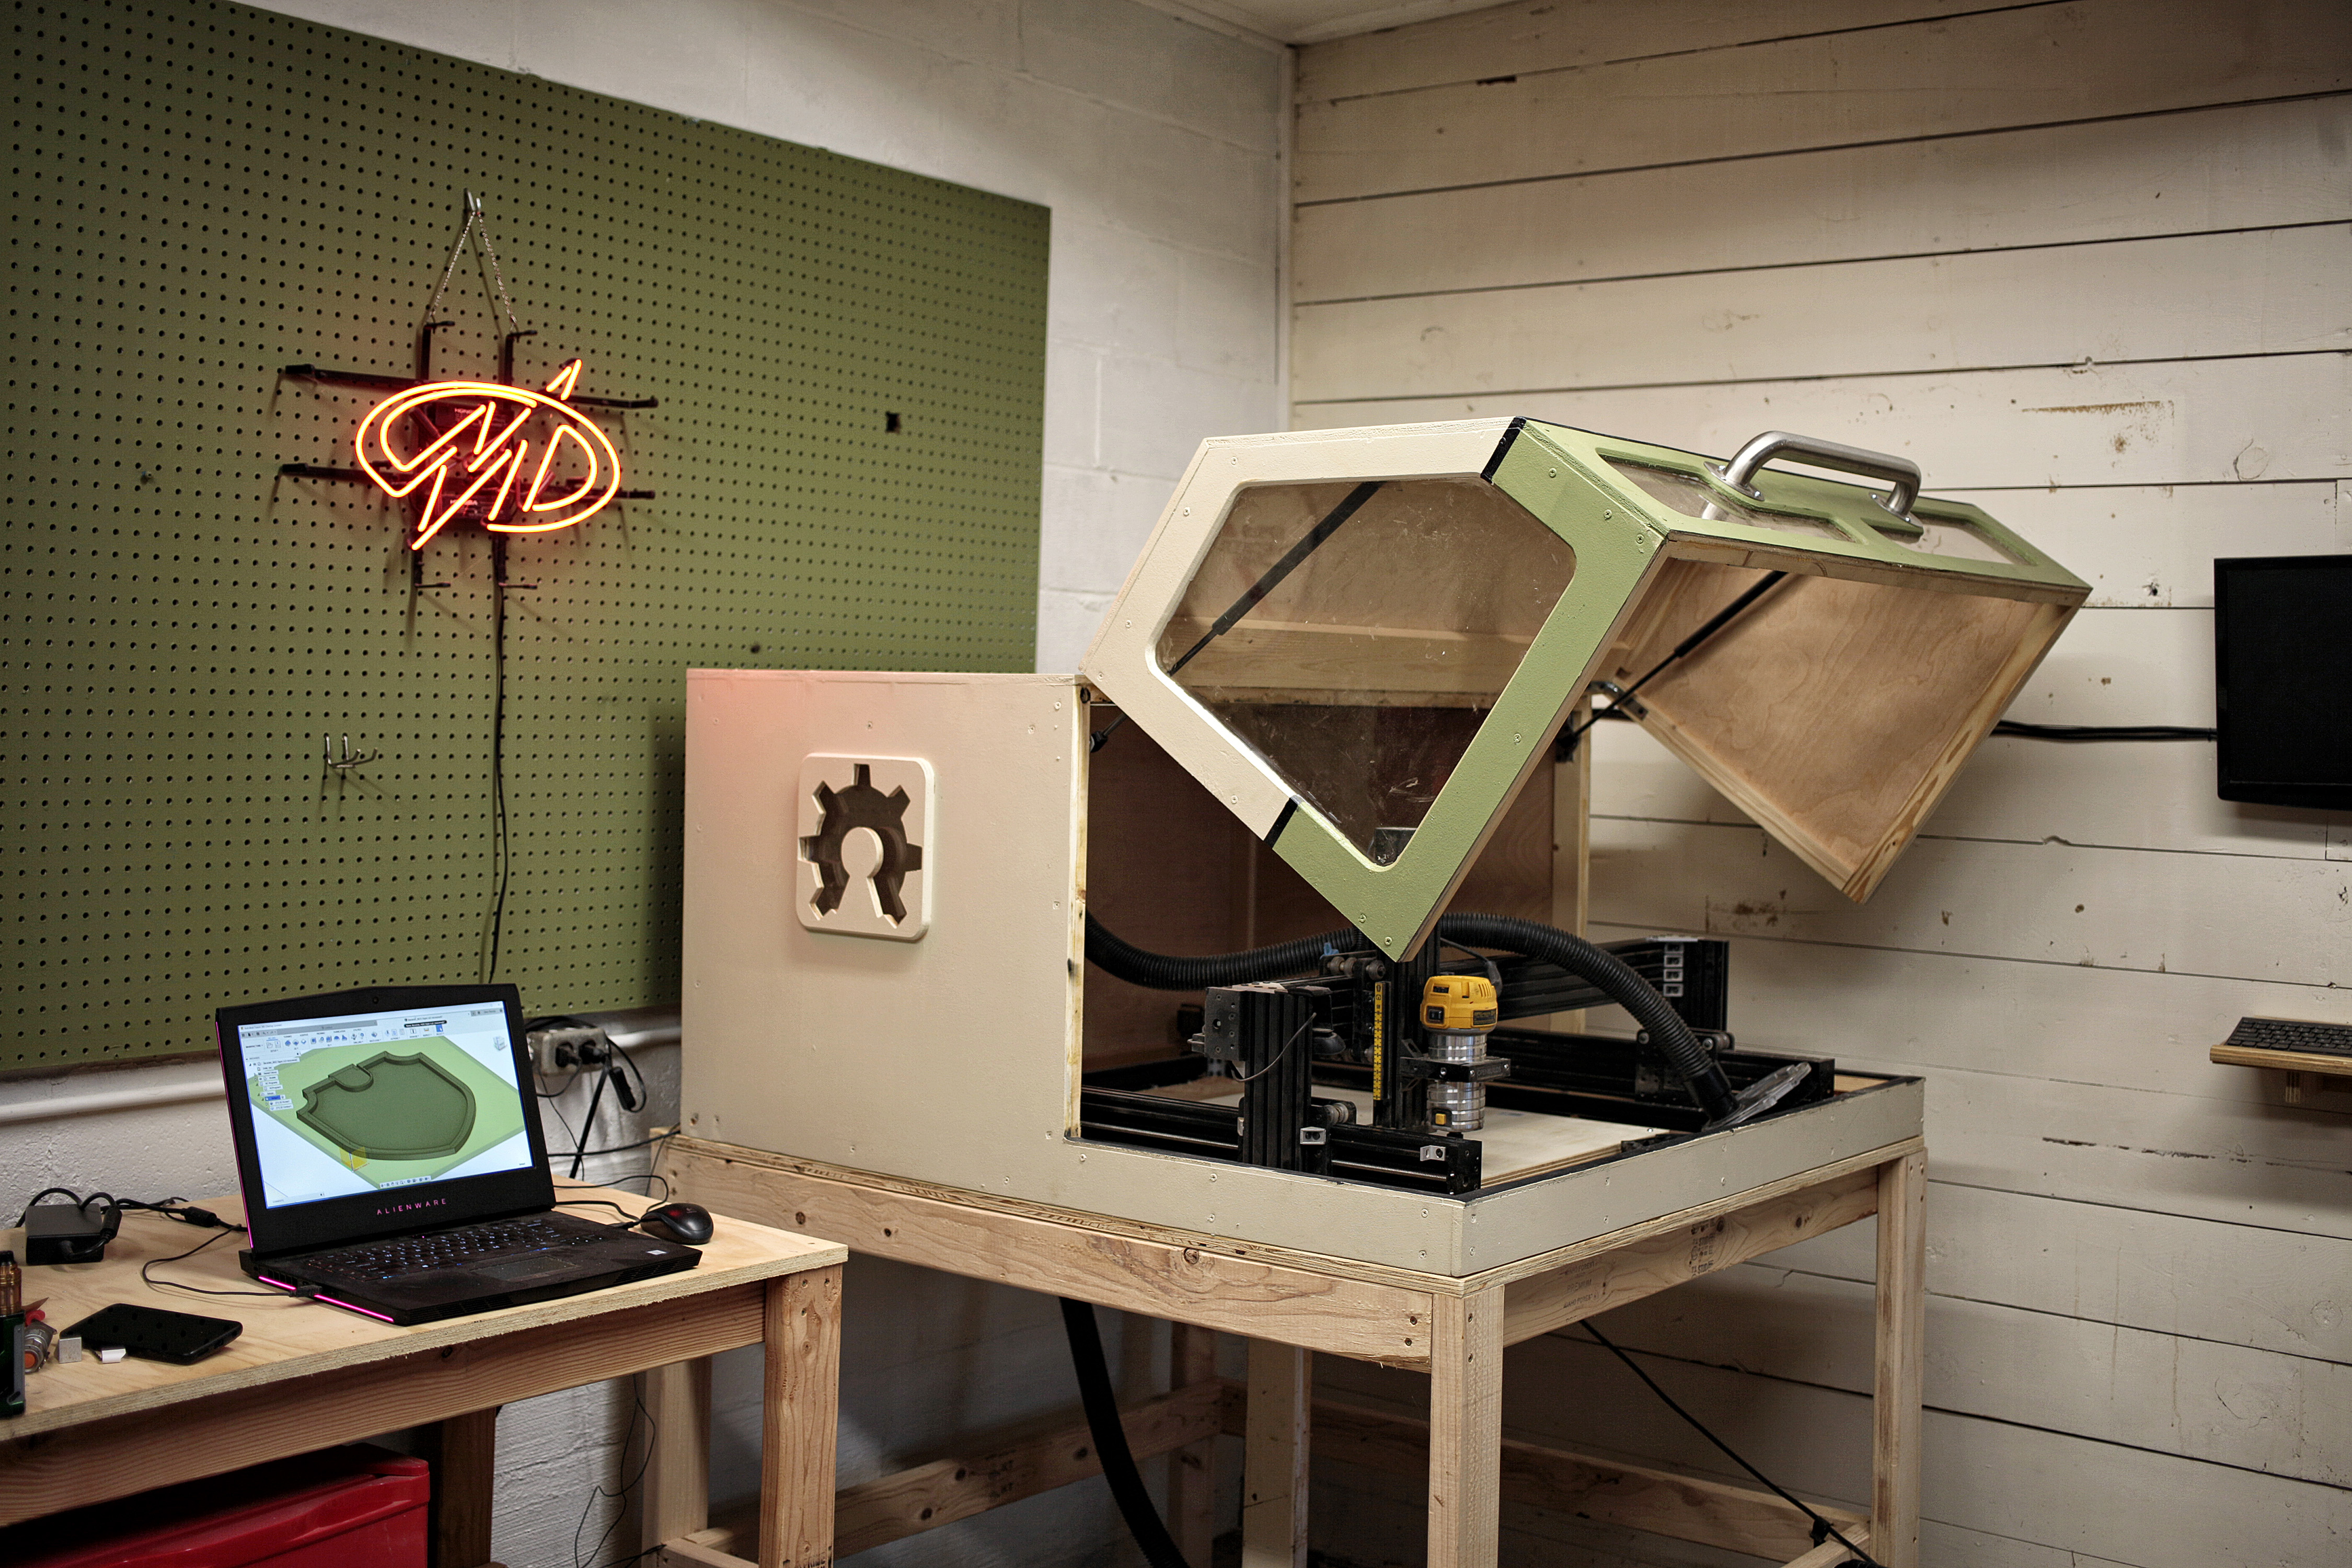
- OpenBuilds LEAD Machine
- Software:
- Fusion 360, Illustrator
- Electronics:
- xPRO Board
- Machine Time:
- 3 hours
- Bit or Laser Size:
- 1/4" 2-flute ball, 1/8" 2-flute ball, 10W diode laser
- Materials:
- Outdoor plywood, Walnut, Epoxy Resin.
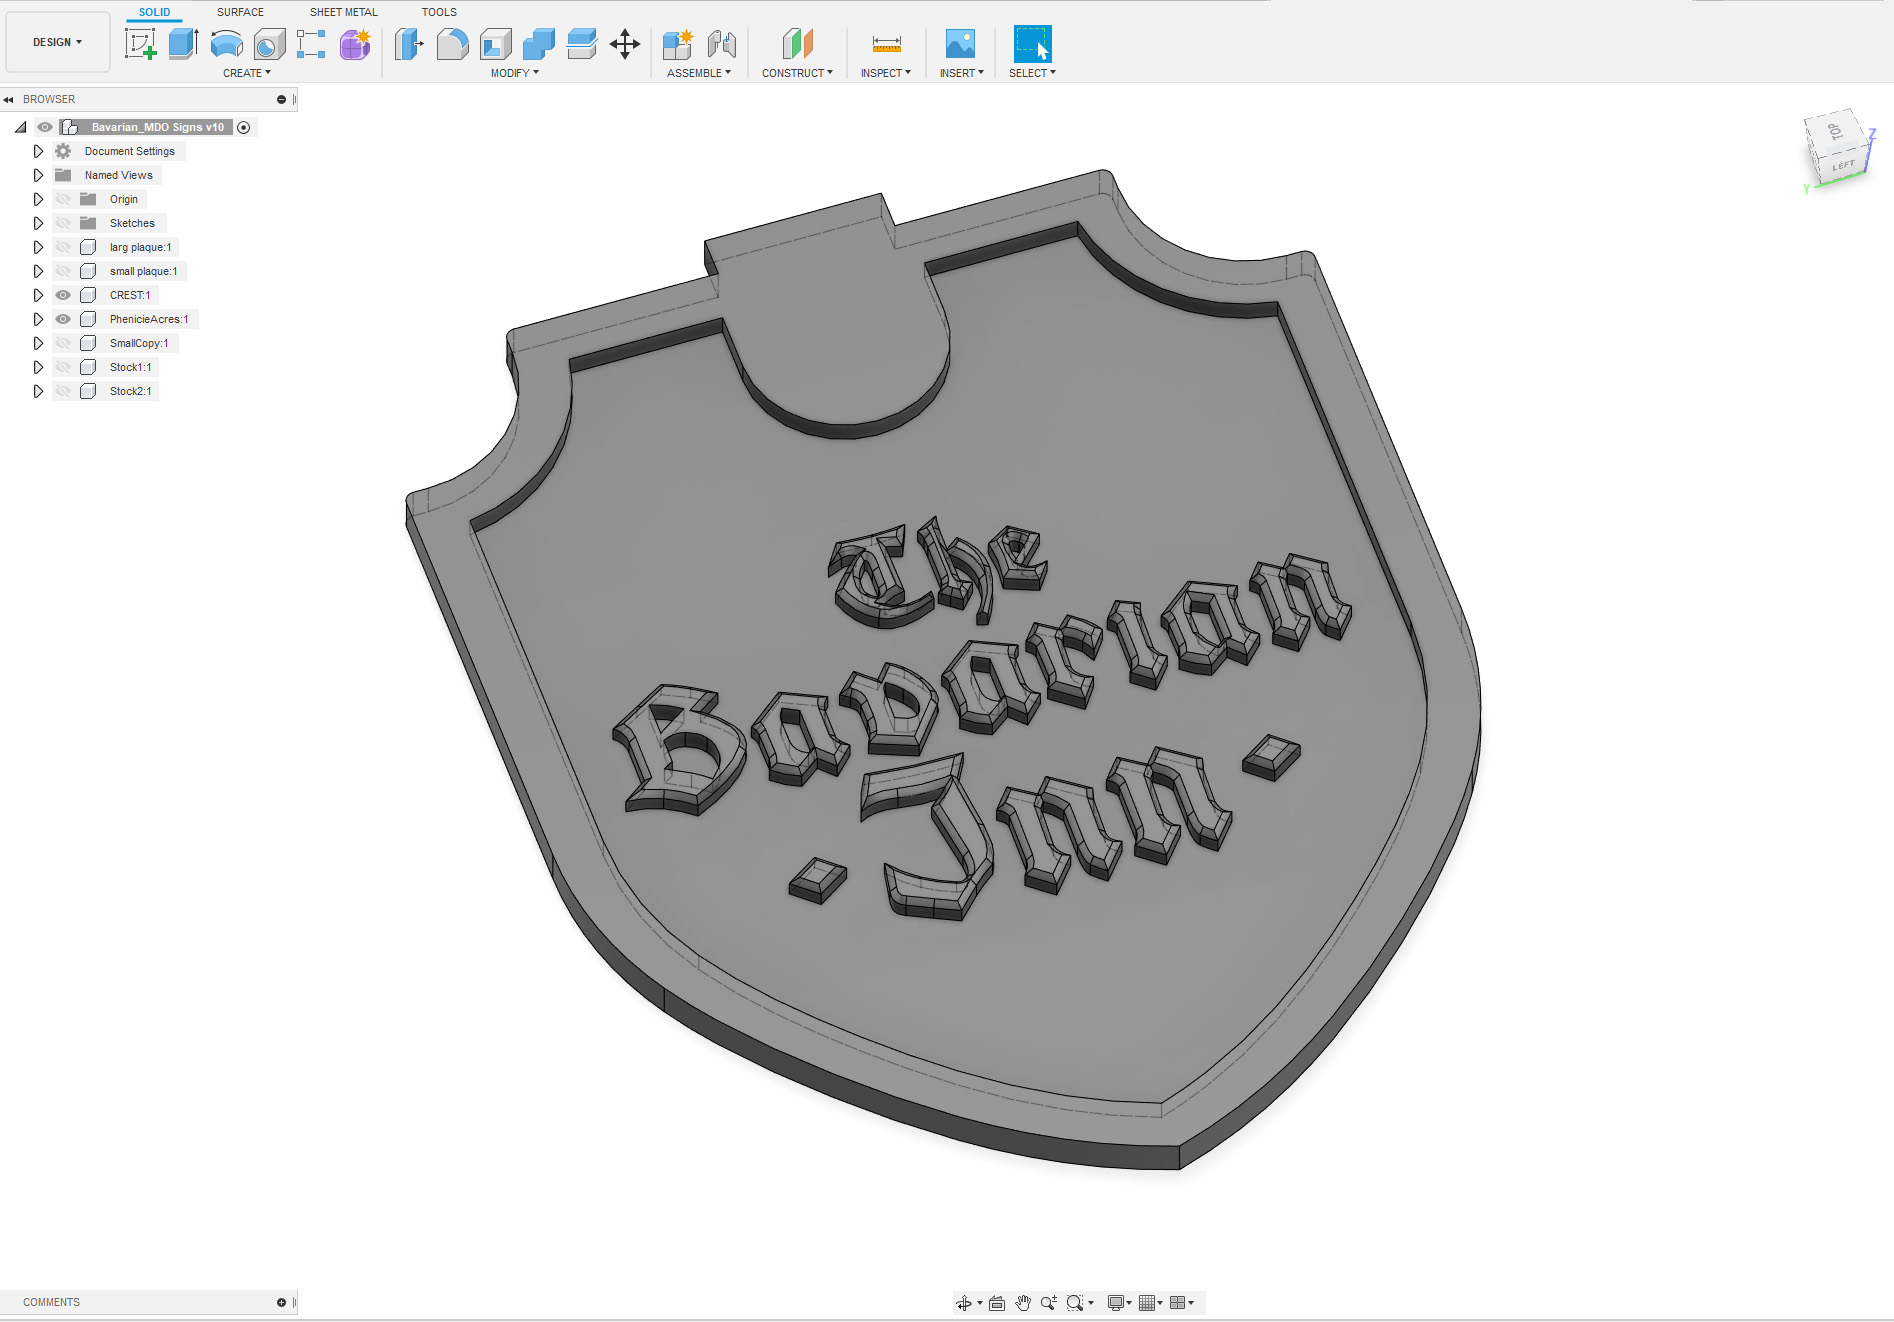
To start this off, I drew this simple shield shape and generated toolpaths. This could be done in just about any CAD software including the OpenBuilds CAM web tool, V-Carve, etc., but I opted for Fusion 360 here.
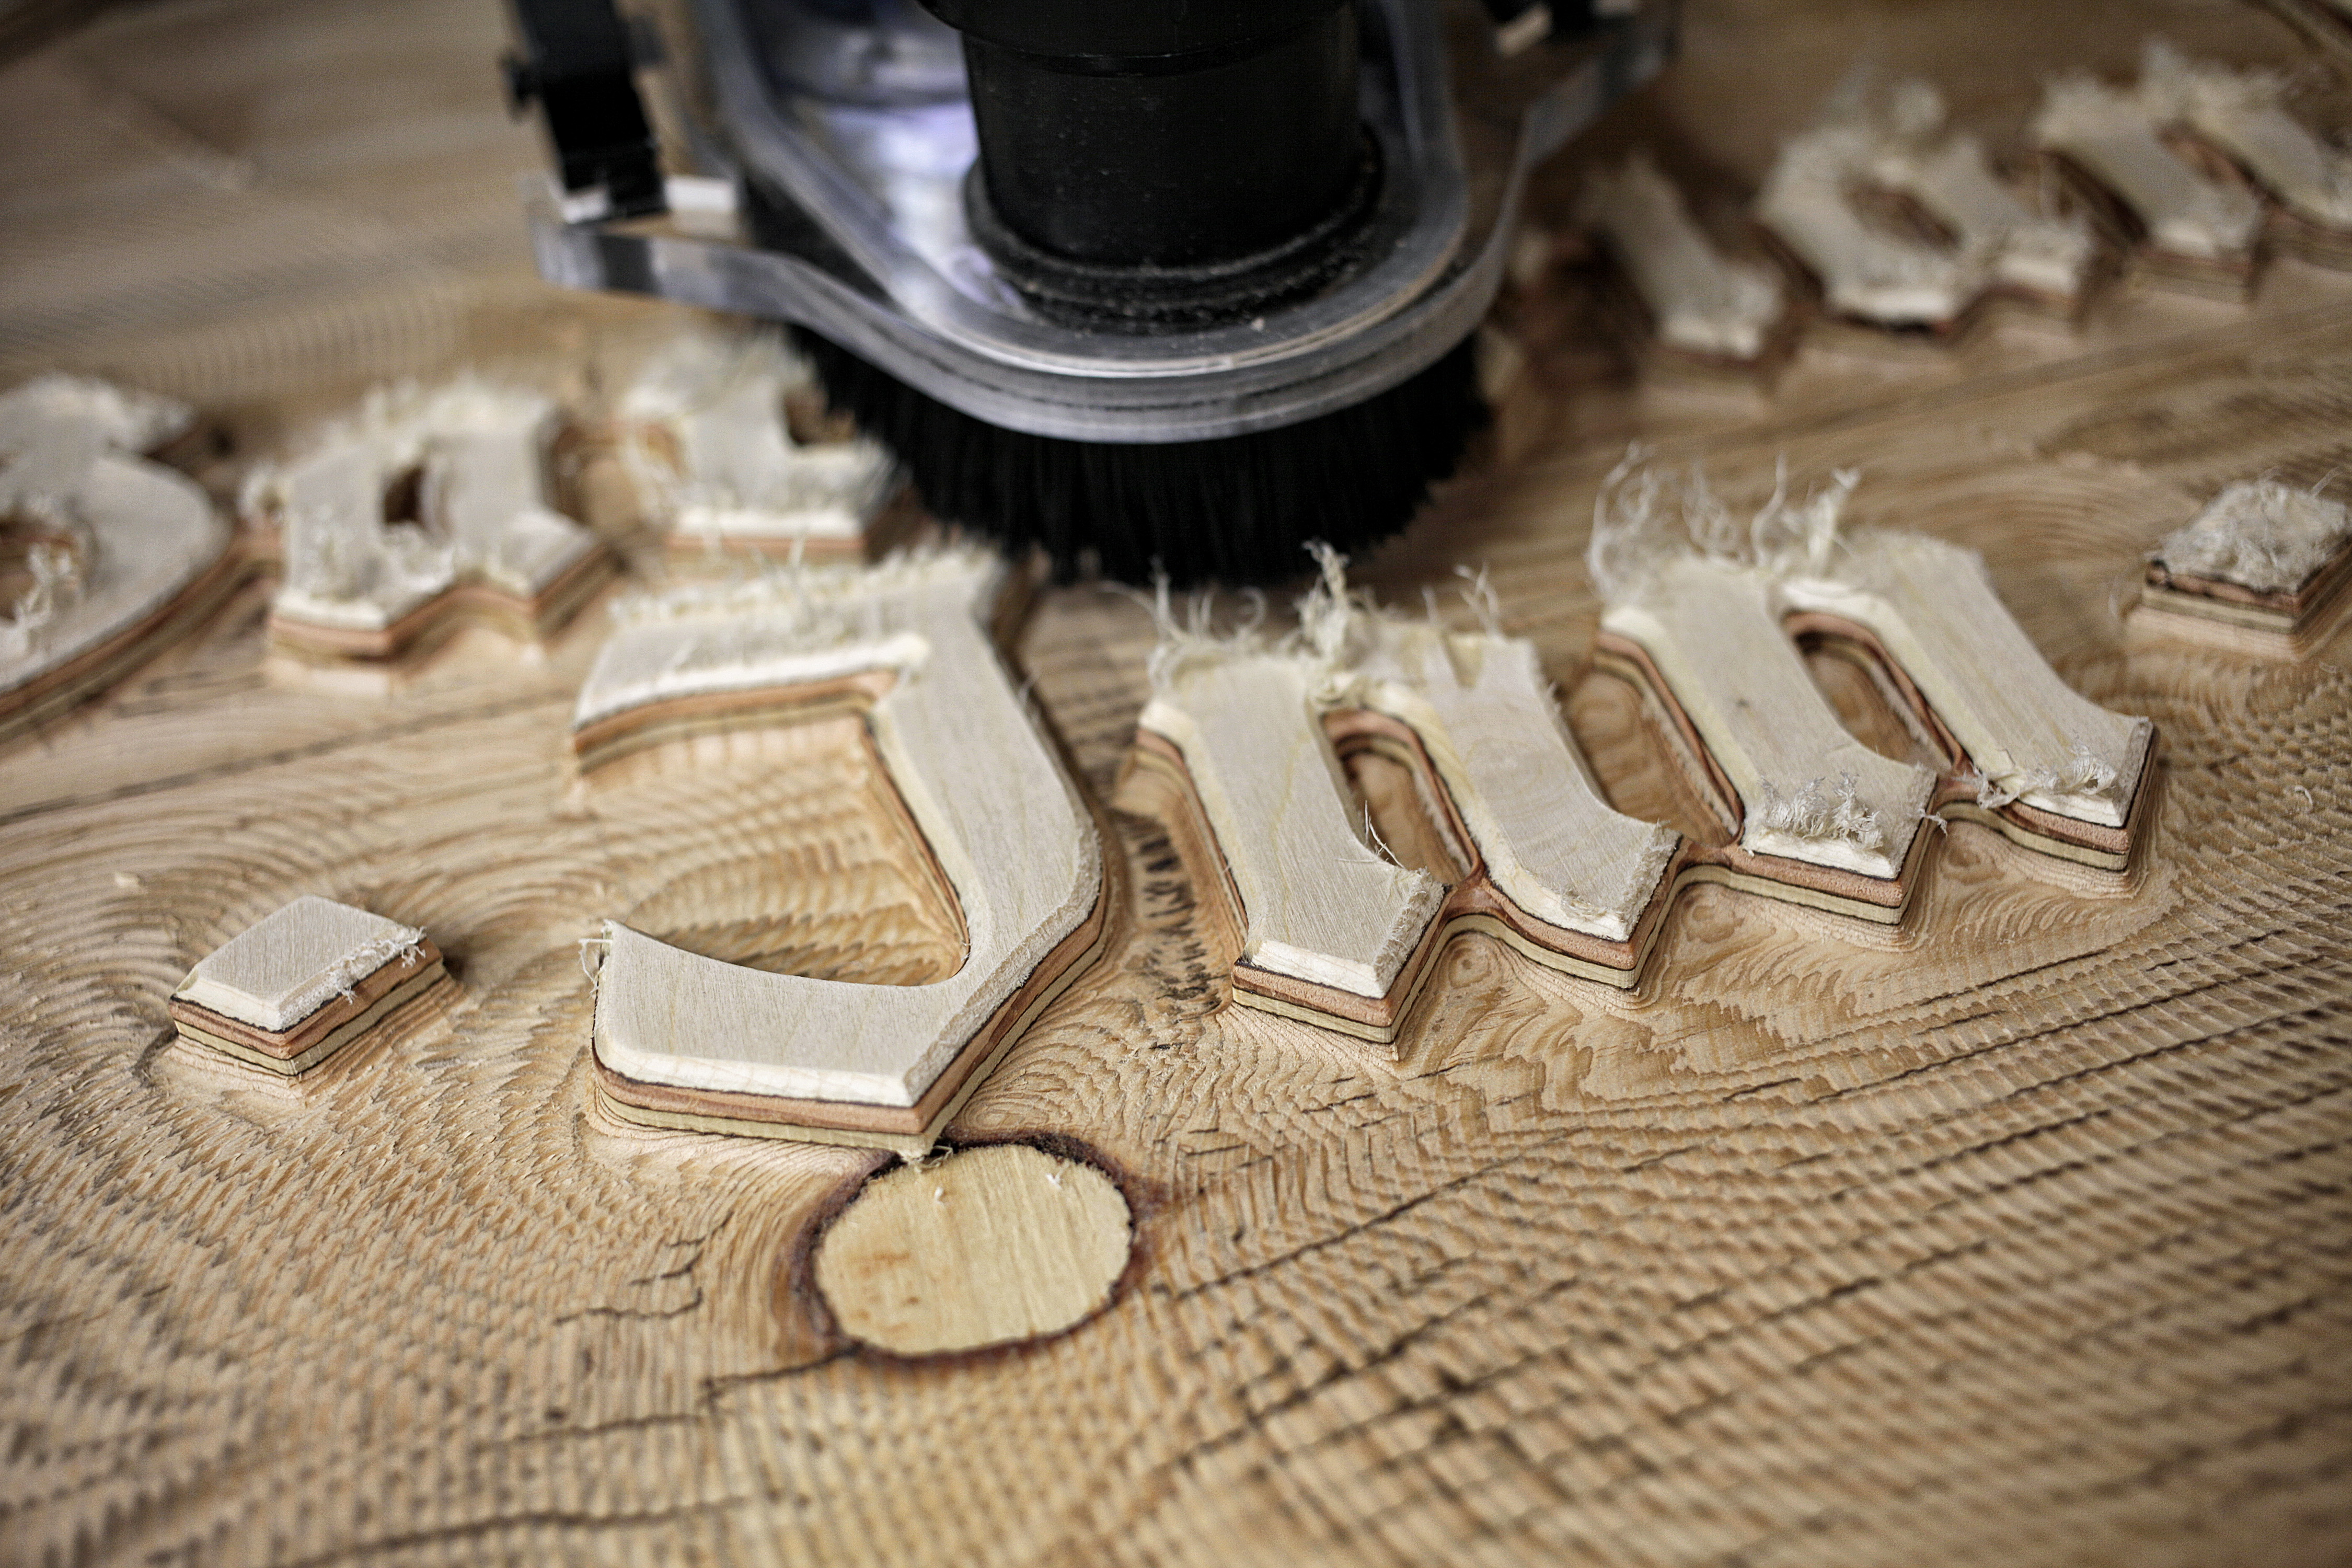
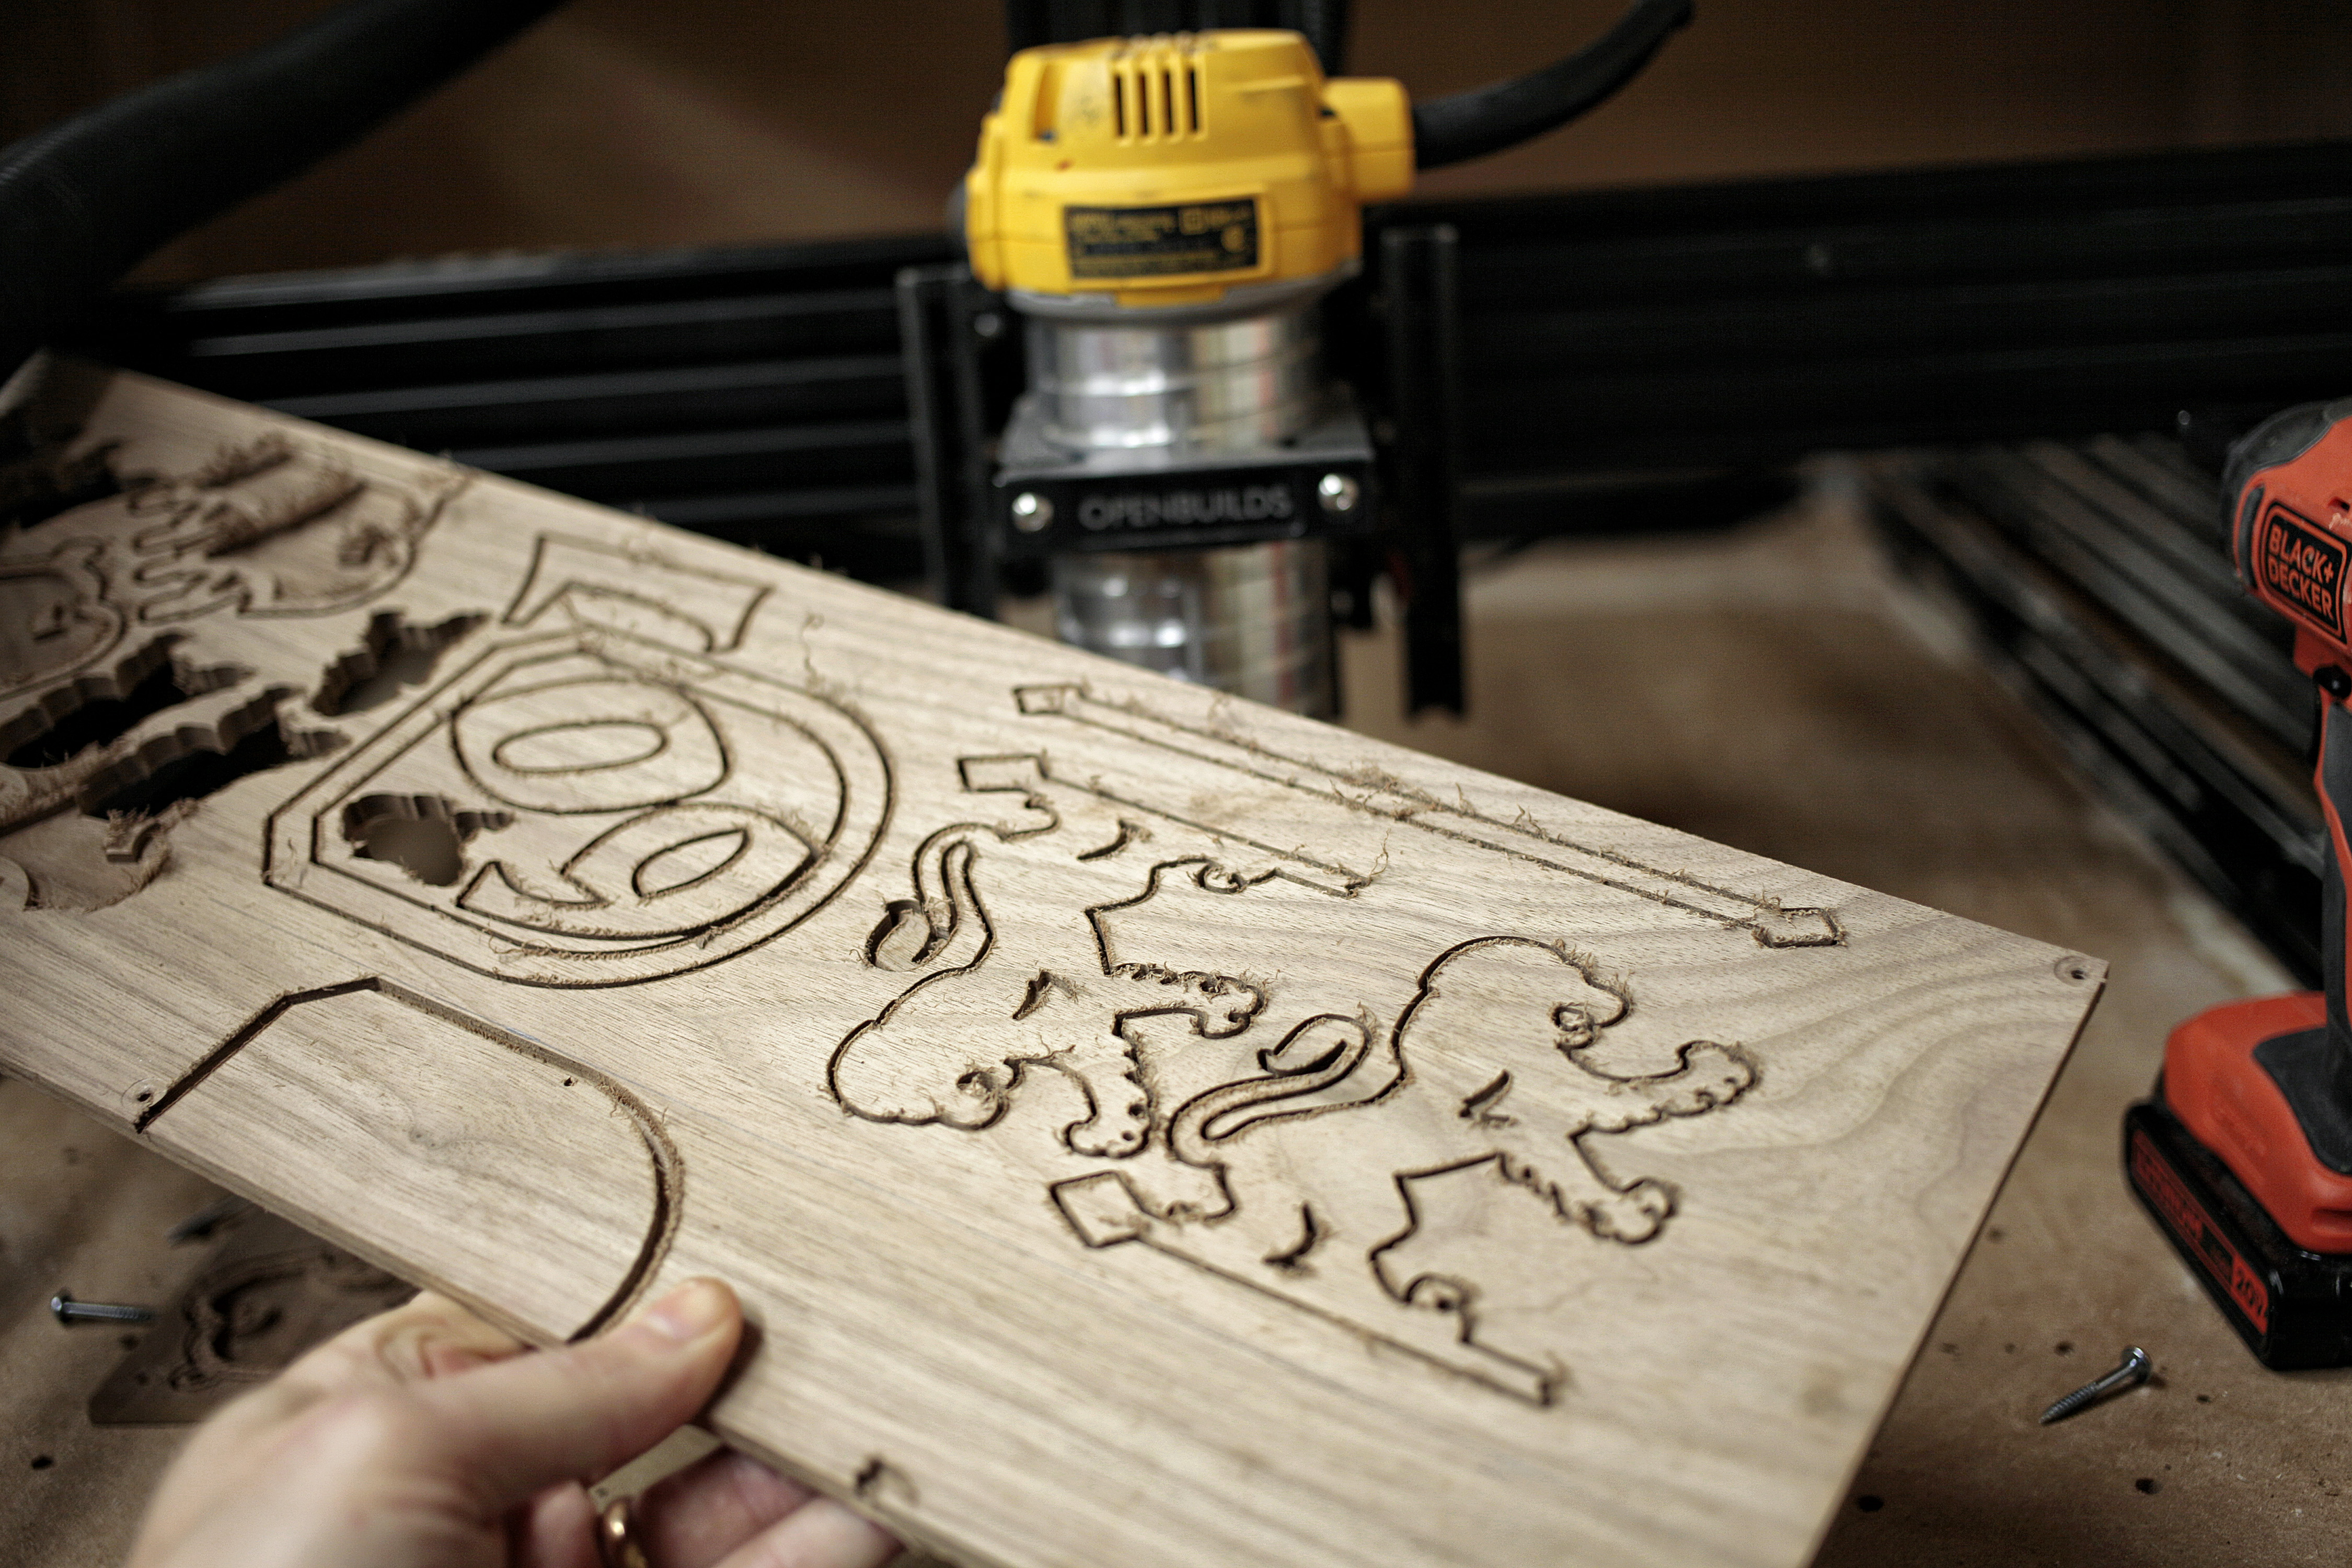
The next step was to get the main body of the shield milled out on my LEAD CNC 1010. I used 3/4" outdoor grade plywood for durability and in hopes that it would absorb less epoxy later on.
The job was split into two operations - the first was Fusion 360's 3D adaptive clearing operation with a 1/4" 2-flute ball end mill. You definitely want to use a 1/4" end mill if you're removing a lot of material like I needed to in my design and don't want this operation to take all day. Though I didn't have them when I made this sign, I've since had a chance to use some of the new 1/4" shank SharkBits end mills that OpenBuilds is now carrying and they've been performing excellently so far.
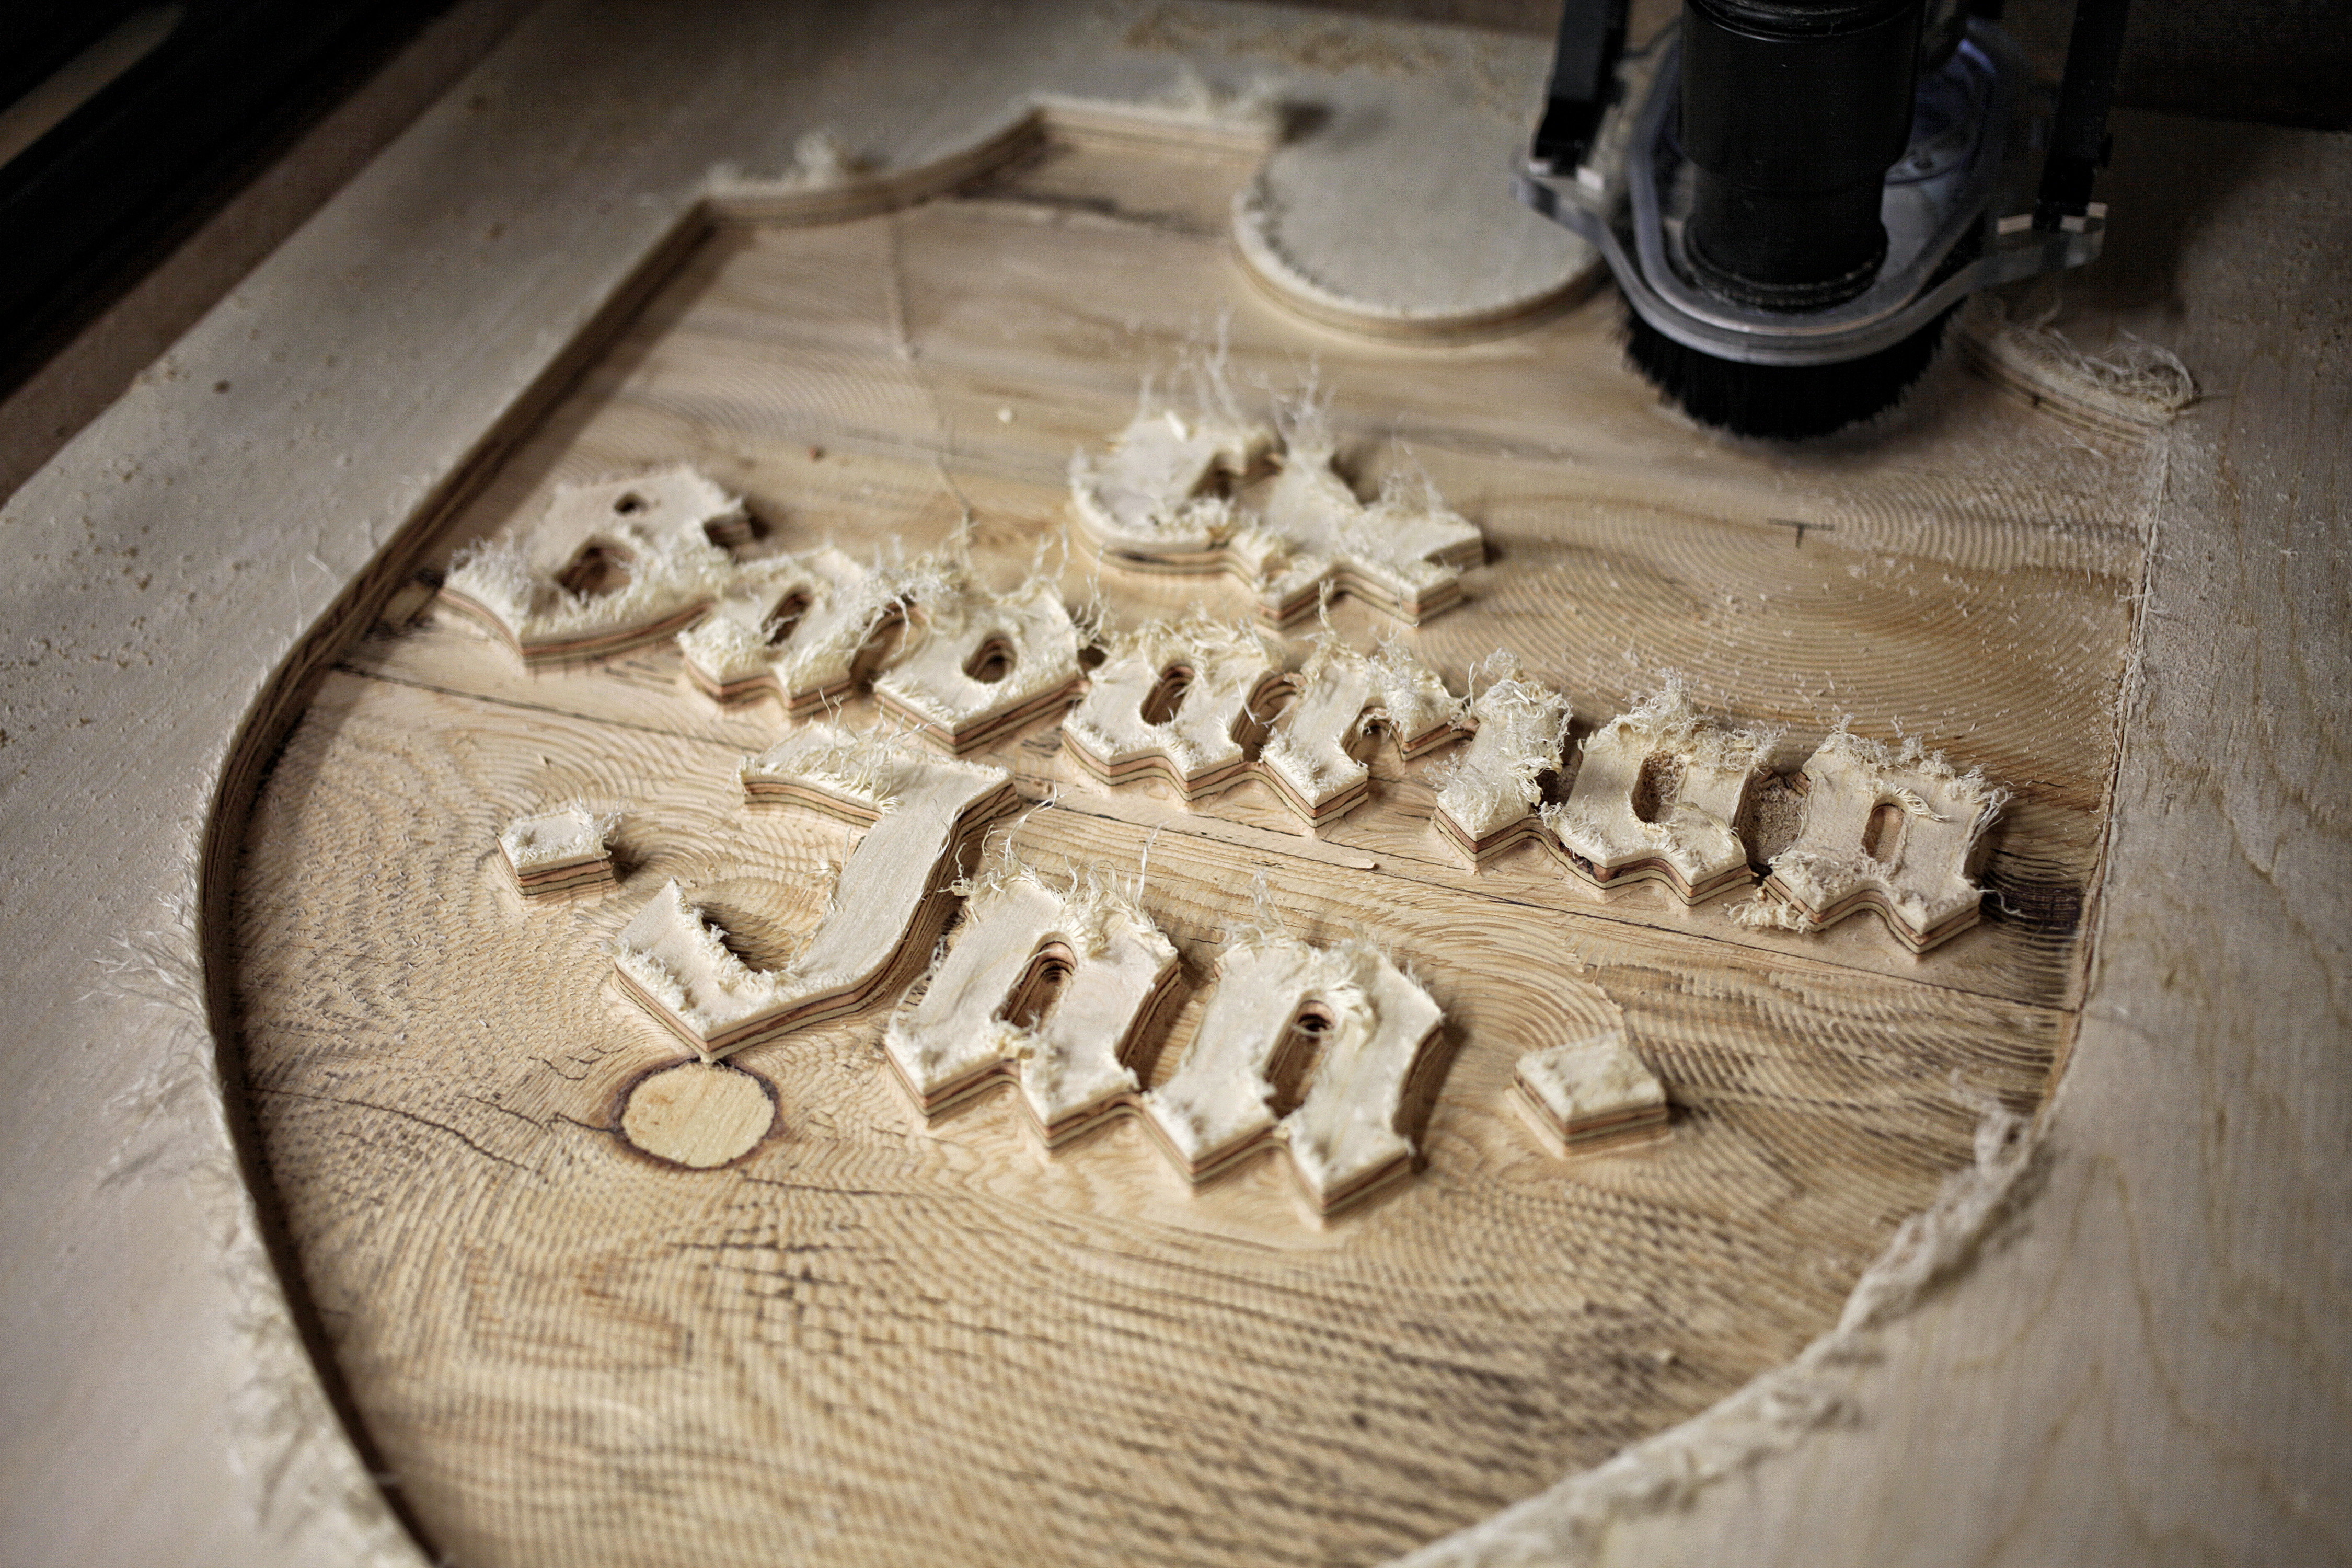
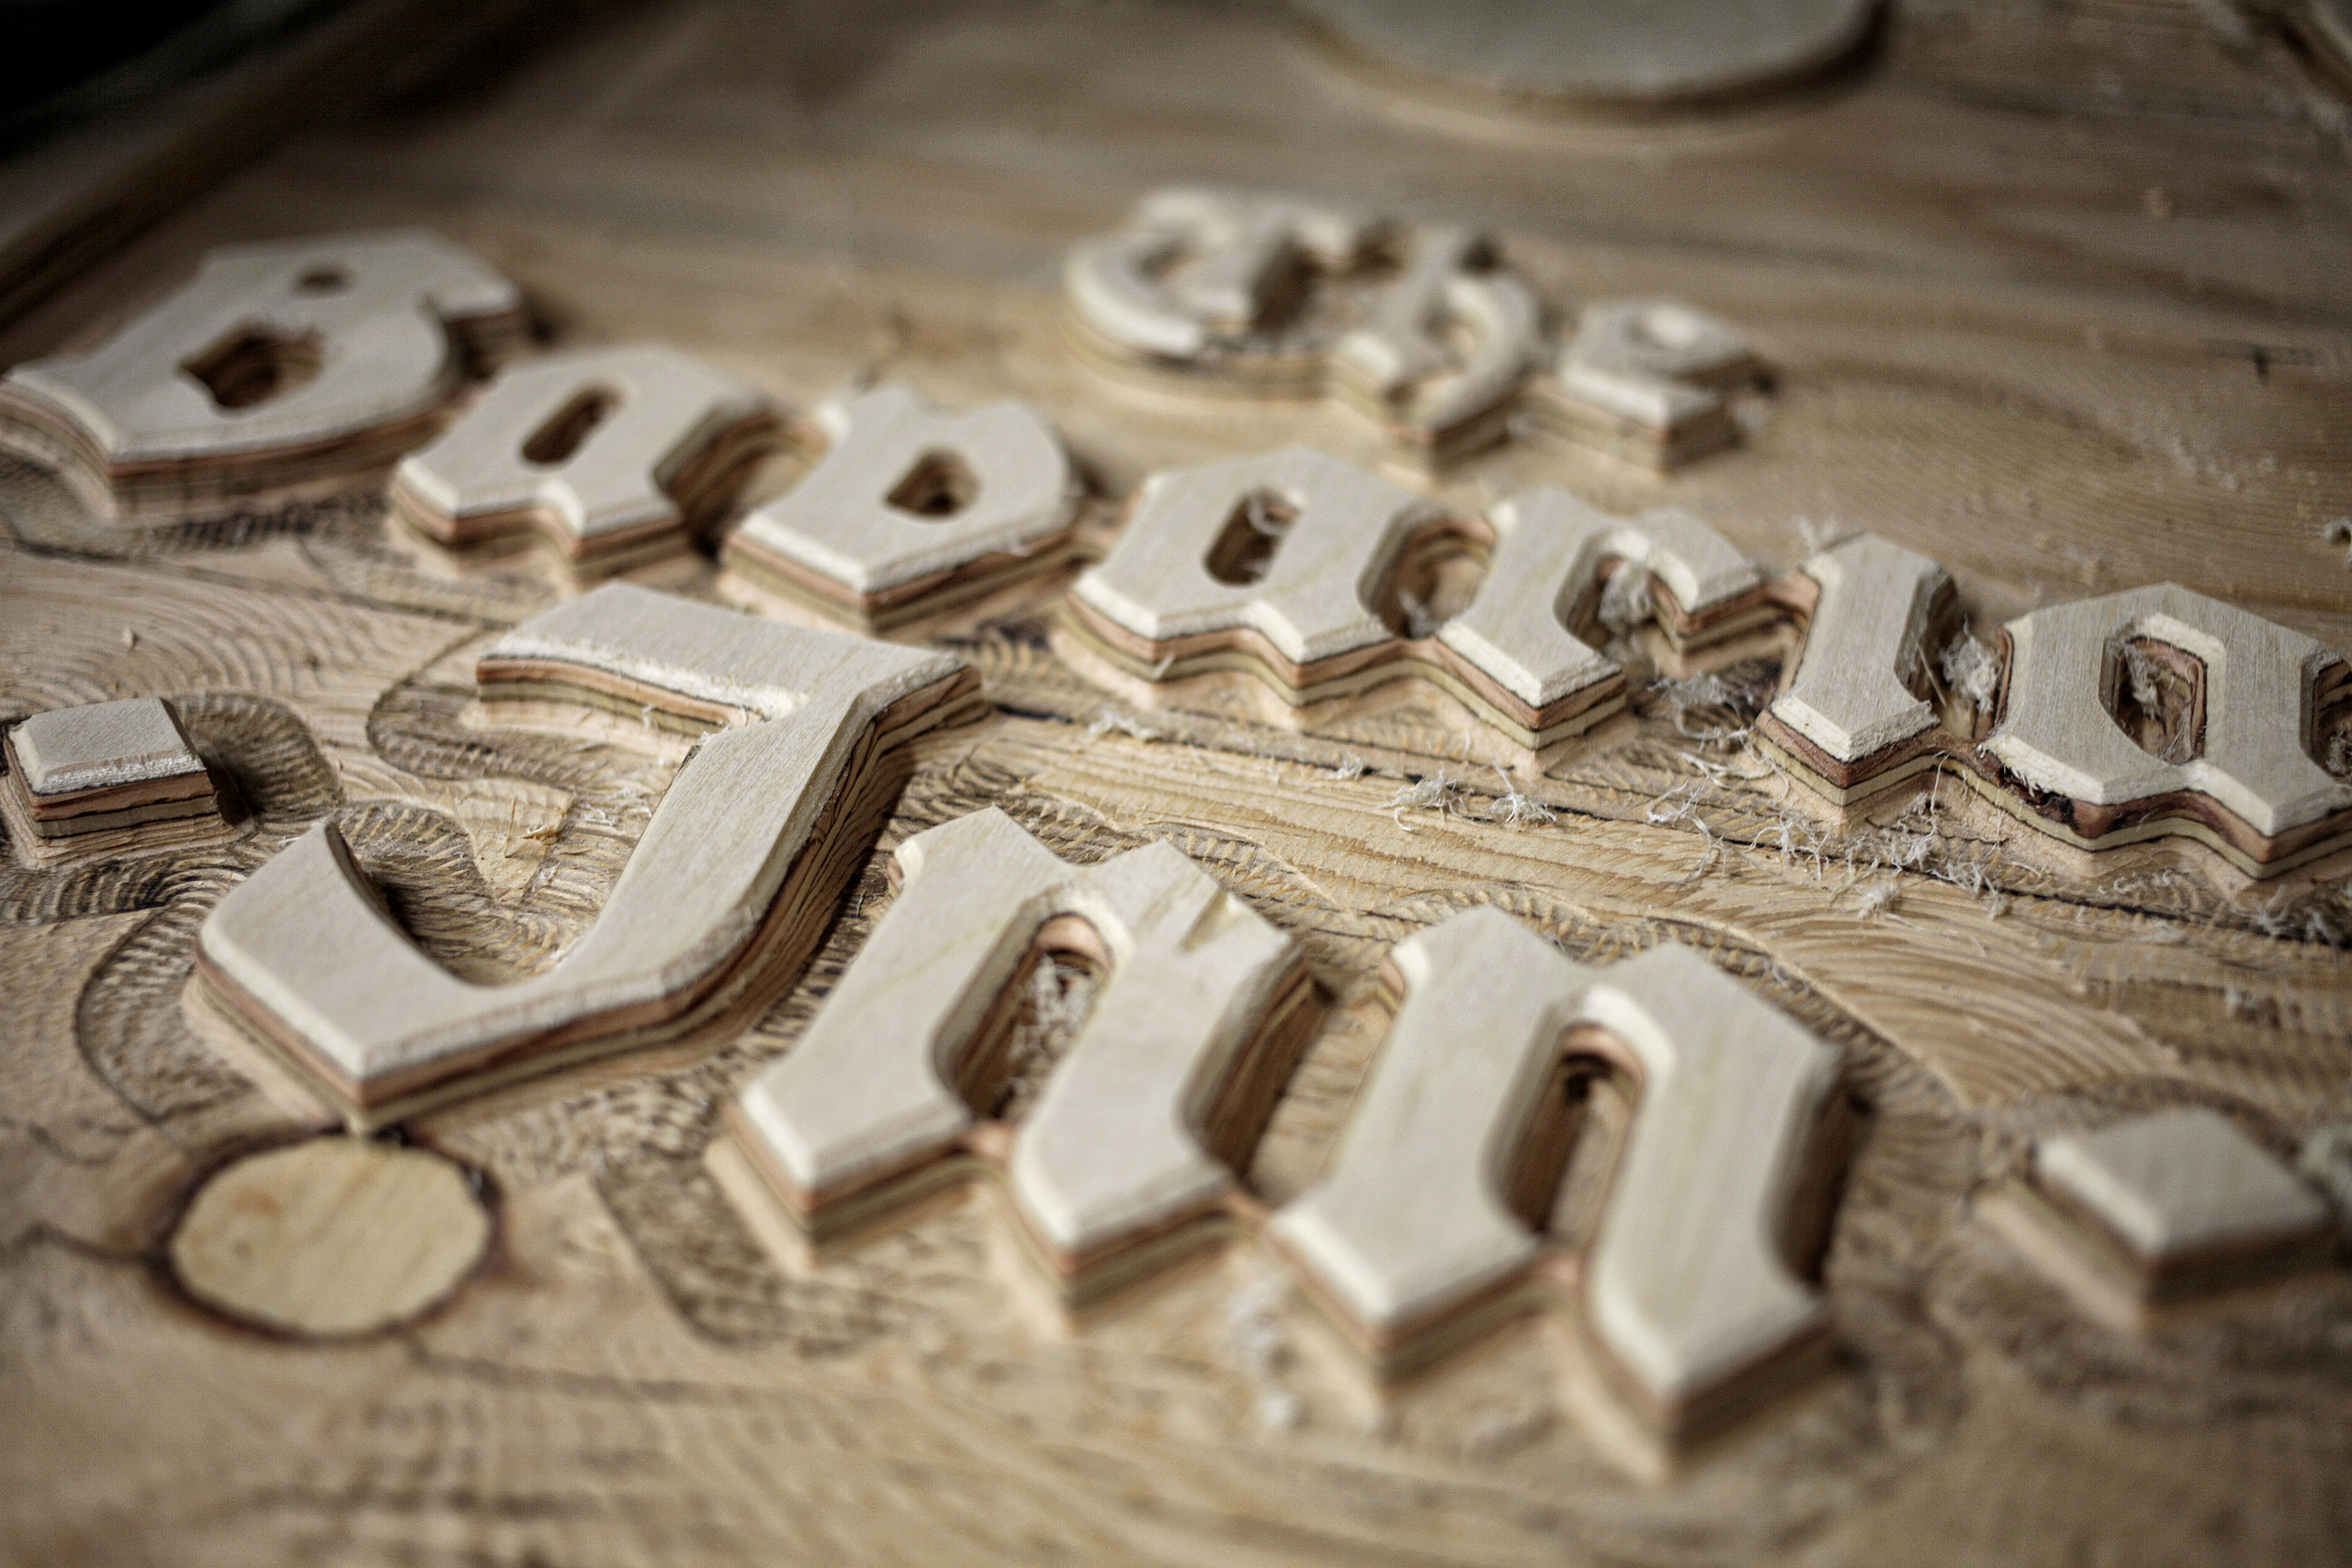
The detail achieved after just this first operation with the 1/4" end mill was a nice surprise. I could have just stopped here, but since I already had the code generated, I went ahead and ran the second operation.
I ran the second and final clearing operation with a 1/8" ball end mill. This added a slight bit more detail, though less than I expected. You'll notice that my Z-height was set a little bit low here due to sloppiness on my part, but it wasn't an issue because this entire bottom was soon going to be filled with epoxy.
To give the sign some thickness, I traced a roughly offset outline of the shield onto a second piece of plywood, cut it out with a jig saw and then glued them together. Once they were set, I cleared off the offset piece on my router table.
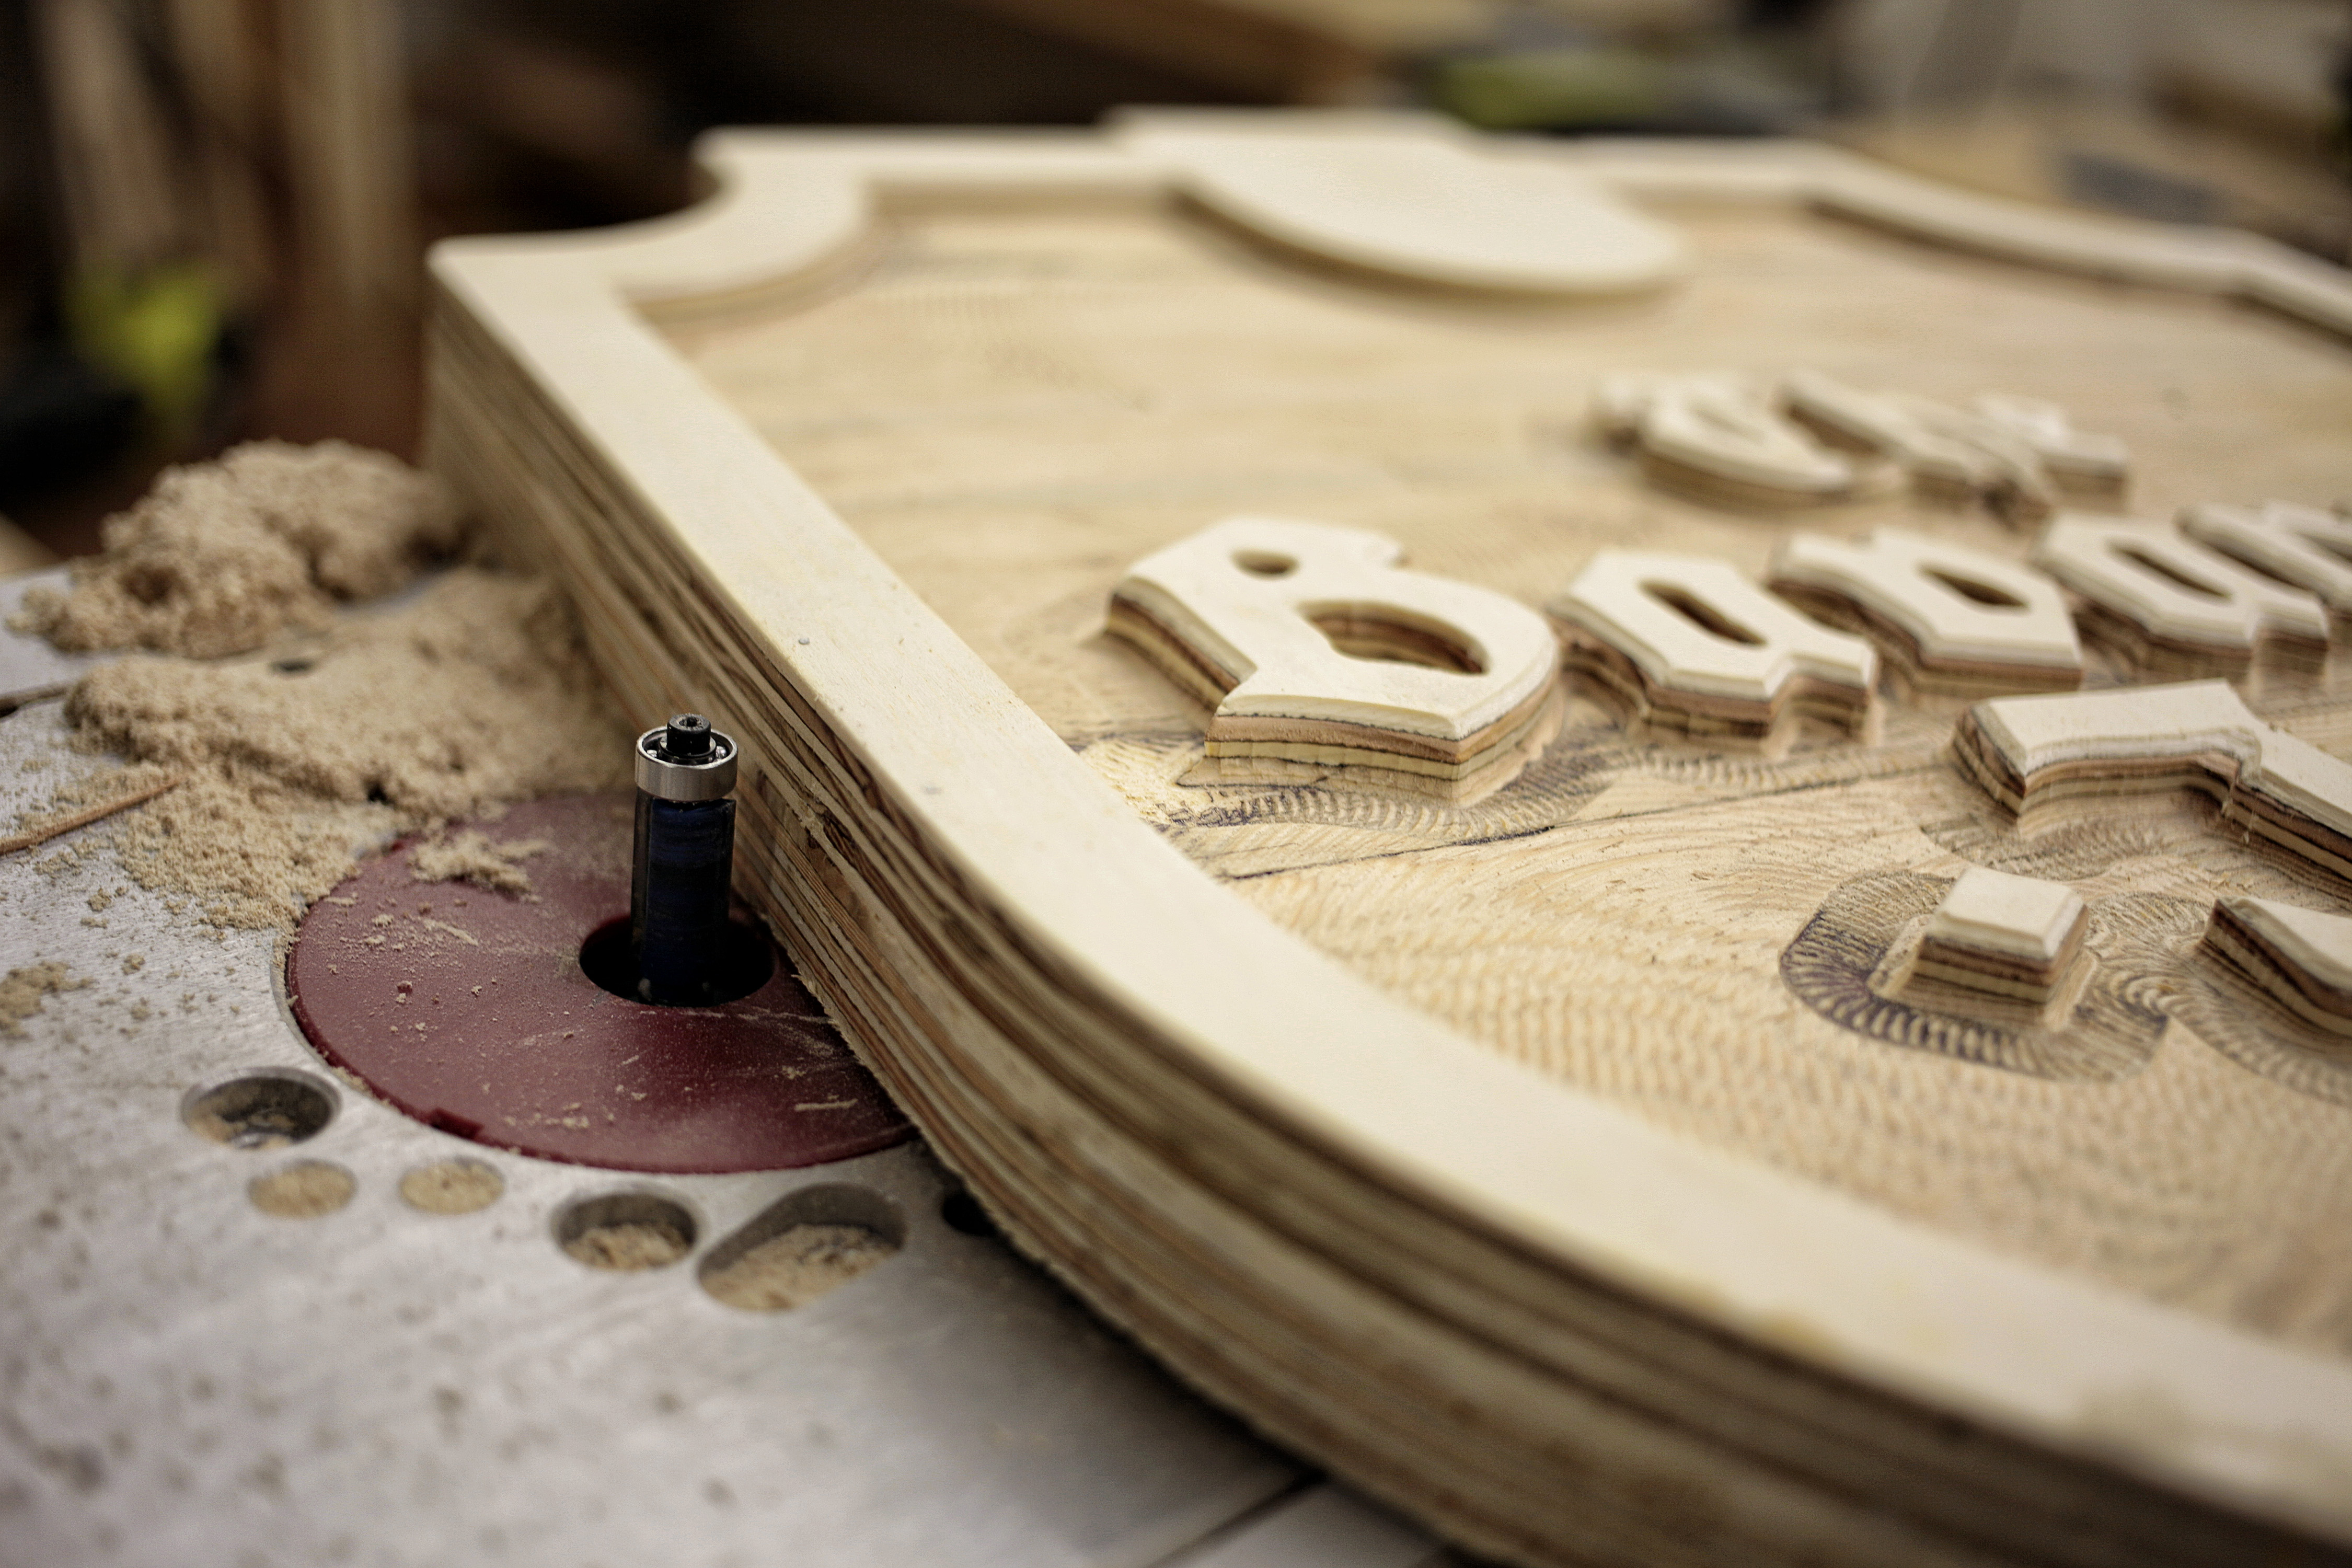
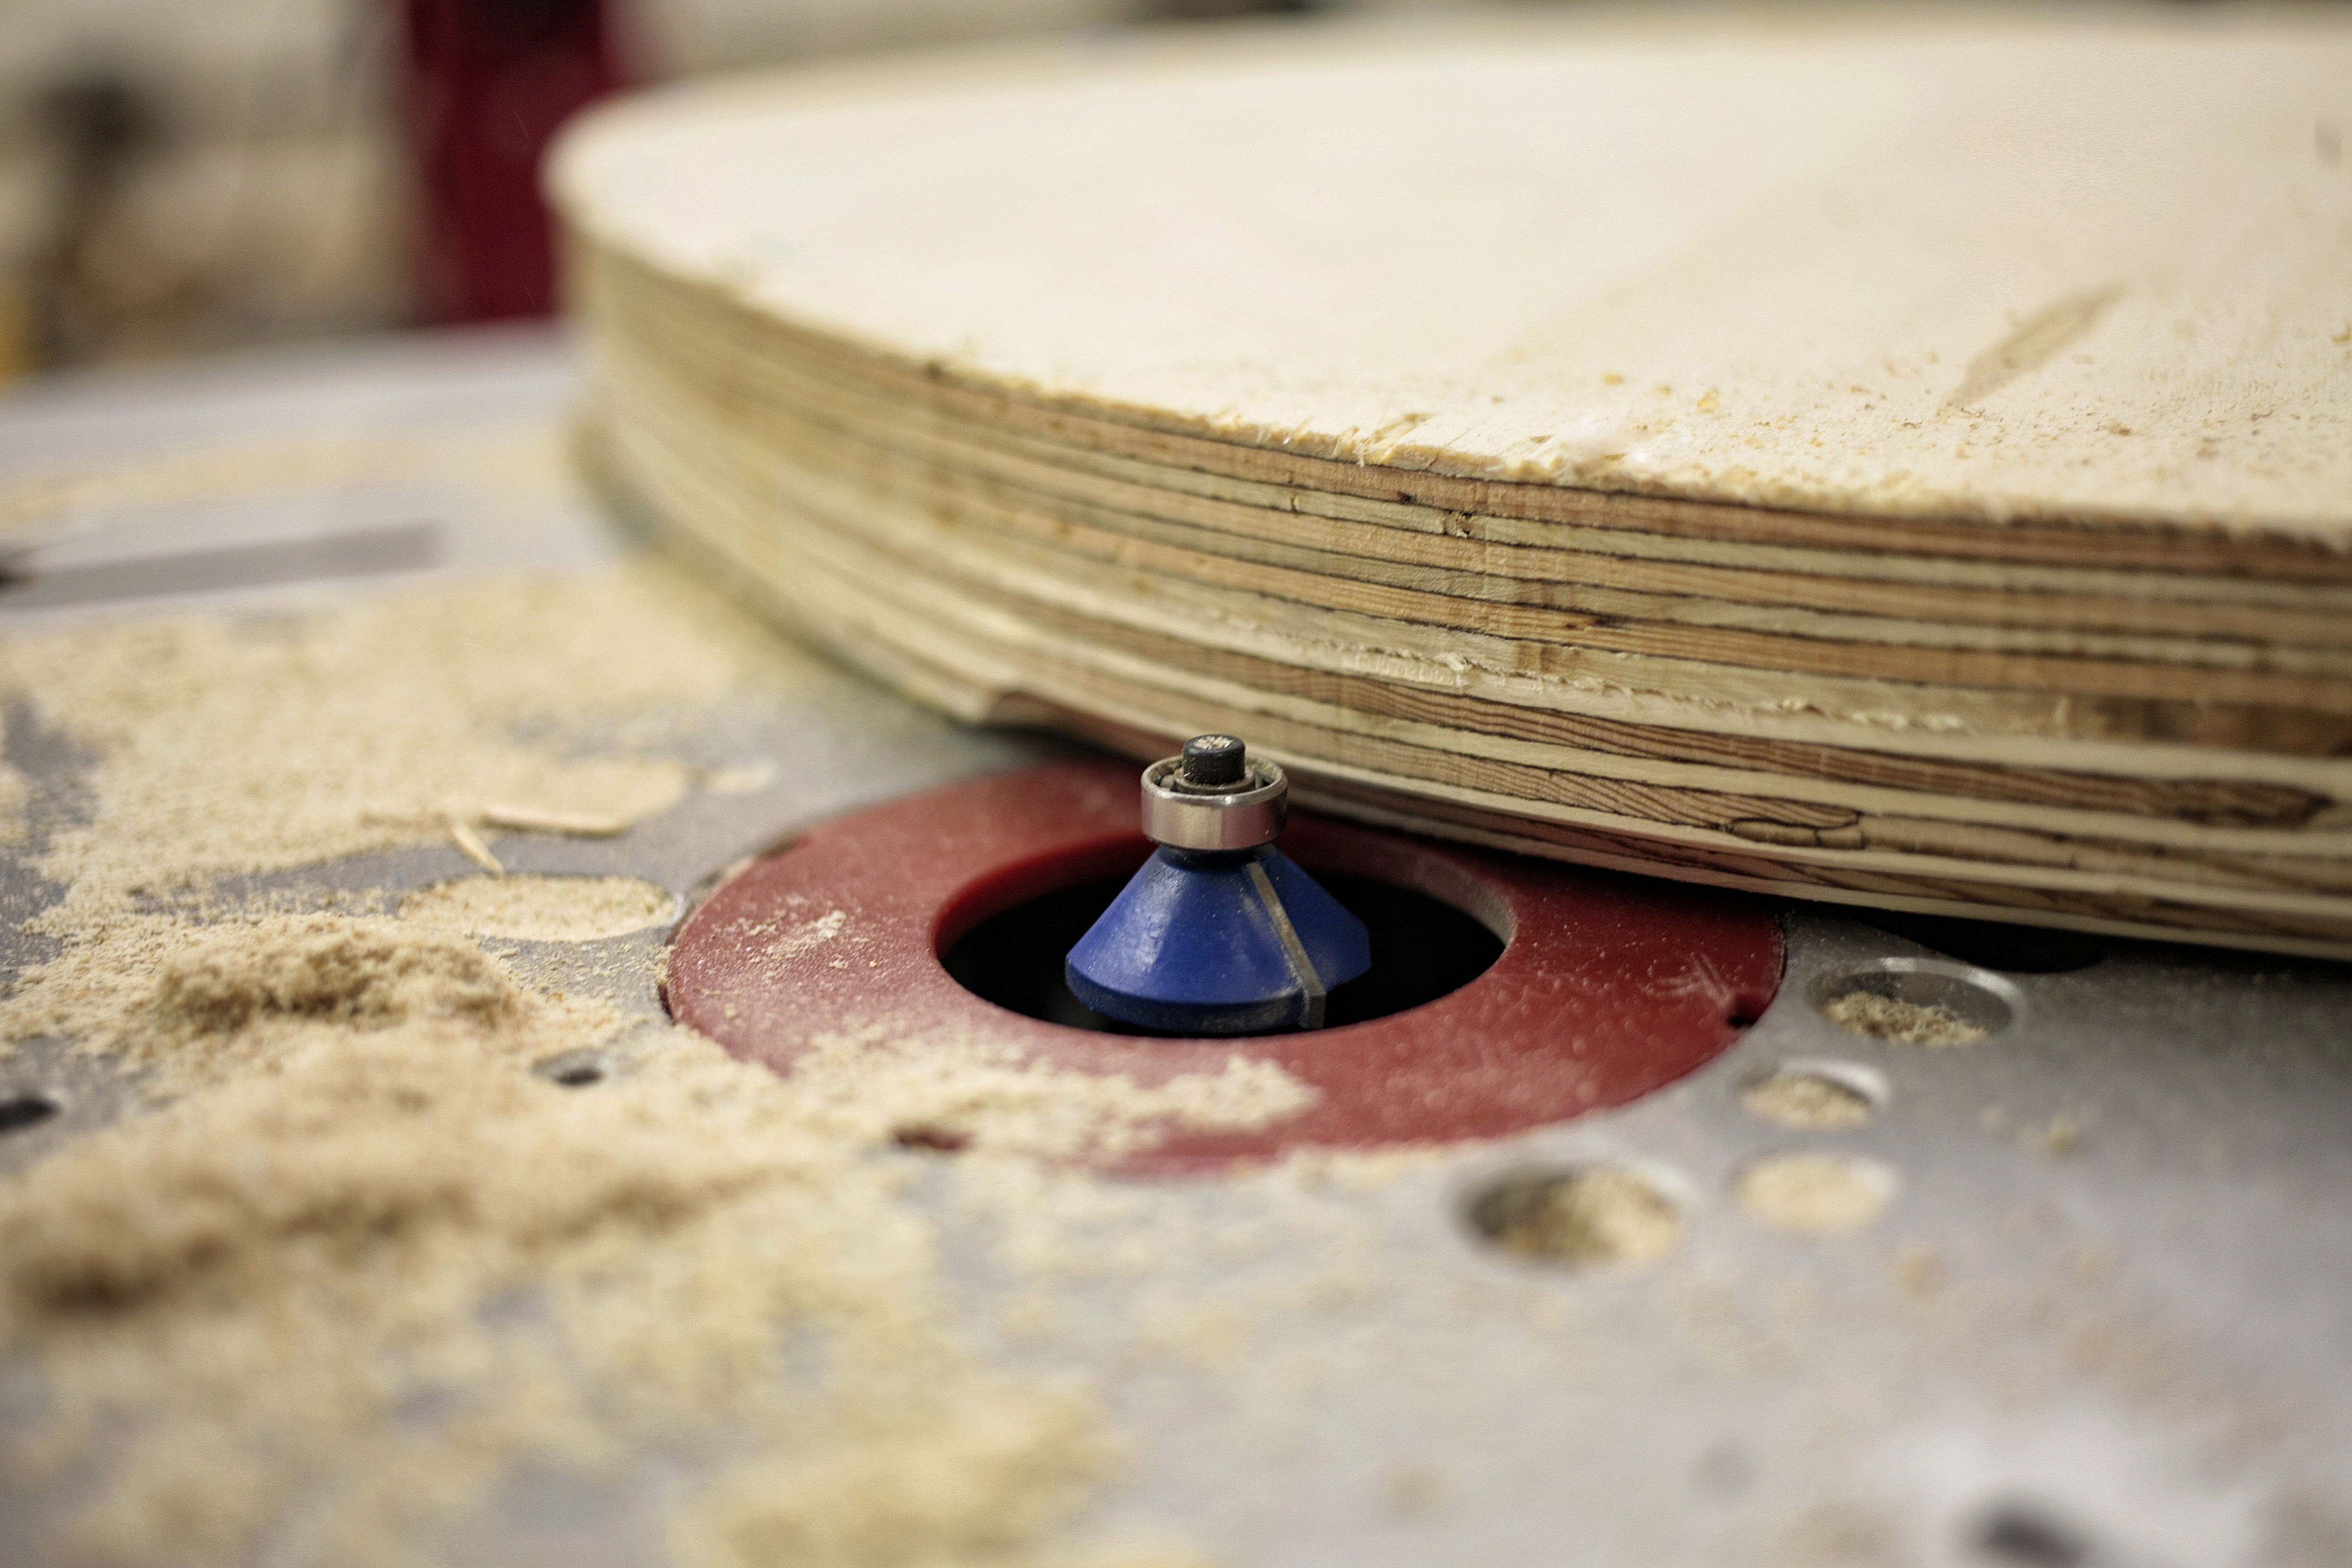
Since the plywood layers were looking good to me, I added a slight chamfer around the outer edge of the sign's face. This could have been done on my LEAD CNC earlier, but it's quick and easy to do manually and I preferred to keep my options open during the process.
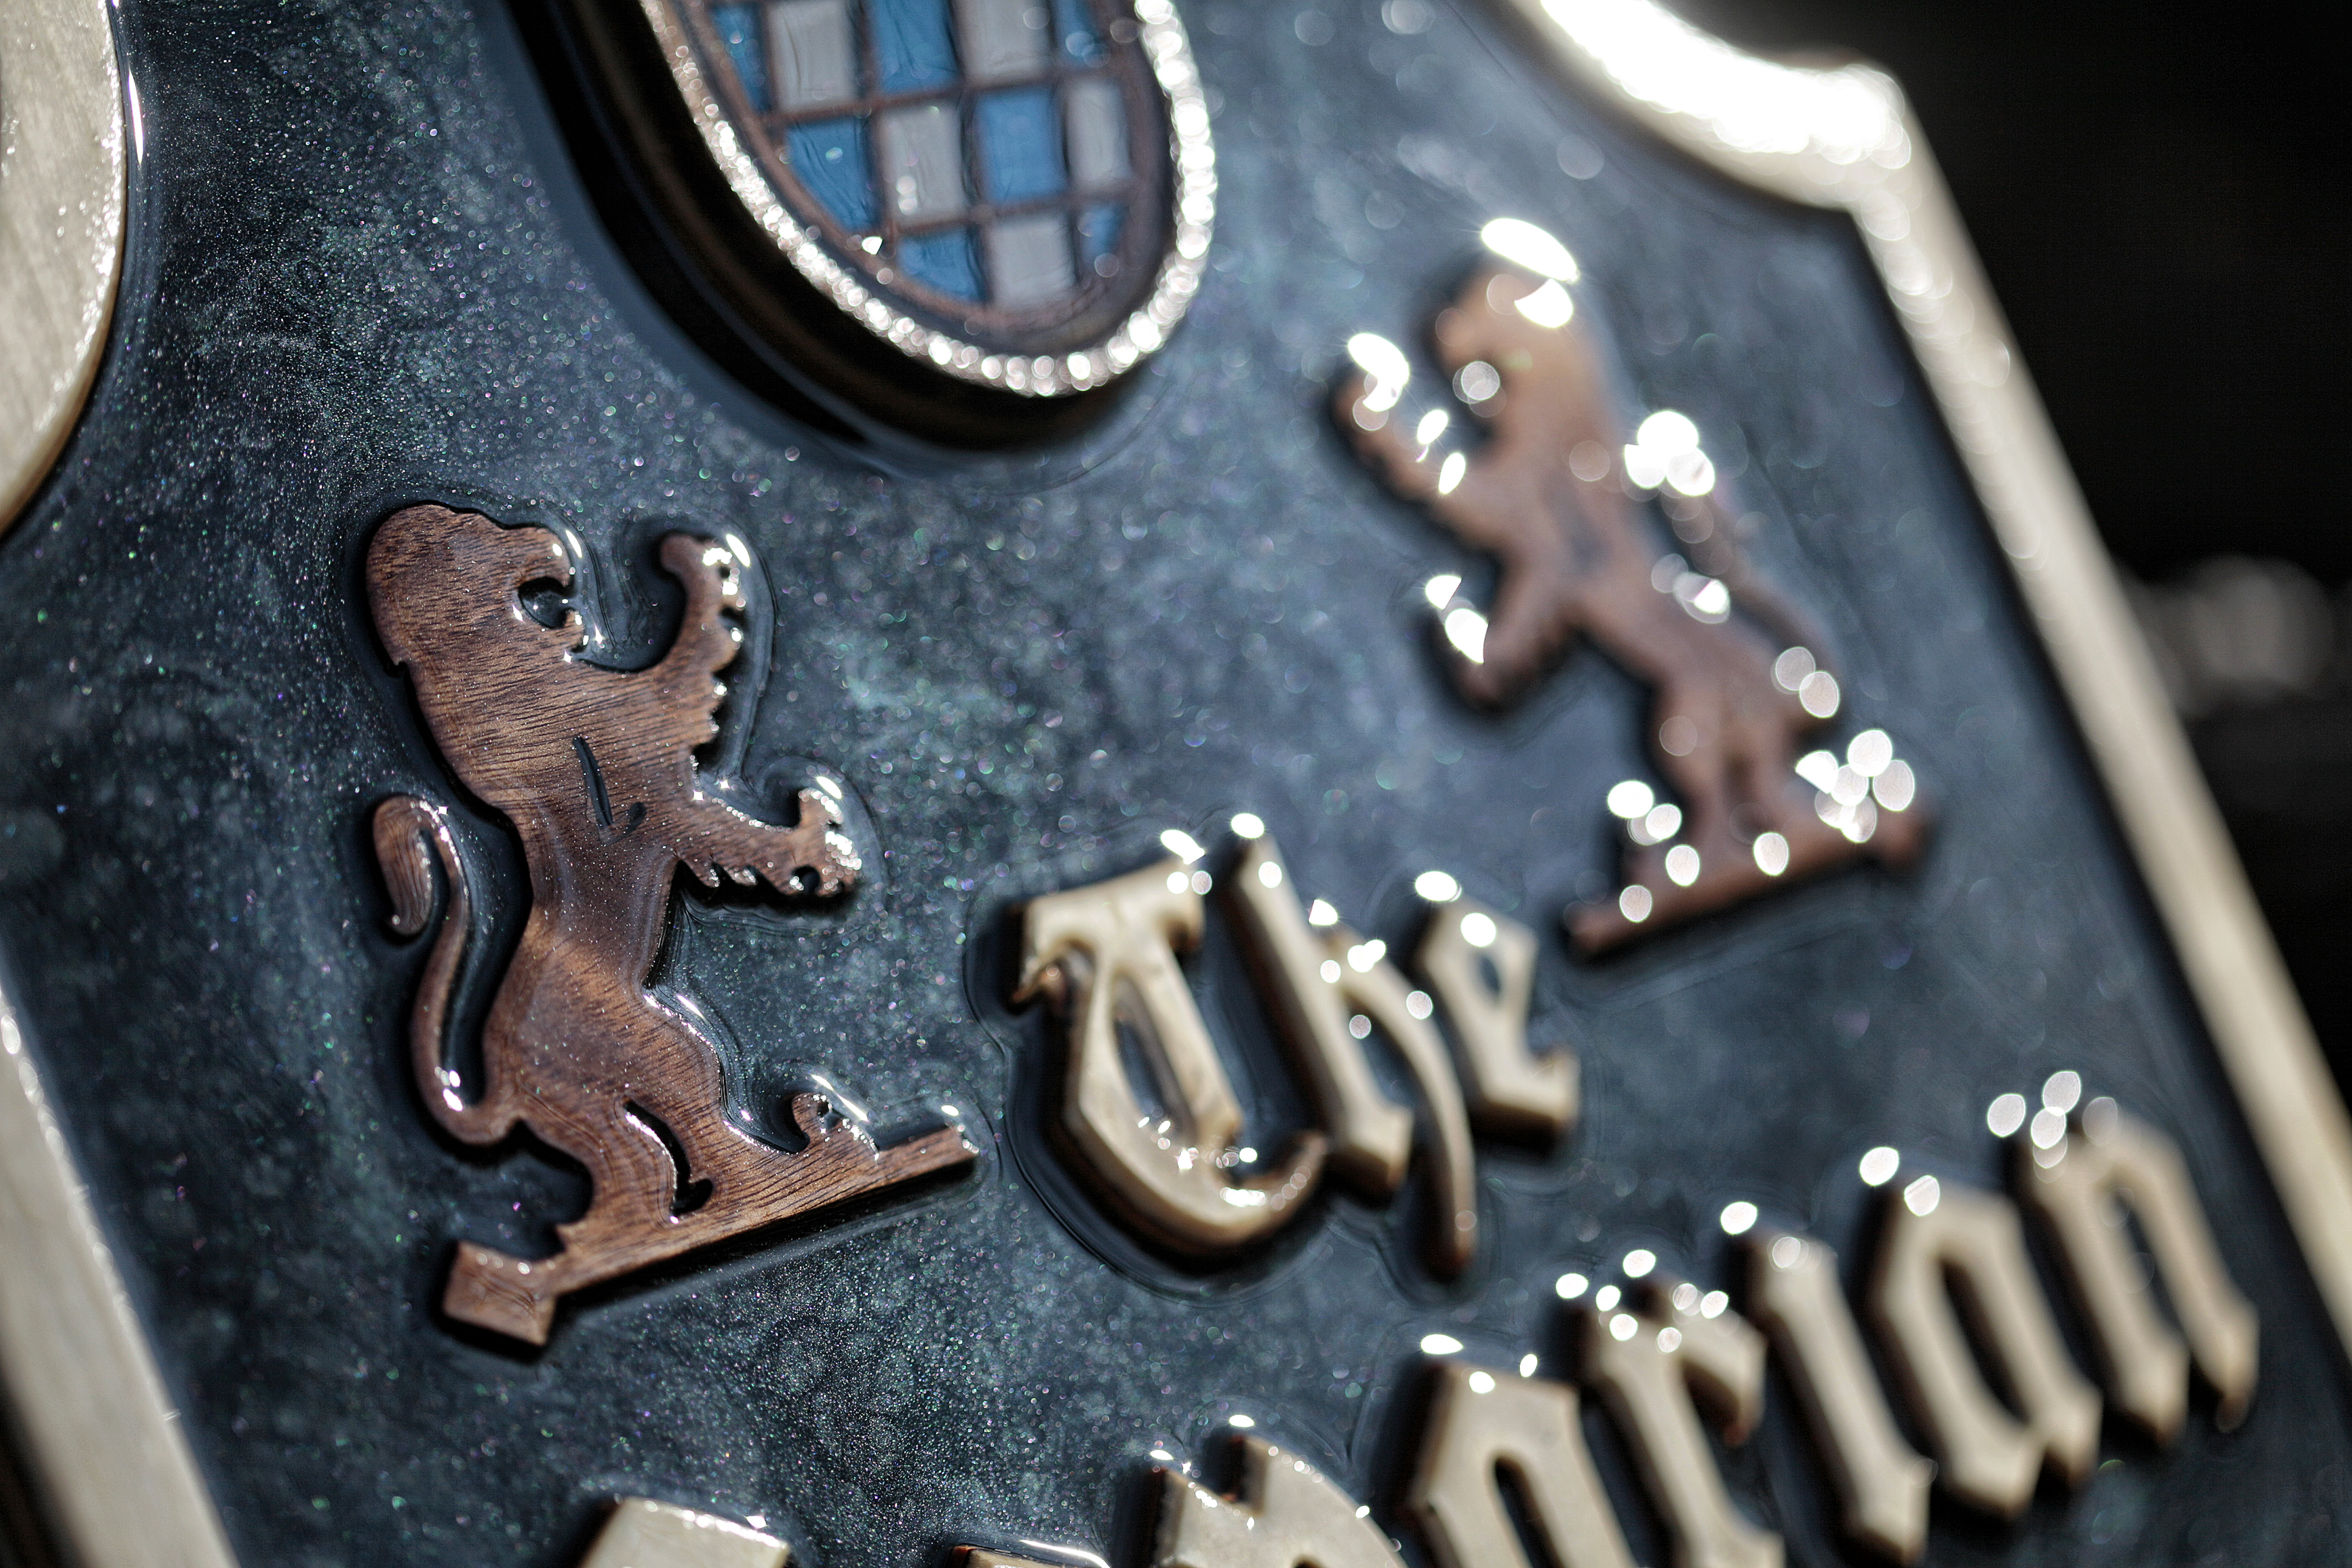
To dress up the plywood a little, I used a piece of scrap 1/4" walnut to cut out some detail pieces. Walnut is never the wrong answer.
I took a few minutes to line everything up by eye and make sure everything was feeling balanced to me.
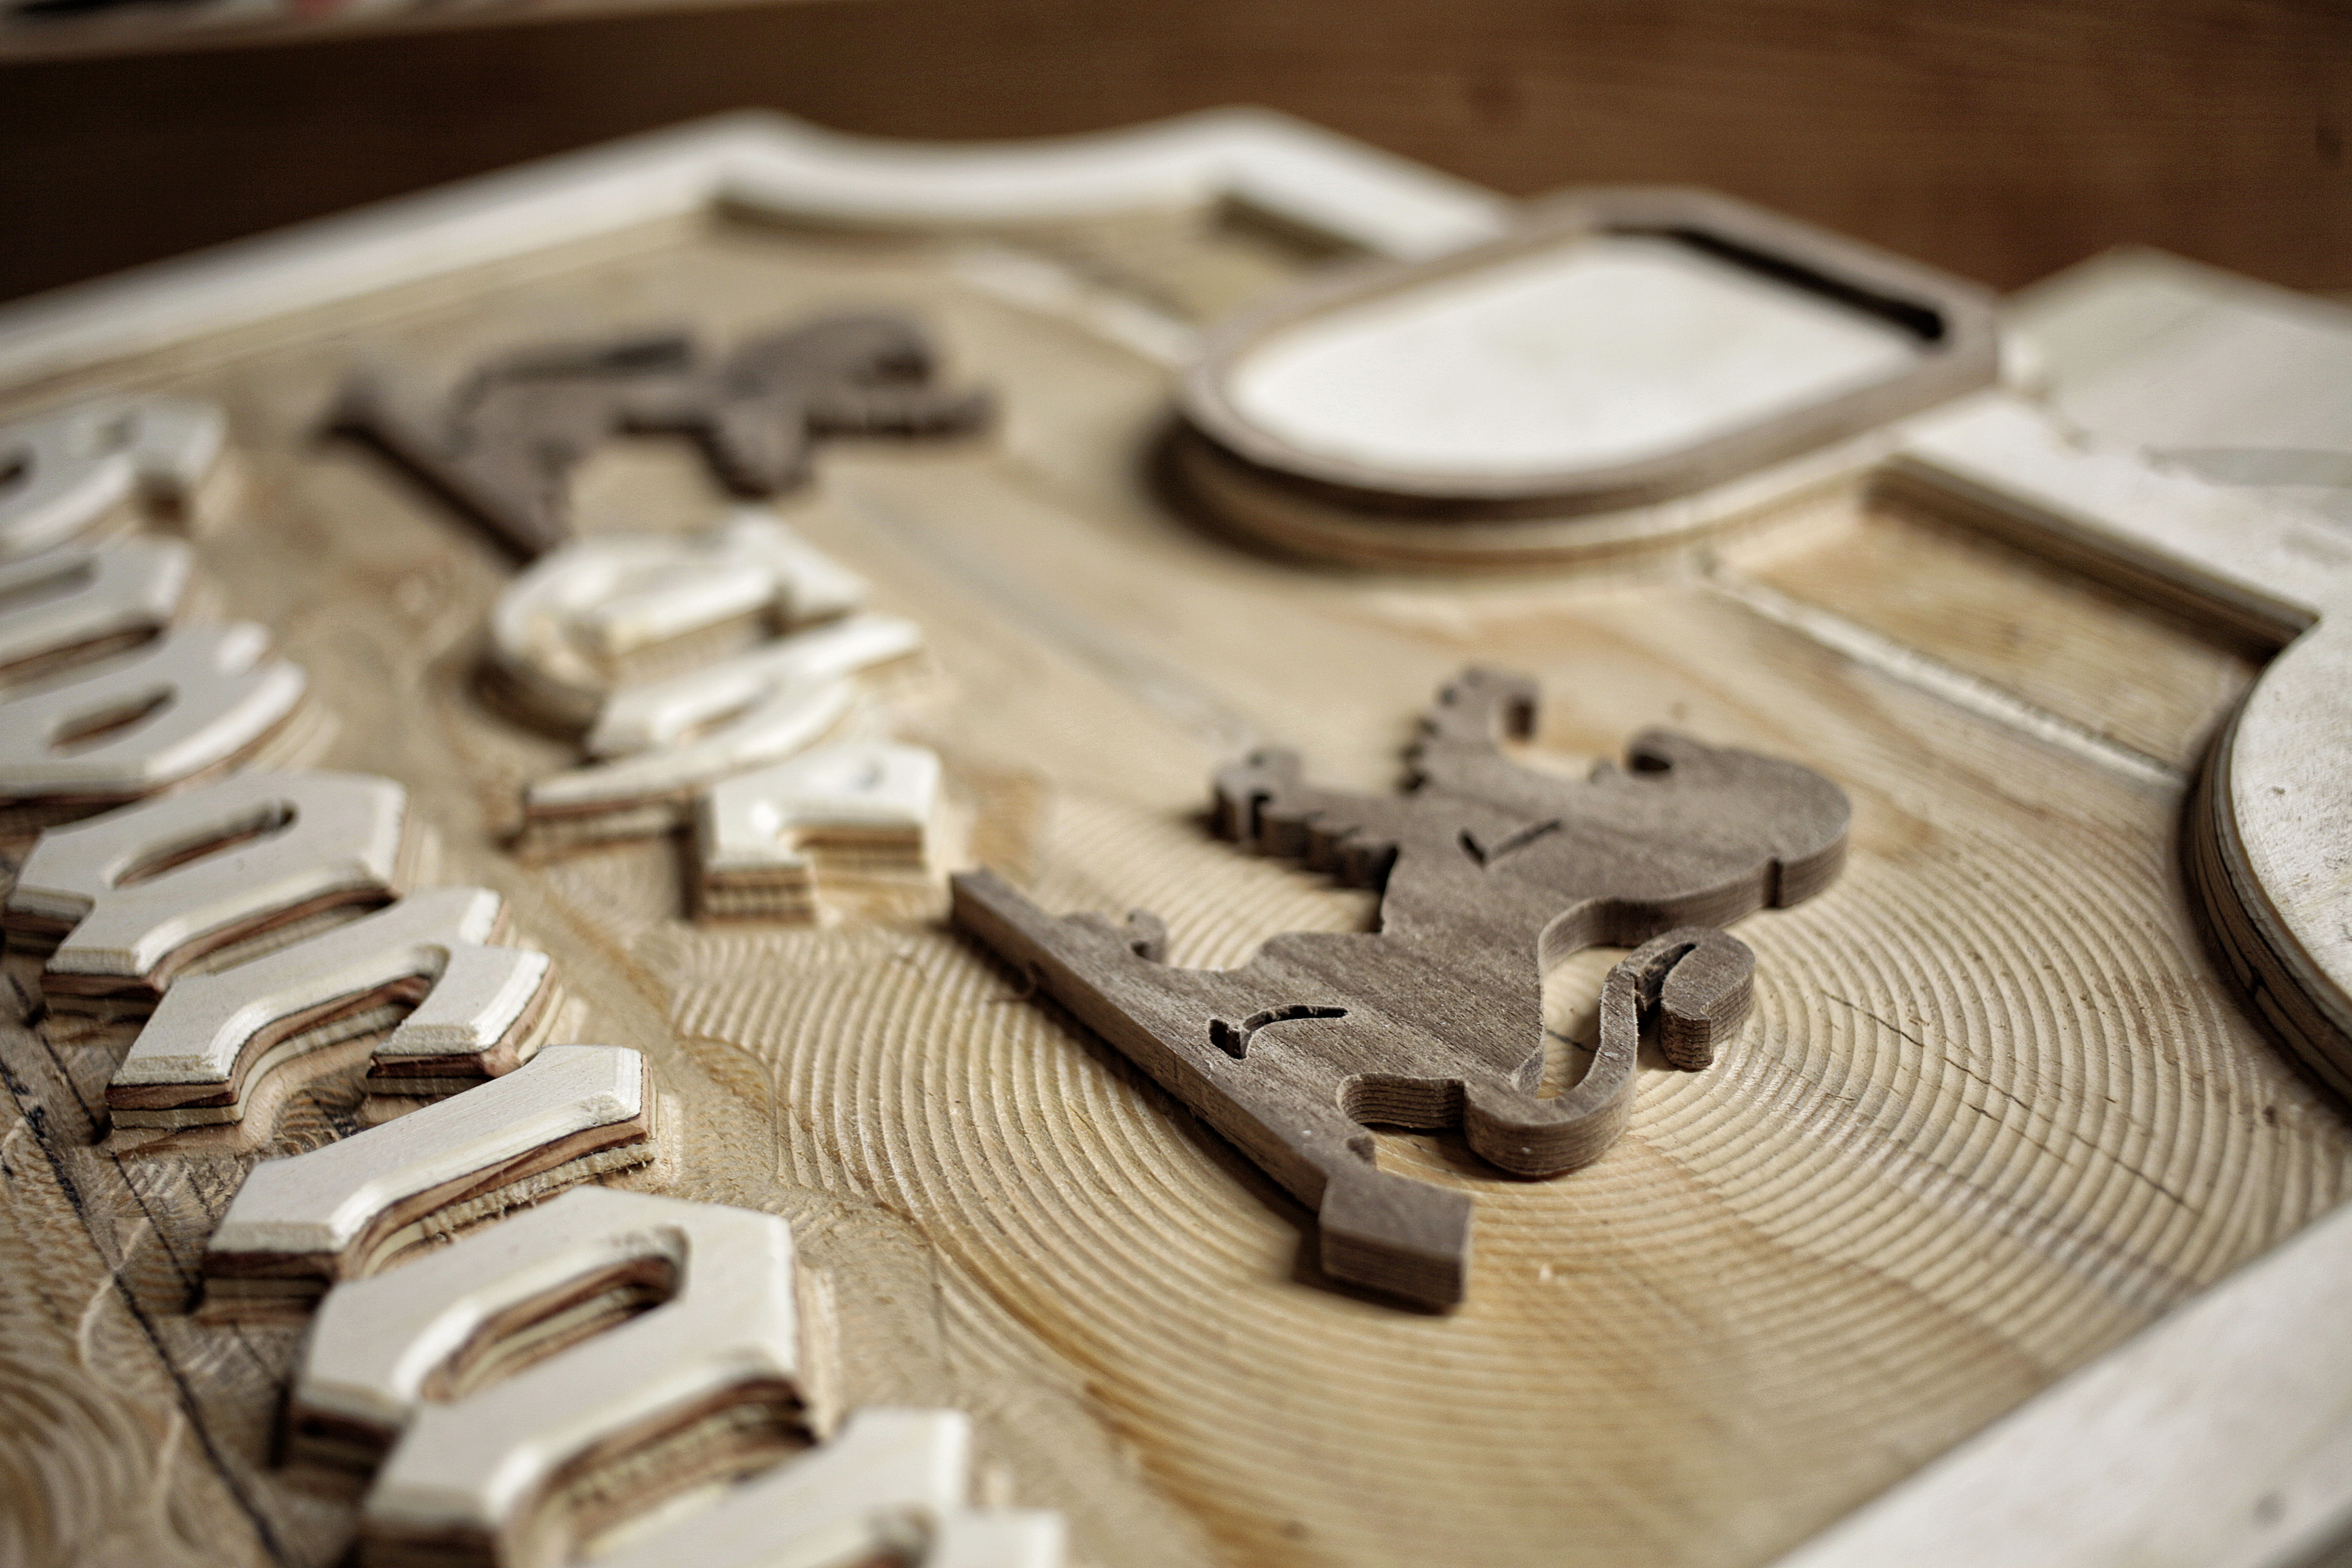
Once I was satisfied with the final layout, I attached the walnut pieces with wood glue.

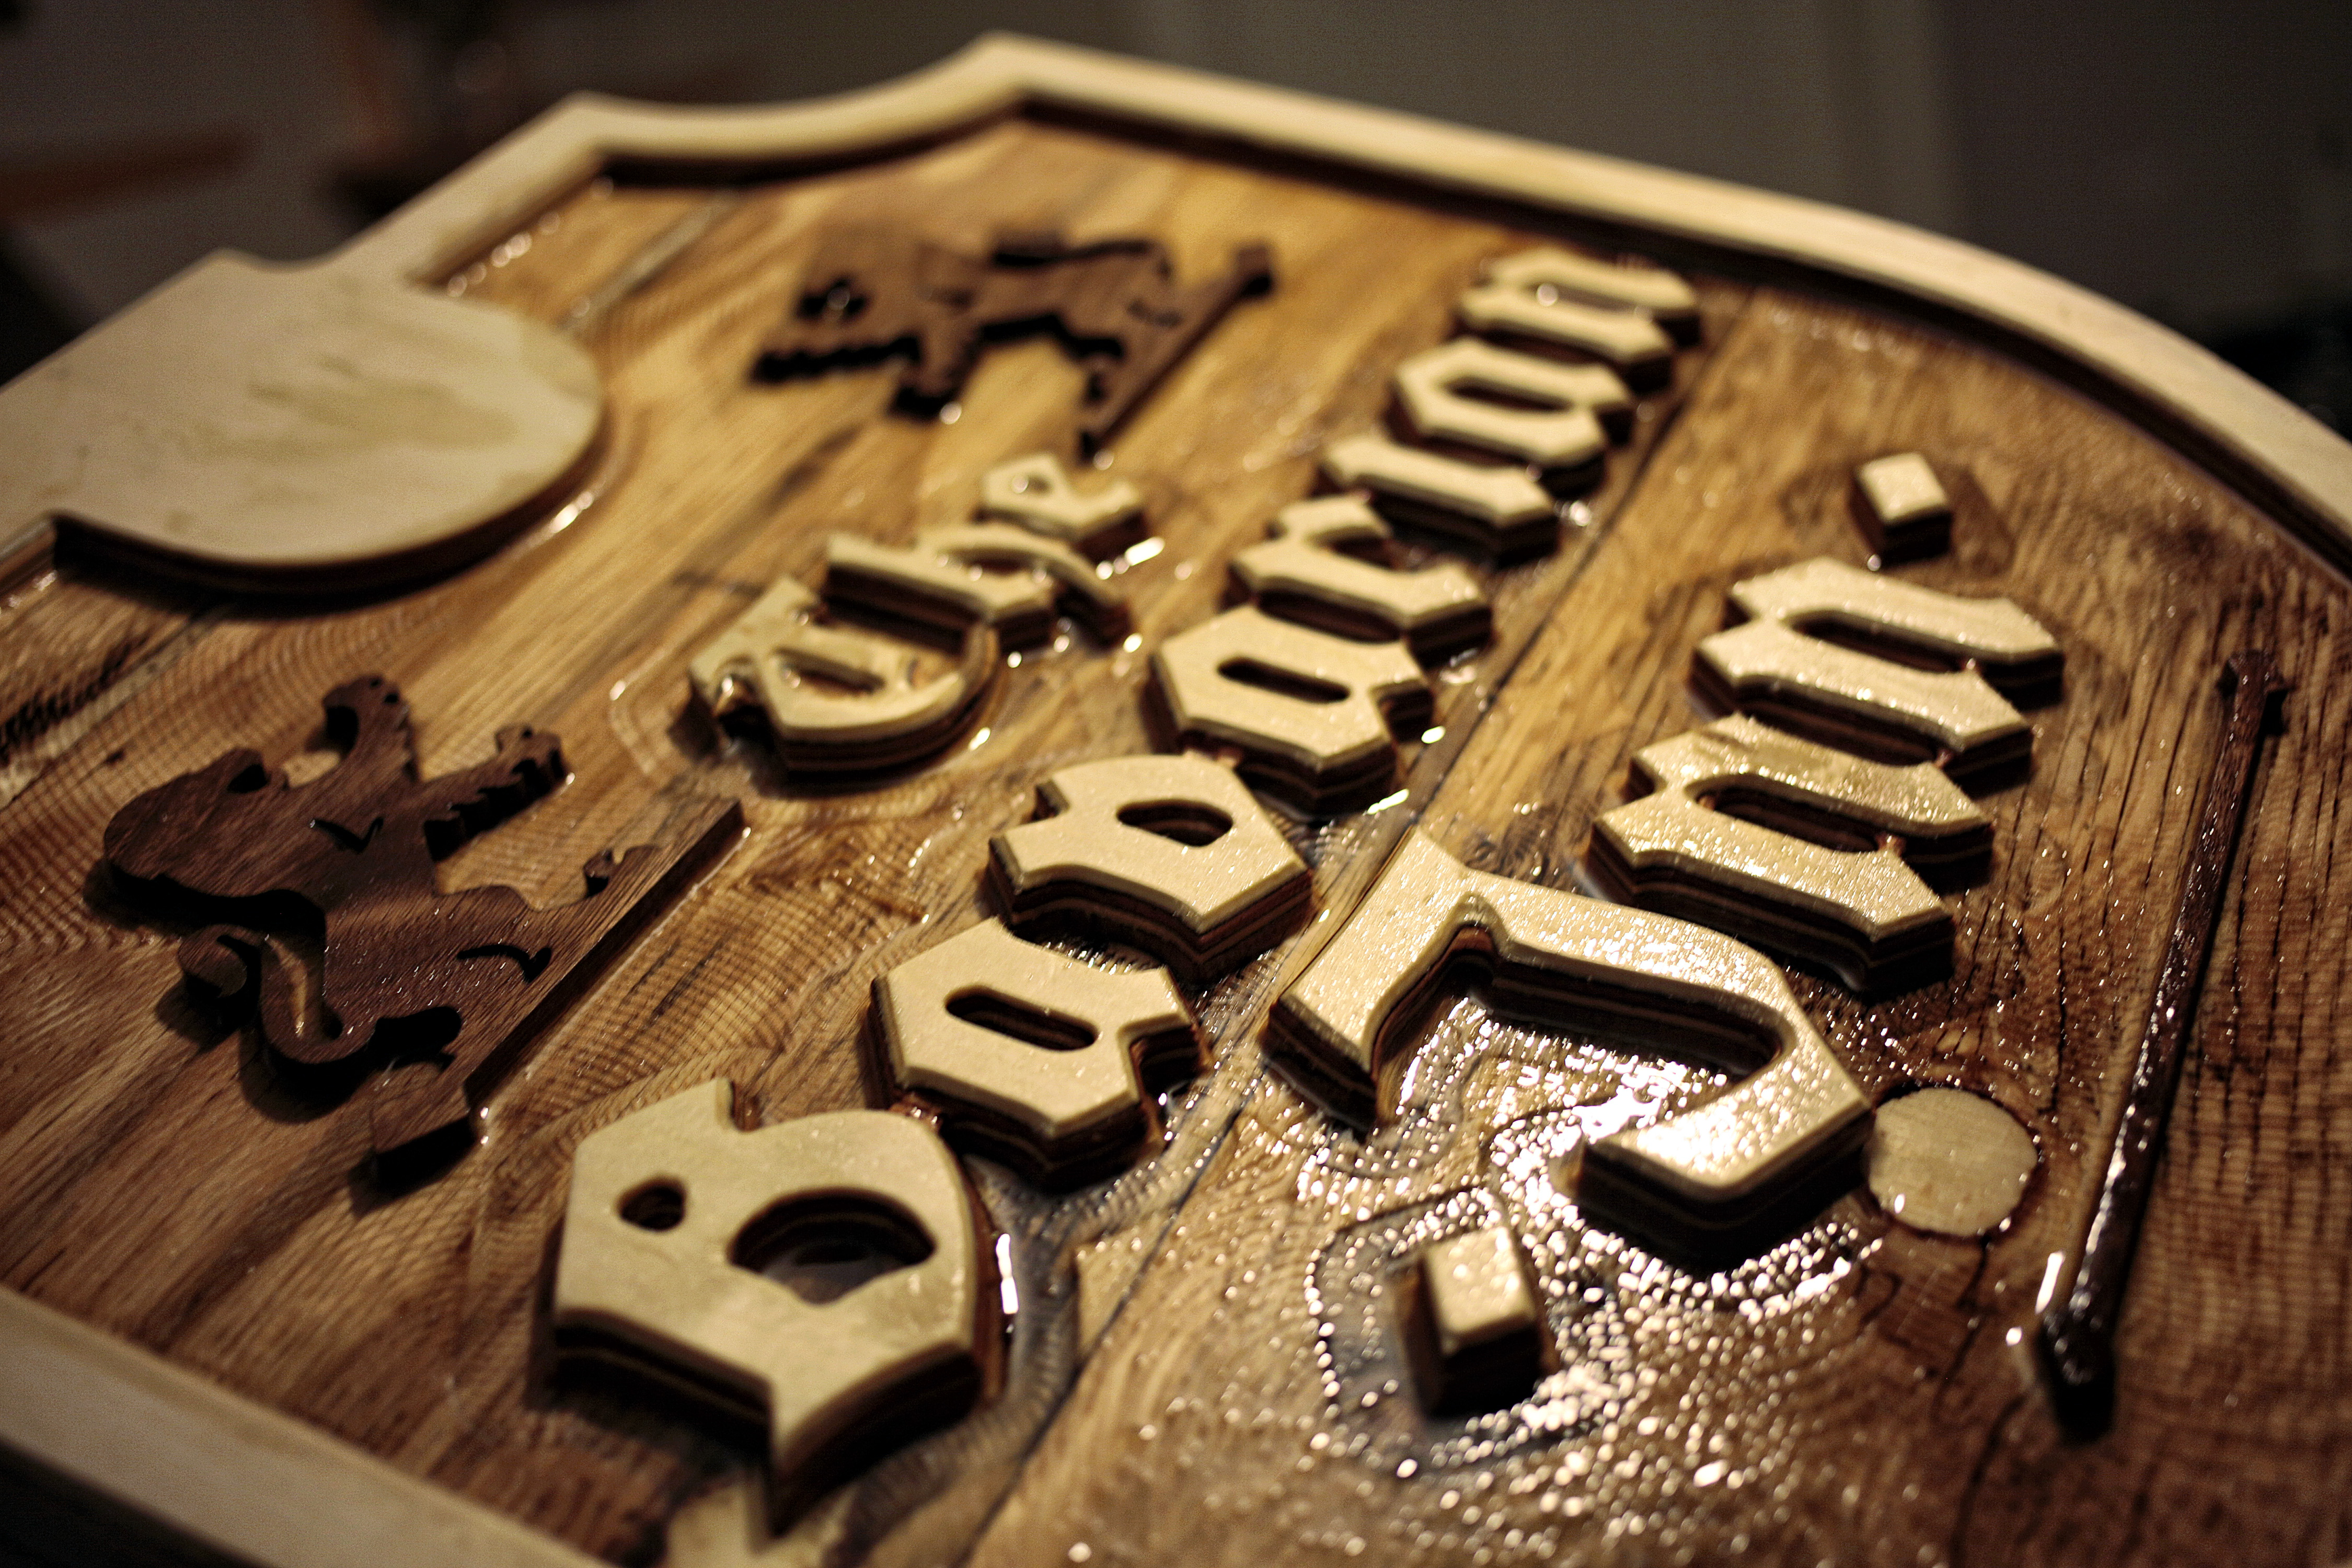
To keep the tinted epoxy from soaking into the letters and edges I put down a rough basecoat of clear epoxy. The plywood and walnut surfaces are still a little rough here, but the plan was to sand down the letter surfaces between a couple of coats since the plywood surface is so soft and tends to stay fuzzy while bare.
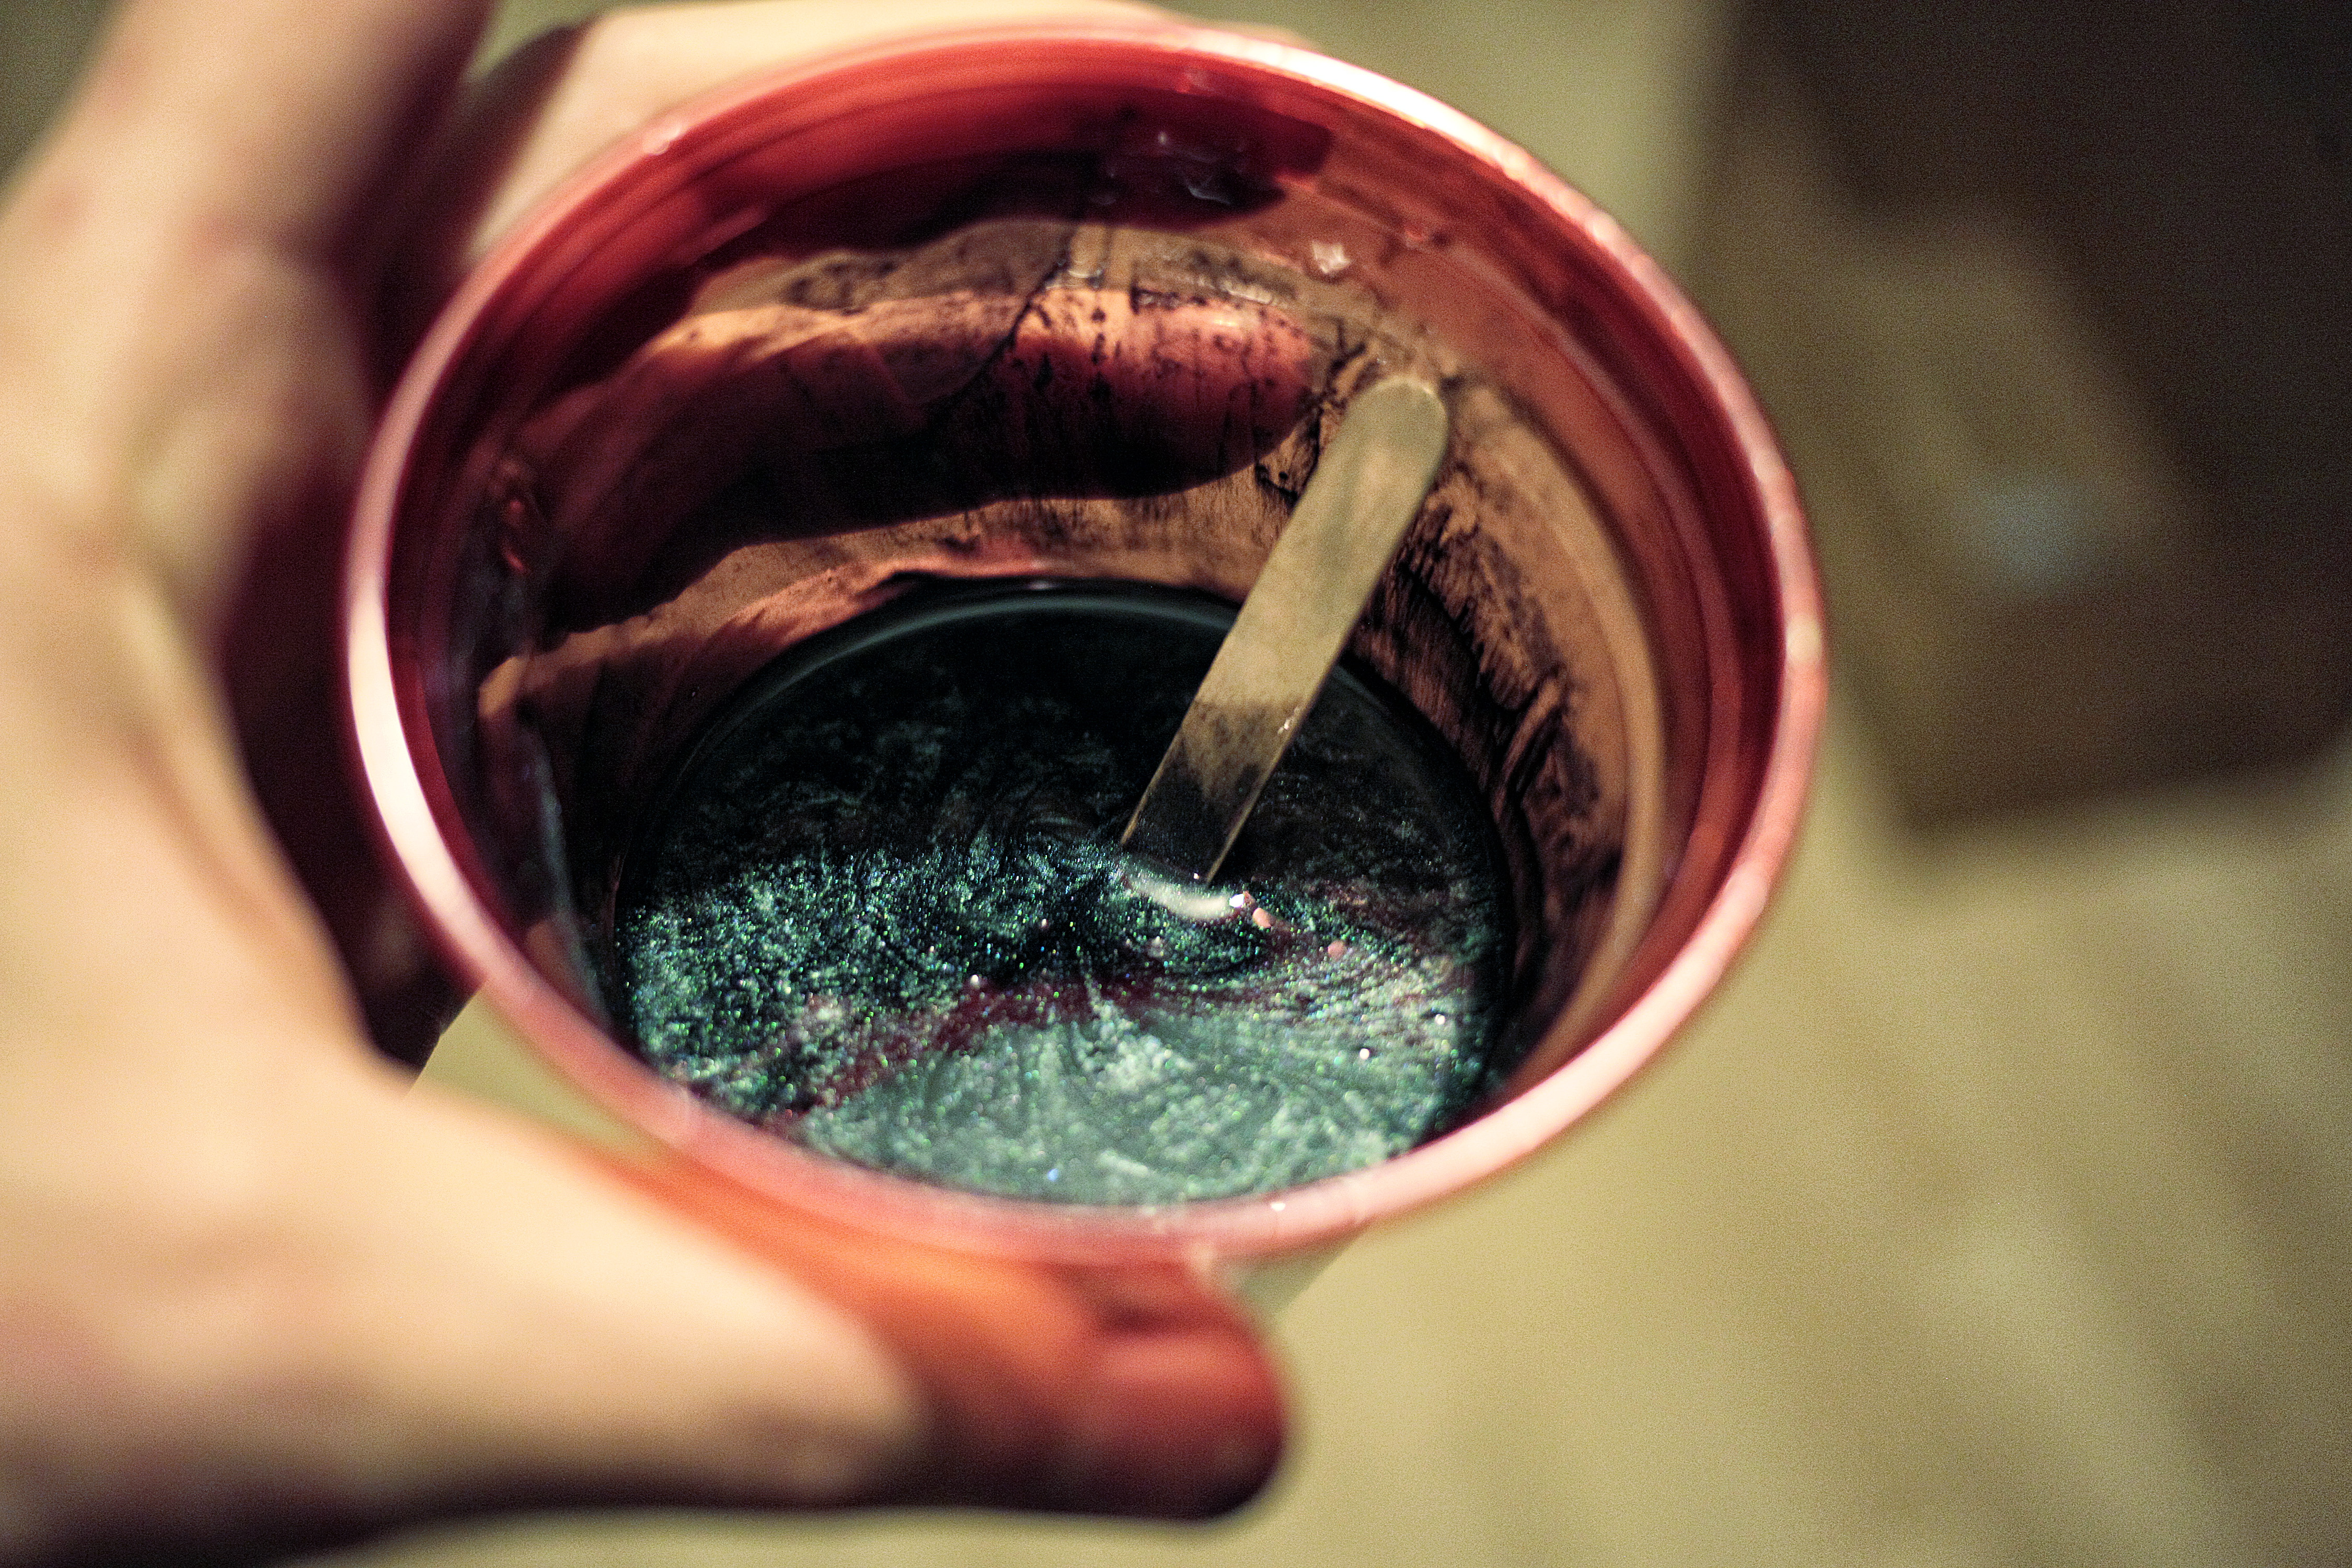
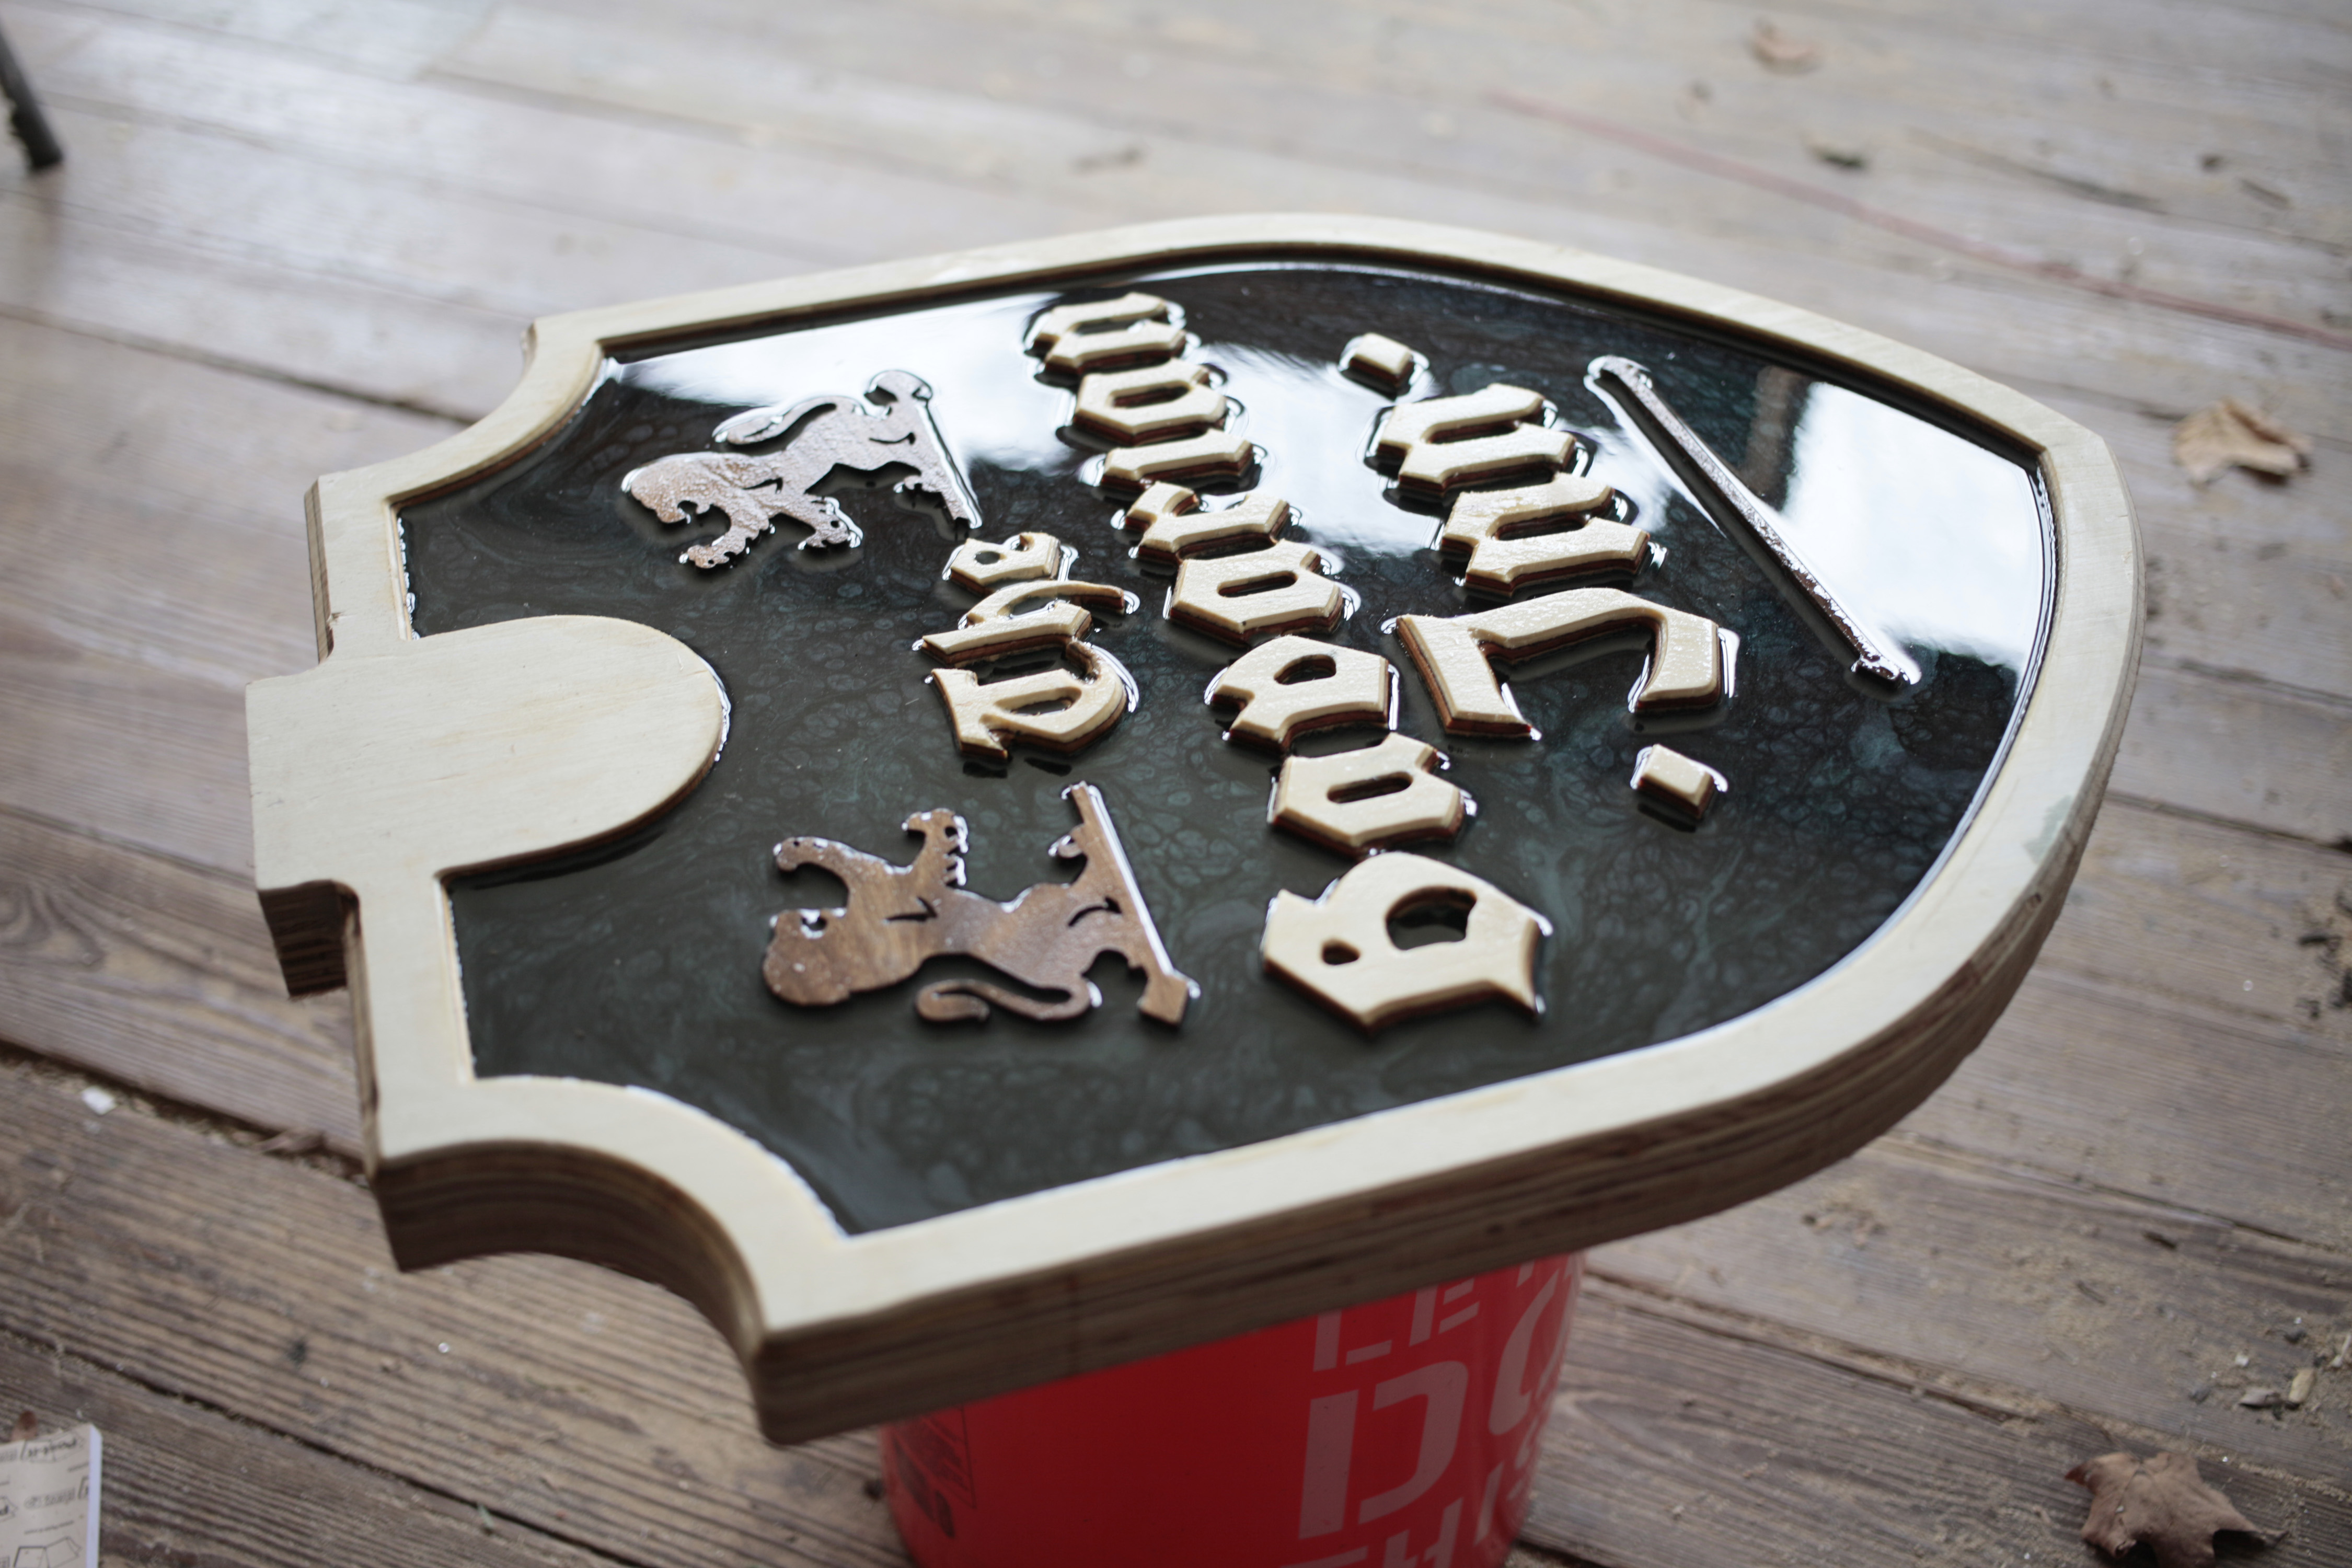
Now on to the most intimidating part for me - mixing and applying the first coat of epoxy. This was my first time working with epoxy and I had always assumed that it would be challenging to work with, but for something simple like this it turned out to be surprisingly straightforward. I just mixed up the 2-part epoxy and adding in the pigment powder until it reached a nice deep color.
Applying the epoxy was just a matter of slowly pouring it into the large areas and letting it level itself out. It was important of course to keep the piece level, but the epoxy moved so slowly that there was plenty of time to adjust. I used a small stick to get into the little gaps and pockets. The work time on the epoxy I used was about 90 minutes, which made the whole process pretty chill.
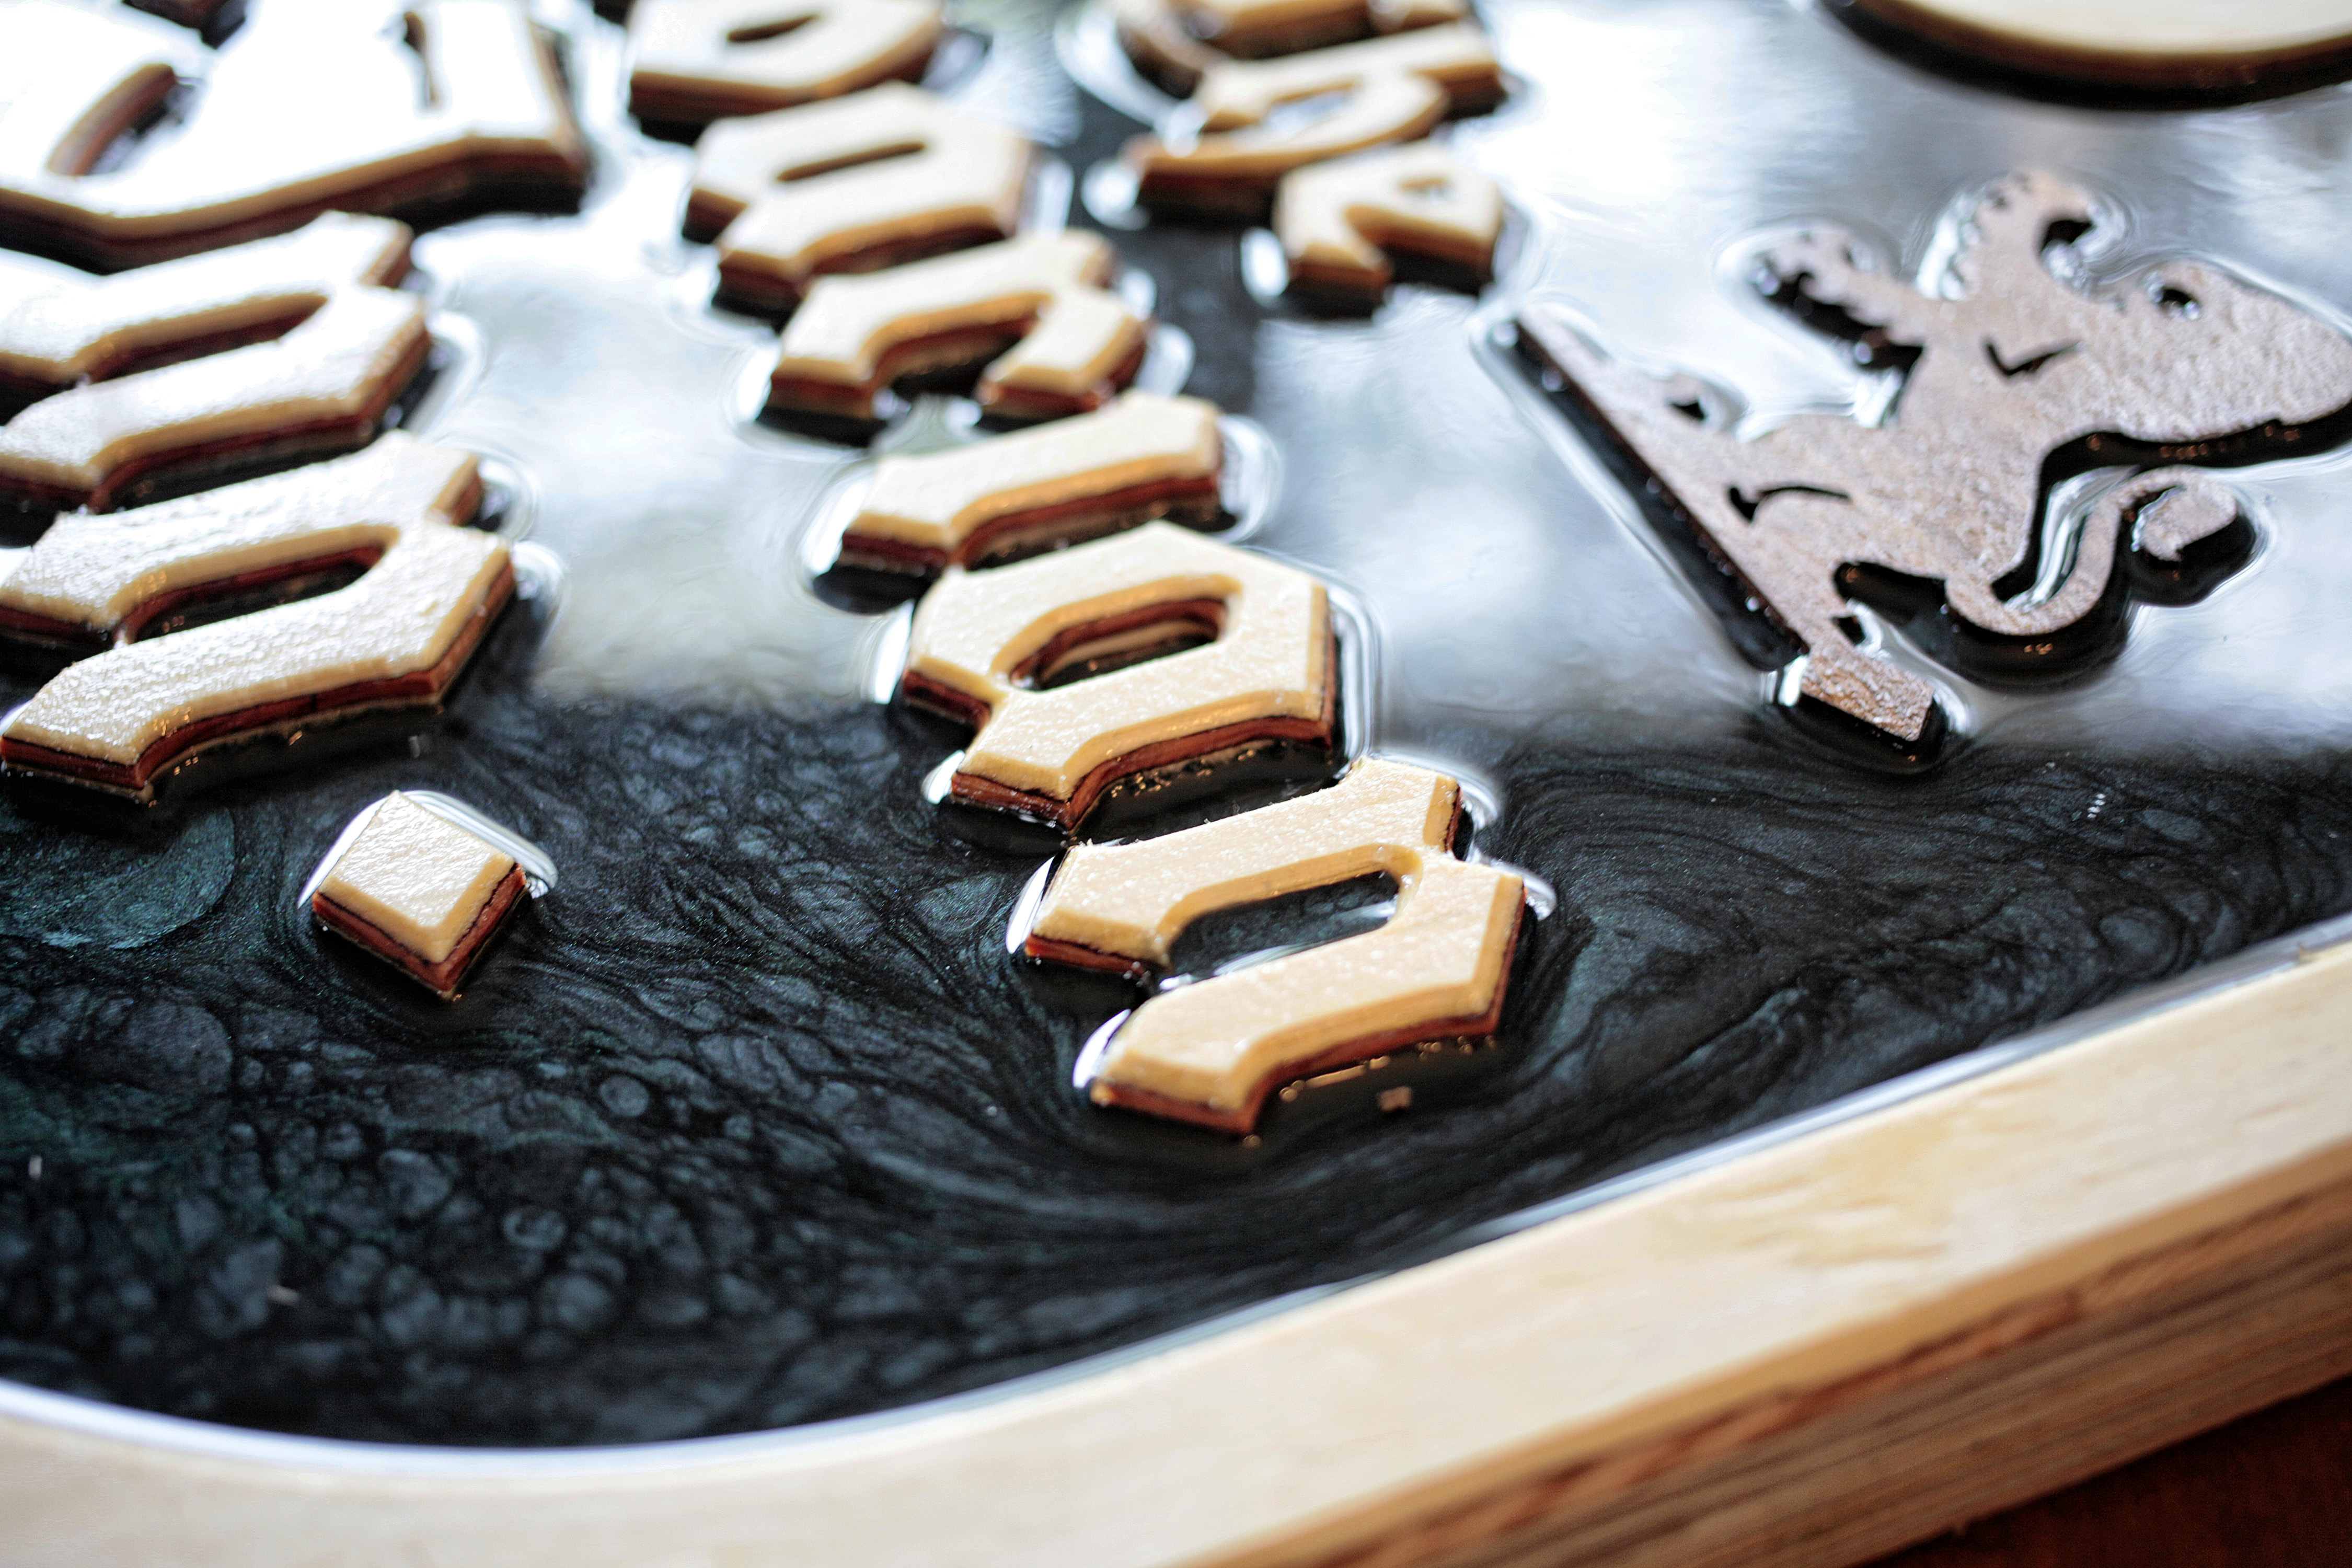
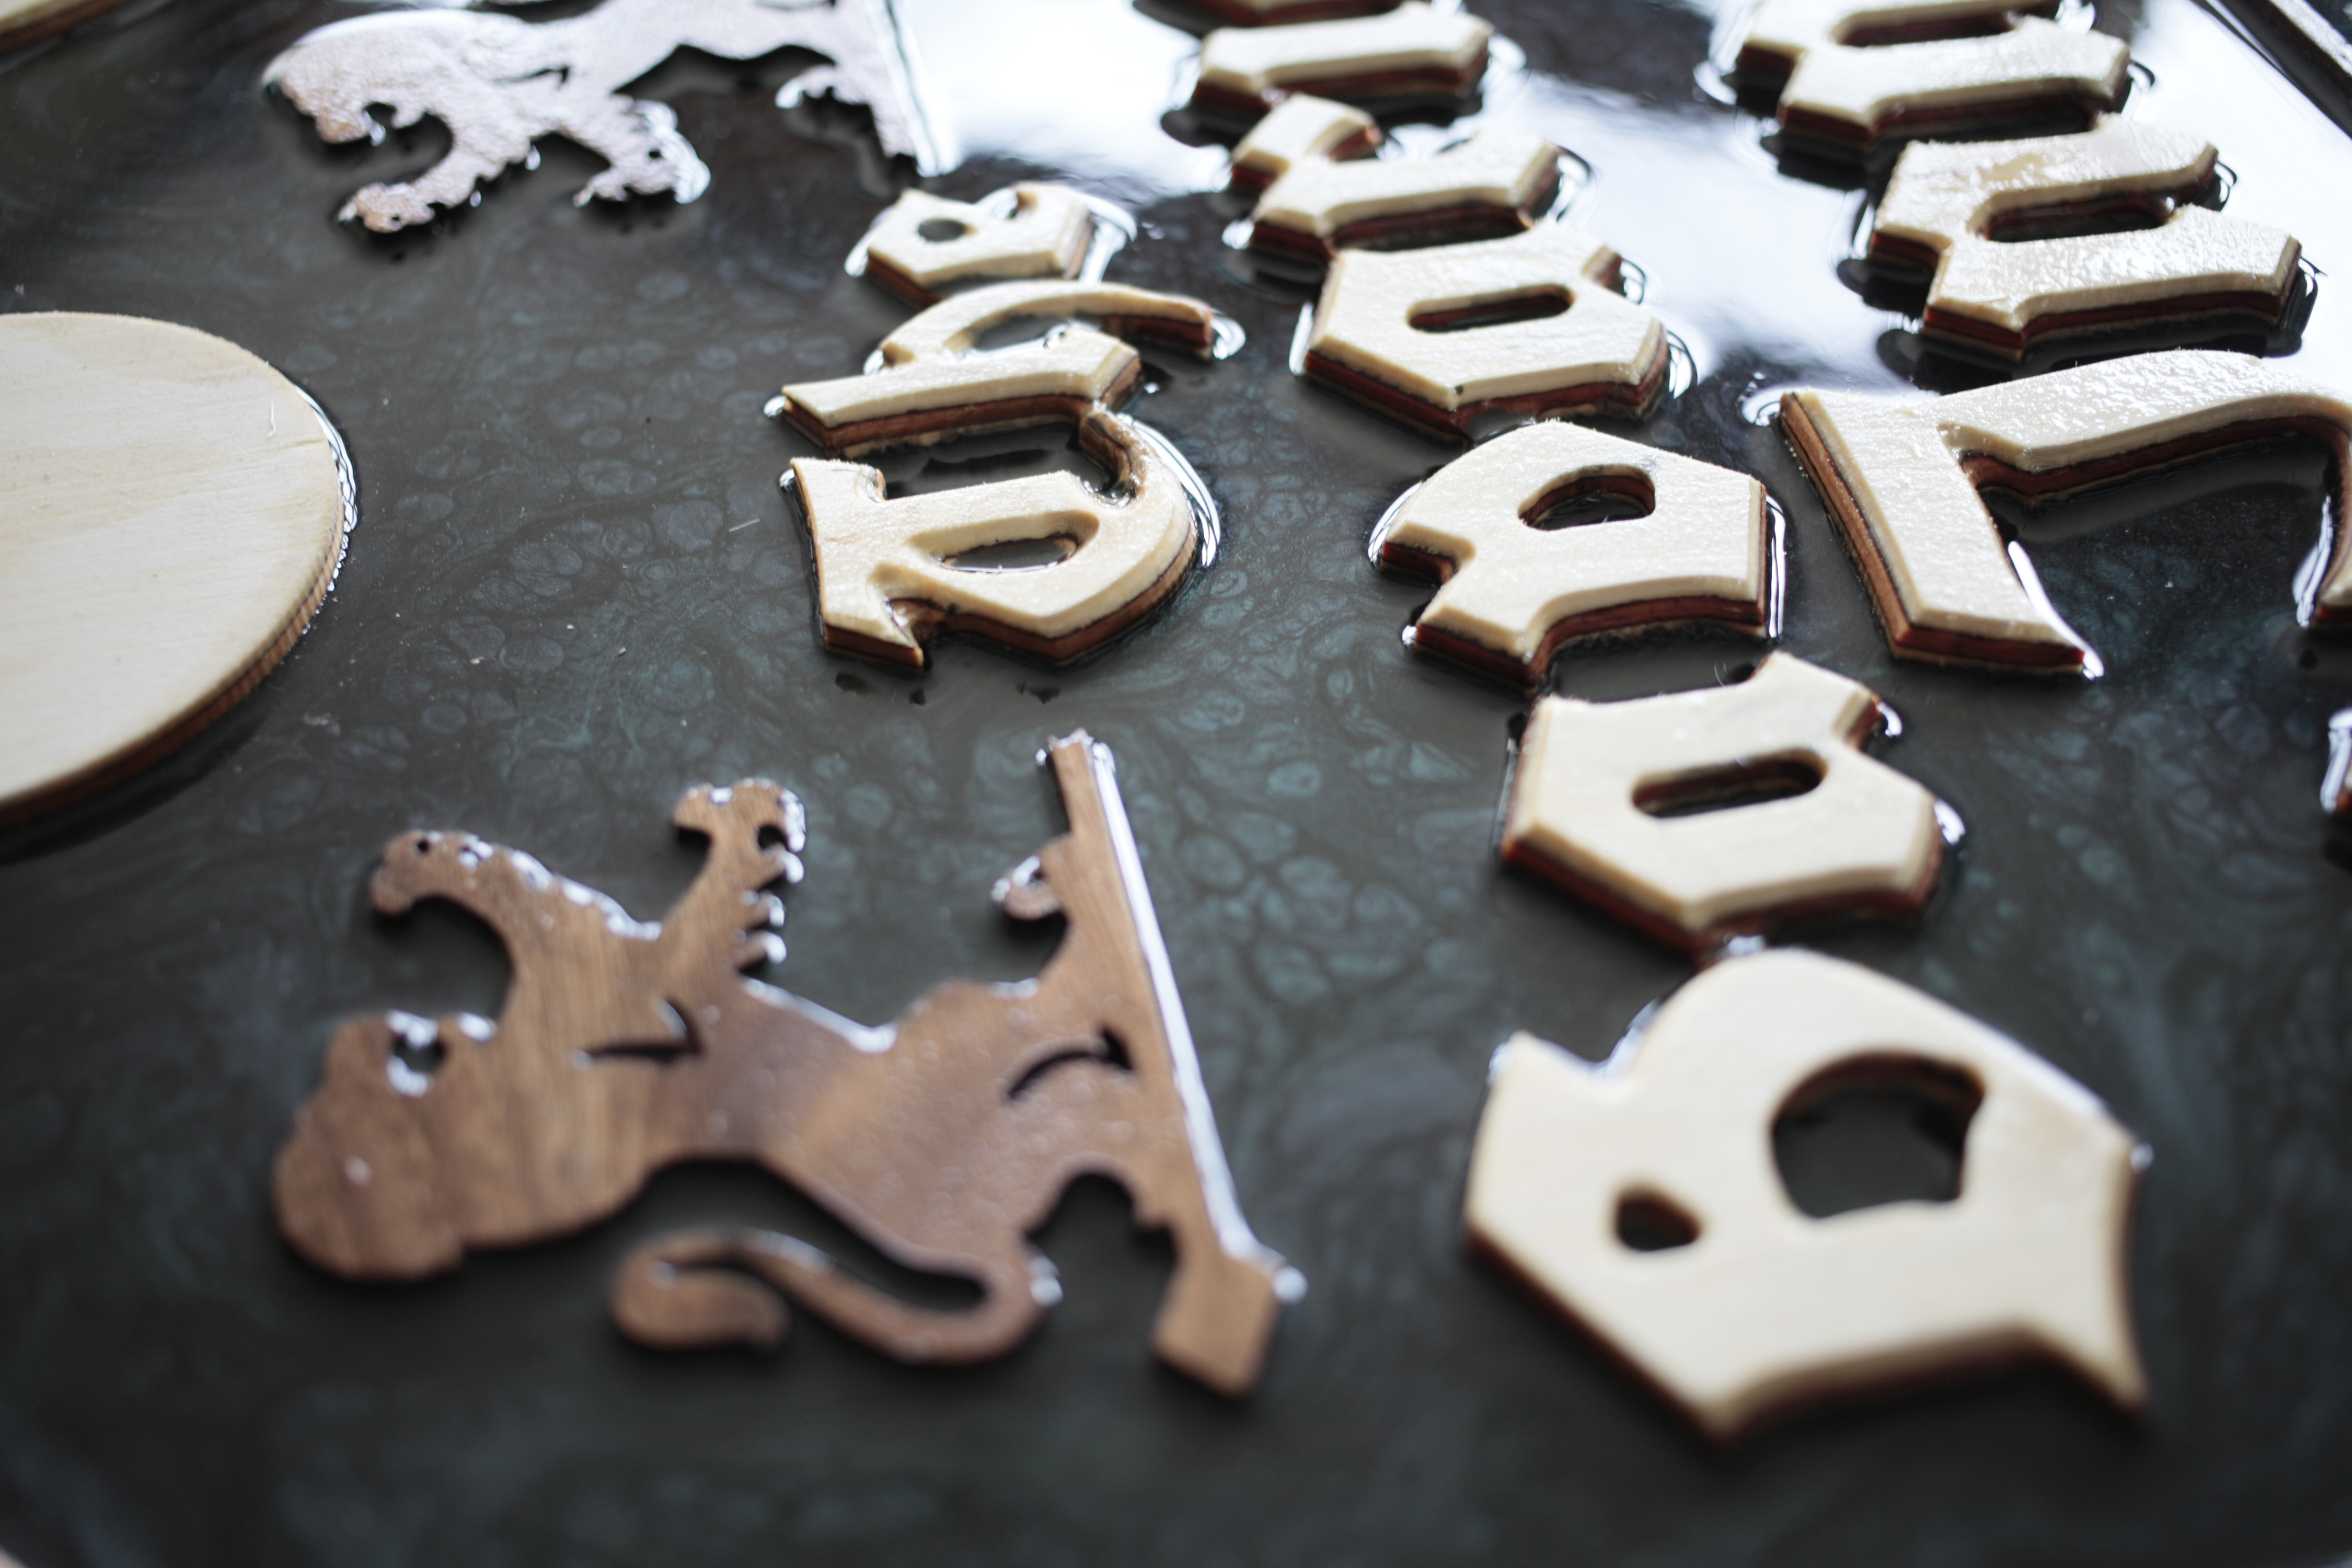
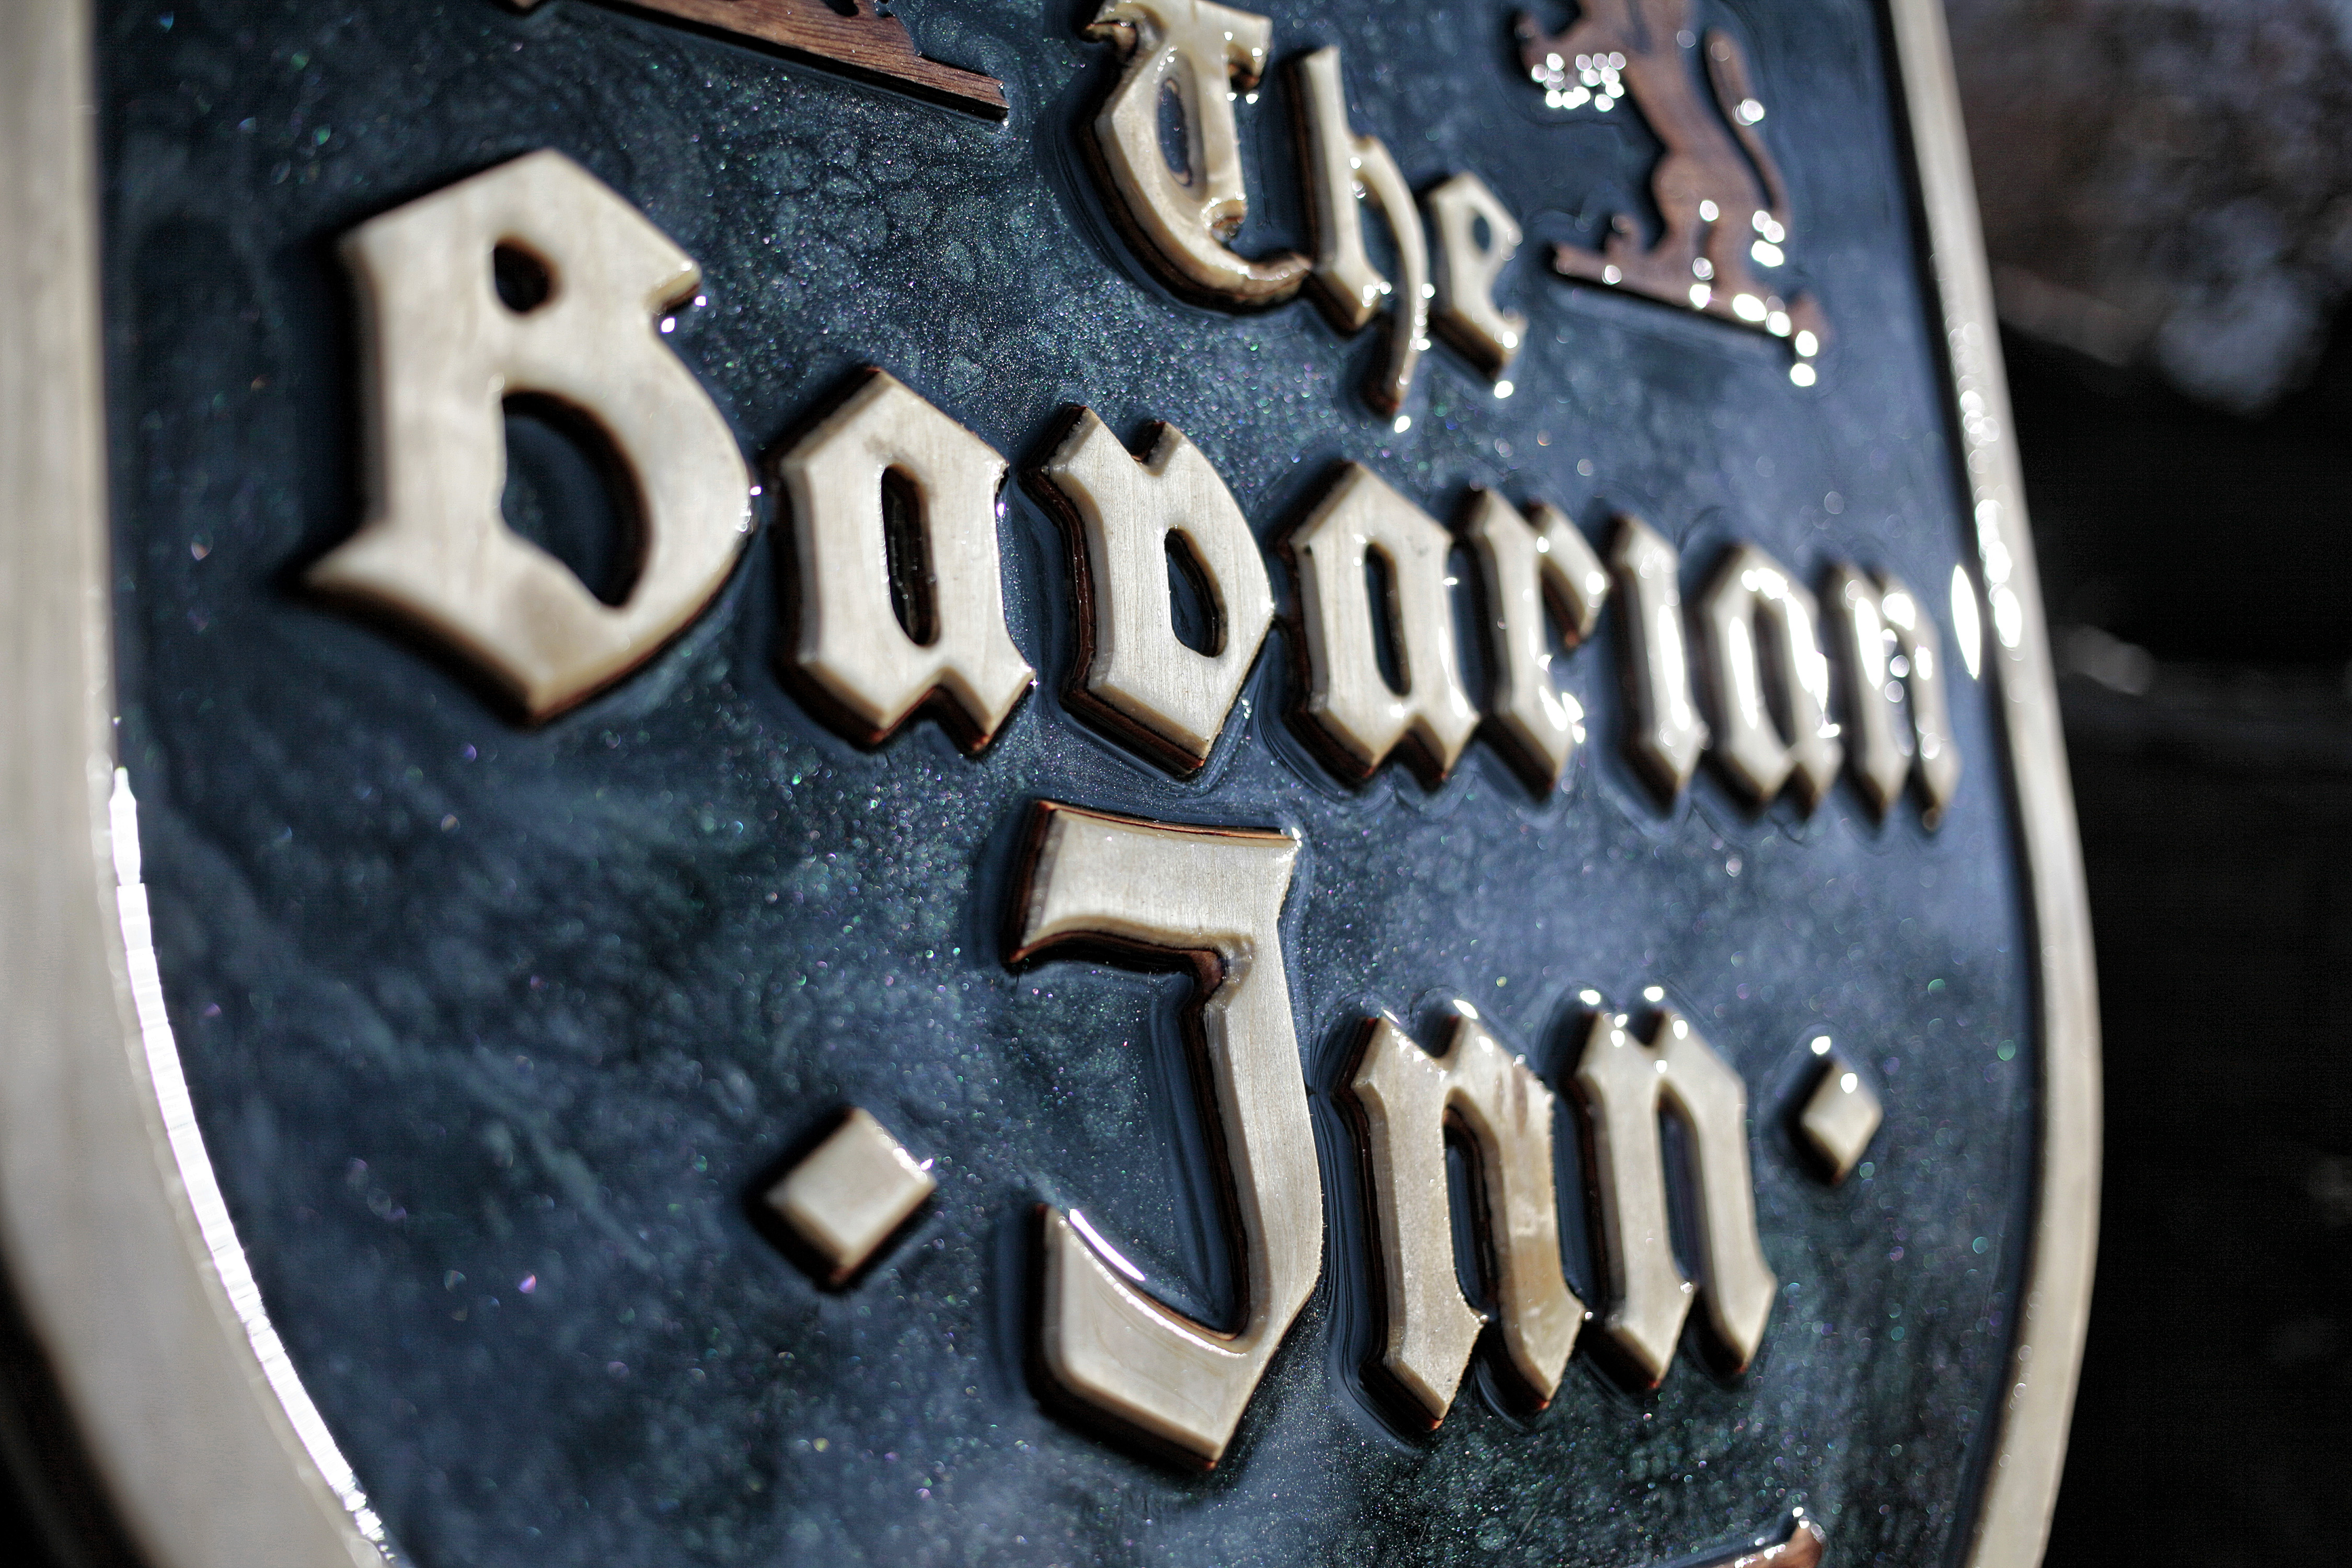
I thought these fancy swirly patterns required some kind of special process, but this is the result of just mixing in the pigment for a couple minutes and pouring it out. Pretty neat! The roughness of the letter and detail piece surfaces shows pretty clearly here.
I'm working in cold Michigan, so I had to let this guy hang out by the fire in my shop to let it set properly.
I should have been better about covering the sign up, as a lot of little dust bits got onto my surface. This wasn't a big problem though, as my final coat was going to hide these pretty well.
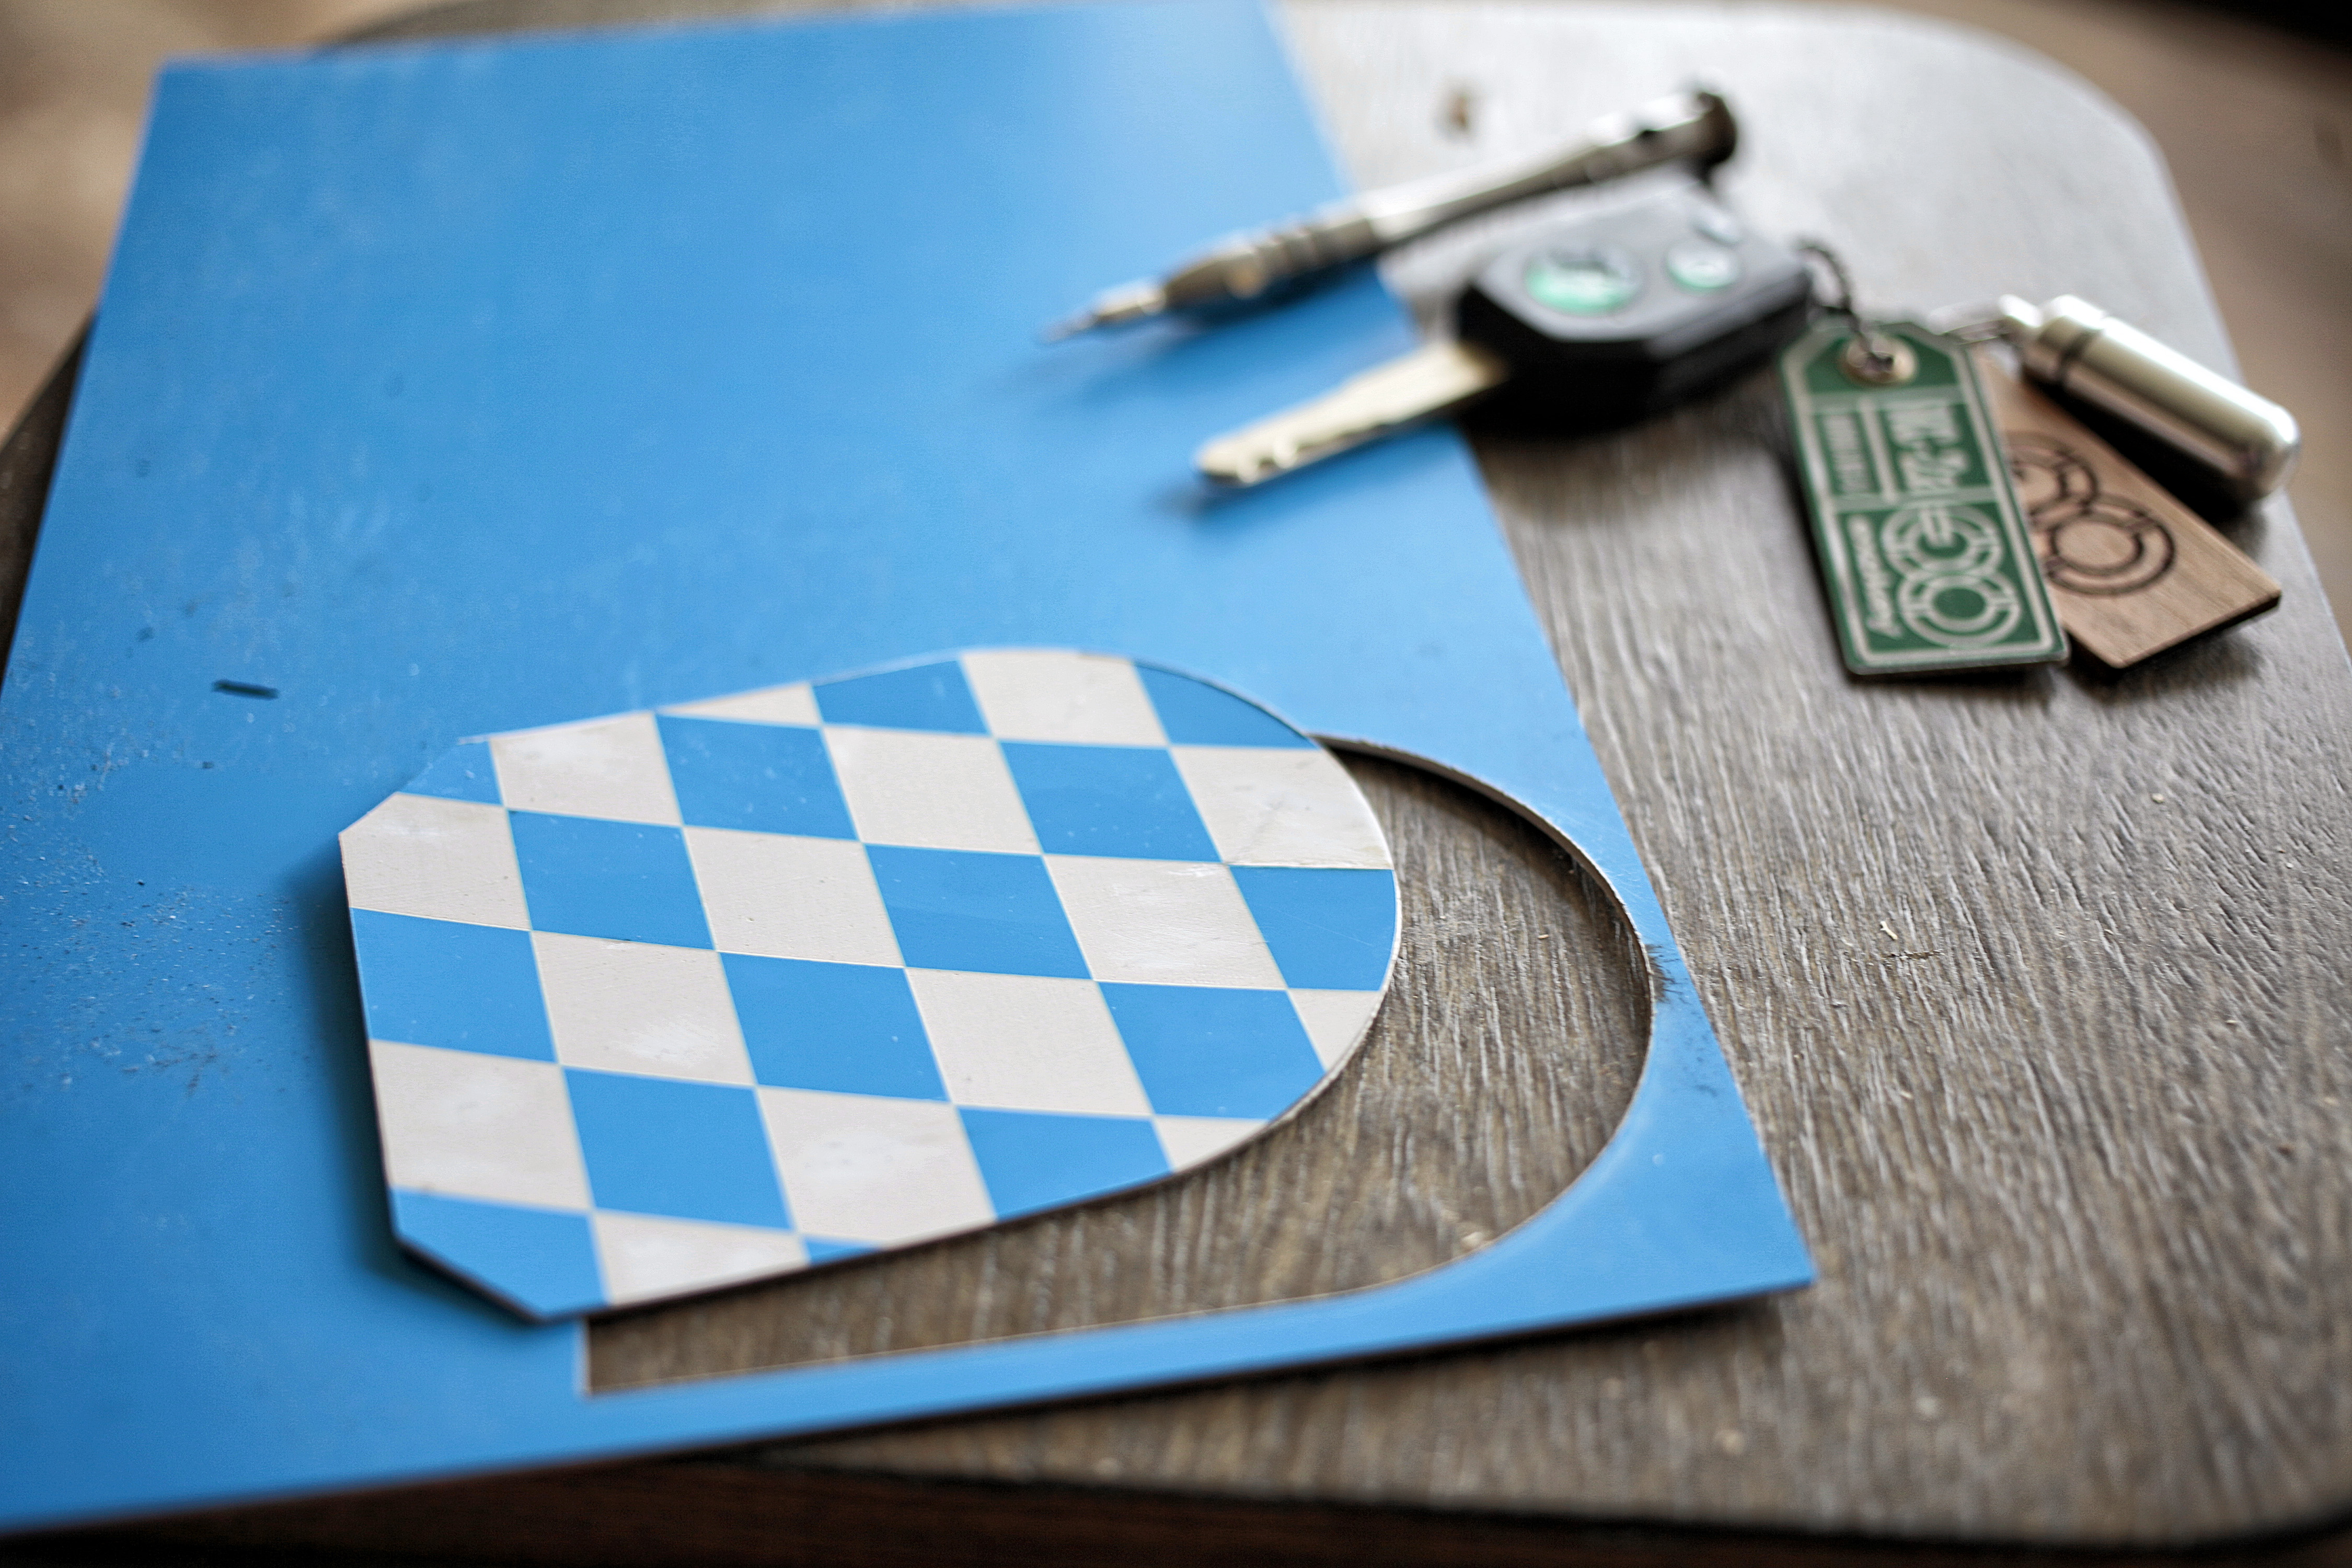
With the big stuff in good shape, it was on to a more fun part - the checkered crest within the crest. For this, I used a piece of 1/16" engraving plastic in my OpenBuilds ACRO carrying a 10W Endurance diode laser unit. This plastic is really fun to work with and I like to incorporate it into many of my projects.
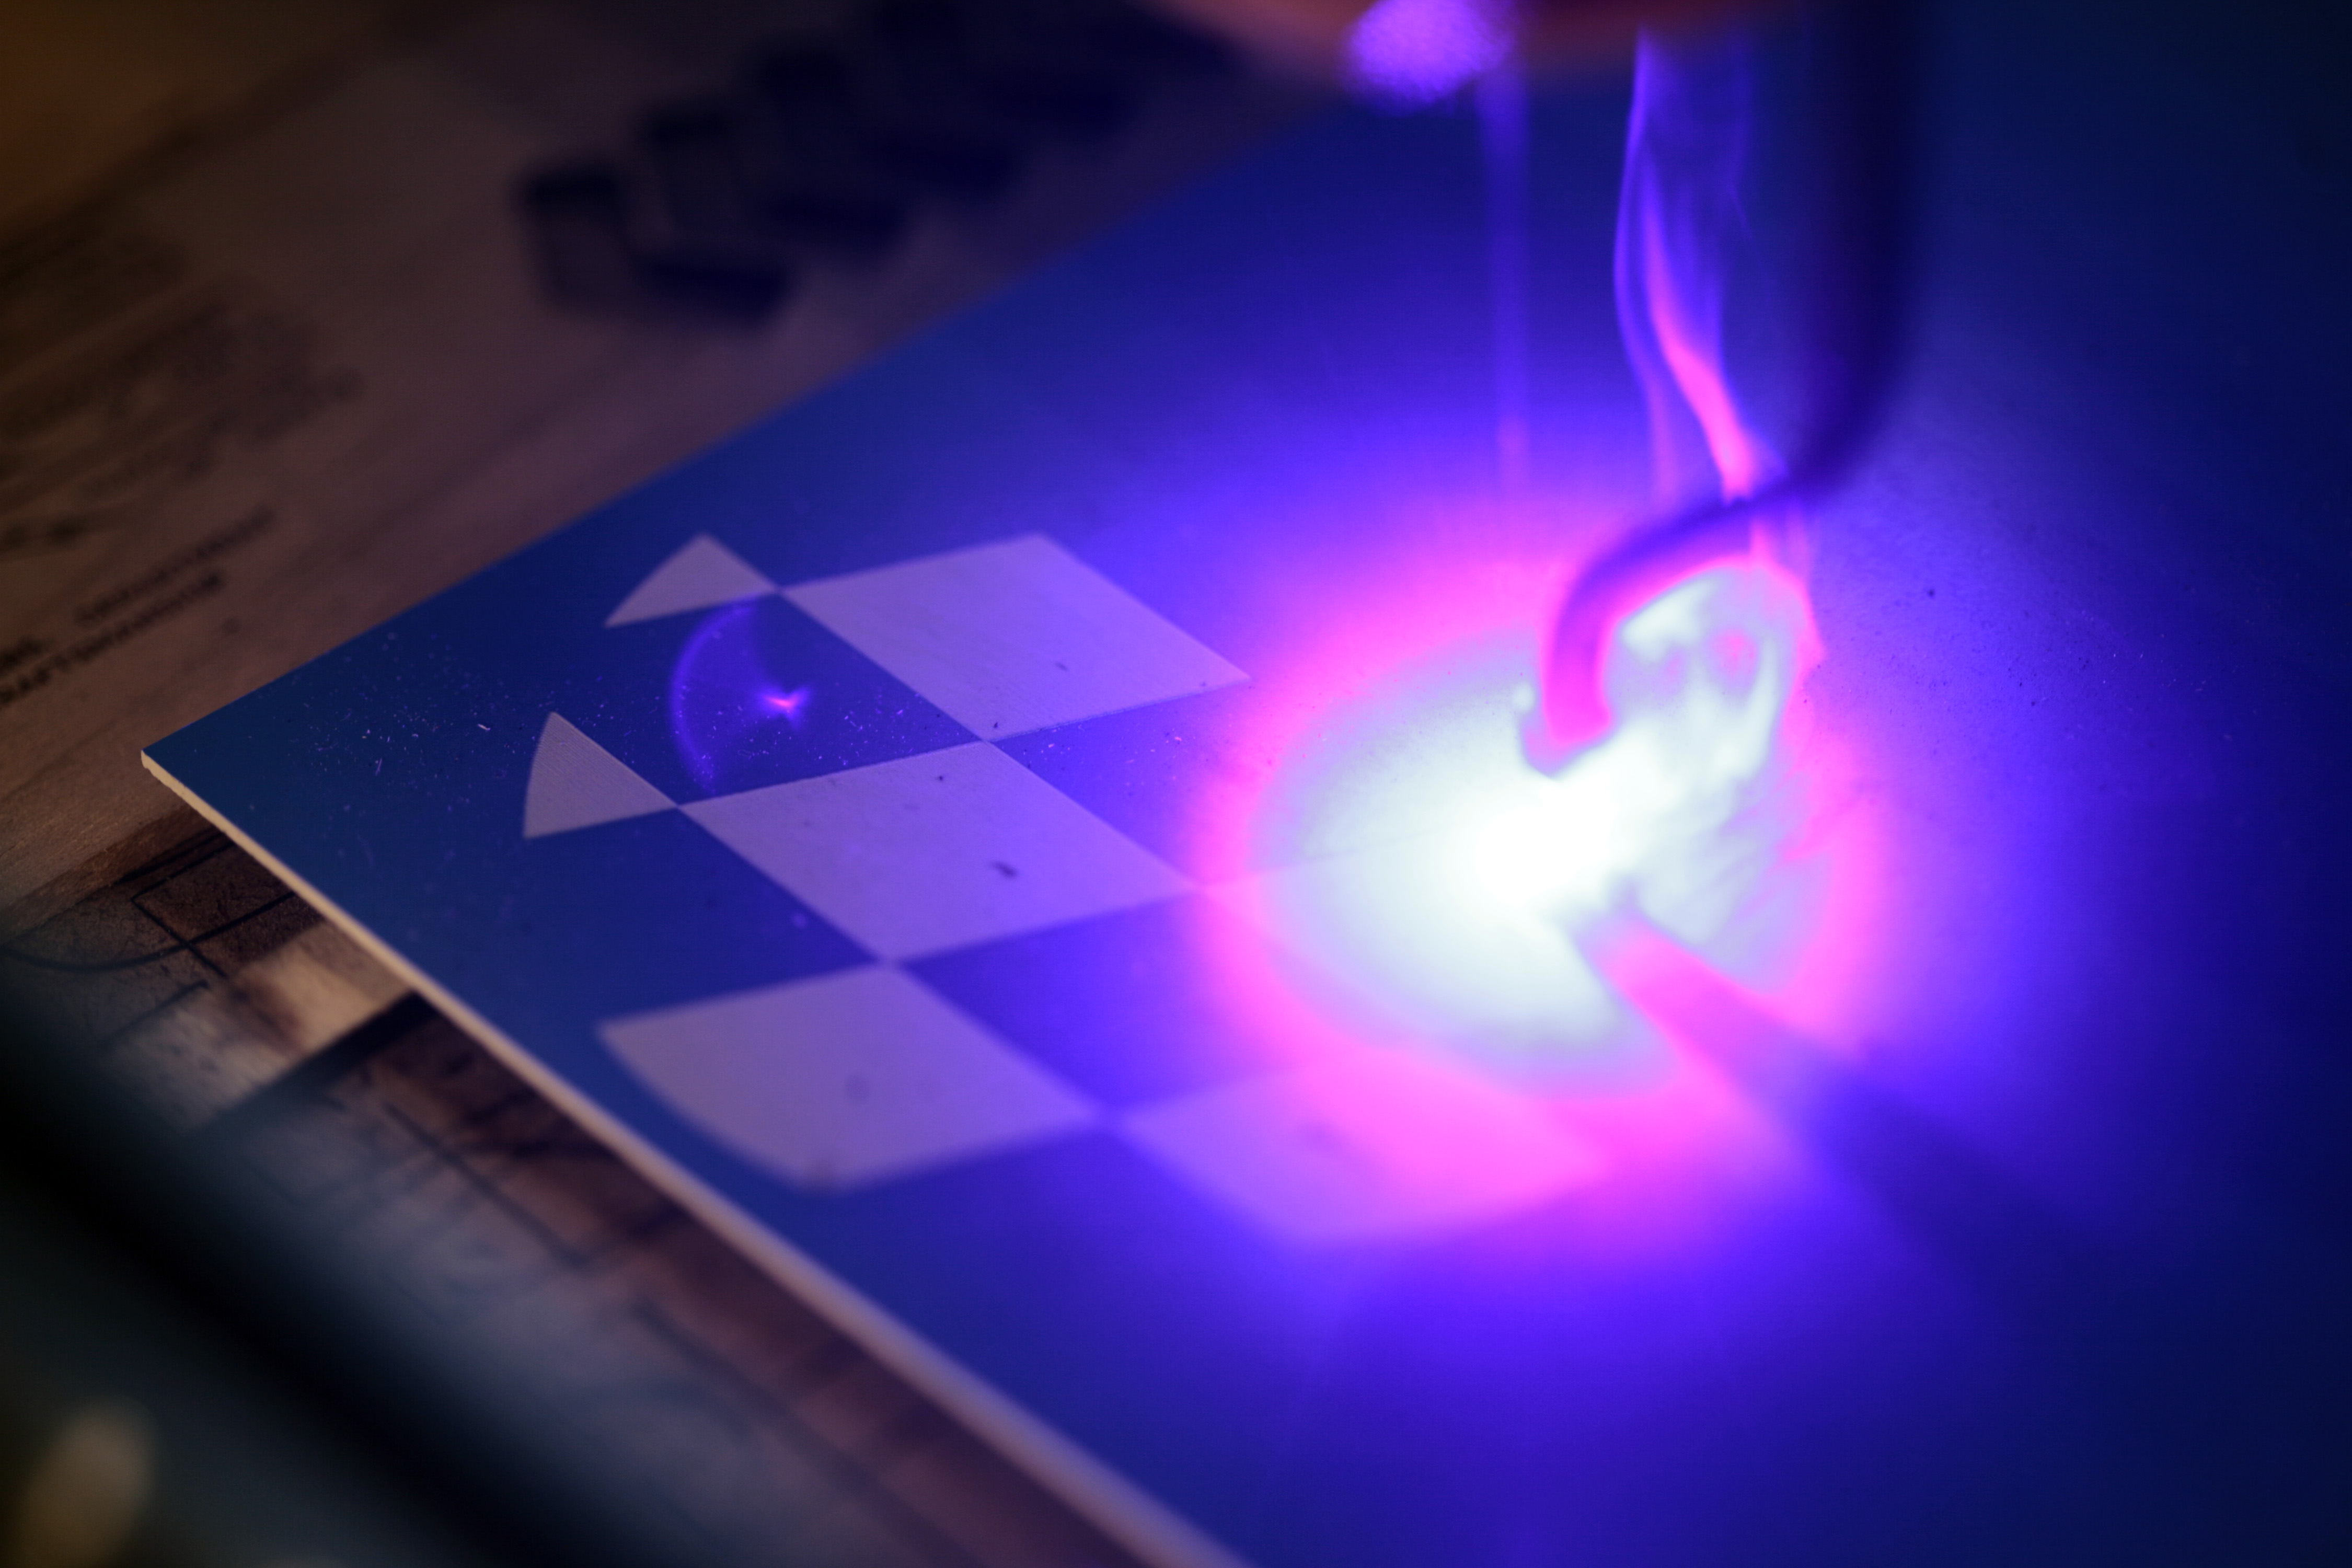
A quick wipe-down with rubbing alcohol helps clean any soot off the plastic after it comes out of the ACRO.
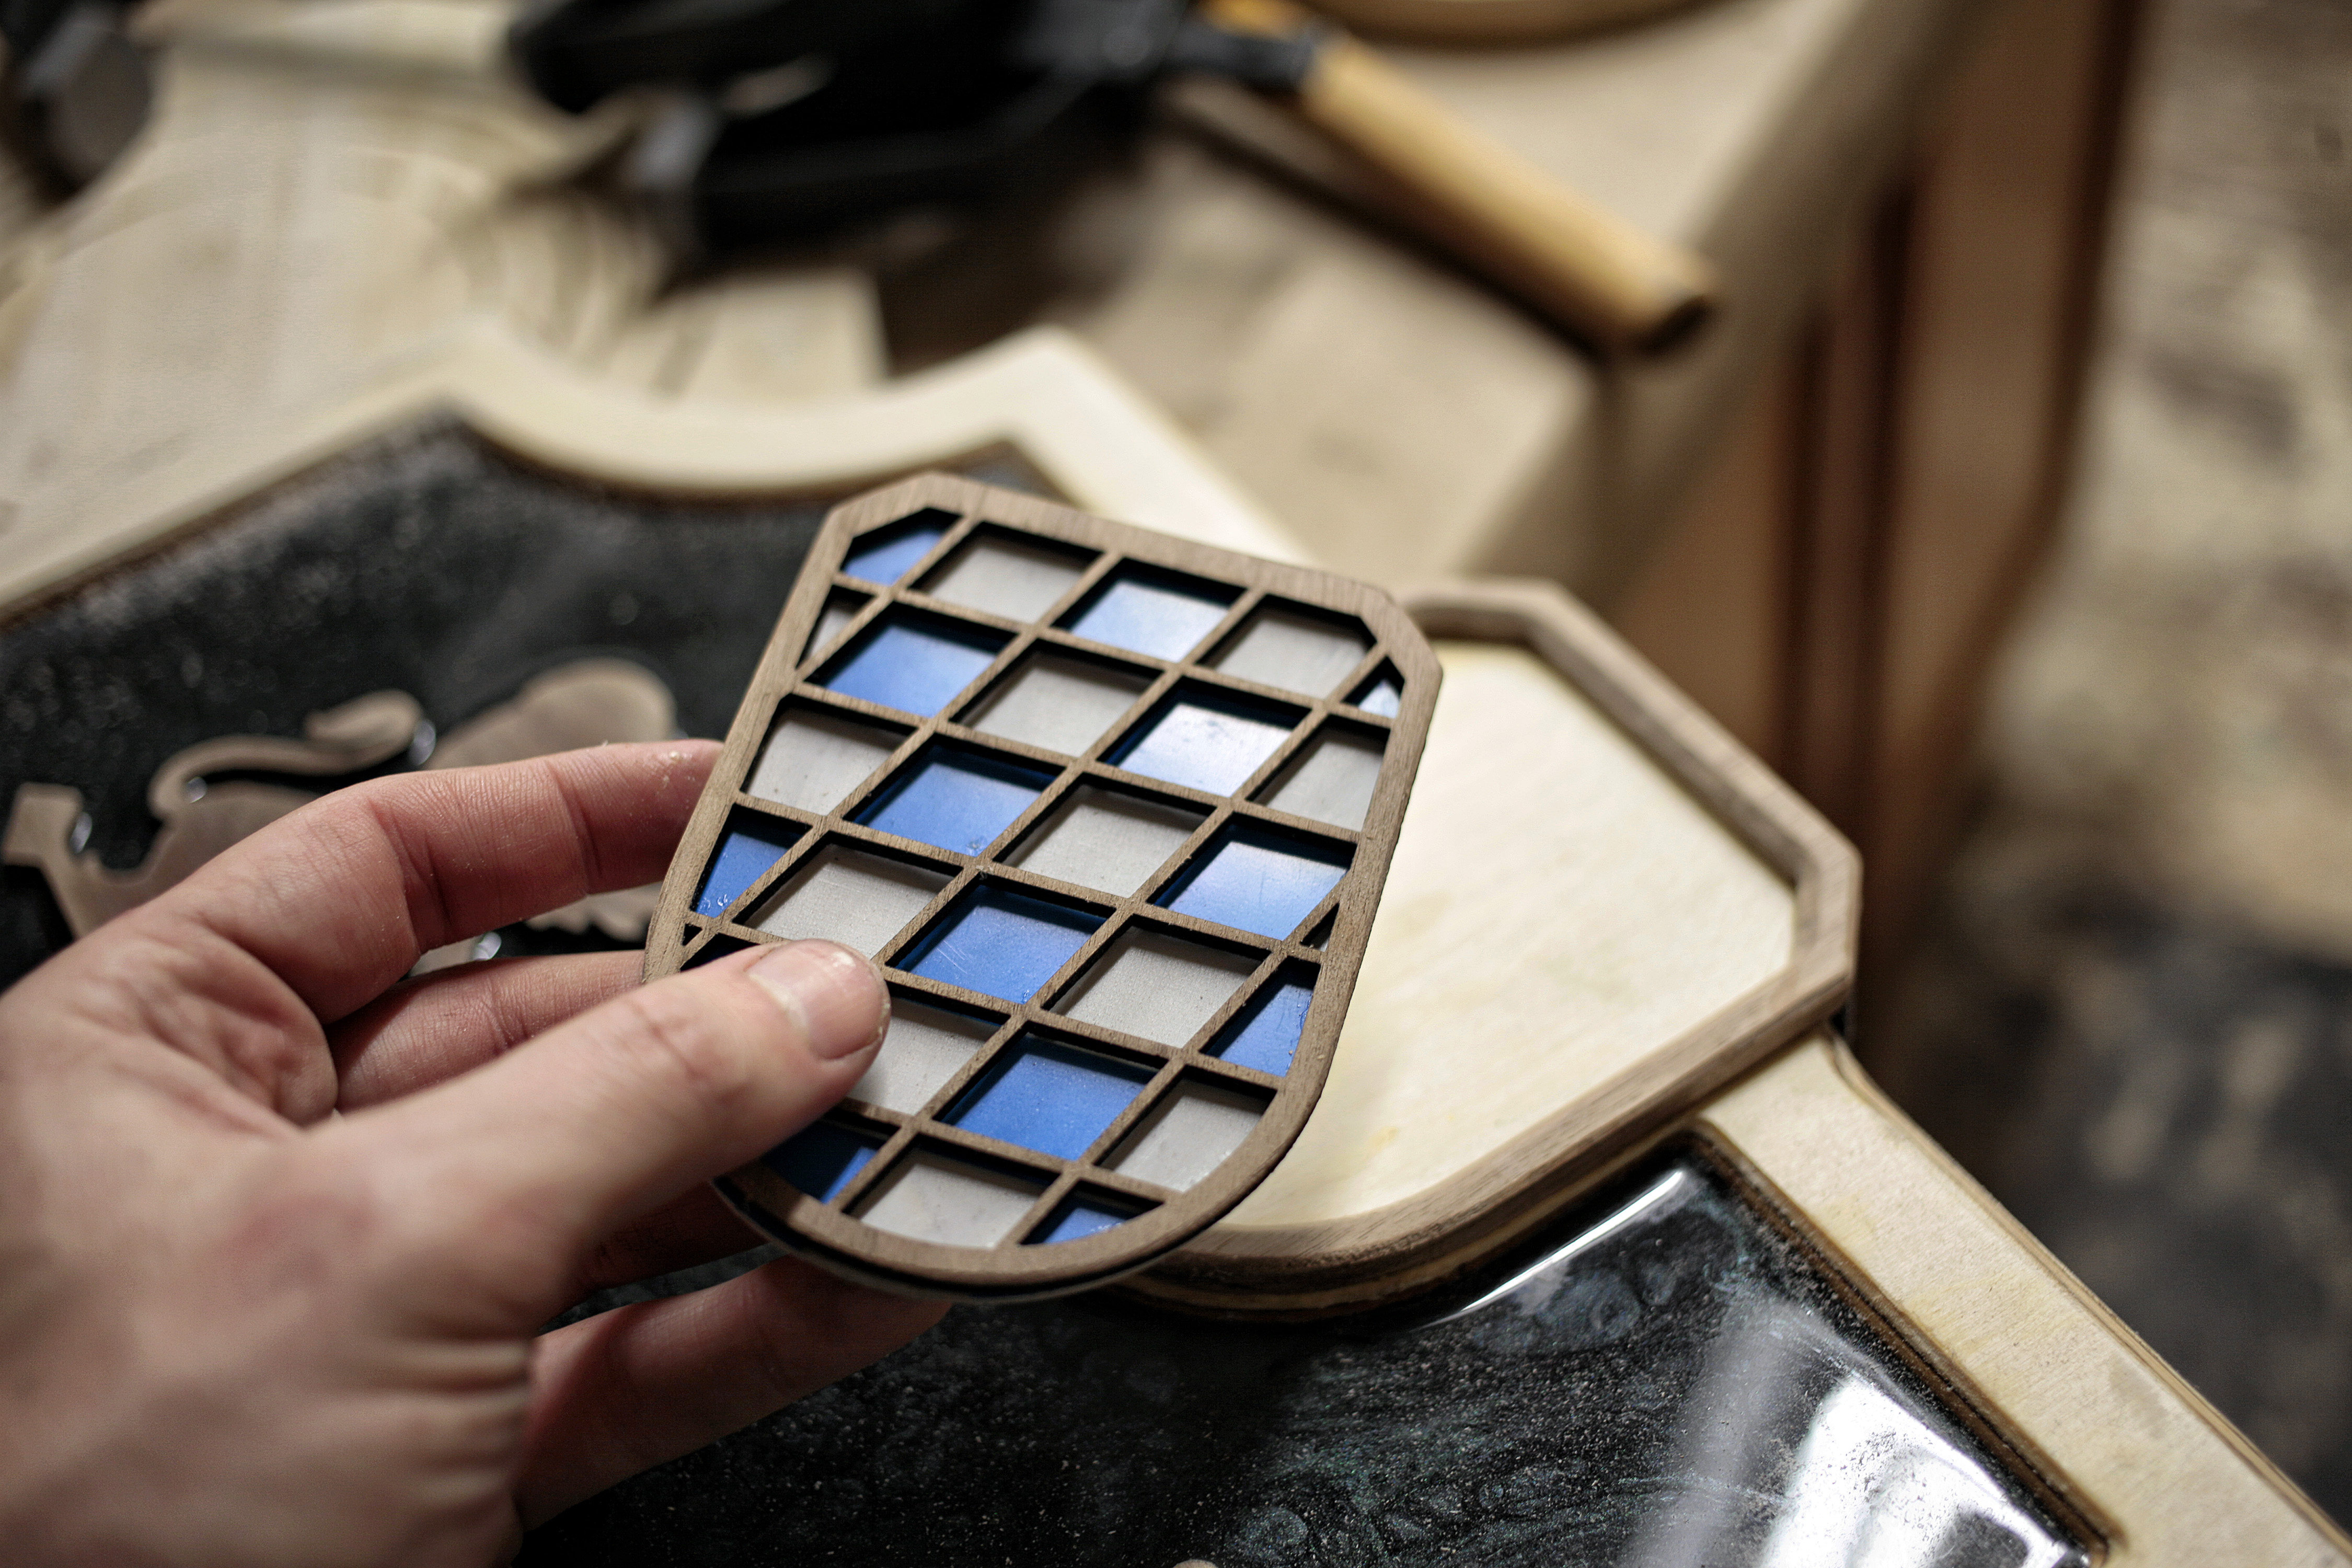
At last, the final piece. This 1/8" walnut piece framed up the crest and gave it some appreciated additional depth.
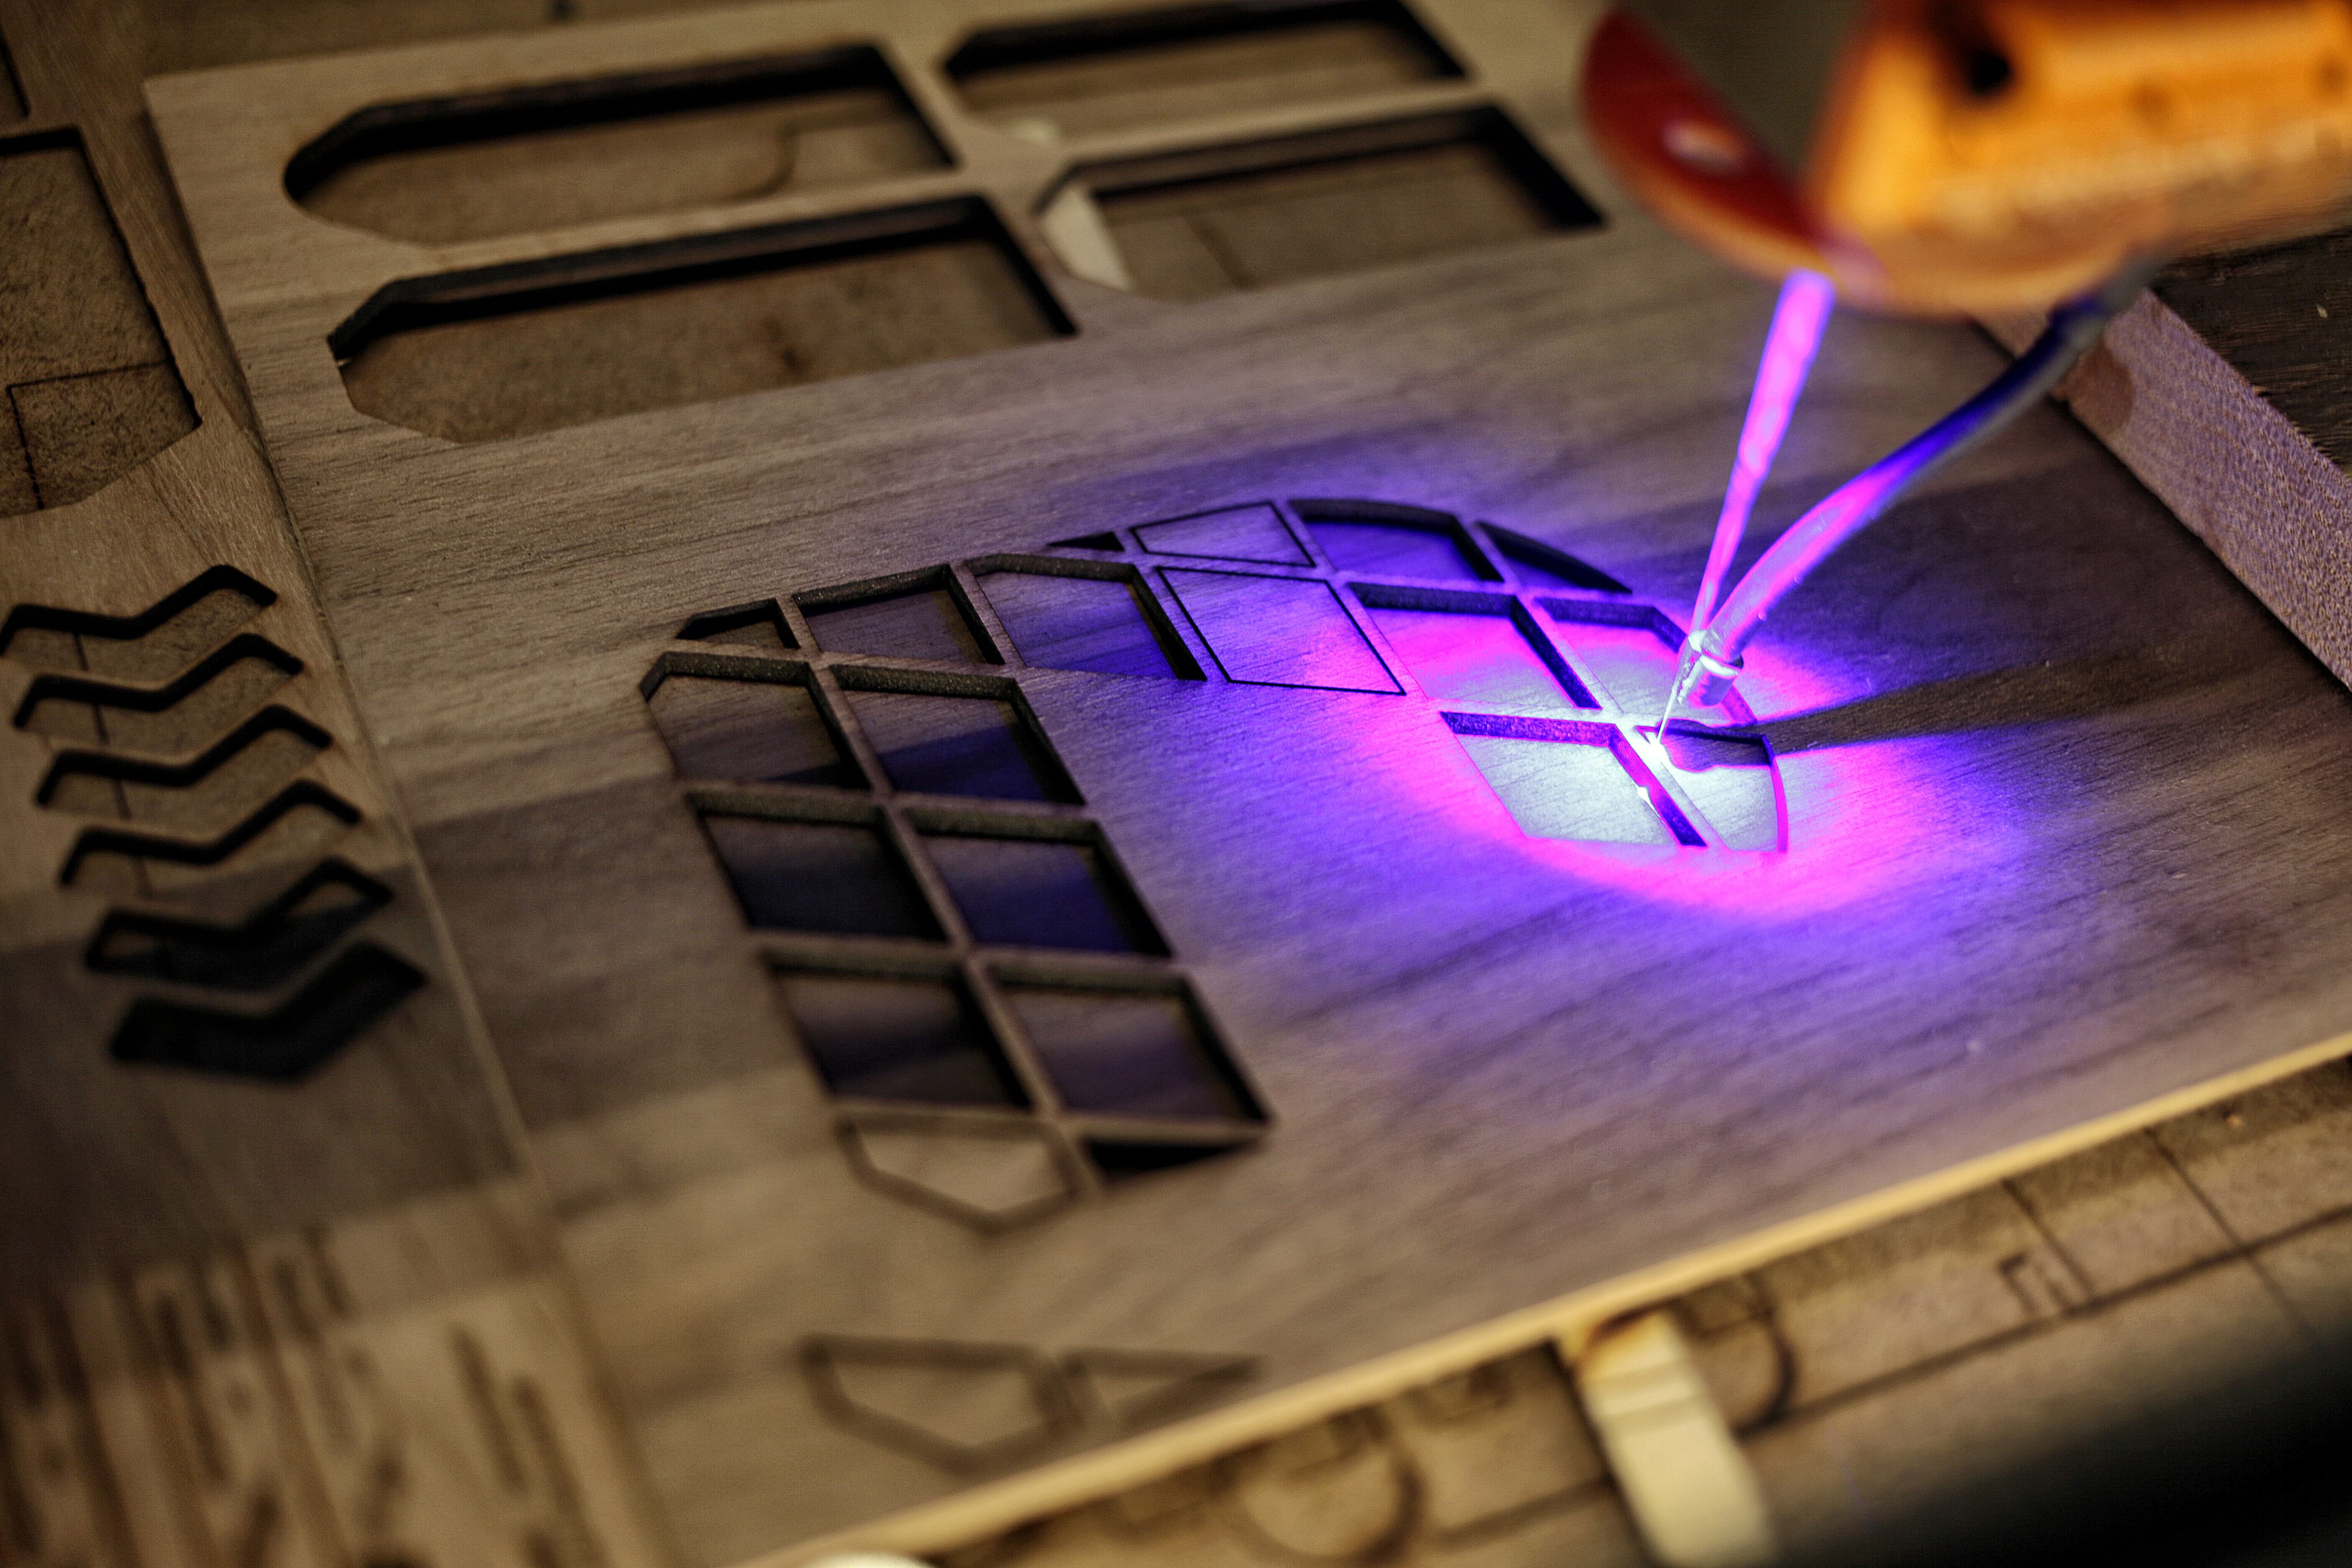
The two pieces align to each other and fit neatly inside the little walnut frame mounted to the top of the sign. If you don't have a laser, this could also be made on a CNC router, with the inside pieces painted instead of using the engraved plastic.
And finally it was time to wrap the project up. With the new pieces lightly glued in place, I poured a final coat of clear epoxy that I added a tiny bit of white pearlescent powder to give the whole thing a little bit of shimmer.
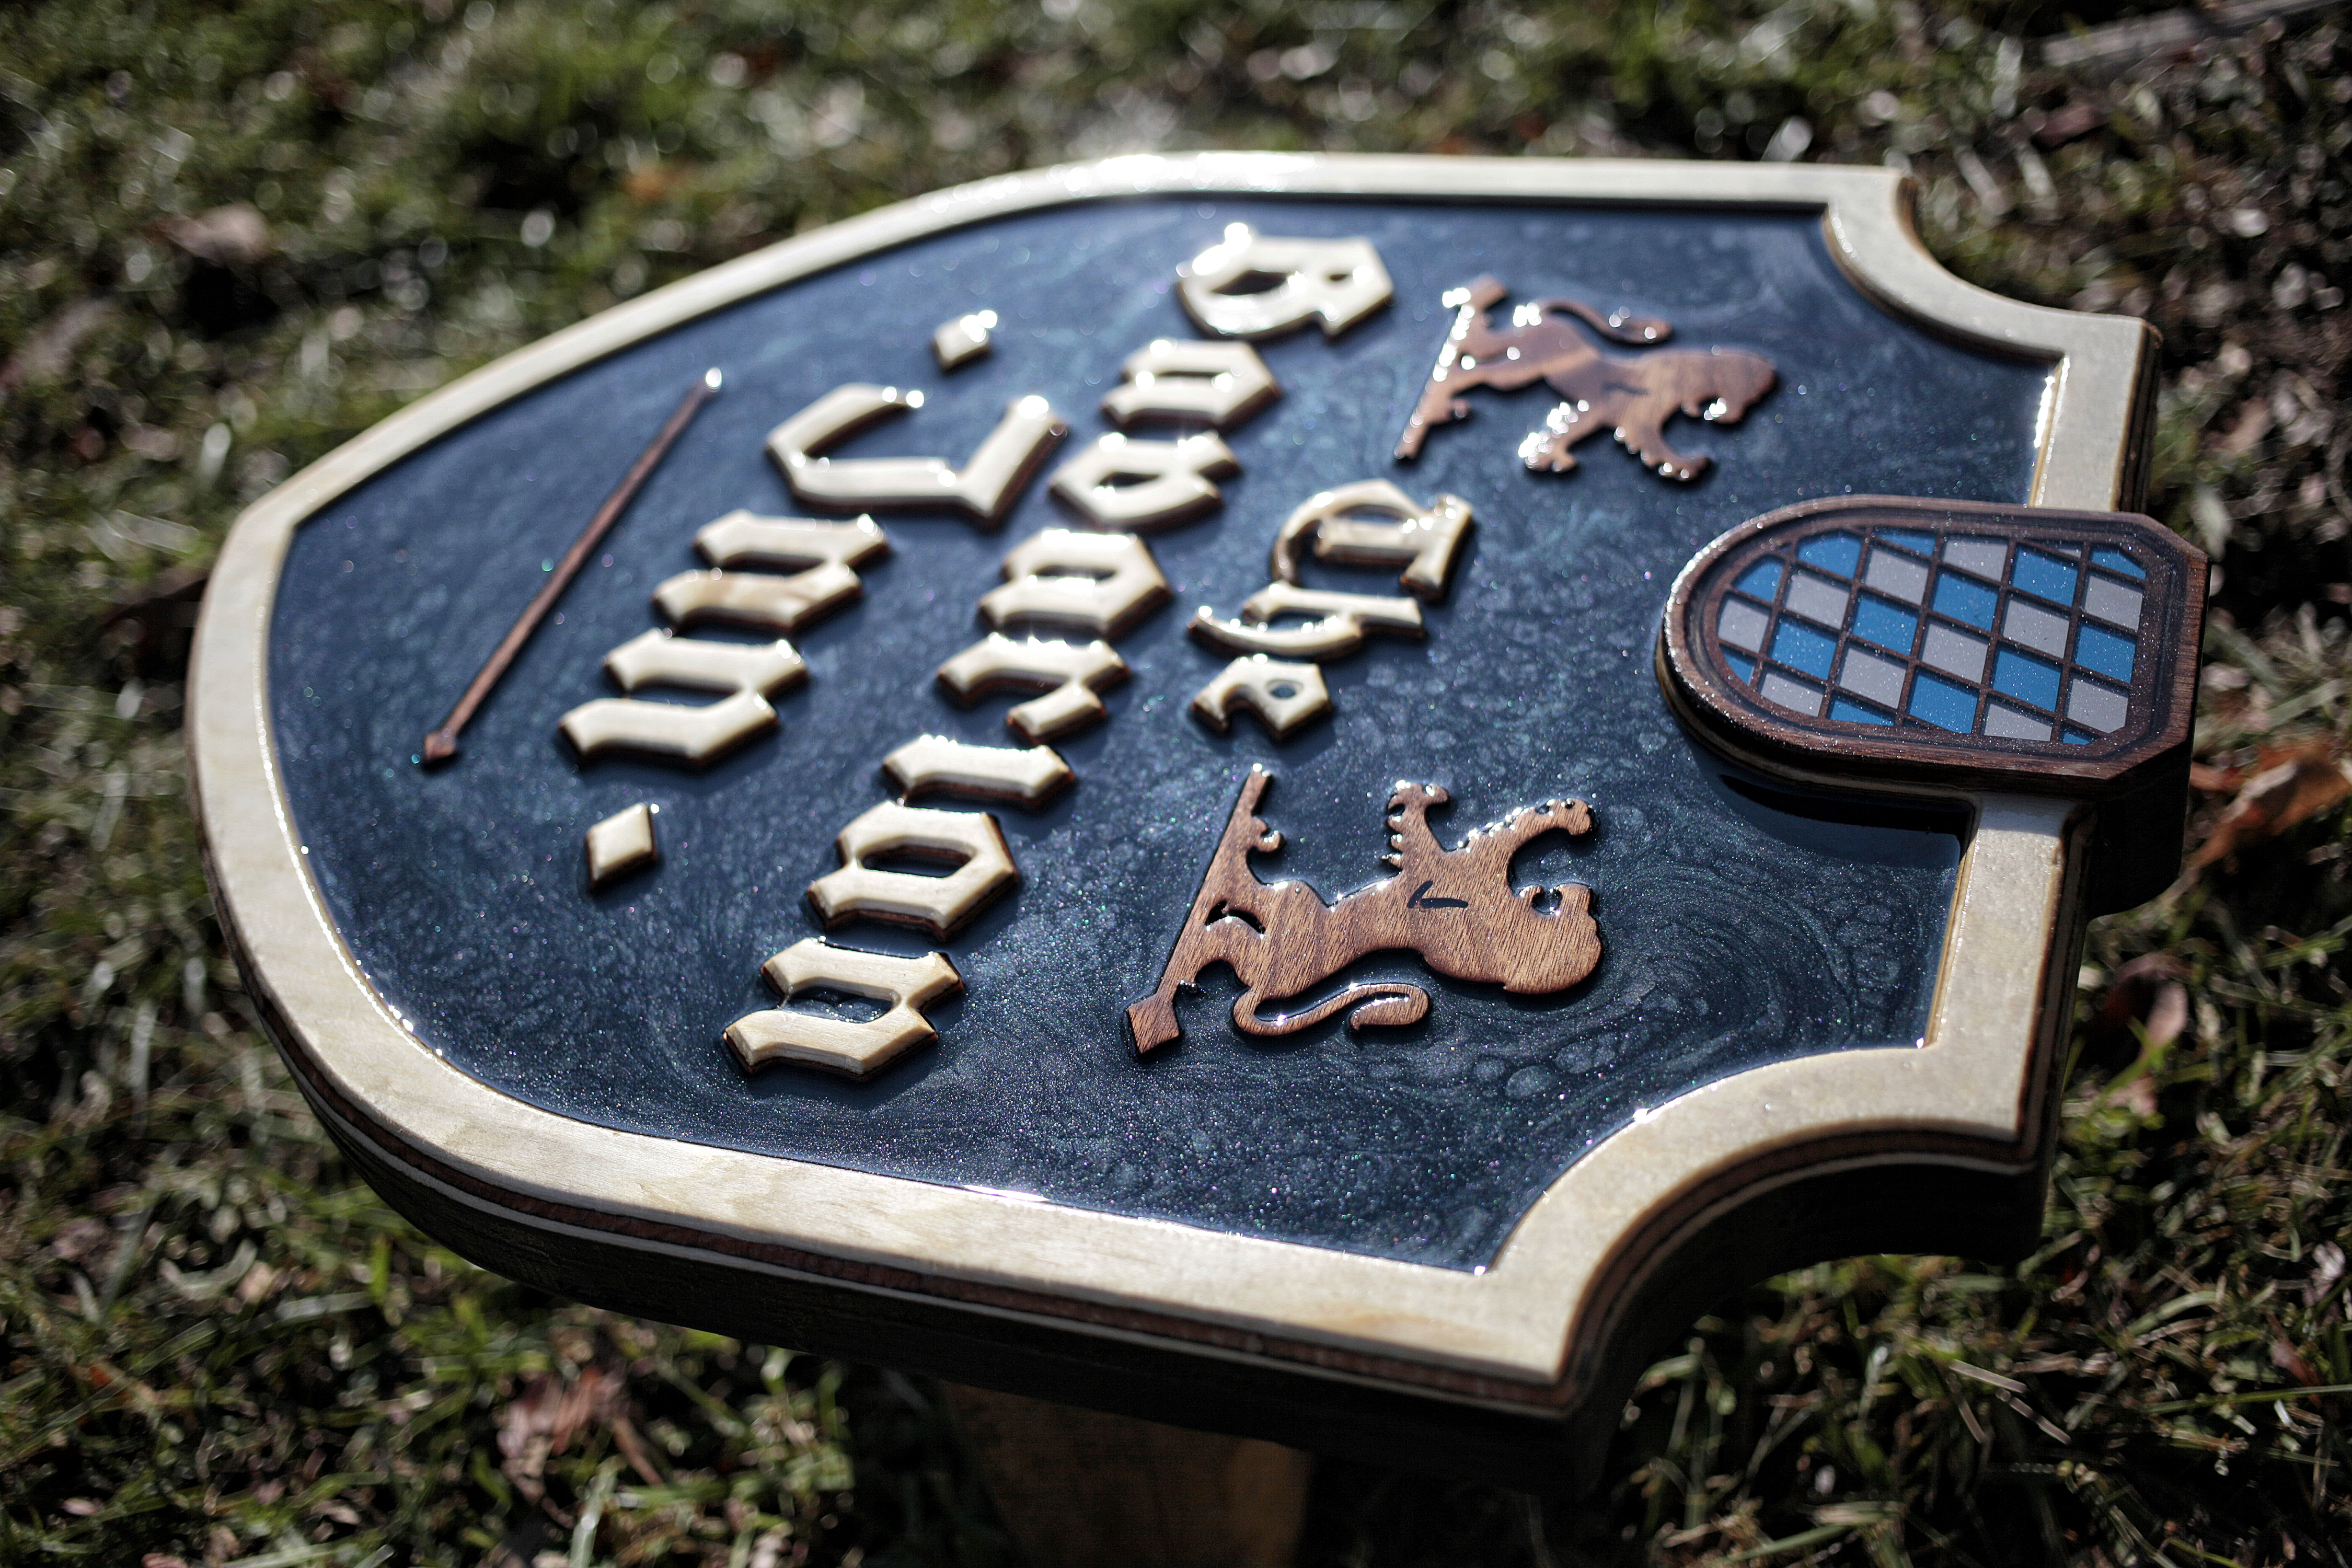
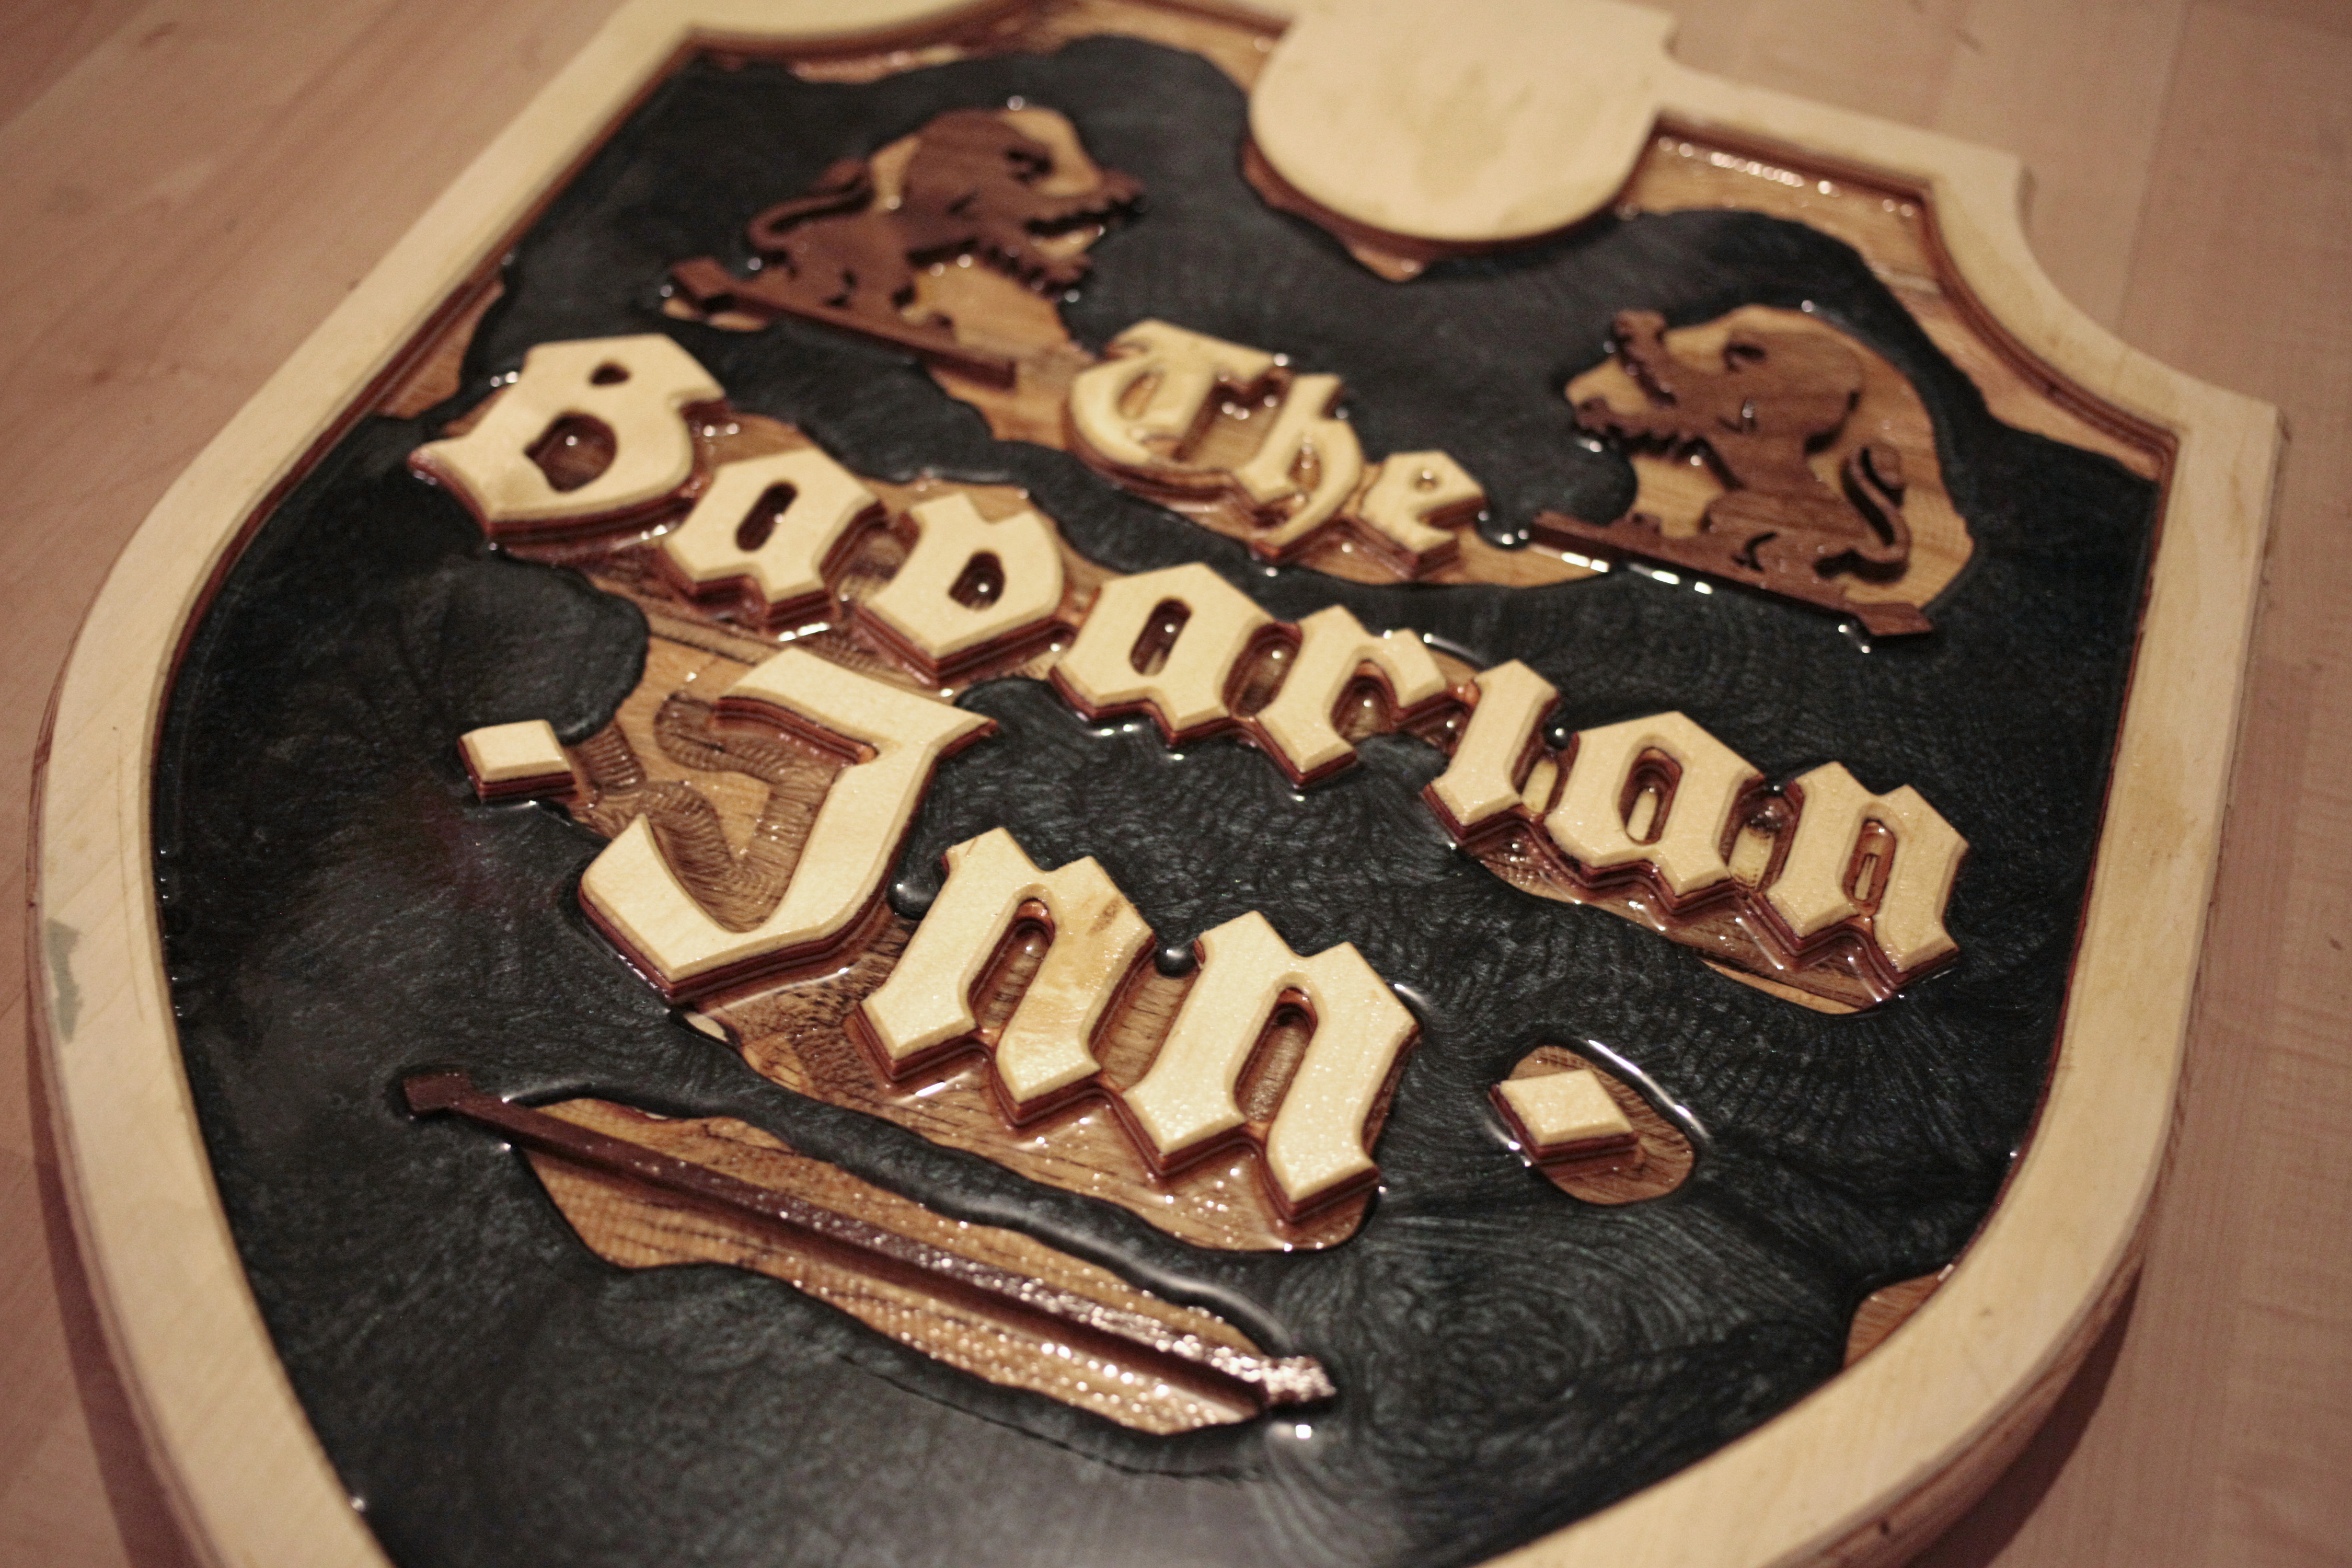
You can see here how the surface tension of the final coat of clear epoxy affected the edges of the raised pieces. For cleaner edges, the walnut pieces could have been finished before being glued to the sign but I'm still happy with the result.
I'd say this plywood punches a little above its weight class with that nice second orange layer showing. Not bad!
Thanks for checking out this project, folks. Aside from some imperfections in the plywood and toolpaths that could have been slightly more dialed in, I think this was an enjoyable and interesting approach to putting together a serious-looking sign over a few days. The only major material cost for this project was the epoxy and pigment - I paid somewhere around $40 for the pair from a hobby store. If it's your first time working with epoxy, give it a whirl! It's a great way to add color and depth to a plain material like plywood.
Intermediate Plywood And Epoxy Resin Sign
Signs & Plaques Project created by Michiglenn, Jan 21, 2020
Tags:
Share this Project
Nichole M Dahle, Jose L Cuevas, Trads and 14 others like this.
User Comments
Sort Comments By