Here is how I made a custom hardwood and aluminum key fob for my car. This would be a great way to salvage a broken fob or to even combine a remote to a key that did not originally have one, though this first one I made just for fun.
- Software:
- Adobe Illustrator, OpenBuilds CAM, OpenBuilds Control
- Machine Time:
- 4 hours aluminum, 20 minutes wood
- Bit or Laser Size:
- 16th" 2-flute fishtail/upcut, 90 degree V-bit
- Feeds & Speeds:
- Aluminum: 10 in/min, depth .002"
Wood: 40 in/min, depth .03"
- Materials:
- .25" 6061 aluminum, .25" Chechen wood, stainless M3 hex button-head machine screws
Aside from a slight range reduction due to the heavier materials, all of the original remote's functionality is maintained - this is really just a cosmetic update.
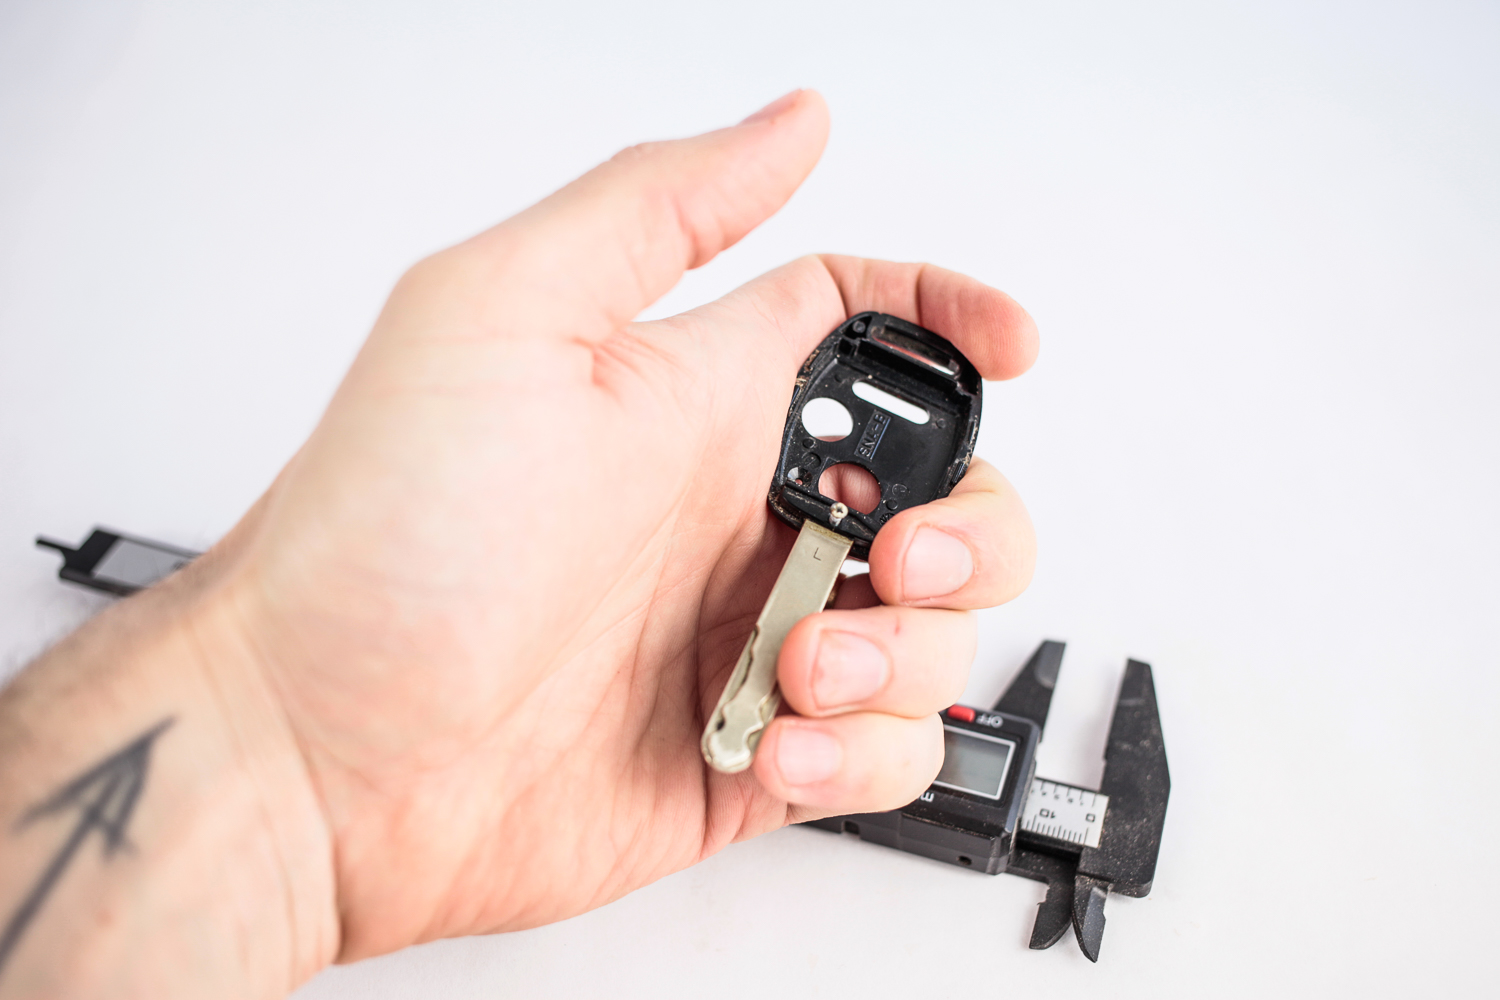
Here is the key that I'm starting with - it's for a 2010 CRV. A boring key for a boring car. One of these things, I can fix with an evening in the workshop.
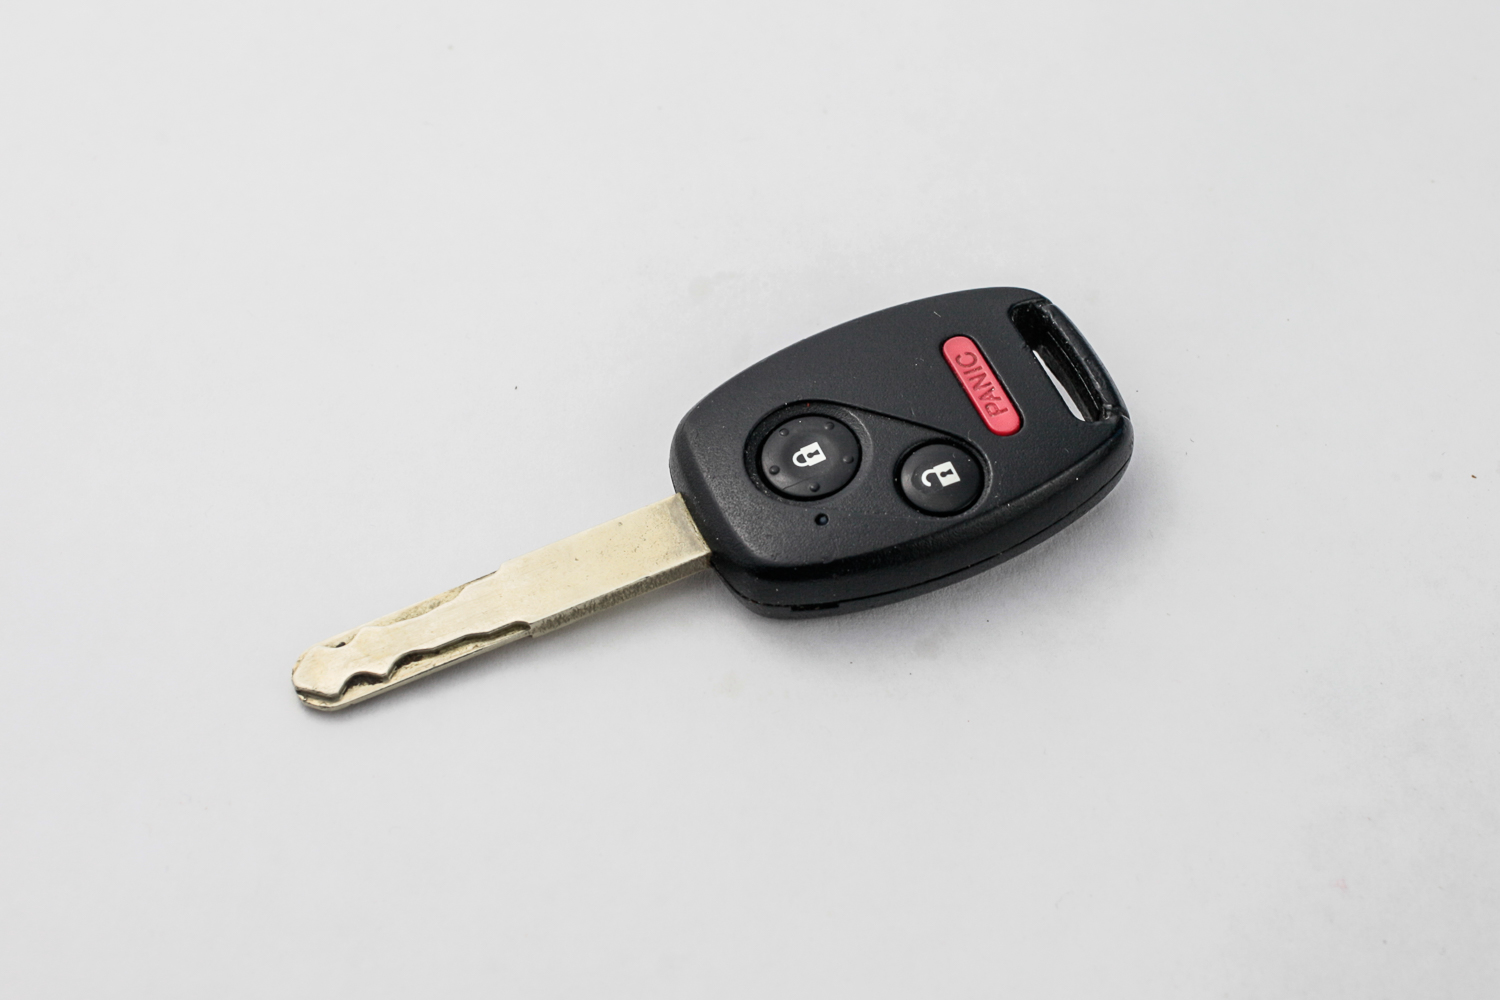
A tiny screw and a clip hold the plastic shell together. The screw threads into the base of the key. The remote portion is neatly contained in its own little unit - pretty nice design.
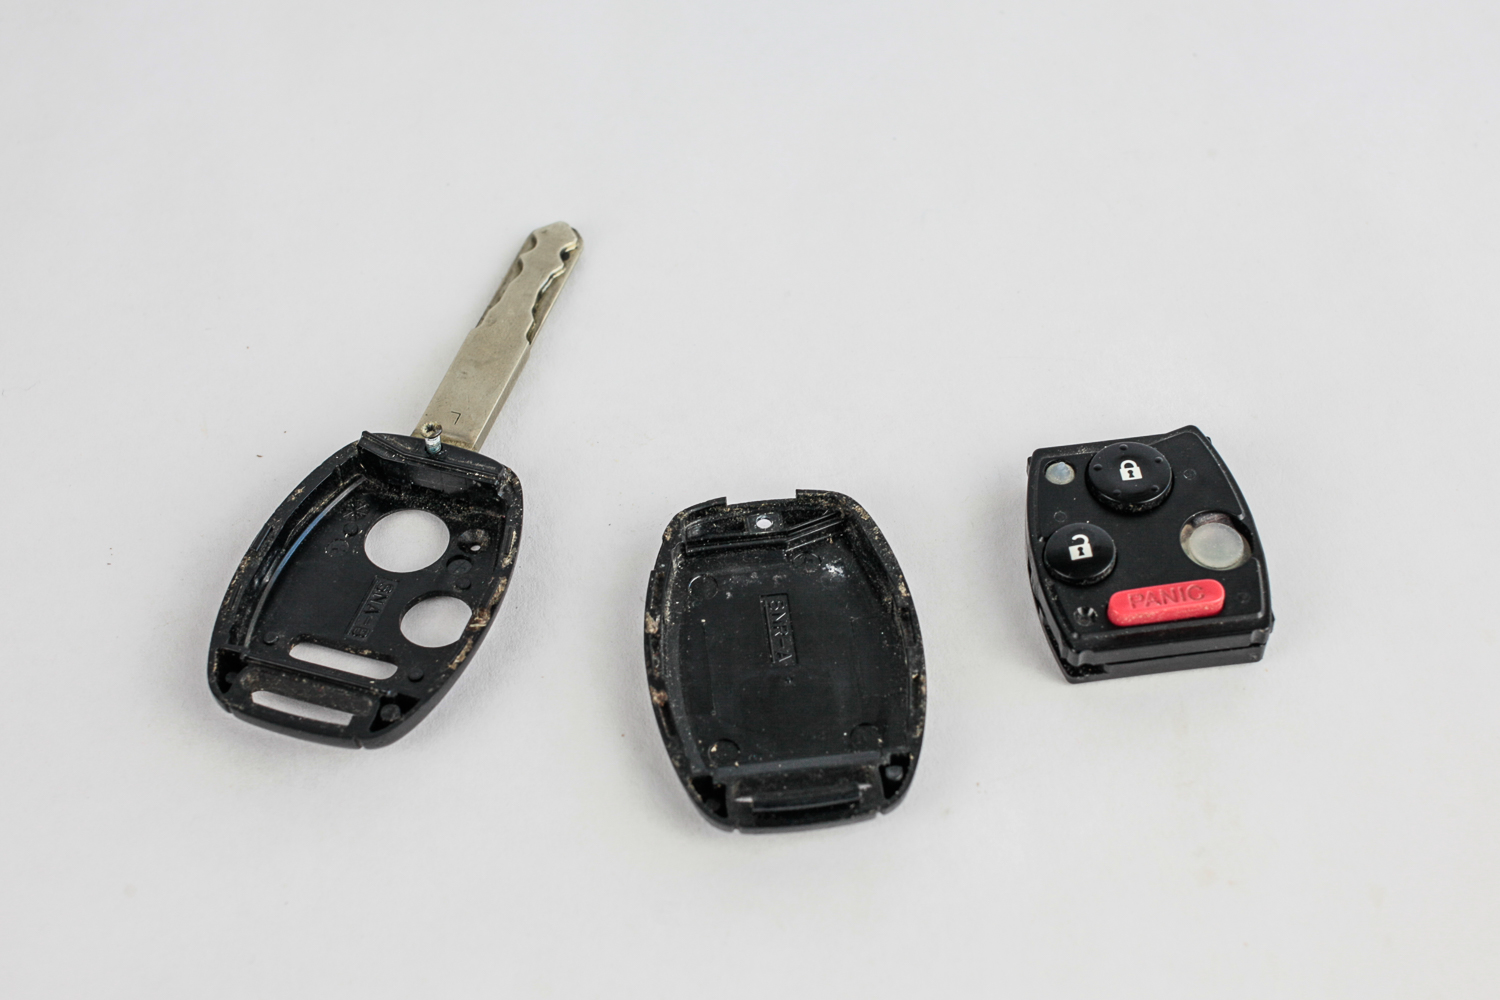
Here's the inside of the little remote unit. I decided to only keep the bottom piece that holds the battery and the circuit board - everything else was designed around this.

The key was glued into the shell of the fob, so I had to break that part to free it. To keep this work simple, I'm not going to mess with the key much at all.

With all the parts examined, I was ready to measure every little nook and cranny to make sure the buttons, lights and key all ended up in the right spot. I haven't opened up many car keys before, so I don't know how typical my example is, but I imagine that this process could roughly be applied to many different makes.
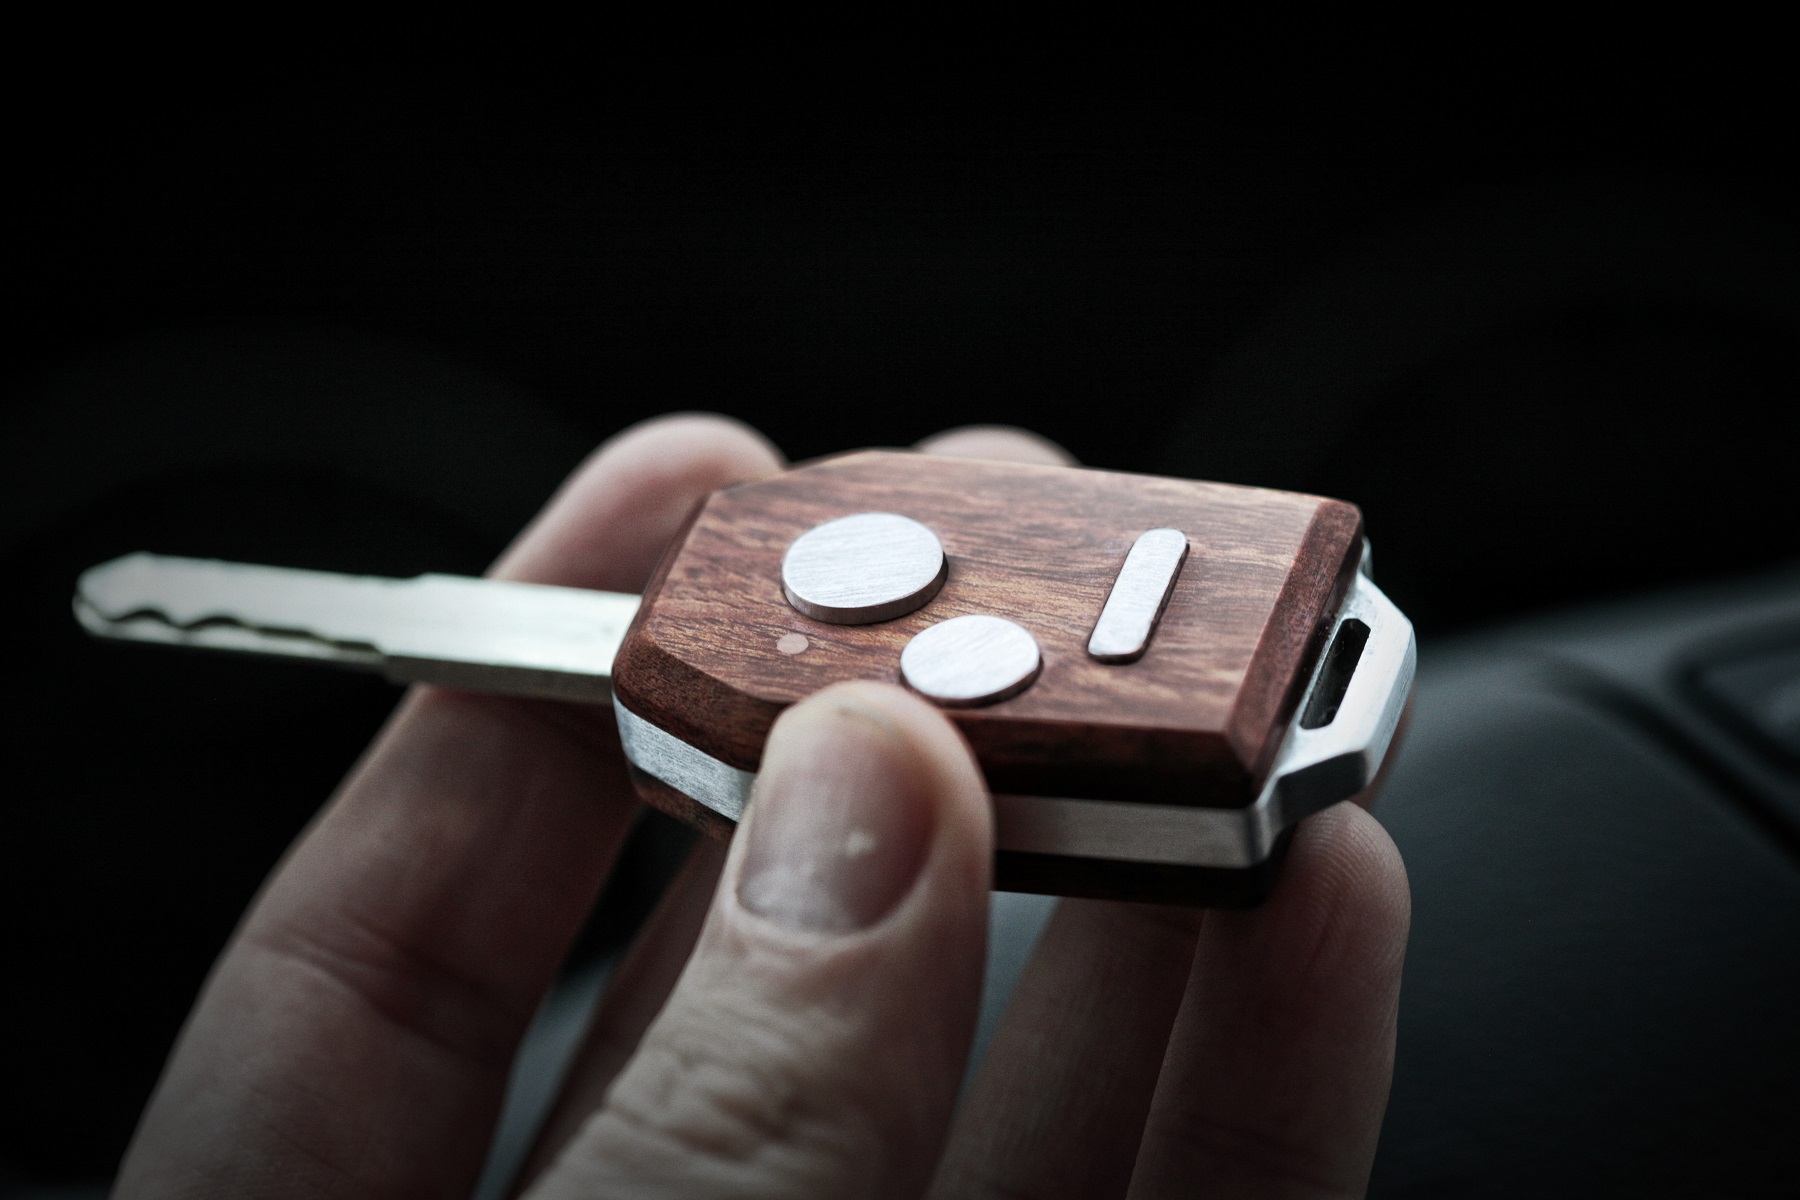
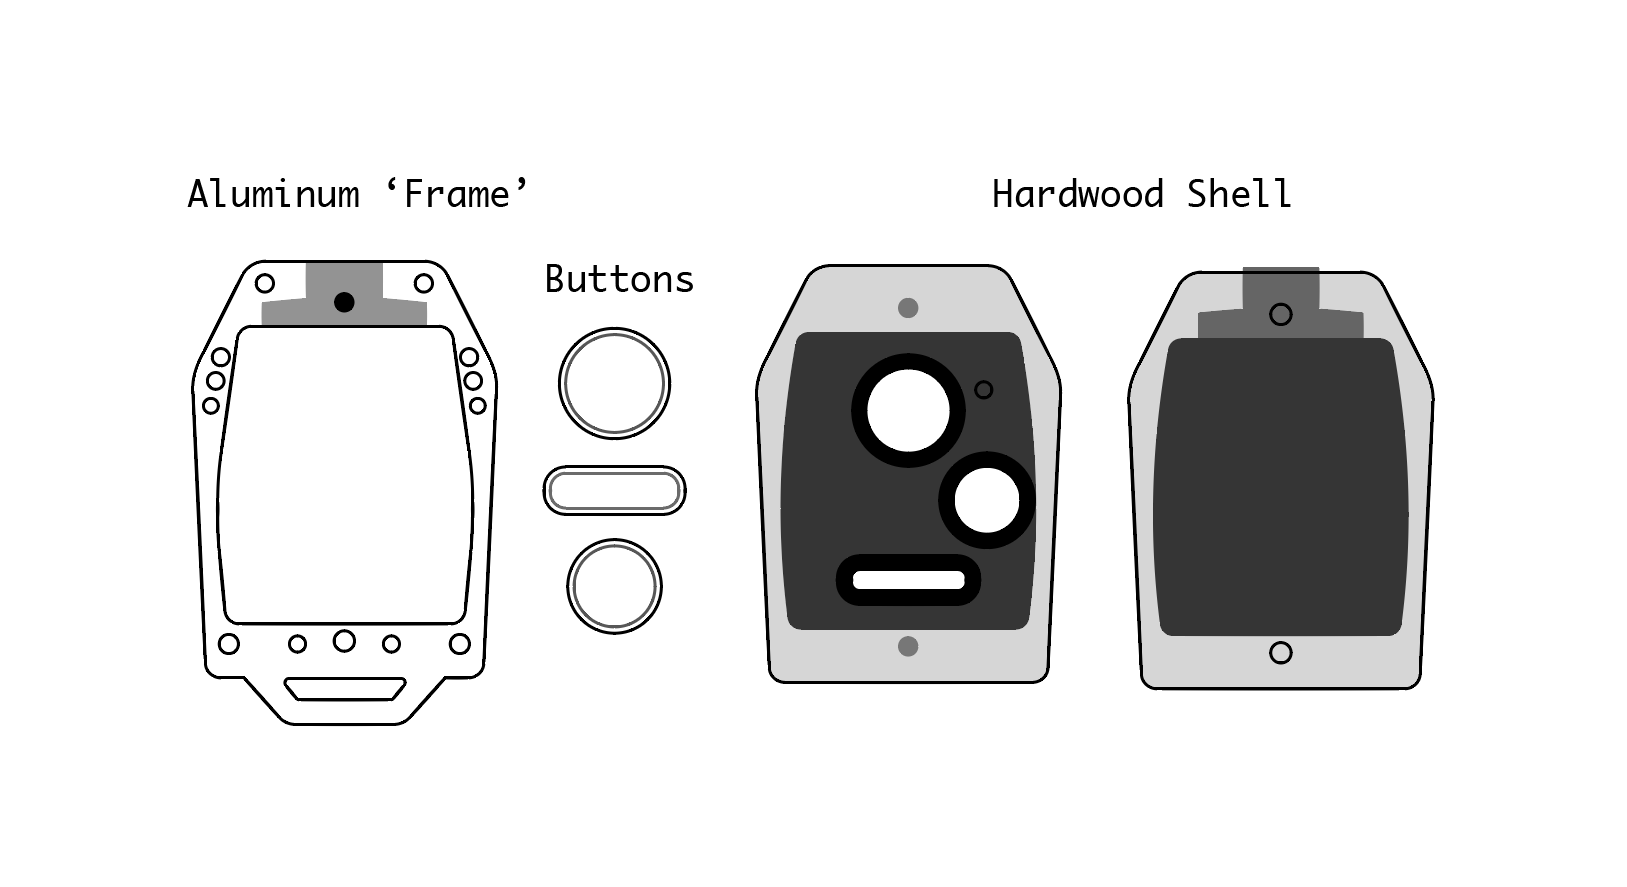
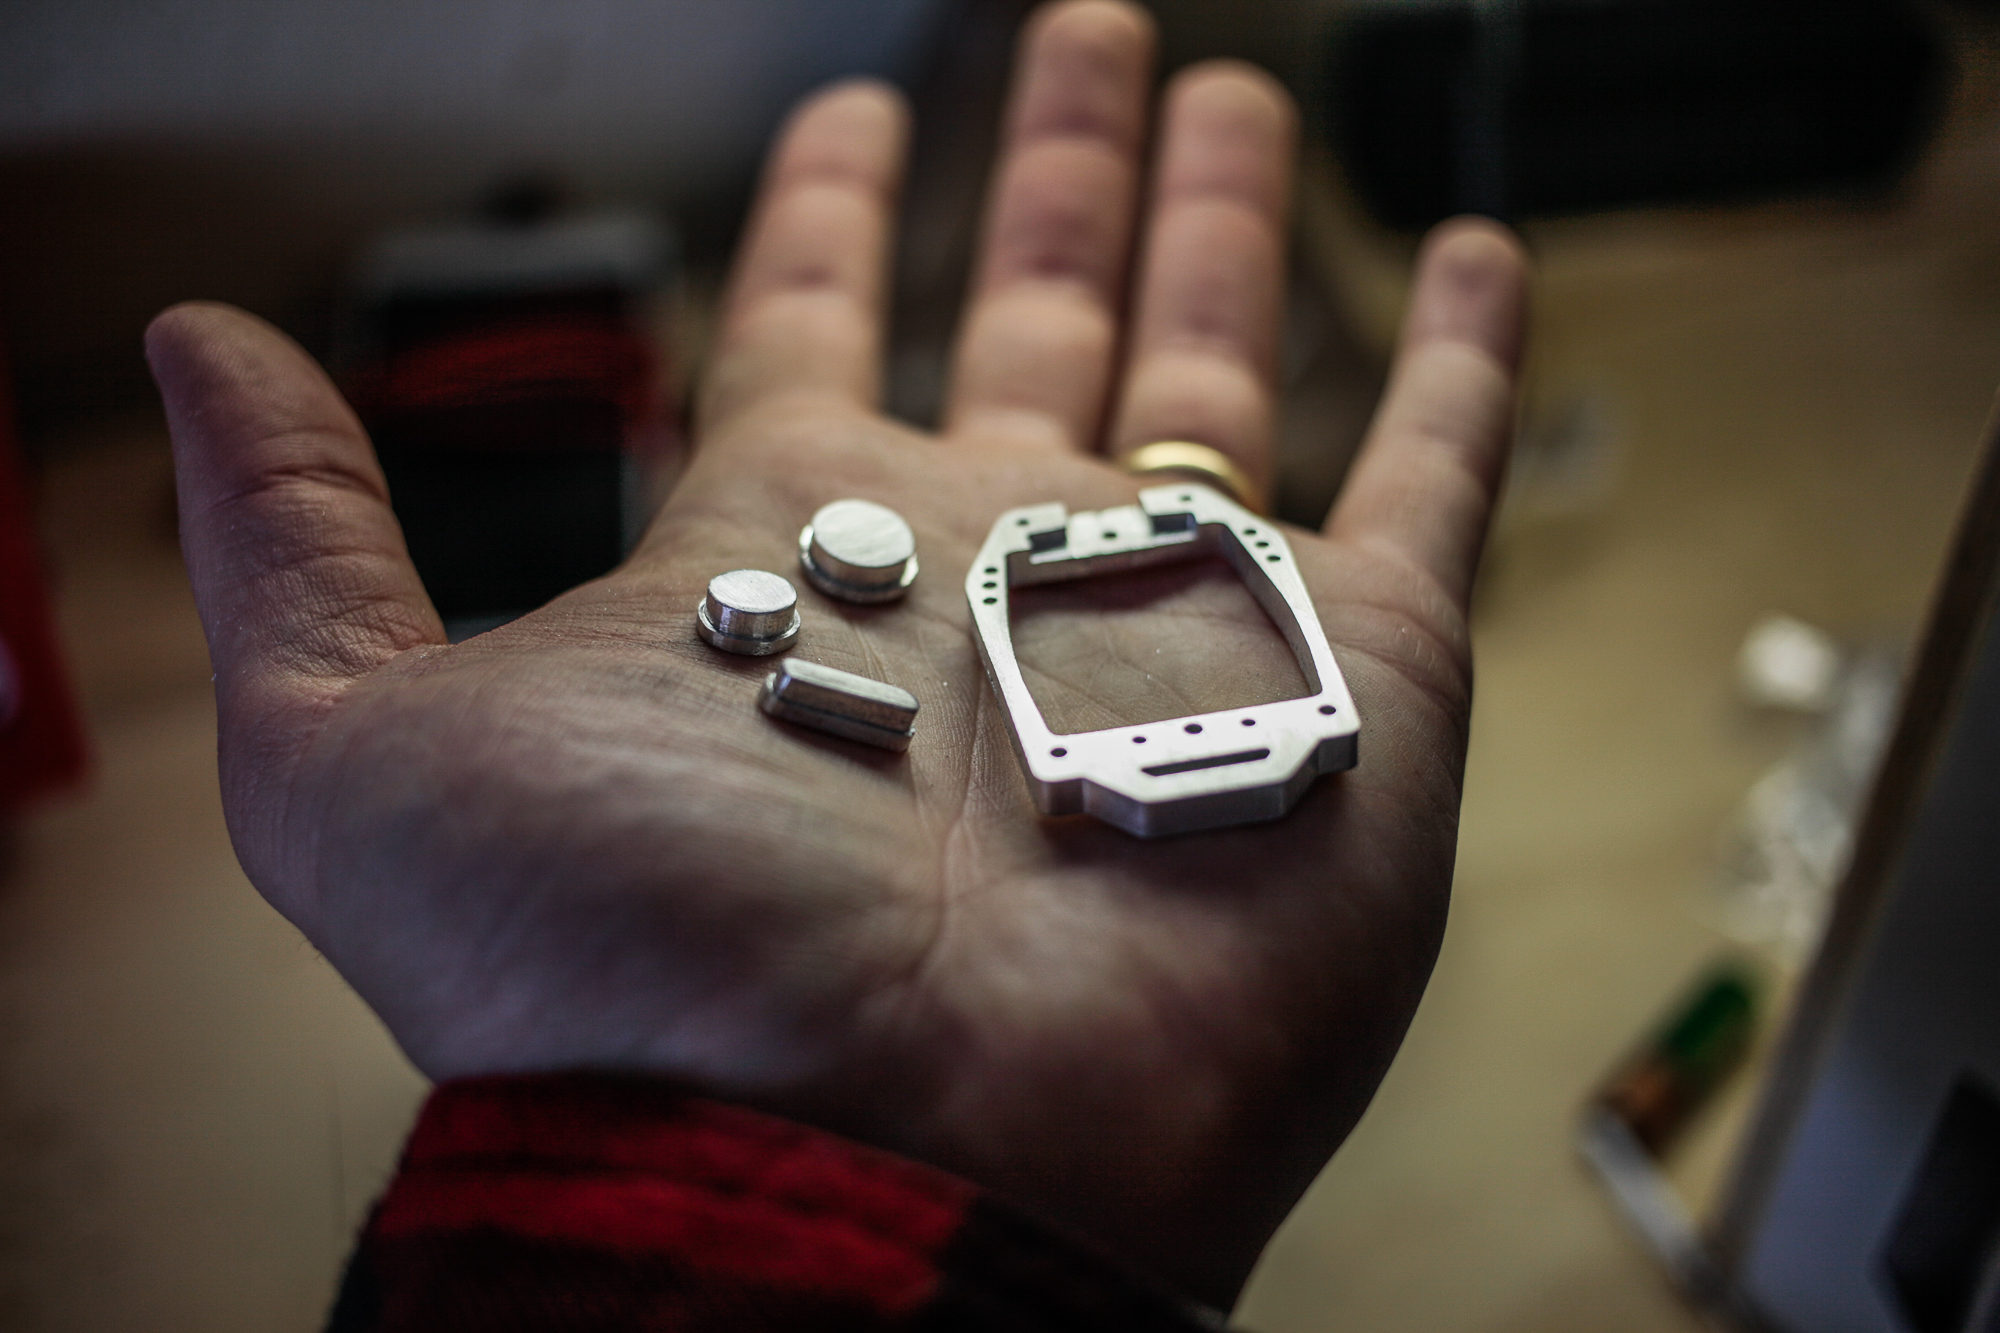
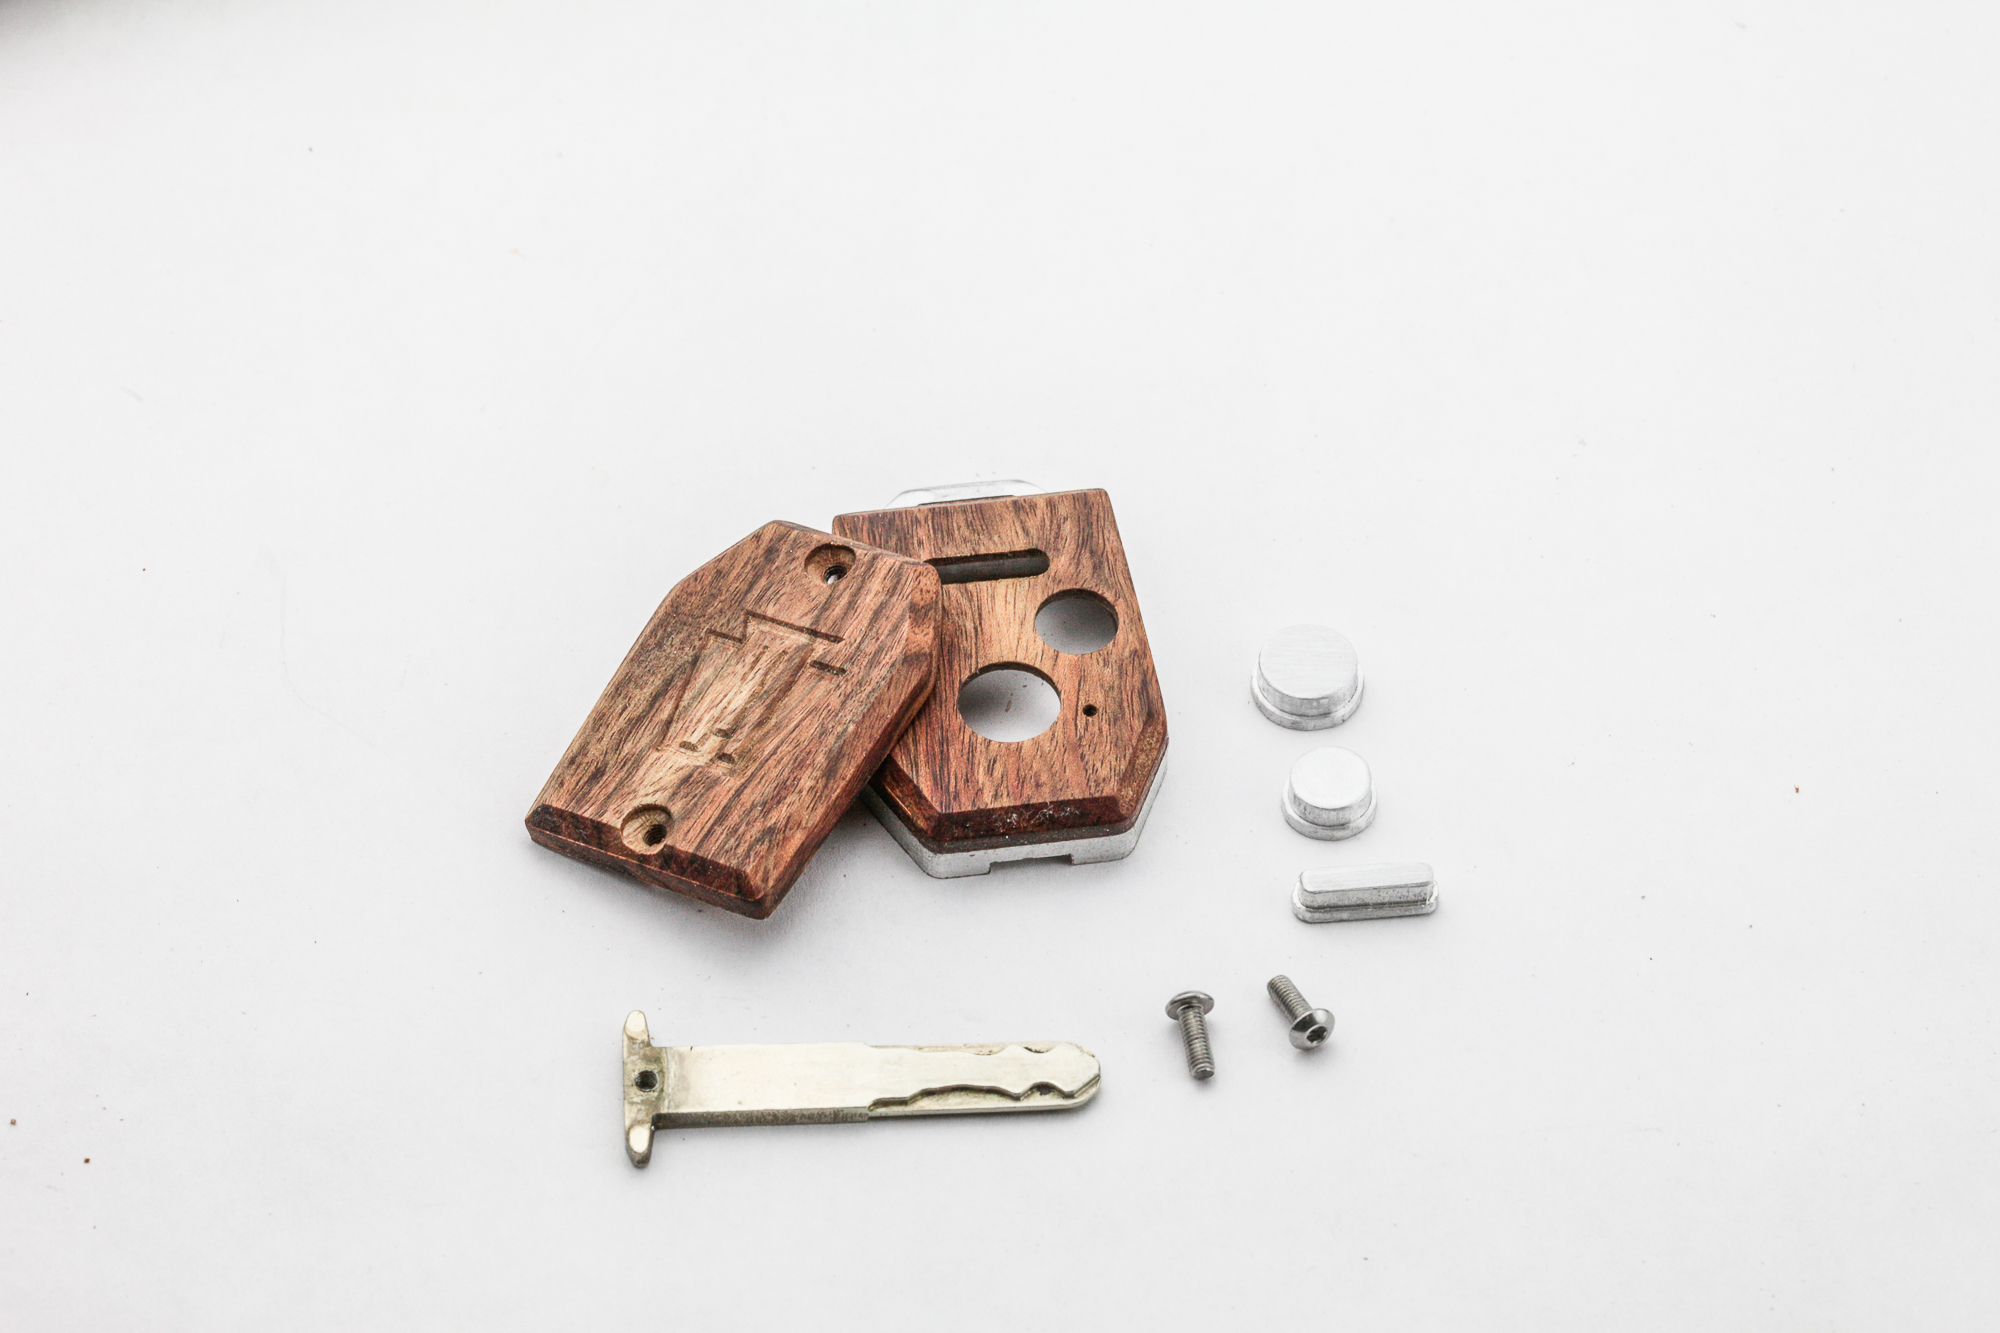
Here are the parts that I'm going to make. I wasn't a fan of the original soft, oval body, so I opted for a slightly more aggressive angular shape. I laid out a frame and buttons to be cut out of aluminum, and then two shells out of hard wood. Two machine screws will thread into the aluminum frame, securing the bottom shell of the fob and the key in place. It's important that nothing can move around, so I spent a lot of time measuring from various points and matching against the old remote and key. This was all very tedious, but it's always faster to do it right the first time. But with the design part of the process done, it was time to get to the fun stuff.
I started by milling the aluminum parts with a 1/16" upcut bit with my Lead CNC 1010. I've been incorporating more aluminum parts into my projects lately, and I think it's a great choice for something like this that needs to withstand a little abuse.
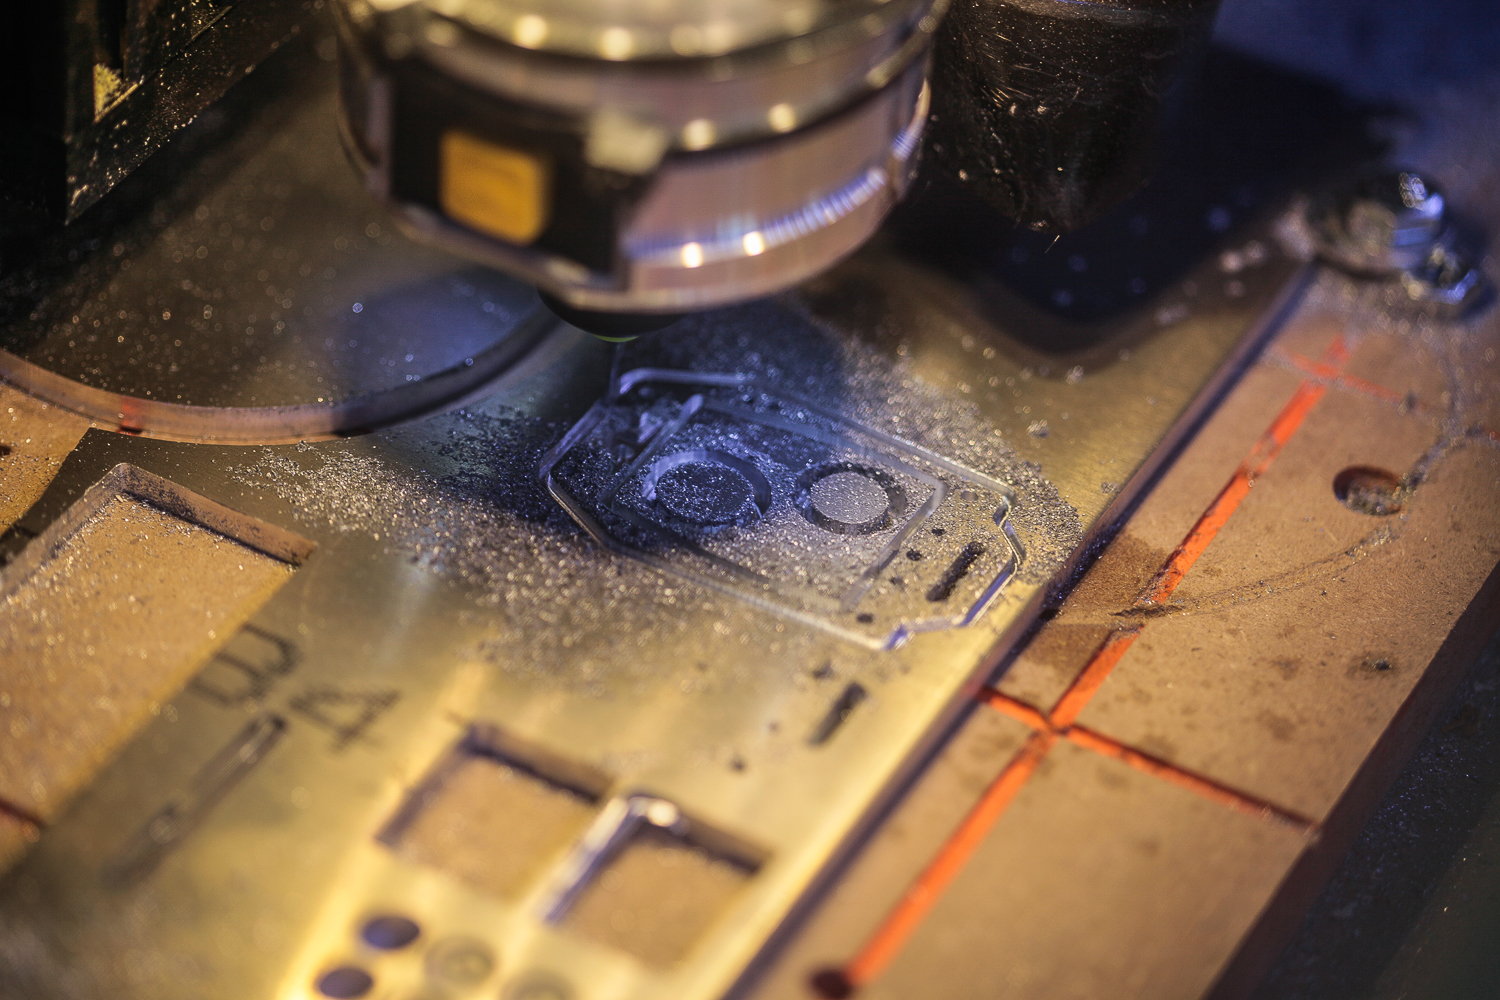
It takes a little while for this tiny bit to get through the 1/4" plate (close to 4 hours!), but allows me to get a lot of detail out of it. The holes around the frame are to help with adhesion later on.
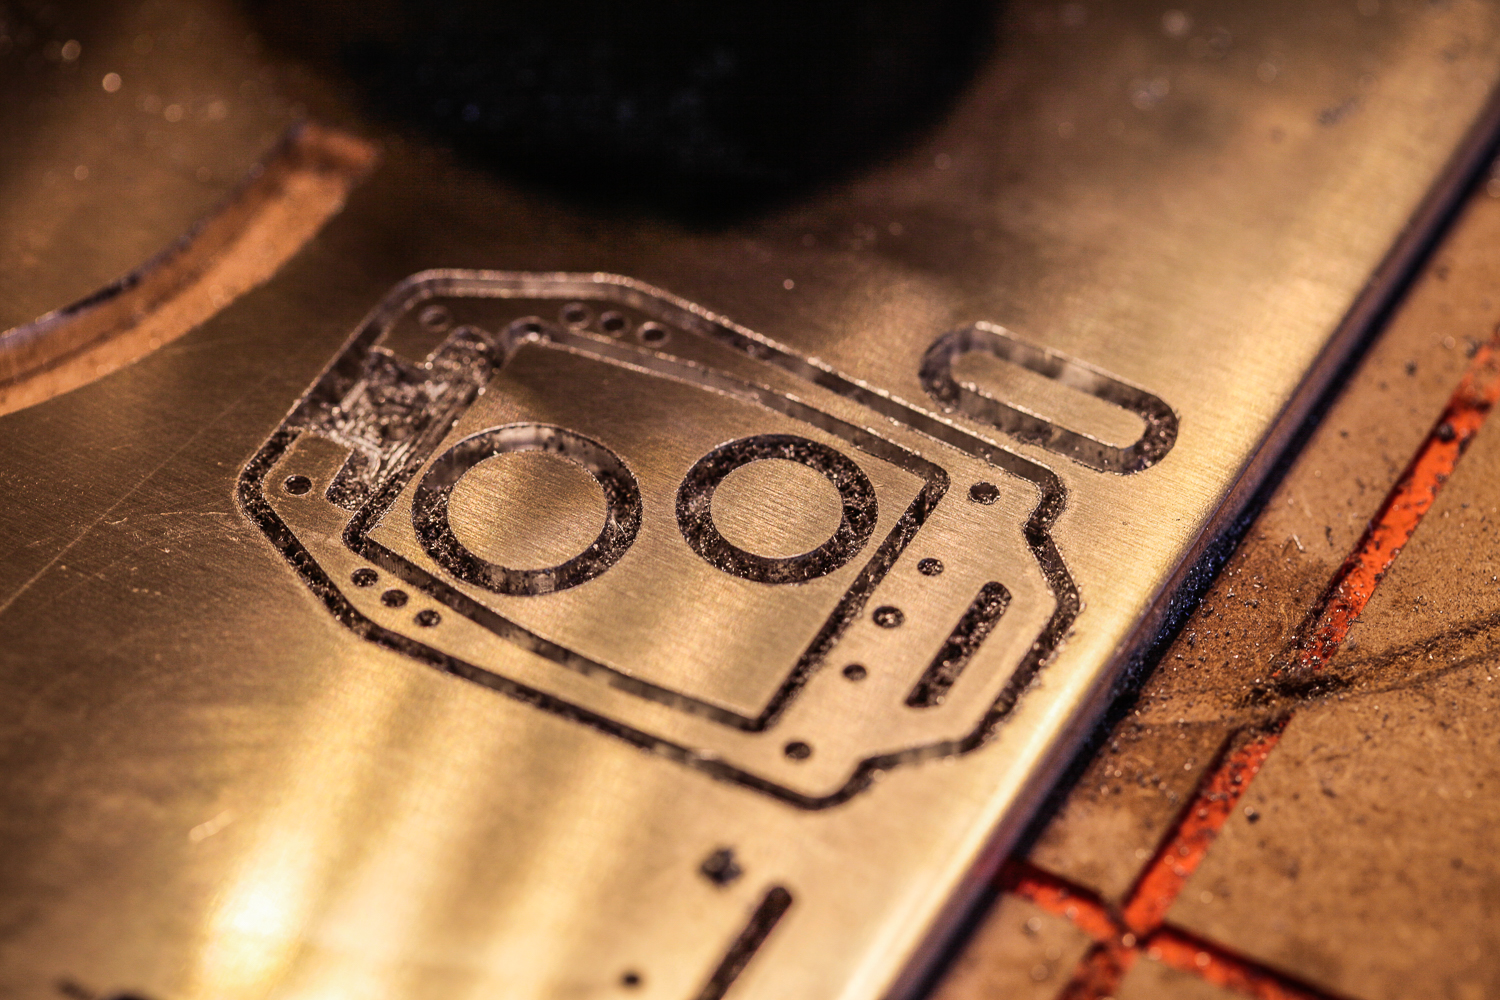
After cutting the tabs to release the parts and some quick cleanup with a file and some sandpaper, the parts were looking pretty awesome to me. Next up was the wood parts.
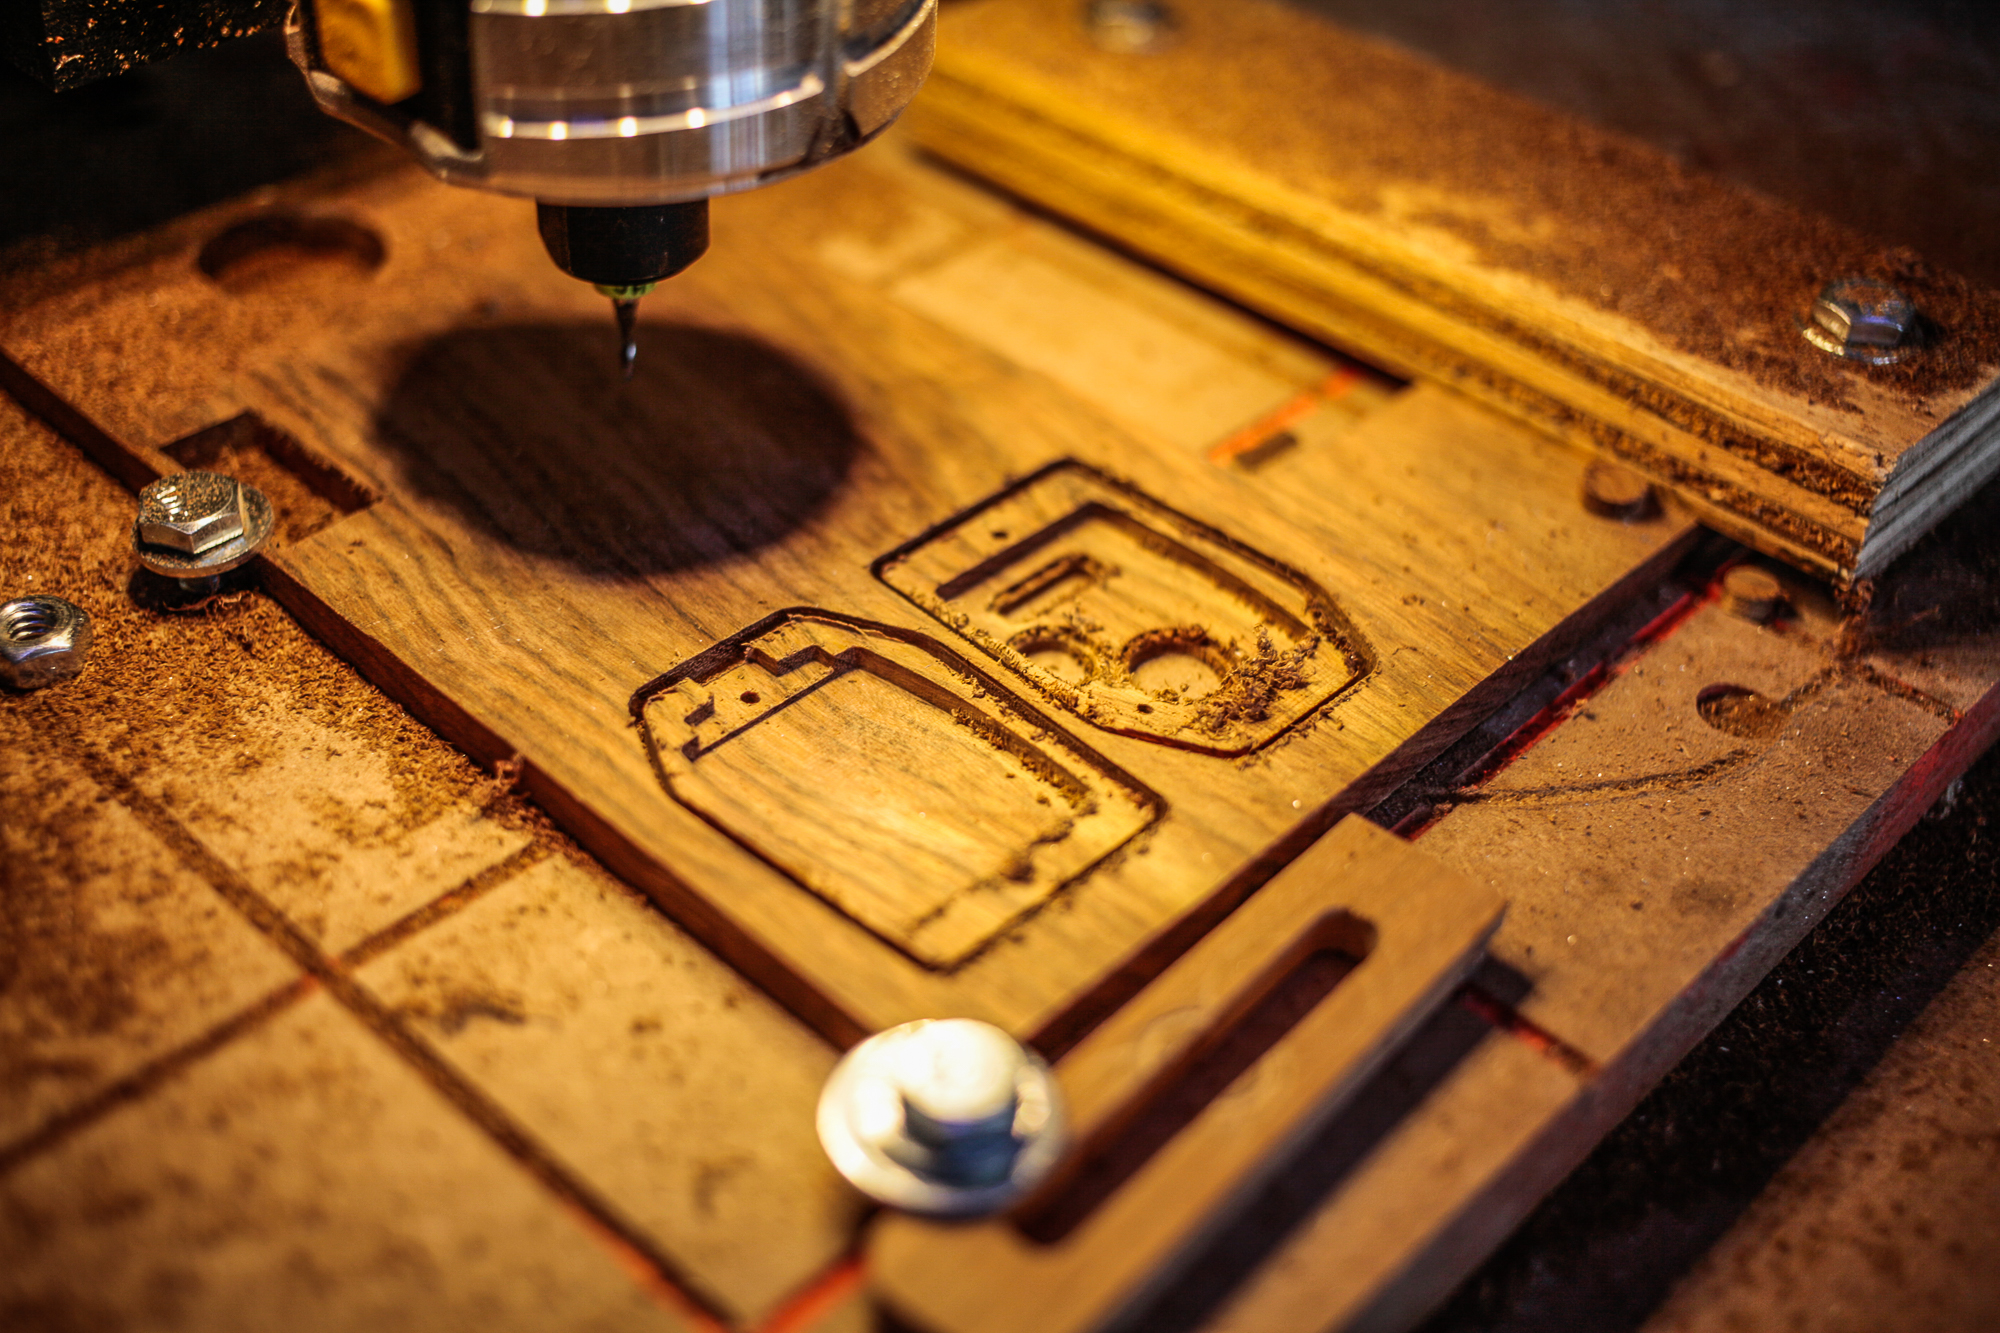
I used a scrap piece of some nice Chechen wood for the shell and again using the Lead CNC to mill the parts. This is quick work, only taking about 20 minutes.
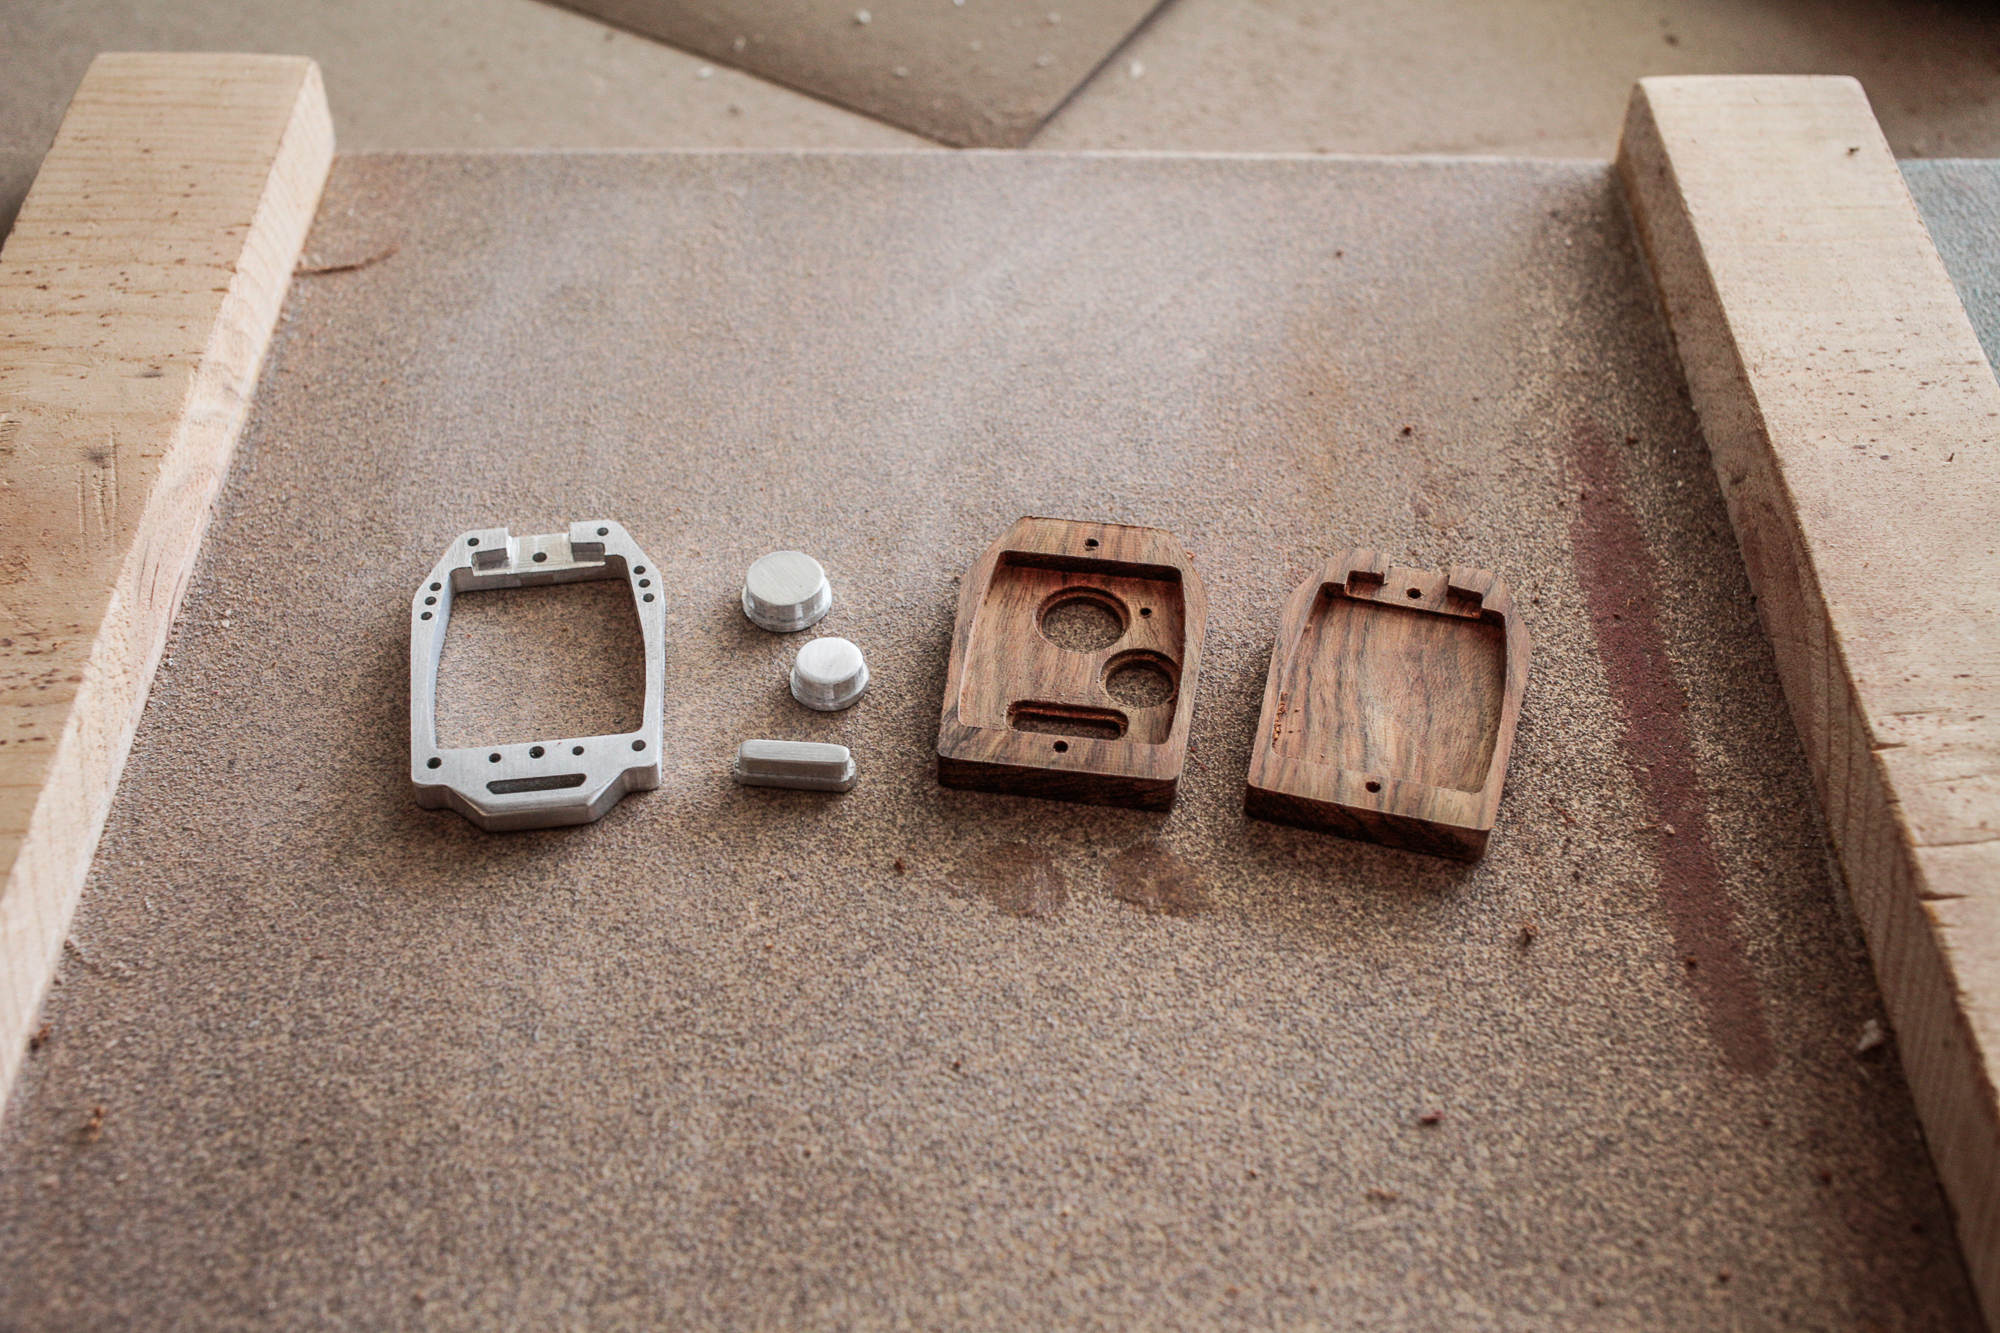
After some quick cleanup, I now had all my parts roughly ready with just a couple small tweaks left to make.
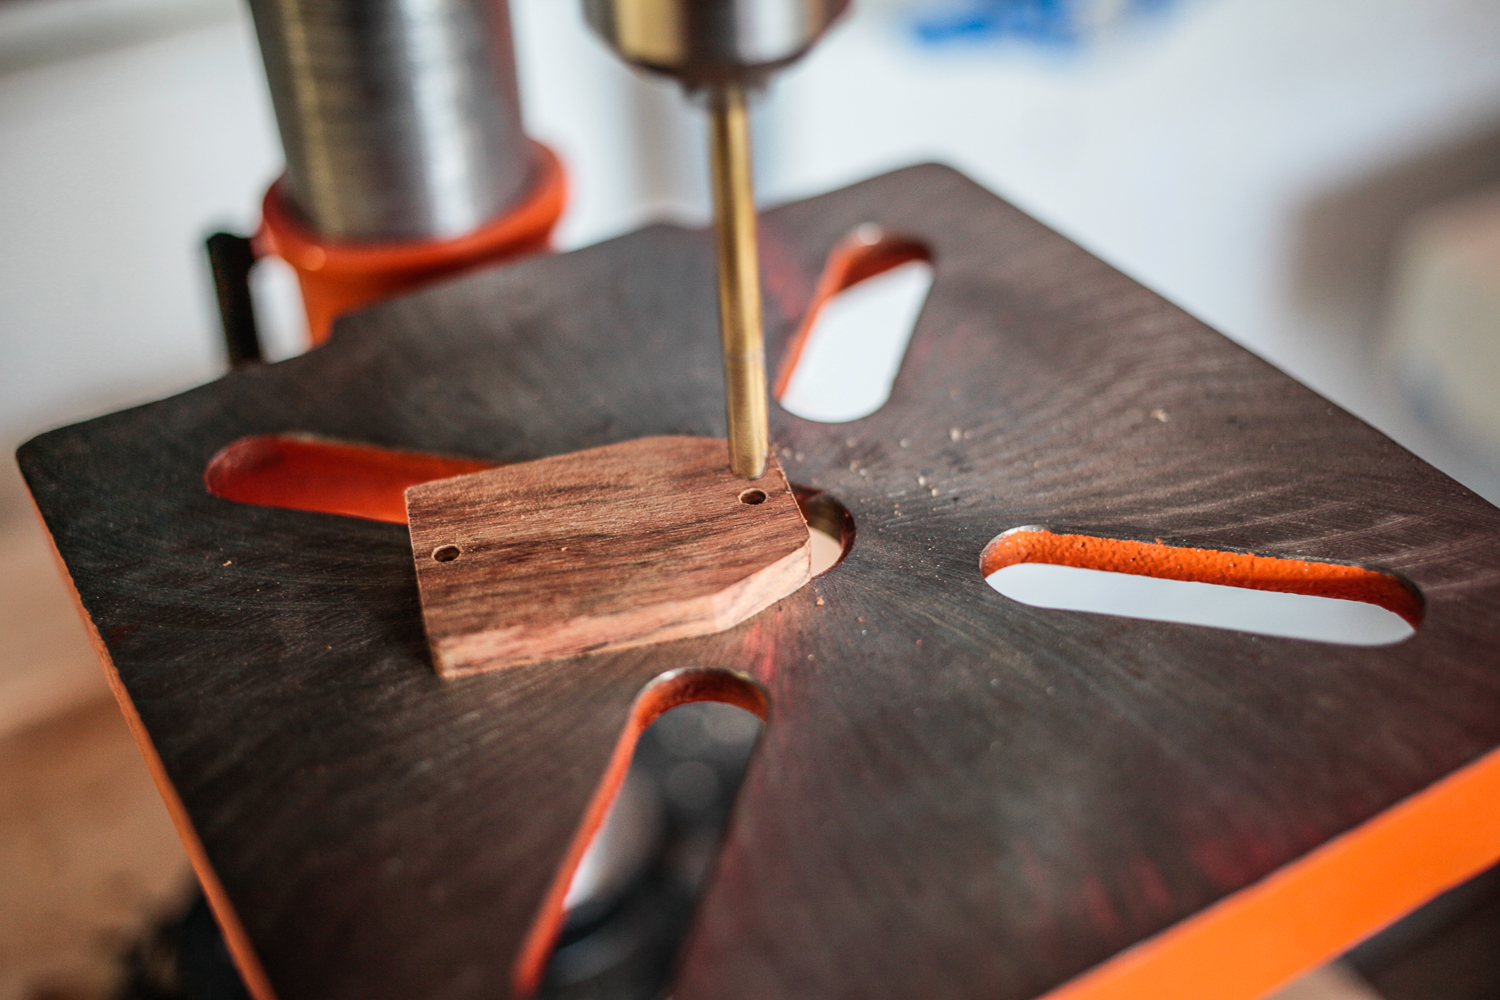
First I recessed the screw holes from the back on my drill press.
And then ran a small chamfer on the outside faces of the shell.
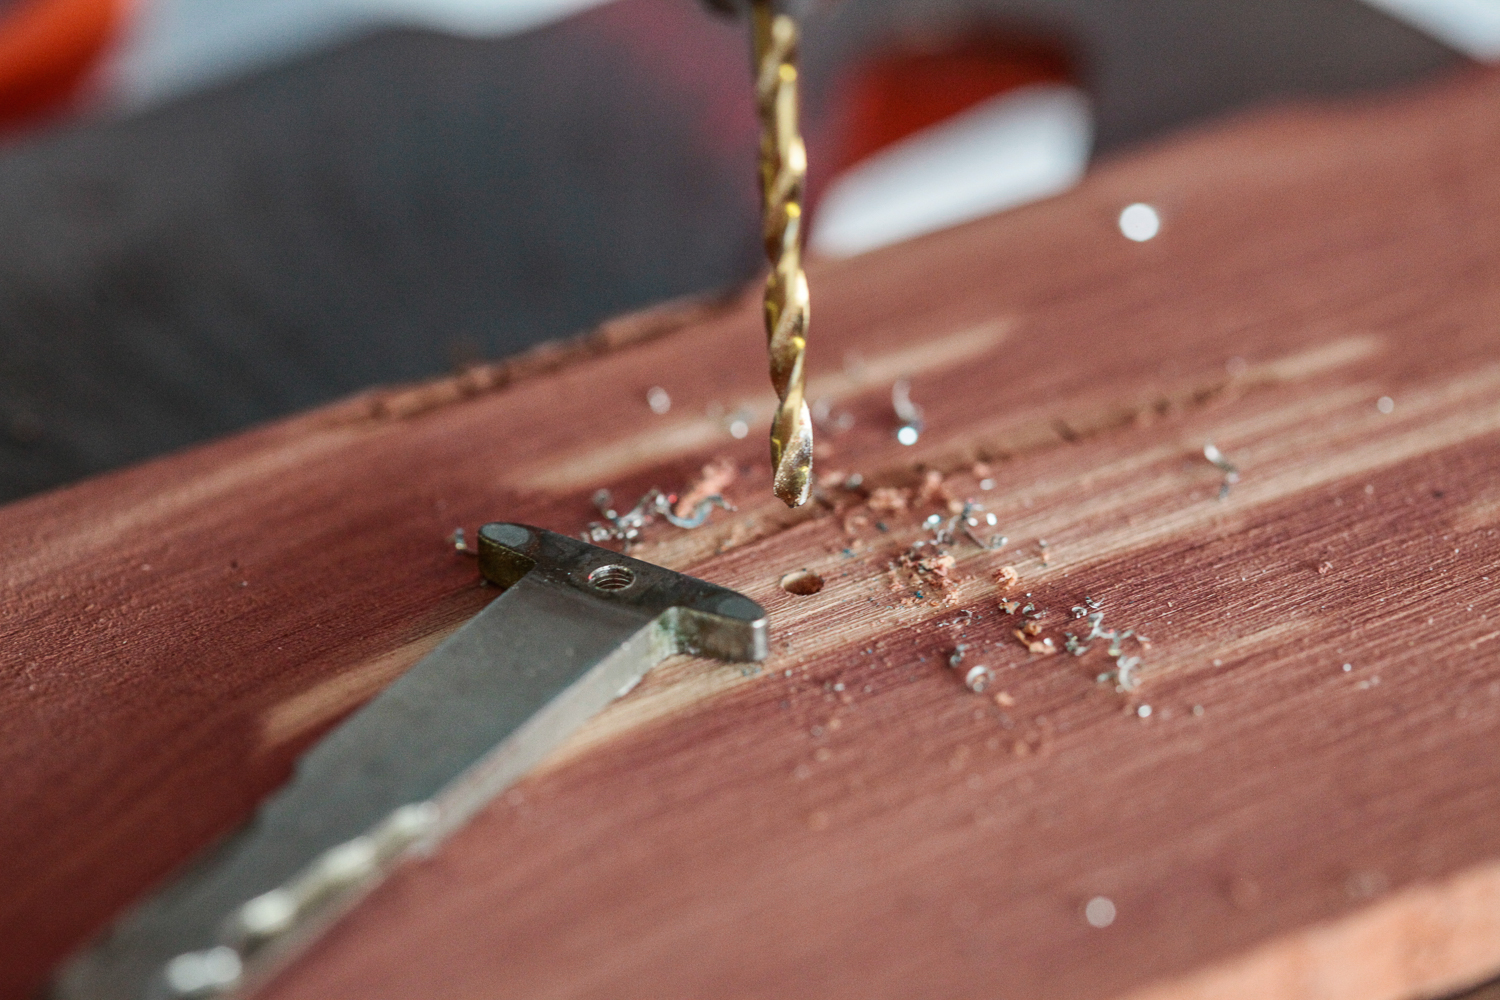
Instead of threading into the key, the machine screw is going to go through it and thread into the aluminum frame. So I have to enlarge this hole to allow the M3 screw to pass through.
Then I tapped the frame to receive the screw. With this step complete, I cleaned down the aluminum and attached it to the top face of the key. These parts are too thin for wood screws, so I opted to use epoxy to hold the one side to the frame. This is my first time doing this, so I hope to not be disappointed by it failing in the future but it's been holding up great for a couple weeks so far. I would be happy to hear any feedback on this step, as I really don't know if it's kosher or not - I'm pretty new to this stuff!

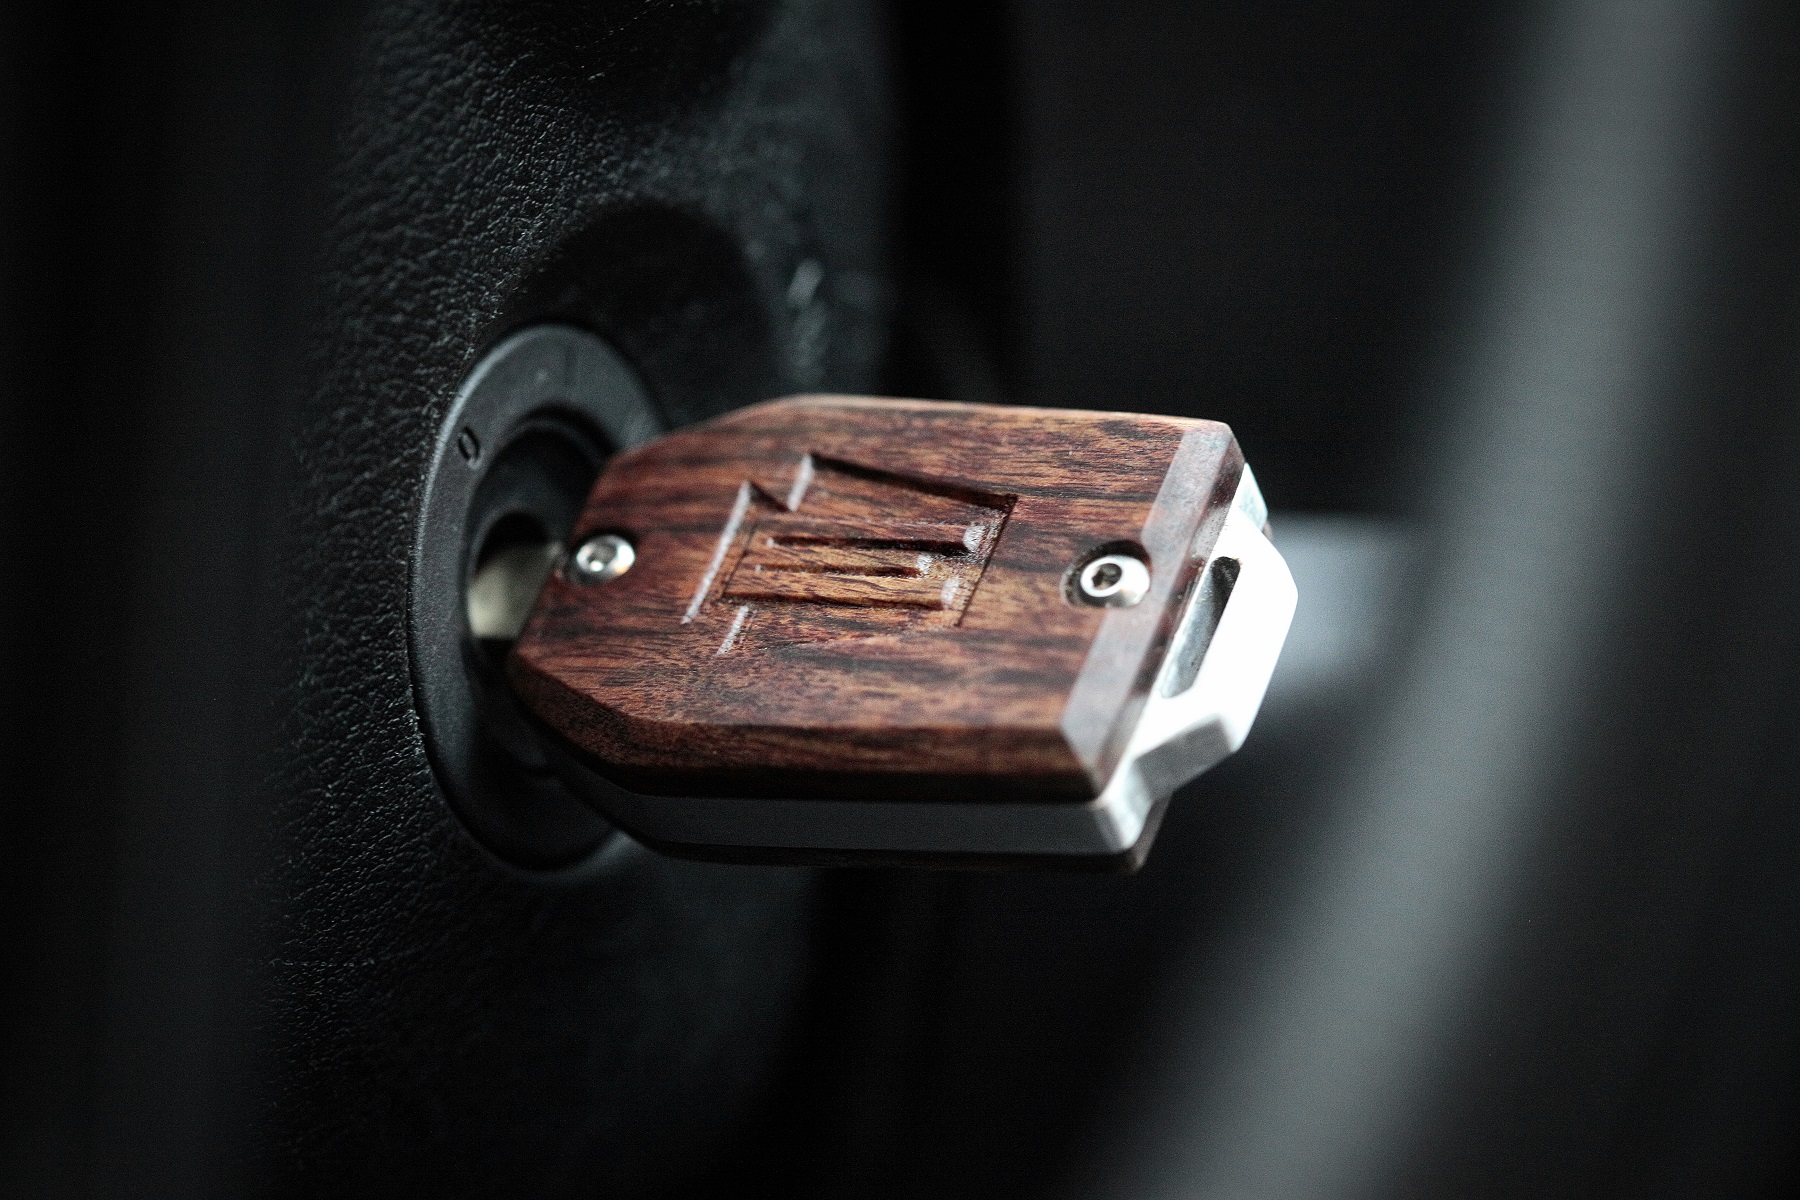
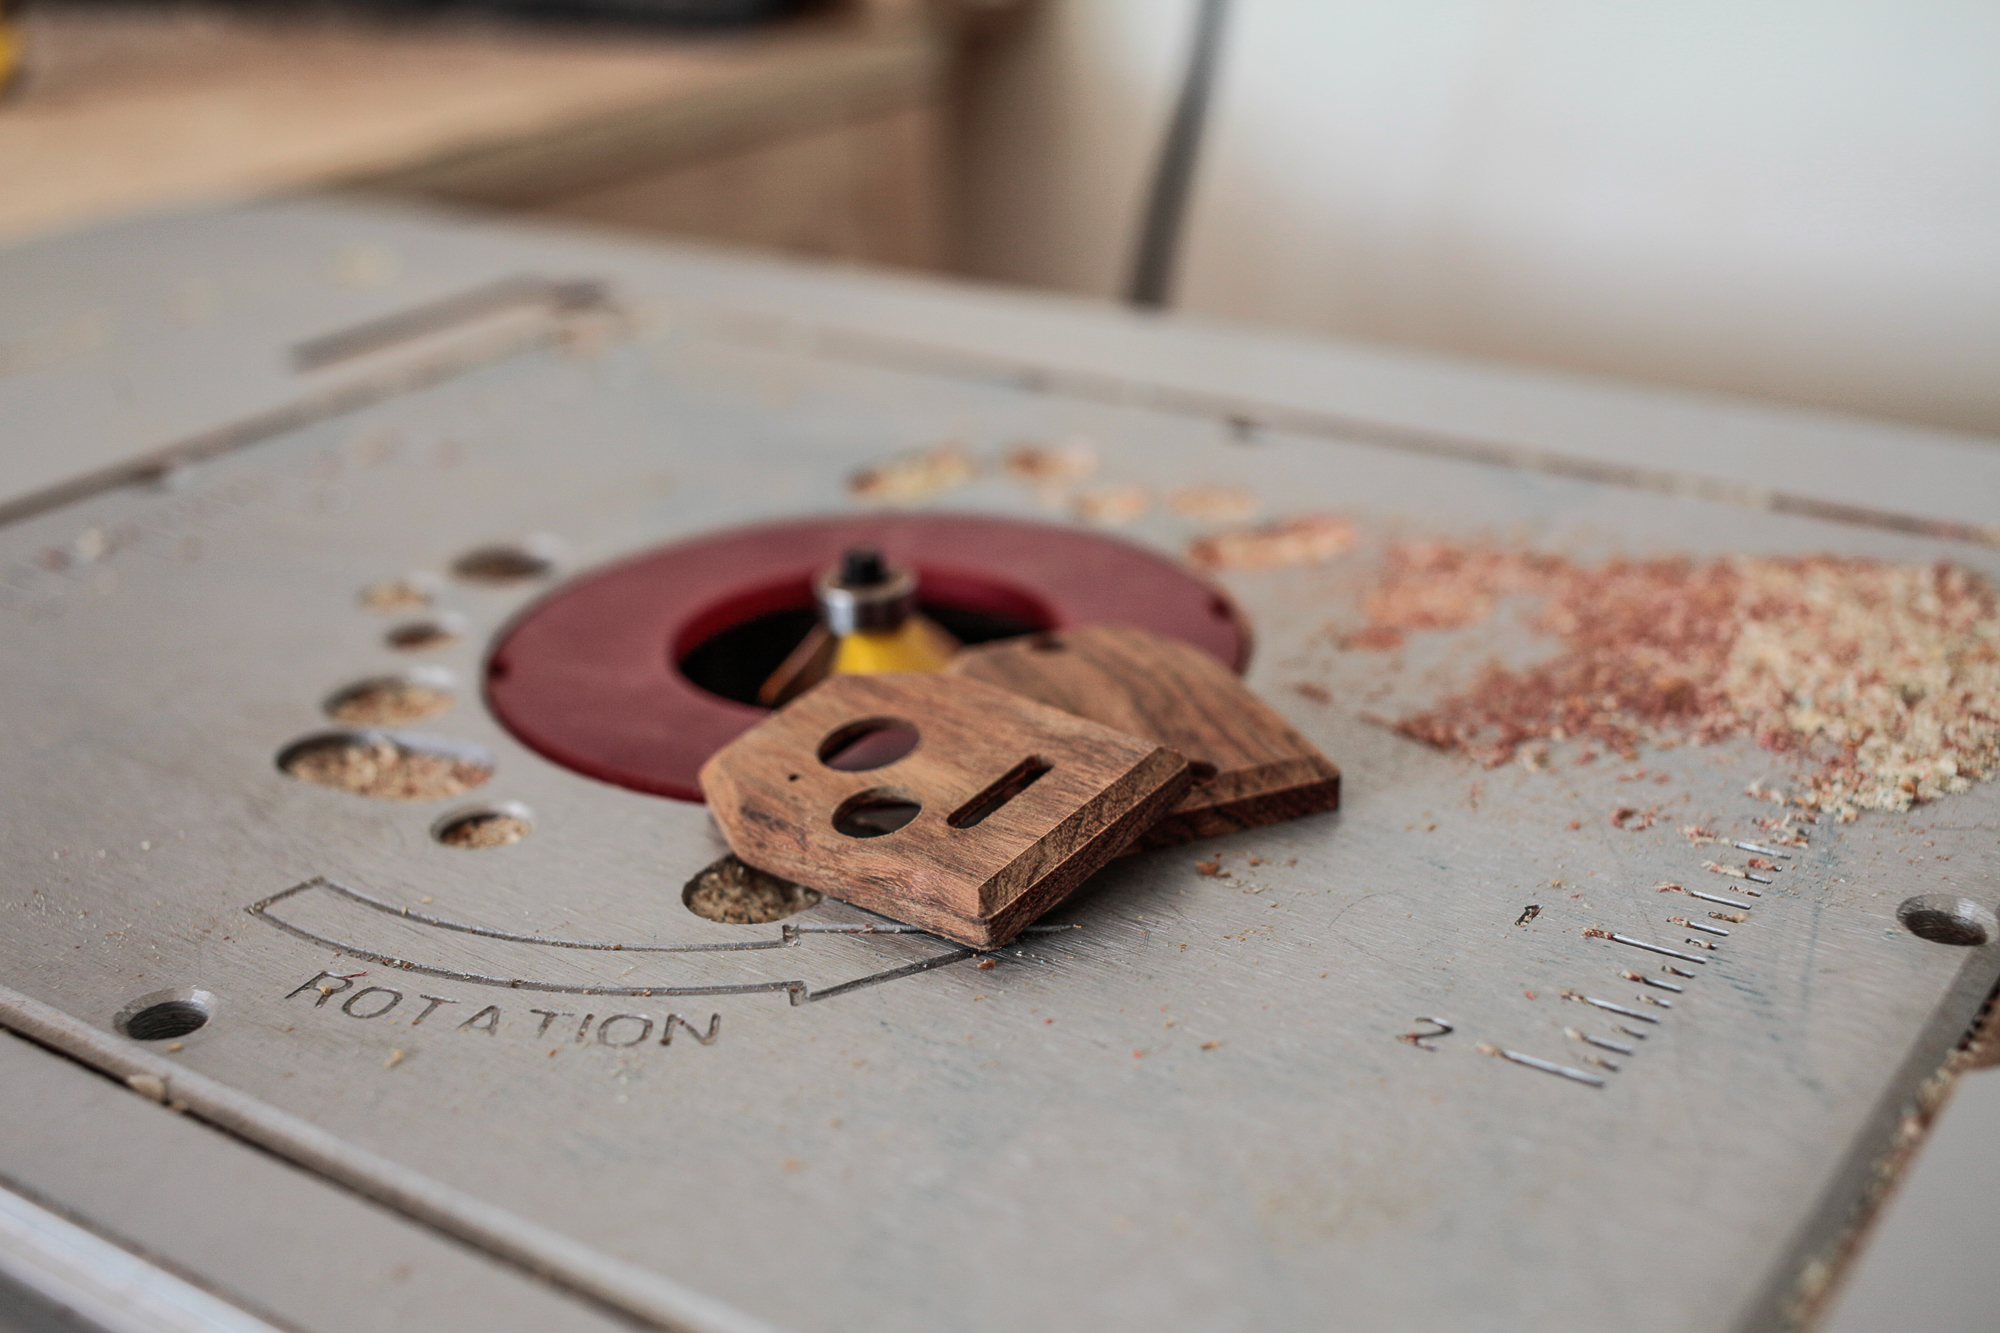
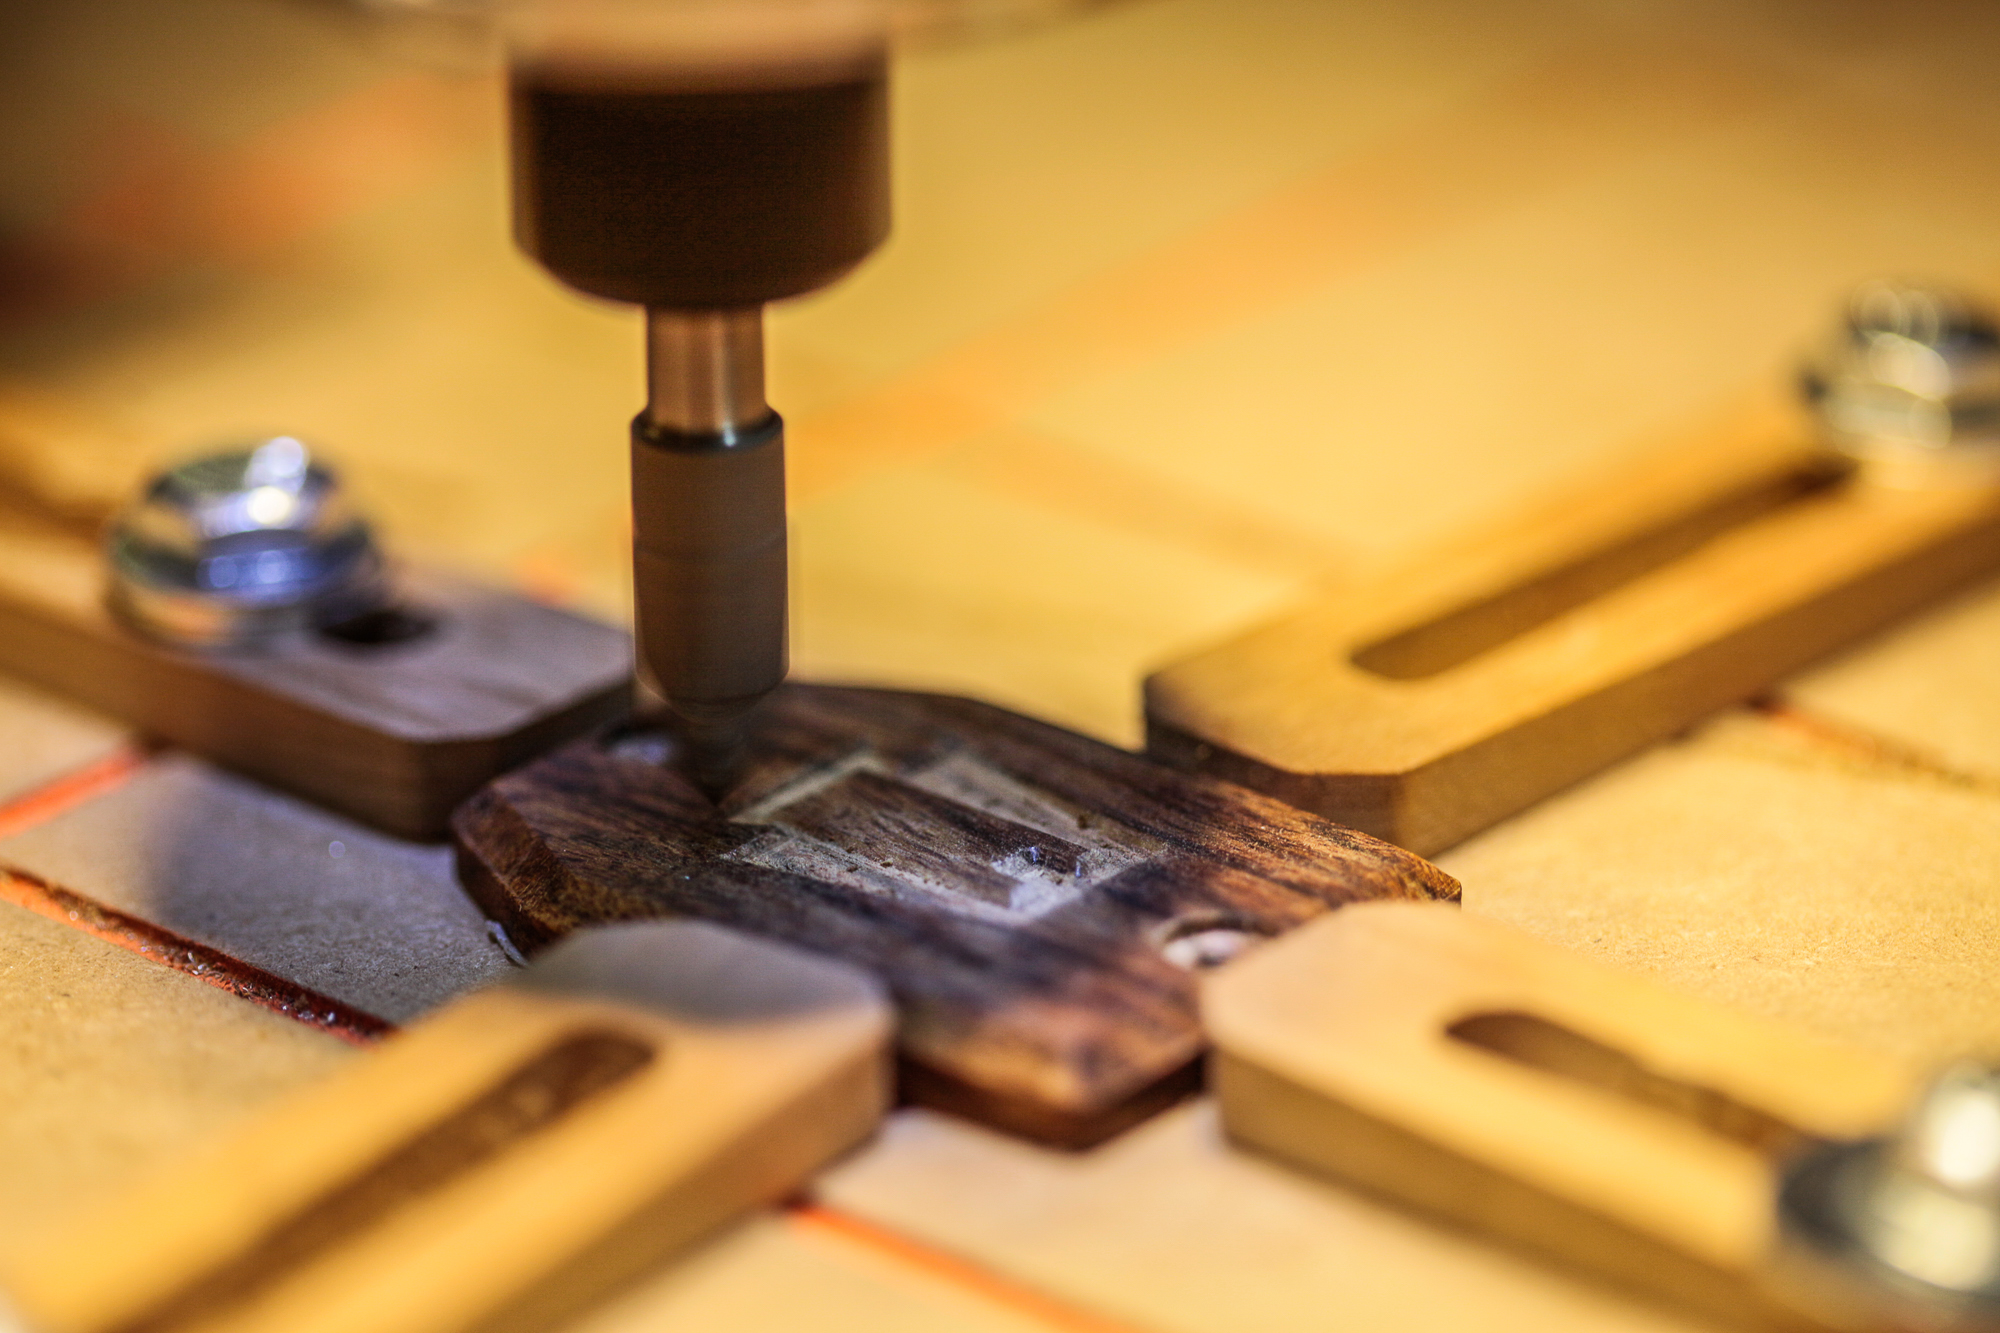
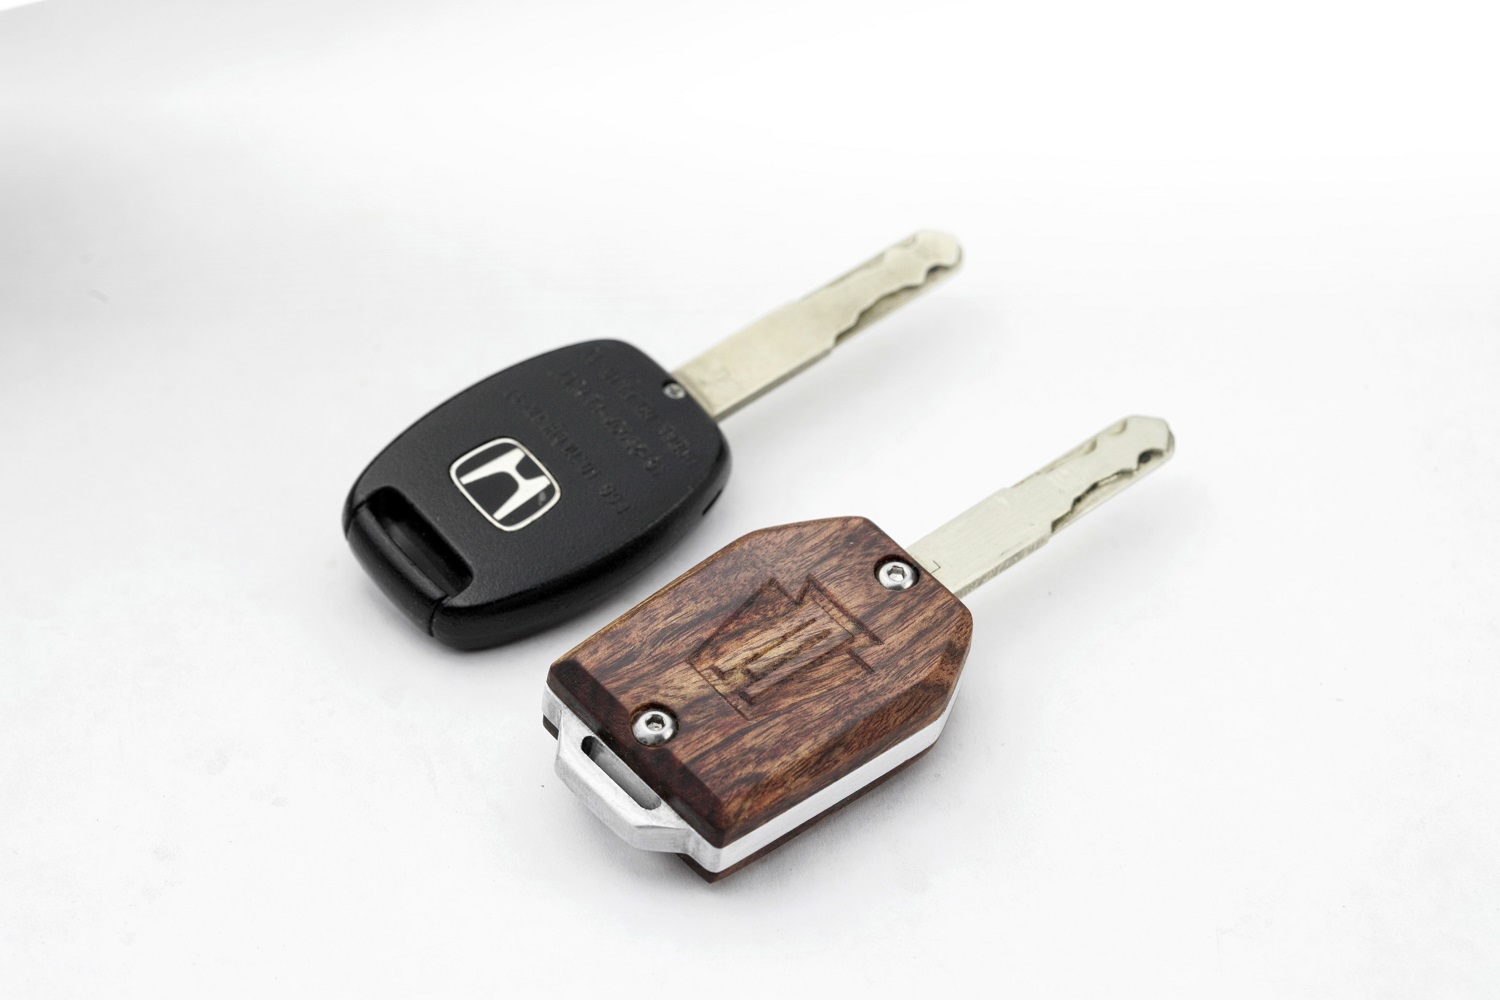
The last step is to engrave my logo into the back of the shell with a 90° V-bit.
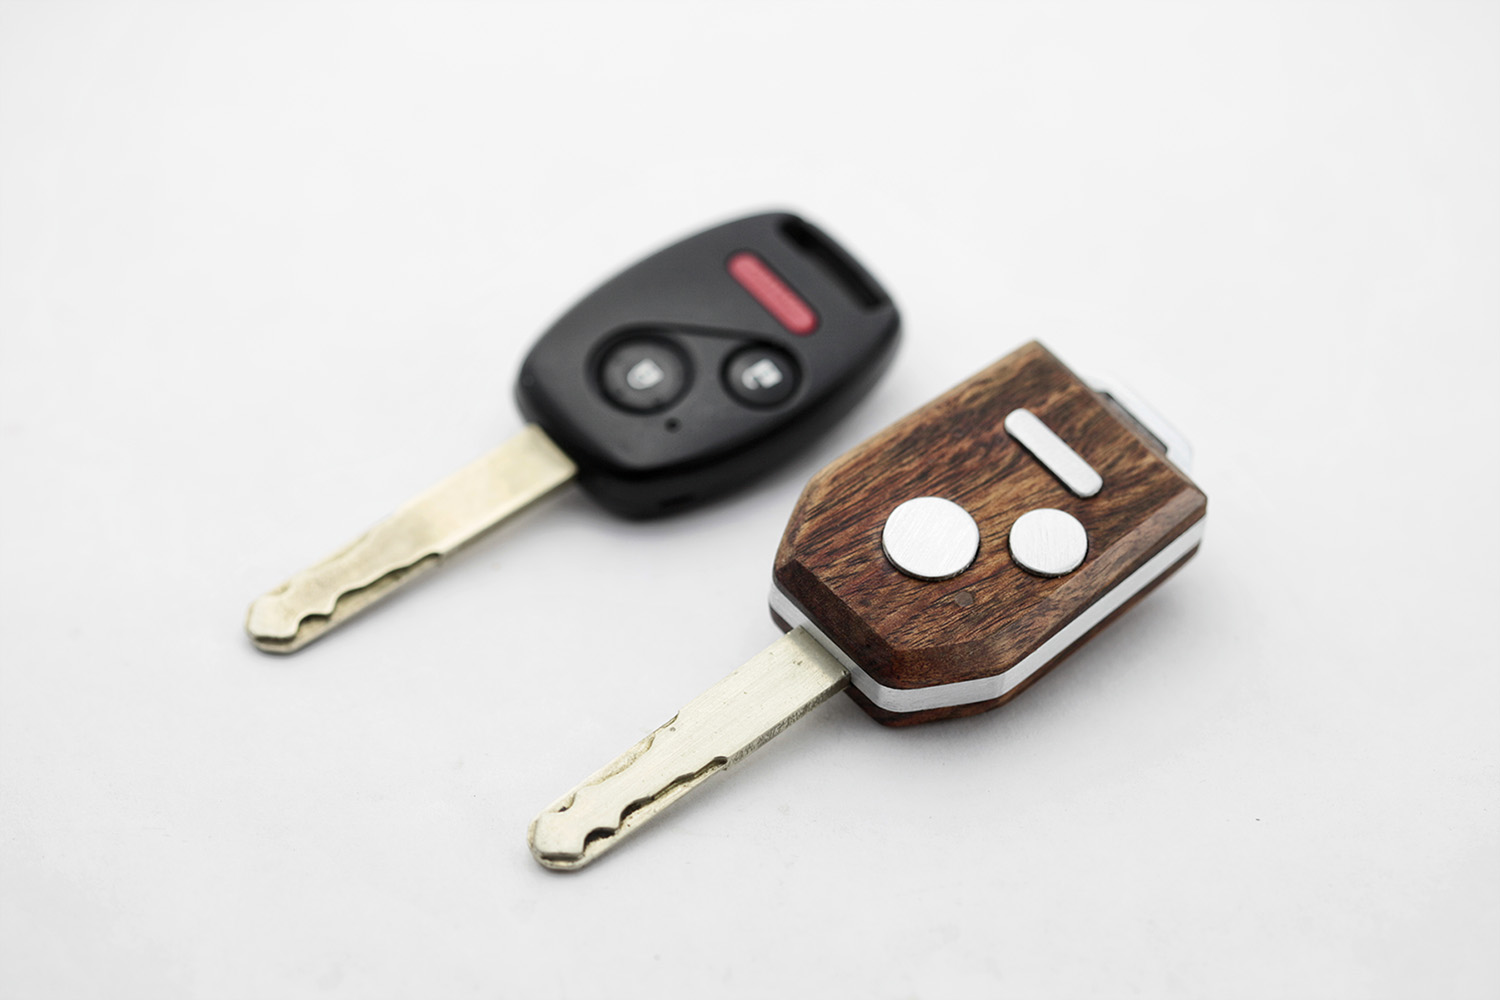
Here are all the finished parts just before being oiled up. Assembly involved just dropping in the buttons, the circuit board and then closing it up with the two screws.
And here it is - from one of millions to one of one.
Thanks for checking my project out! This is my first auto-related project, but now some ideas are starting to bubble up, so it might have to do some exploring there. If you'd like to follow more stuff that I'm making, you can check me out at www.instagram.com/michicanery
-
Dismiss NoticeThis site uses cookies to help personalise content, tailor your experience and to keep you logged in if you register.
By continuing to use this site, you are consenting to our use of cookies.
User Comments
Sort Comments By