
- Bit Size:
- 1/8", 3/16", 1/4"
- Feeds & Speeds:
- 12000 rpm 1250 mm/min
- Material Used:
- 5.4mm and 9mm cast acrylic plate, ABS plastic
The C-Beam RIDE Boot
This is a Router Independent Dust Extractor for the C-Beam machine (and possibly the Mini Mill). It features easy bit changes, excellent visability for the cut, super-efficient dust extraction, and stays just on top of the work surface regardless of cutting depth.
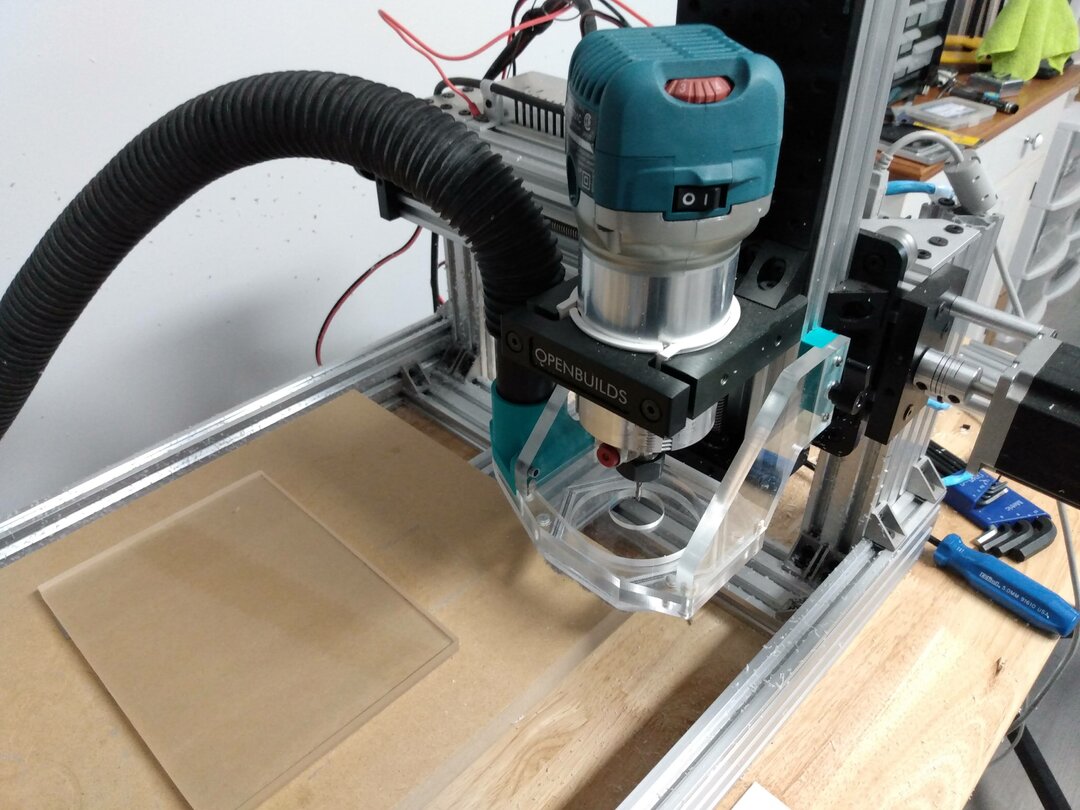
The RIDE Boot was inspired by a commercial product made for proprietary hobby style cnc routers, but this one was designed specifically for my OpenBuilds MMXL (modified mini mill styled after the c-beam machine). The RIDE Boot's design is much more rigid and arguably simpler.
The attached resource contains CAD files (STEP) for the acrylic parts, and STLs for the printed parts.
The acrylic was purchased on Amazon as 1/4" and 3/8" cast acrylic sheet (5.4mm and 9mm respectively). My 3D parts were printed in ABS although other plastics would probably work. If you use a plastic with high shrinkage rates (like abs), then you should scale printed parts to 101% to account for shrinkage.
Other parts required:
- (8) M3 x 5mm x 4mm heat-set inserts (they must be this style): https://www.amazon.com/dp/B09MCWTBCC
- (4) M3 x 12mm button-head cap screws
- (4) M3 x 16mm (or 18mm) button-head cap screws
- (3) M5 x 10mm socket-head cap screws
- (2) M5 x 20-22mm thumb screws (I used these: https://www.amazon.com/dp/B06Y99QP5T - but you will need 2 M5 precision shims if you do)
- (2) roll-in M5 t-nuts
- (10) 6mm x 3mm magnets
- 12" of 3/16" wide window sash brush weather strip (the shorter the better - I used 5/16" height) Here is a photo showing the brush:
You will also need CA glue, a soldering iron for the heat-set inserts, and a M5 x 0.8 tap to tap holes in the acrylic for the vacuum port.
Instructions
When cutting the acrylic, I found that setting "radial stock to leave" at -0.2mm for the magnet holes and brush pocket, and -0.1mm for the screw holes, tap holes, and countersinks gave me the best fit using an 1/8" bit. I cut contours with 3/16" bit and the open pocket on the side plates with a 1/4" bit. (If you are unable to machine the bottom ends of the side plates, you can use a 3/16 drill bit with a jig of some sort. I marked mine using the top plate as a guide.)
Install heat-set inserts in the 4 smaller holes of the printed spacers, and in the 4 bottom holes on the side plates. Install the inserts flush with the surface or a bit below.
Tap the M5 holes on the left side-plate and on the tail end of the mid- plate. Tap these all the way through.
Attach the side-plates to the printed spacers with M3 x 12 screws.
Glue magnets the bottom of the mid-plate, and the top of the brush-plate (pay attention to polarity). (Note, the magnets are recessed 1mm on the mid-plate.) Cut the brush into suitable lengths and glue to the bottom of the brush plate.
Attach the mid-plate, through the top-plate, into the side plates with M3 x 16 (or 18) screws.
Attach the vacuum port to the assembly with M5 x 10 screws.
Place roll-in t-nuts into extrusion, carefully spread the plates around the c-beam, and affix with the thumb screws.
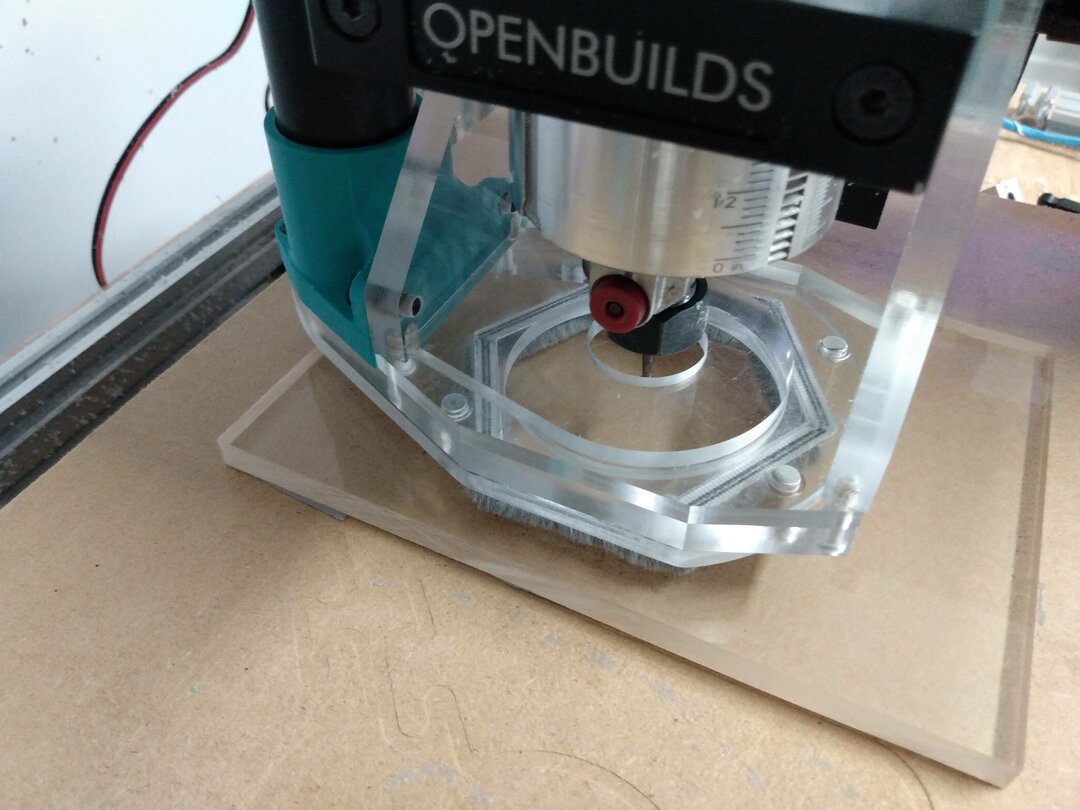
Snap the brush plate on and start cutting!

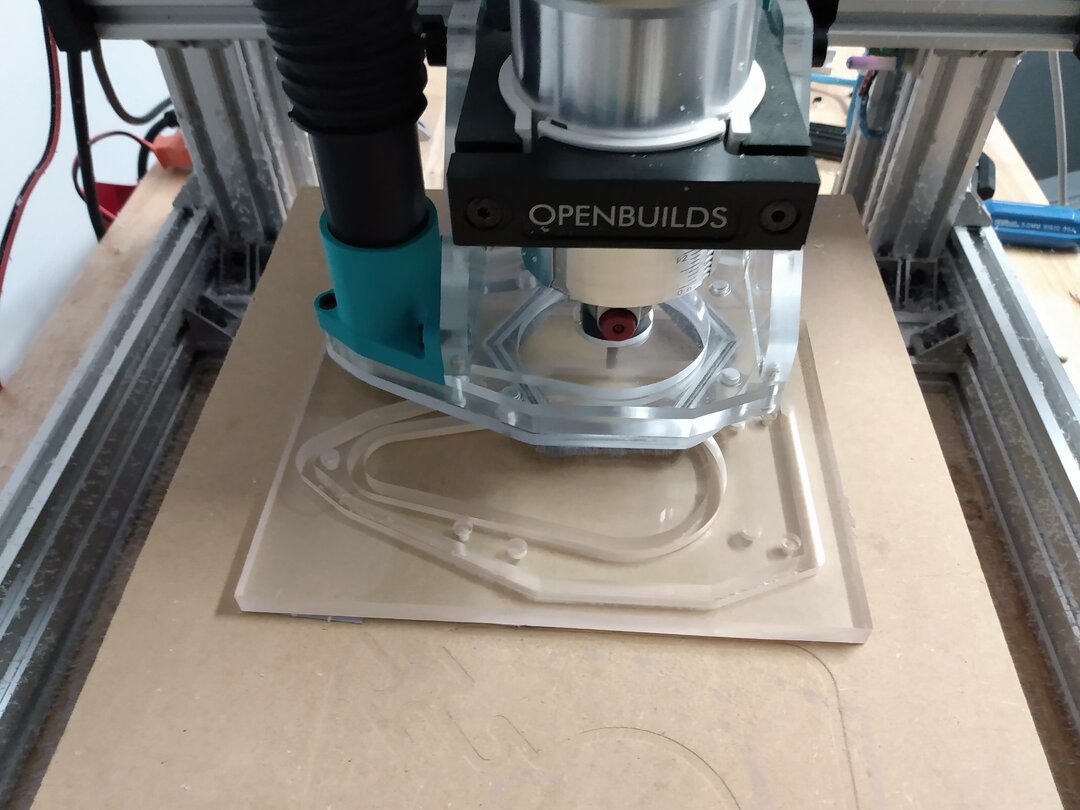
The photo above was taken while cutting - that's how good the dust extraction works! (The shavings you see on my frame are from cutting the parts for this new boot with my old boot...)
Here's a short video demonstrating the RIDE Boot:
C-Beam RIDE Boot 2022-12-07
This is an adjustable height dust boot that attaches directly to a Z-axis C-beam.