Updated 1-8-18:
Large format 1000mm X 1500mm OX Build using Stainless Steel plates and kit parts from Martin Barfoed. I purchased his kit and it arrived in October 2017. This build will detail any changes I am making from Martins build. It has the same dual belt configuration. Limit switches also the same as his build. Electronics are PoLabs, Pokeys57CNC, Automation Technologies Steppers (stepper (570oz 3.5A 1/4” Dual shaft) and Drivers (KL-5056 5.6A driver) running on 24volts. The system will be controlled by Mach4. Spindle is a Chinese (ebay) 65mm 800w water cooled er11 spindle. Closed loop cooling system with radiator, pump, Tygon hose, G12 fittings, and a flow sensor that will input to Mach 4 to ensure coolant is flowing before allowing spindle to turn on. This was all purchased from from parts from Performance-PCs.com.
The workbench and table I am building will be optimized to the space I have available. The machine will flip up on its table to store vertically when I am not using the machine. Electronics are in a cabinet at the bottom of the machine. There is also some ballast weight to make sure the machine is stable when flipping or moving. See PDF sketch attached below.
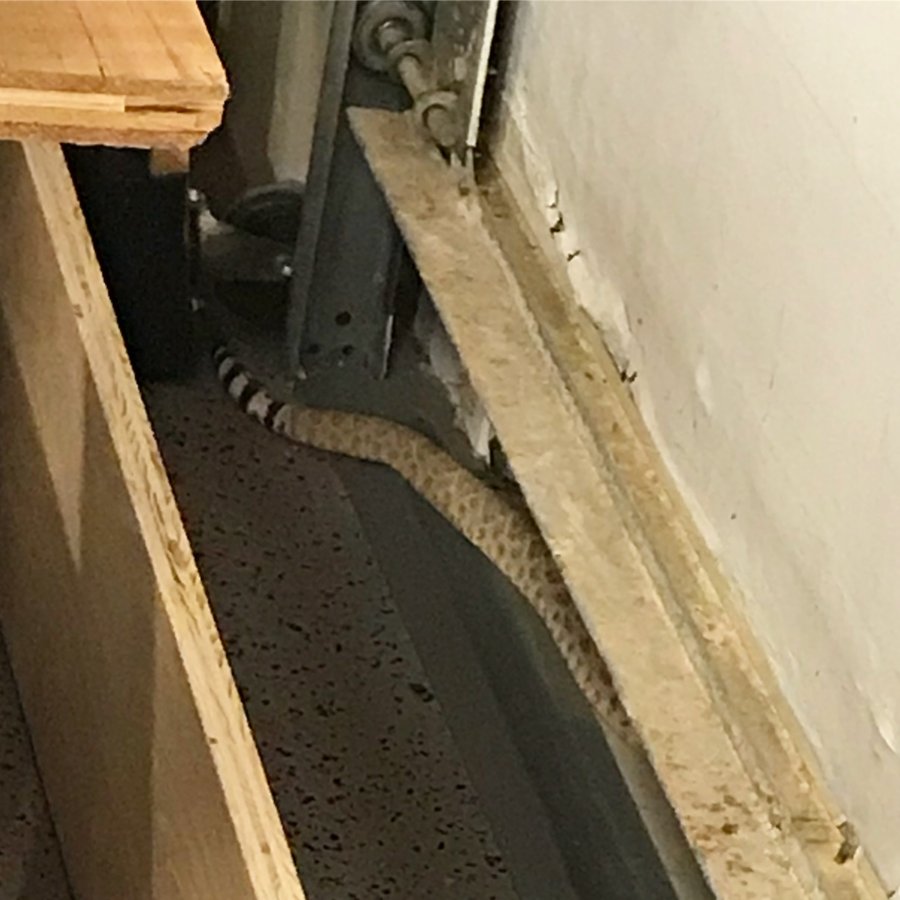
After some long discussion with friends and family, we have named the machine. When the parts arrived from overseas, a visitor was coiled up in the garage ready to great the UPS man. He politely said "snake" and then set the boxes down and drove away. That made for some adventures. We made a friend with the local rattlesnake removal service and the machine has a name. "Diamondback CNC".
See pic below of our friend about half way through me trying to convince him that he should leave. He left and then decided that the garage was way too comfortable, so he came back. That's when we called someone to escort him off the property.
~~~~~~~~~~~~~~~~~~~~~~~~~~~~~~~~~~~
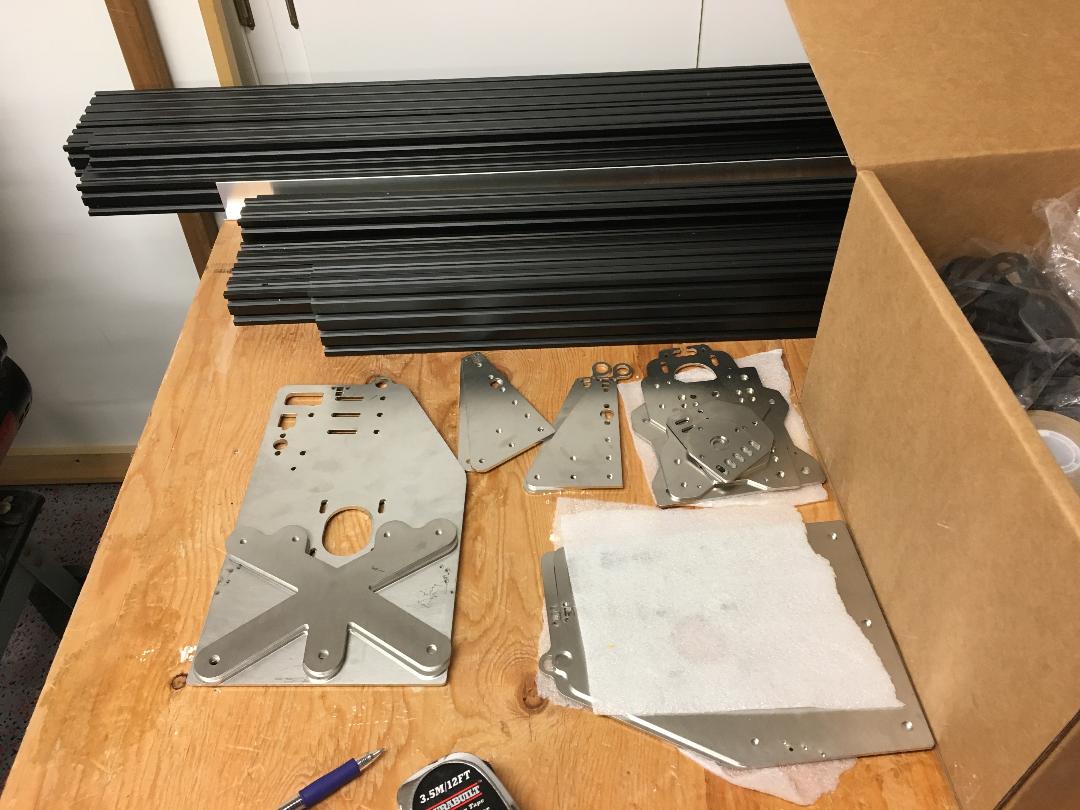
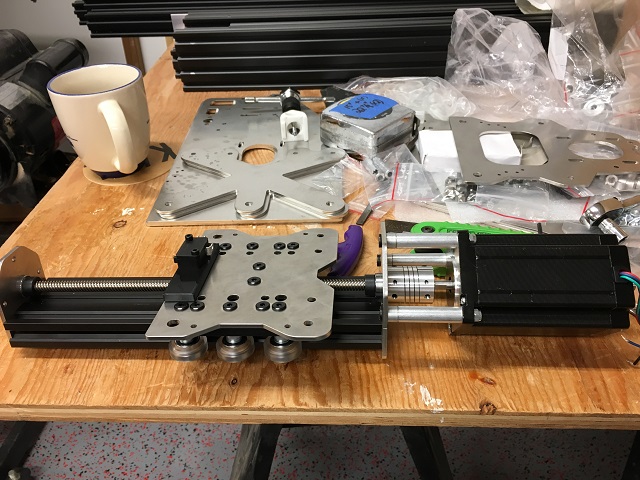
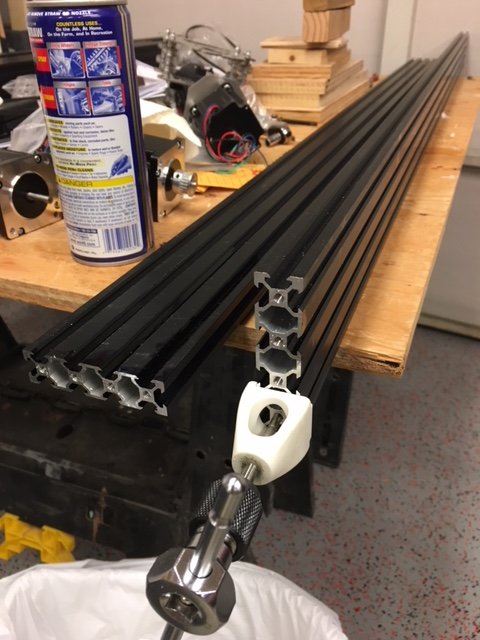
Just unboxed everything and starting to get ready to cut threads and begin rough assembly.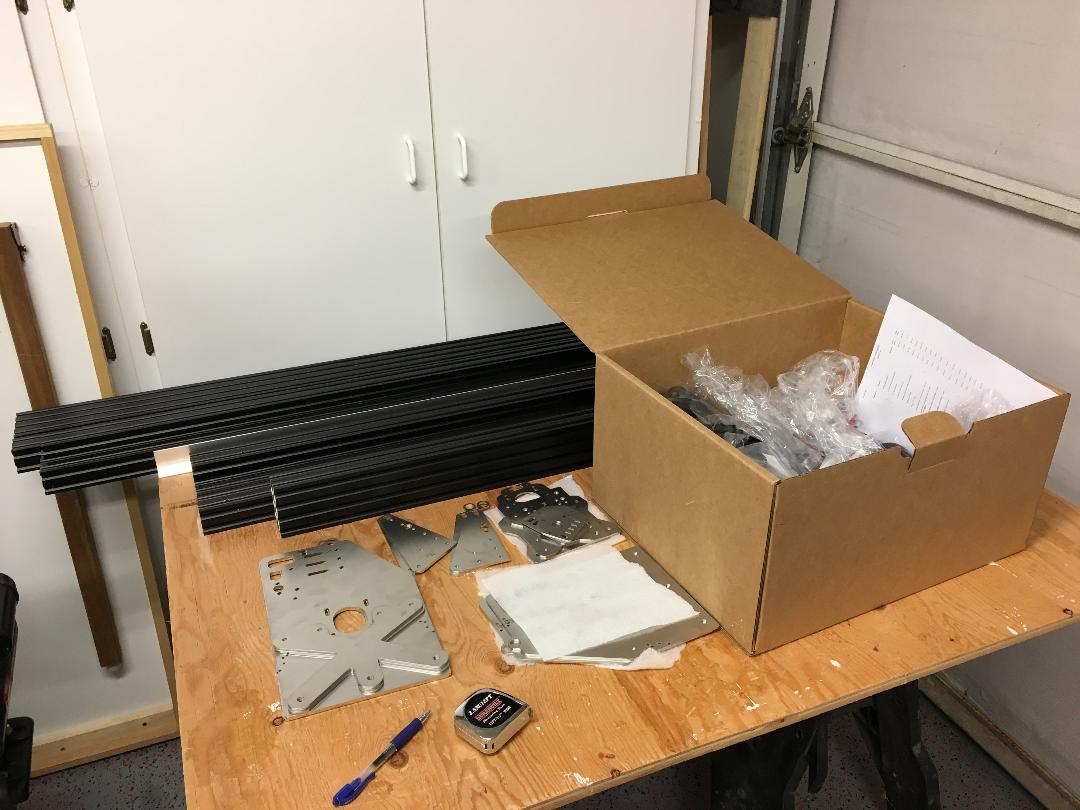
Update 11-2-17:
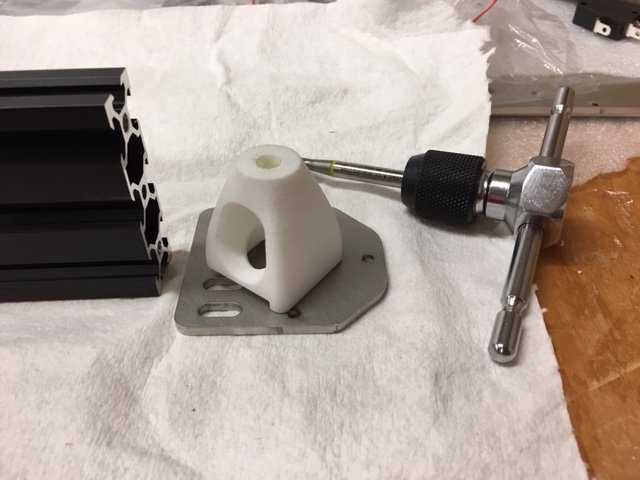
Made some progress today. Used my 3D printed tap guide to tap the holes in the Z-axis extrusion. I was also able to get most of the Z-axis constructed.
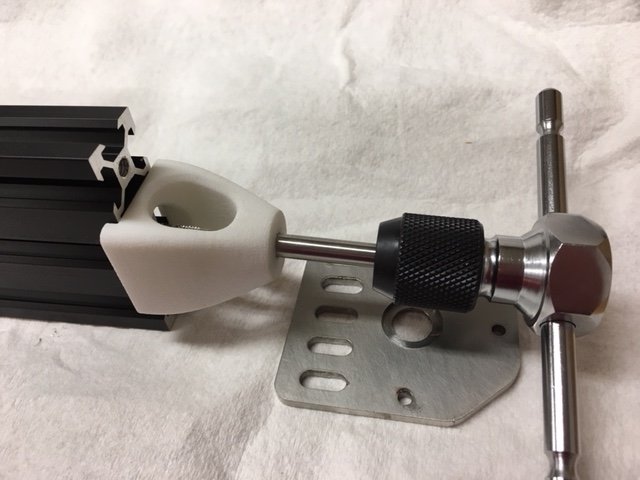
Used instructions from: OX DIY CNC kit
Z-Axis assembly completed. Ready to work on the X-Axis
end update 11-2-17.
Update 11-3-17
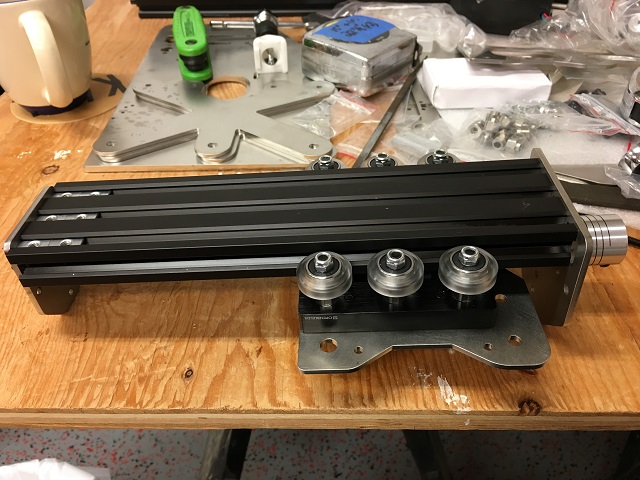
Gantry constructed. Clearances checked. Most everything came together perfectly. Now time to take apart, add the belting, and start planning wire routing.
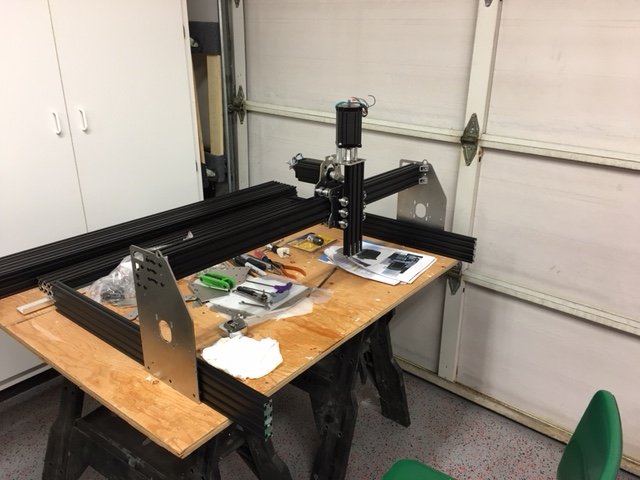
Next step to finish the Y-axis motor and carriage, and build the base plates.
End of Update 11-3-17.
Update11-4-17:
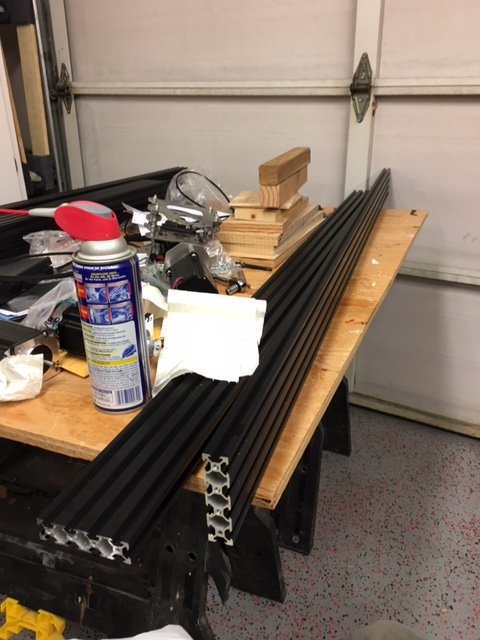
The last holes were tapped in the long (1500mm) Y-axis extrusions. The machine is ready to assemble.
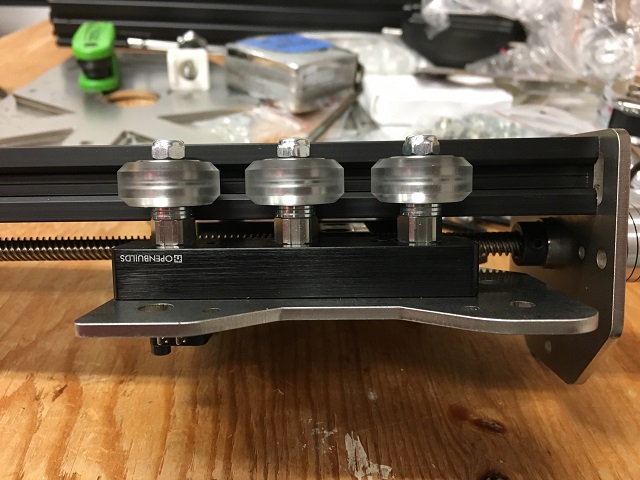
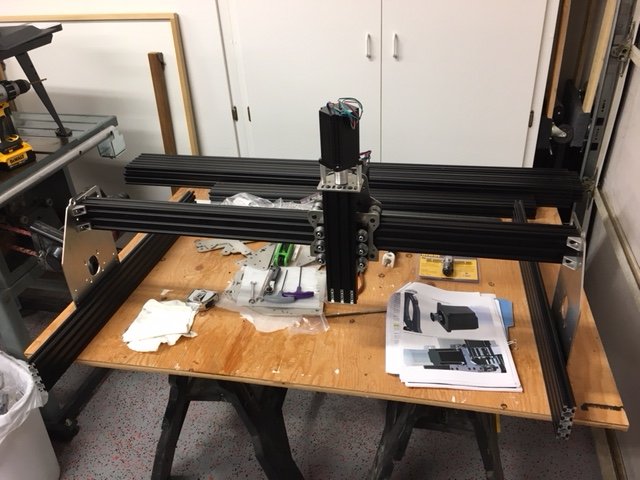
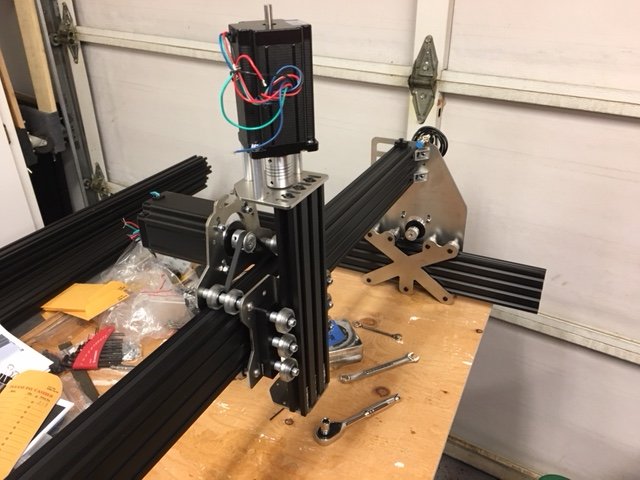
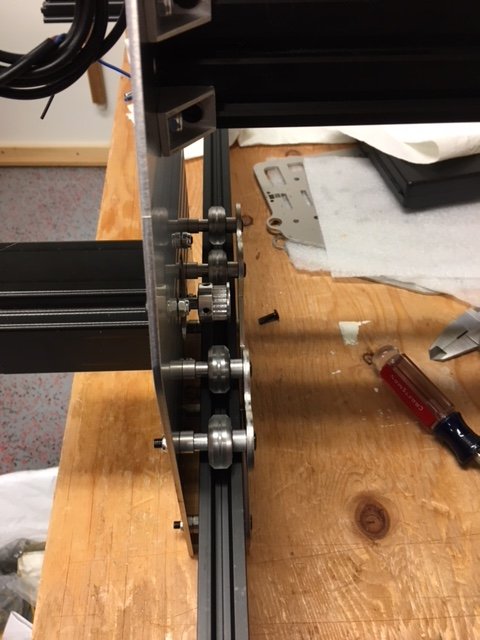
The gantry is mostly done. All motors attached. All the structure is in place. I did make some minor changes from the instructions. I turned the motor mounting bolts and Y-axis roller bolts around. I replaced the motor attachment bolts on the X & Y axis with m5 x 20mm cap screws and fed them in from the motor side so that allen head is easier to access for belt tension adjustments. This did require some changes to both the X & Y spacings. I added 2mm of shims to the space between the X-axis/ Z-axis support and 1mm of shims on the back X-axis support. This also meant that I changed the bolts for one 5mm longer that hold the X-axis carriage together. On the Y-axis I added 6mm of shims to allow the hex nut to clear the Y-axis extrusion.
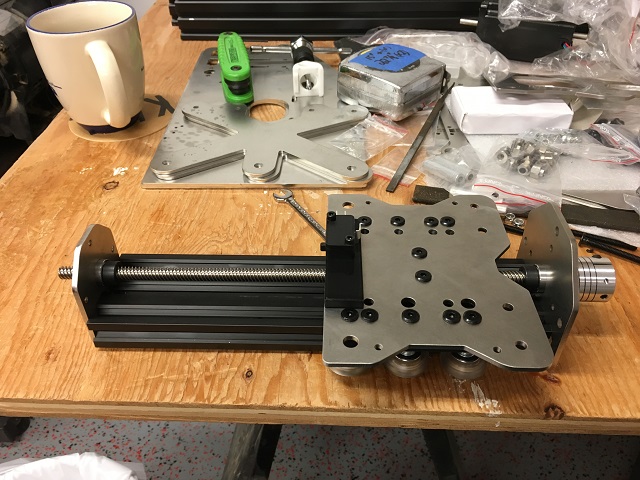
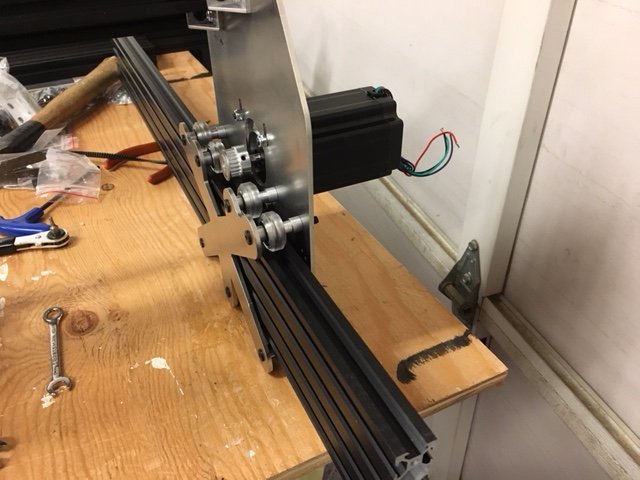
The double belt installation on the X-axis when much quicker than I had imagined. I applied the double sided tape to the lower belt and then trimmed the tape and installed the belt to the extrusion. I laid the upper belt in place, added the end tensioner and then slid the gantry back on the axis. I was able to keep fair tension on the belt while I put the carriage back in place. Once it was back, I reattached the end plate and secured the belt. I am quite happy with the double belt set-up. I can't wait to see it work in real life.
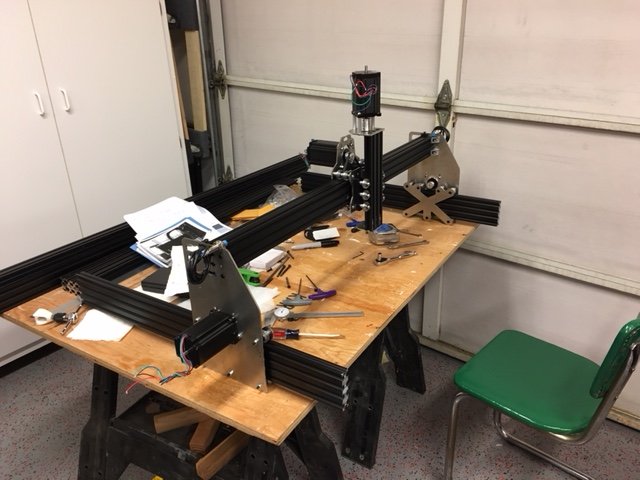
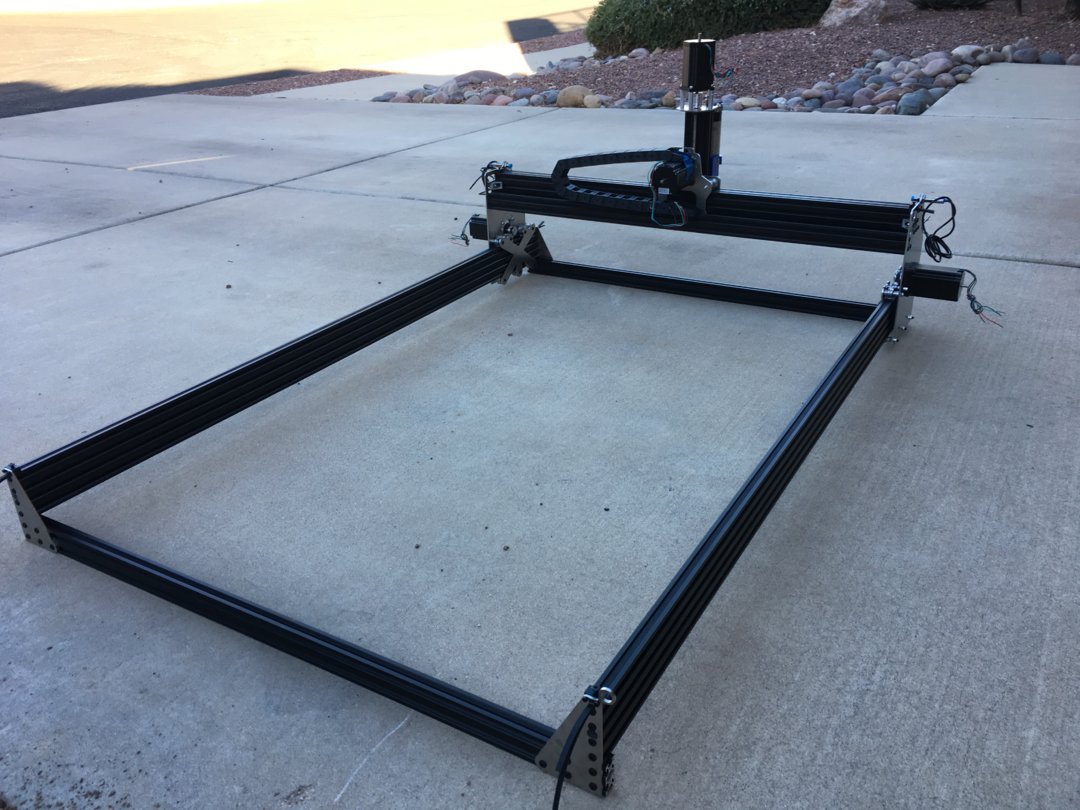
The pictures below show the completed ganty with some temporary y-axis extrusions to make sure everything is set up correctly. Tomorrow I will install the real Y-axis bars and build the base plate.
End of update 11-4-17.
11-17-17 update:
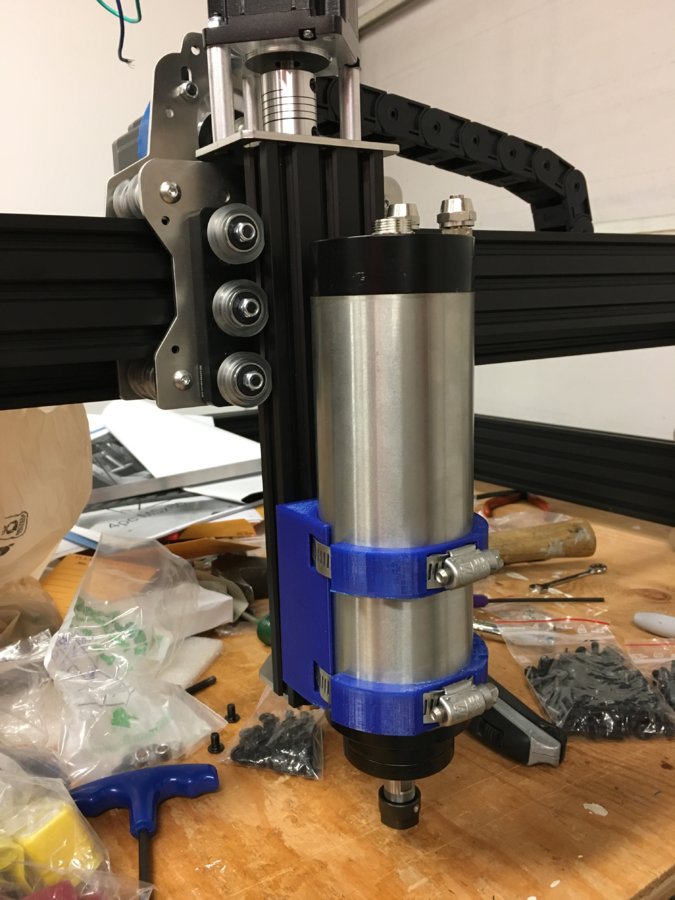
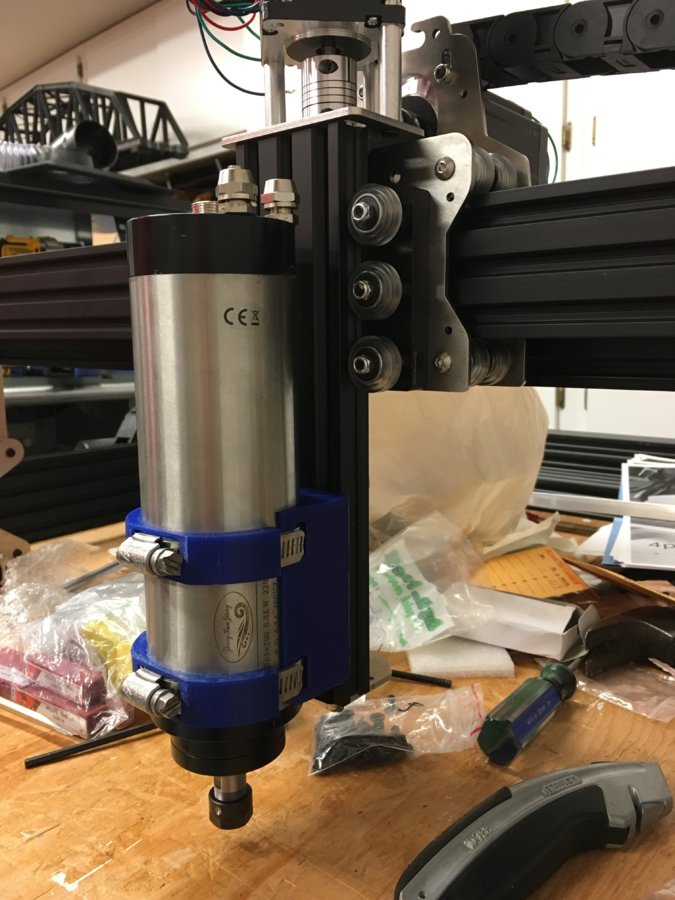
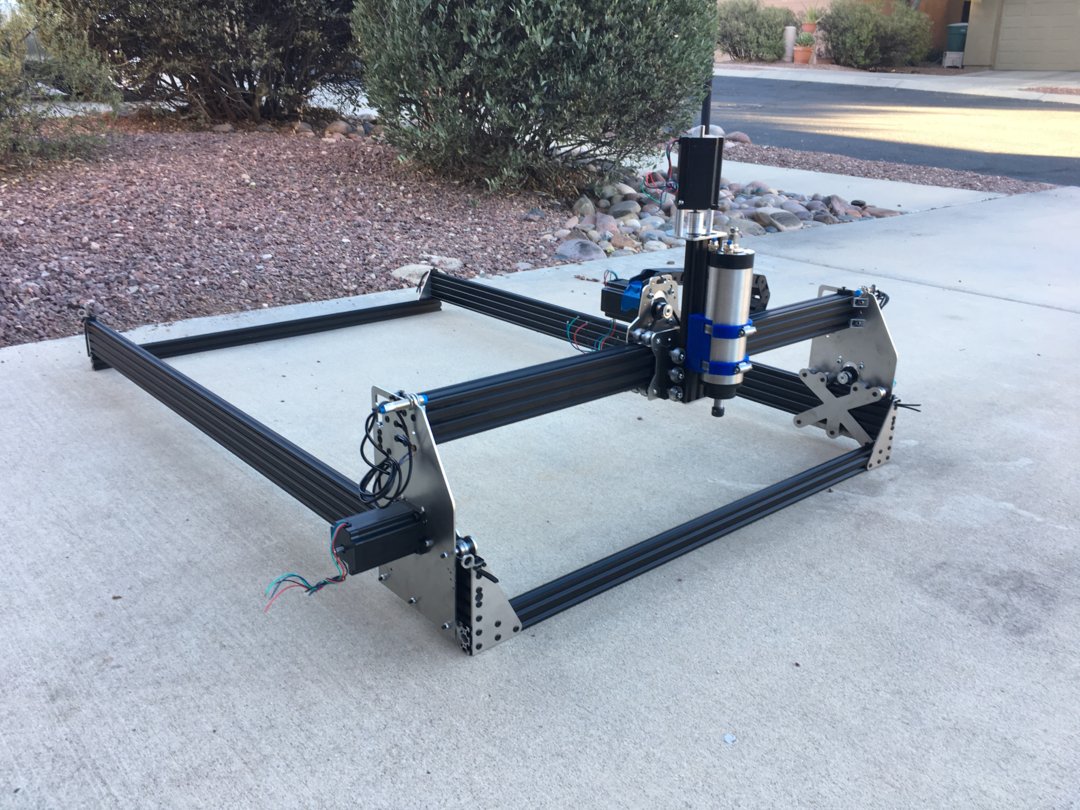
Some updates from this week. Got my 3D printed 65mm spindle holder mocked up.
End of update for 11-17-17.
11-18-17 Update:
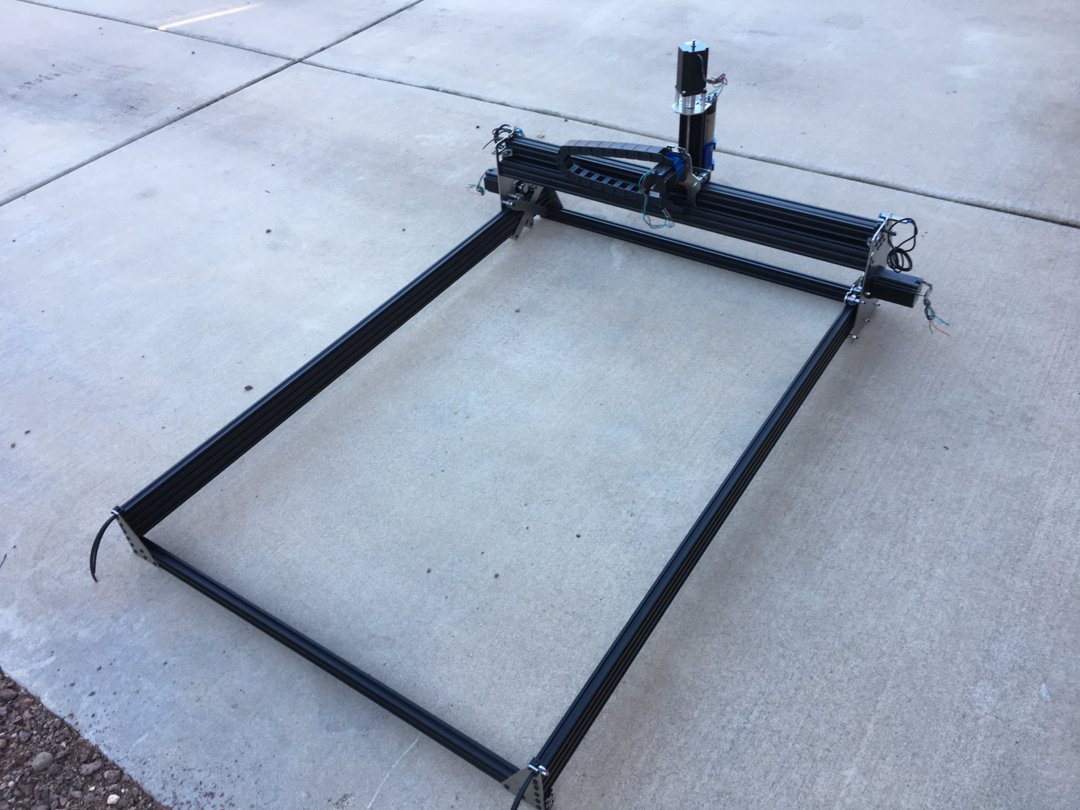
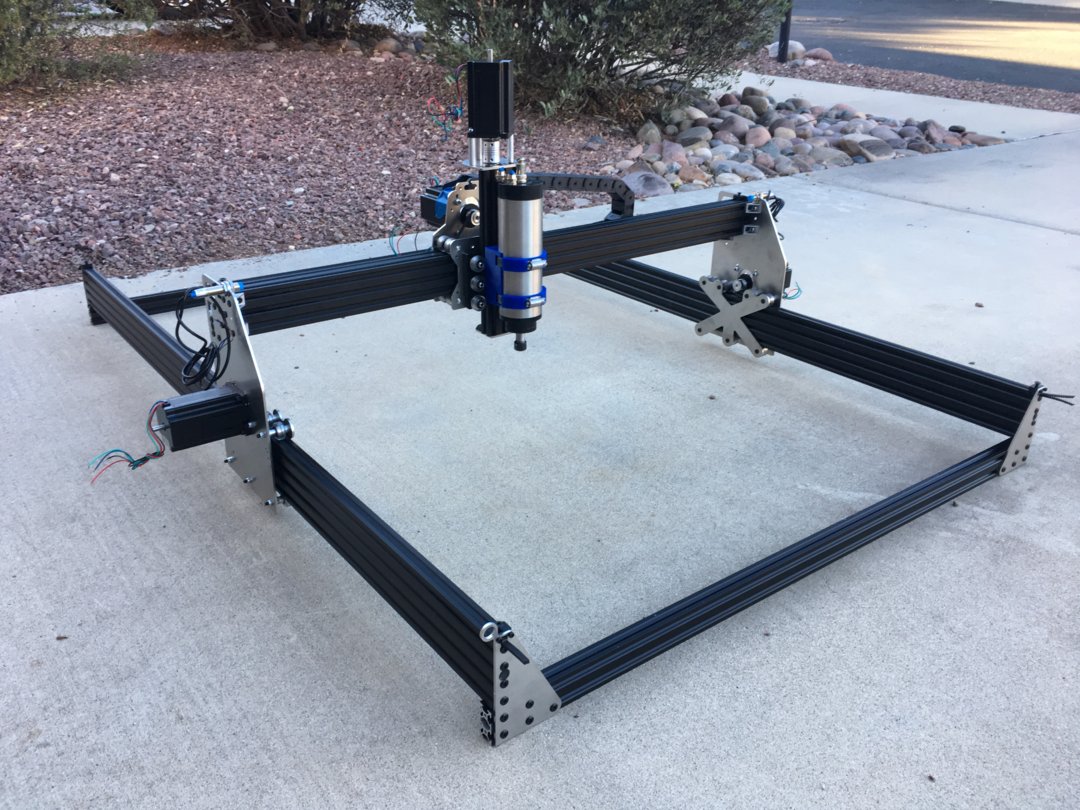
Finalized the Spindle mount today. Check for square on the X & Z axis. Until I have a table to reference I have it pretty well trued. I am sure I will need to adjust a little here and there to get it perpendicular to the table, but it looks really good so far.
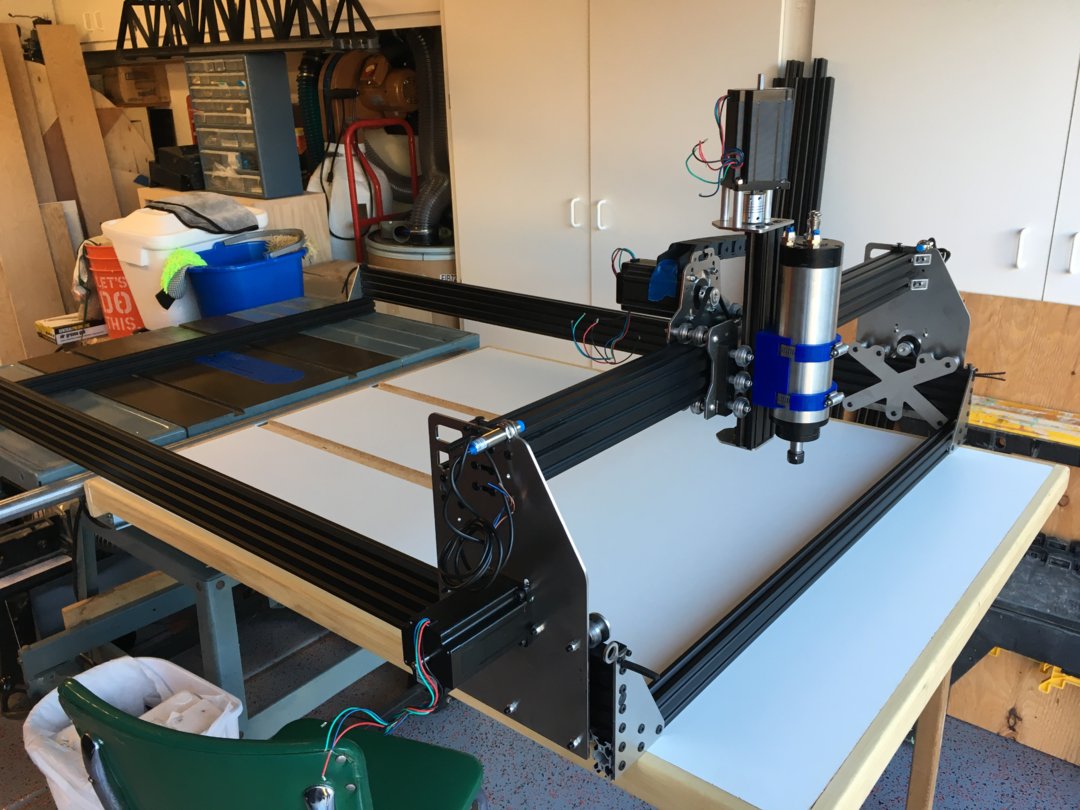
Also built the Y-Axis today. Had to set it outside while I cleared up the space I was working to put it on a bigger table. Next week I hope to get the cabinet and table started for the machine. Then it will be easier to store this thing when I am not cutting.

End of update for 11-18-17.
Update for 12-30-17.
I have posted the 3D printed tap holder in my Shapeways shop.
Bad Cat Designs by Tucstrlly - Shapeways Shops
Thanks
Happy New Year!
end of update for 12-30-17
Update for 1-8-17
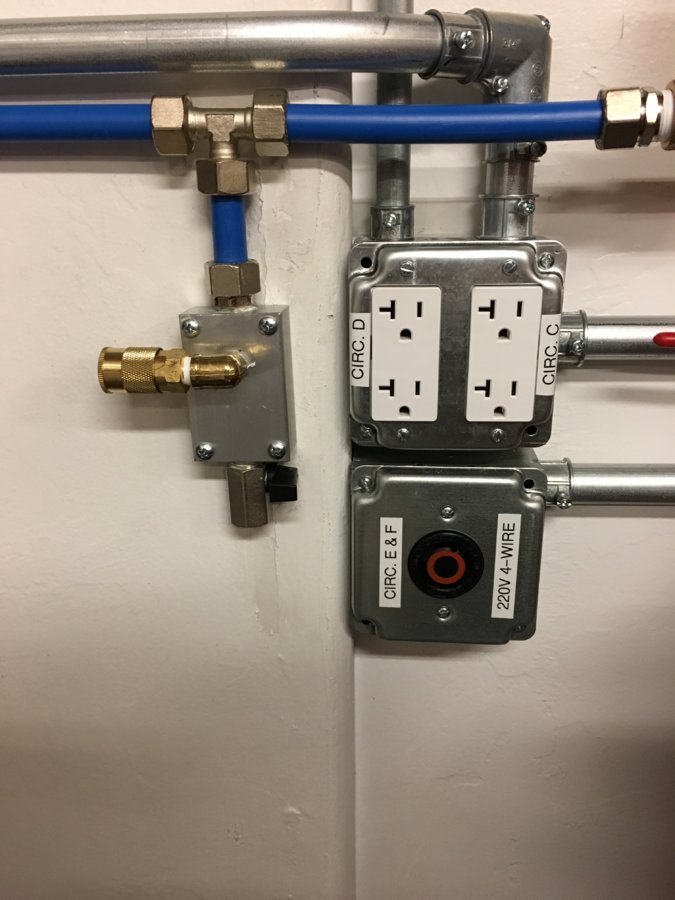
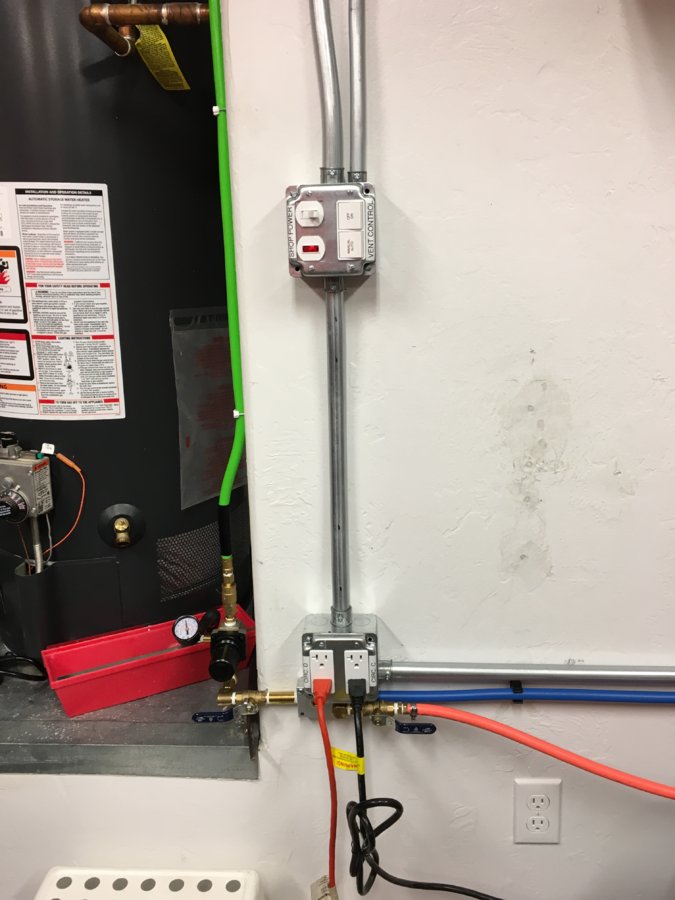
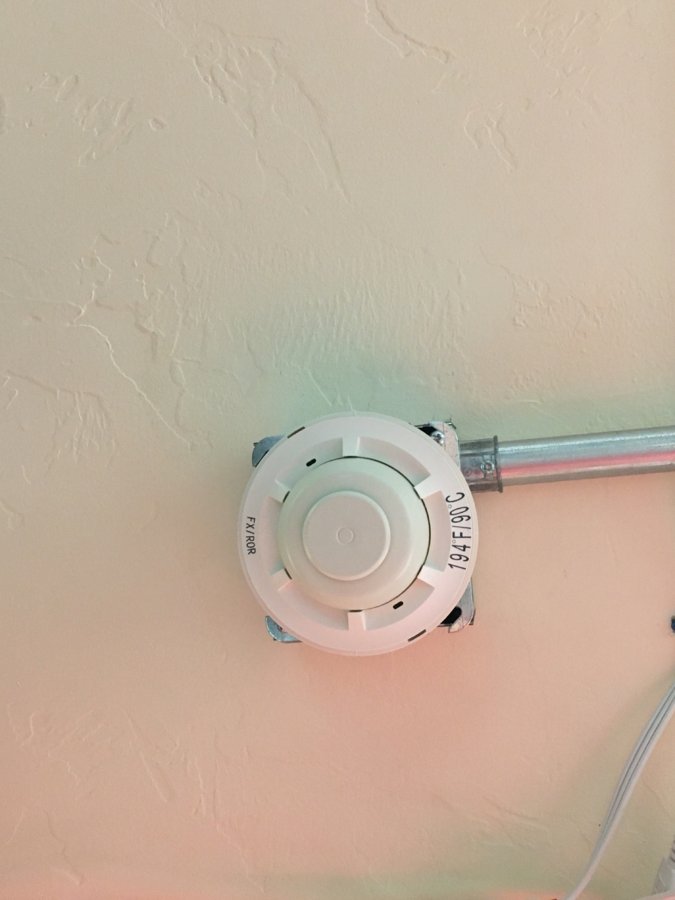
I have been busy with lots of things, but nothing directly machine related. I ran new power in the garage to handle a bunch of things- especially the 220V for the machine. Now I have 4 new 20A 110V (GFCI) circuits and a 220V 30A 4 wire circuit all wired, tested and ready to go. I added a contactor panel to turn on and off all the new outlets as well as putting in some safety features like e-stop mushrooms by the doors and a heat sensor on the ceiling that will disconnect power if there is a major rate of rise in temperature or temps above 194deg (ie a fire). I also ran some hard plumbed air around the garage while I was already there doing conduit. Next step is building the cabinet and finishing up the machine.
end of update for 1-8-17

Stainless OX Kit Build "Diamondback CNC"
Build in 'Cartesian Style CNC' published by Tucstrlly, Jan 8, 2018.
A copy of the Stainless Ox by Martin Barfoed. Similar design, construction and control.
-
-
Build Author Tucstrlly, Find all builds by Tucstrlly
-
- Loading...
-
Build Details
- Build License:
-
- CC - Attribution - CC BY
Inspired by
-
Parts list
Qty Part Name Part Link Comments 0 Stainless OX Parts Link makersupplies.dk Fabulous, reasonably priced and very helpful supplier 0 Link

