Want the summary? Go to my TL;DR section at the bottom for the Reader's Digest version.
So it begins! After much impatience on my part, my Lead CNC kit arrived today.
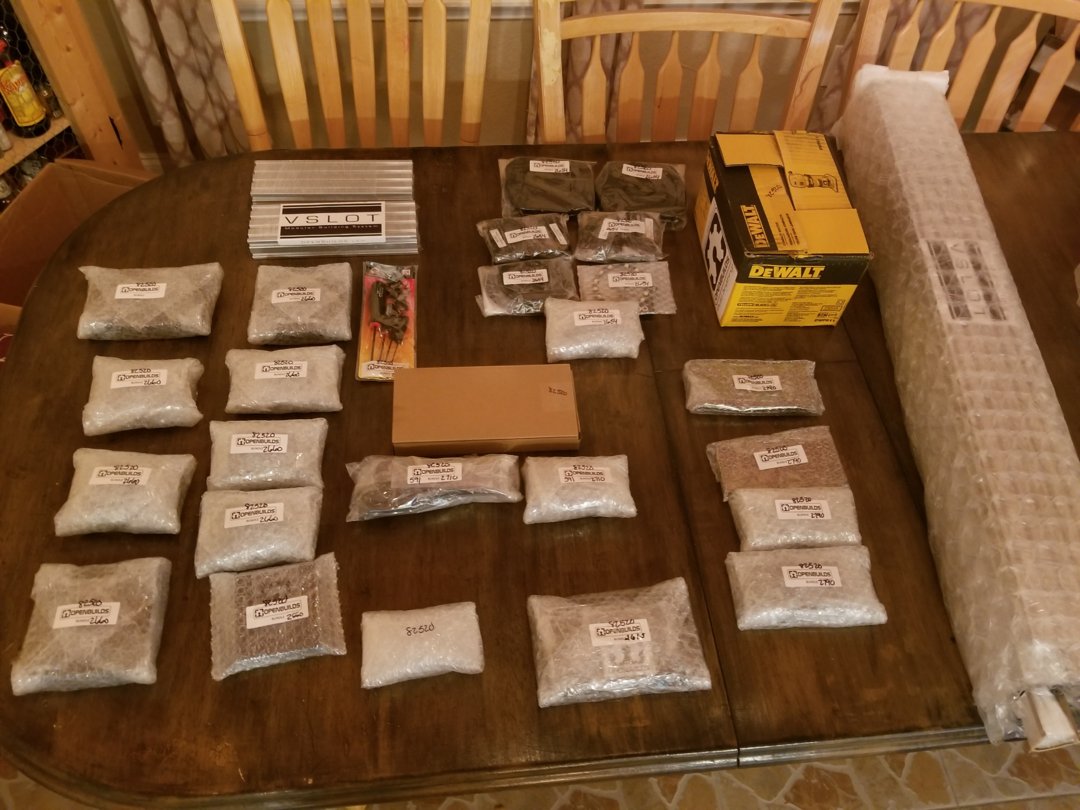
Here is the box, just being unpacked. I've got to say, I'm already impressed. The packaging was done with absolute care. Every small package individually wrapped, and the external carton reinforced several different ways. Inside the package was also the material pick list and handwritten inventory.
I'll endeavor to keep this build updated.
Okay, I'm super stoked and need to start going through the parts. After a complete inventory recheck, I'm going to start laying the materials out for assembly.
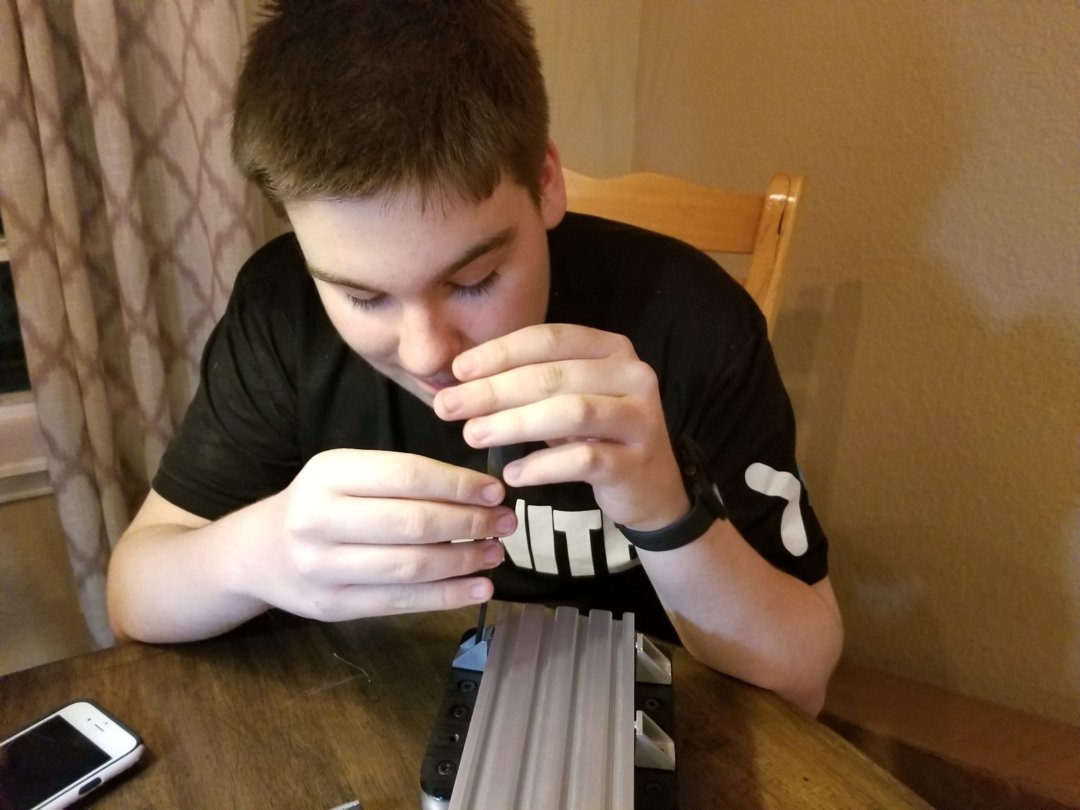
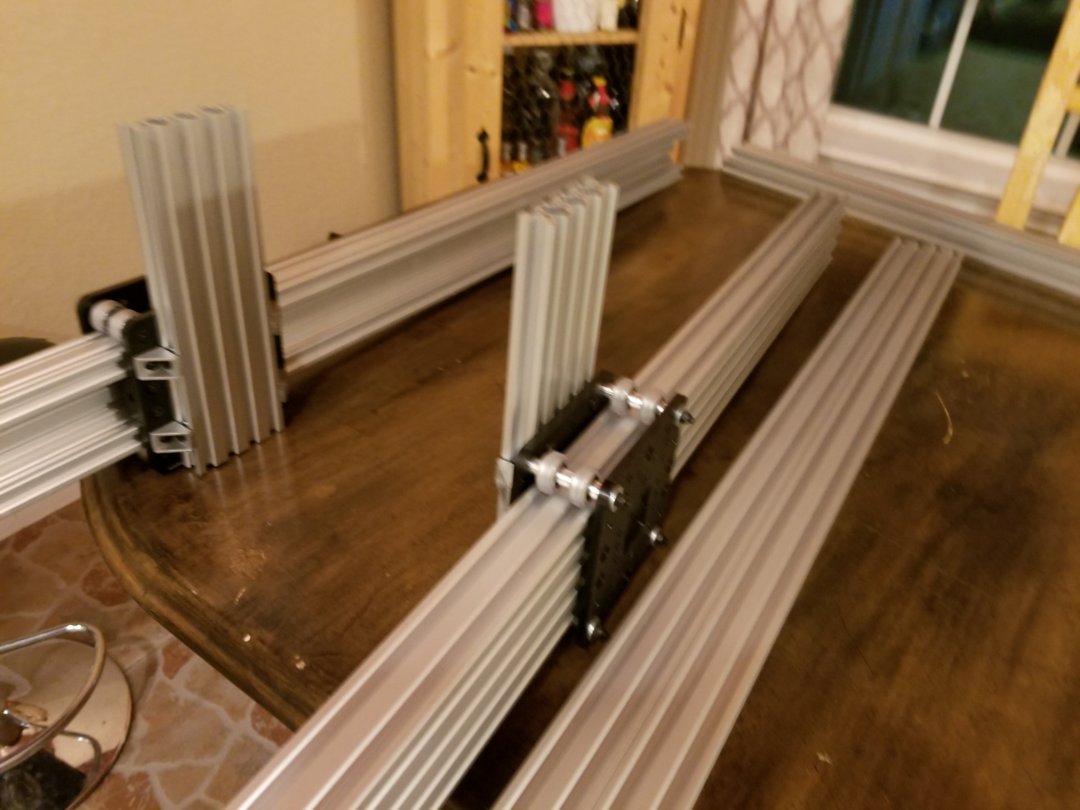
After a couple days of not being able to work on it due to work and stuff, we got started last night. My son and nephew got all the parts laid out and began.
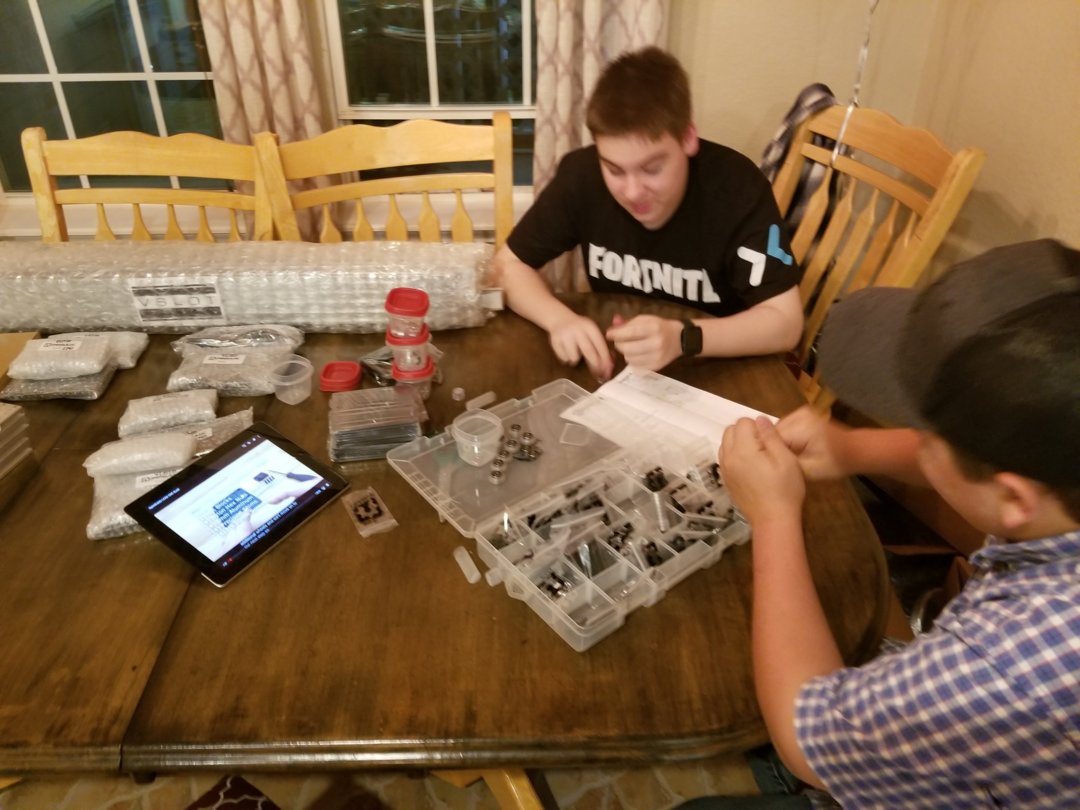
We got a bit of a late start and honestly were going kind of slow due to being extra careful, and a few errors. We managed to get the X and Y plates built up.
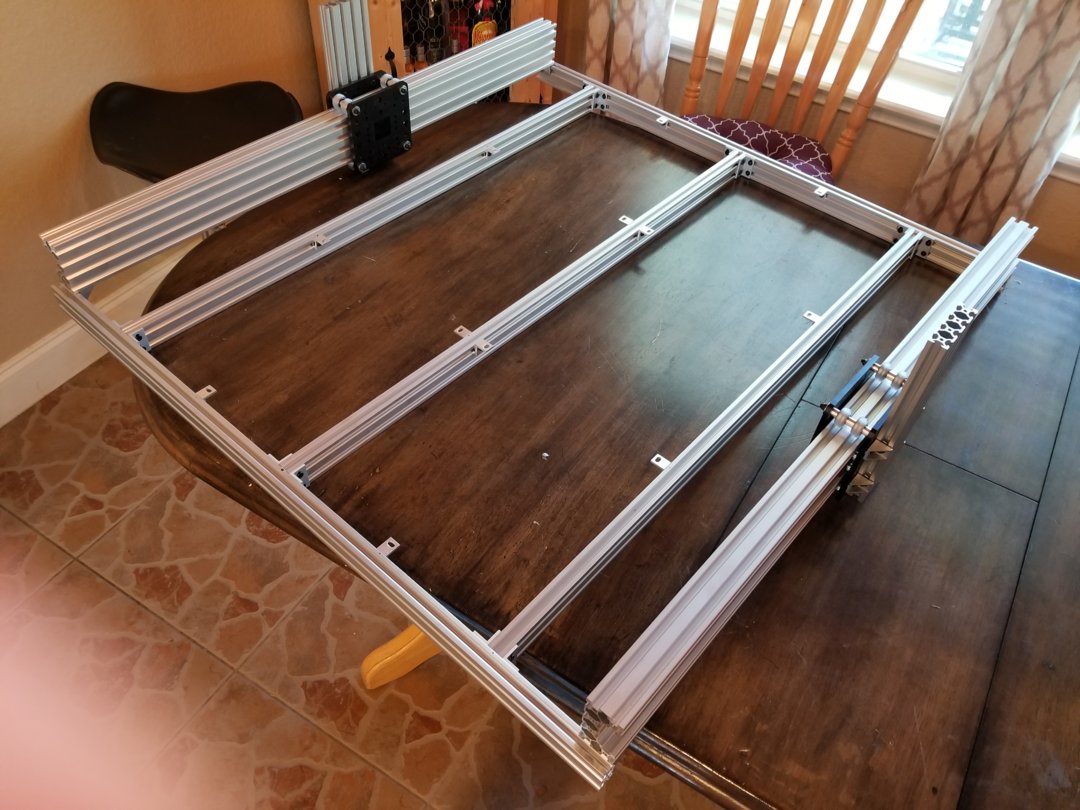
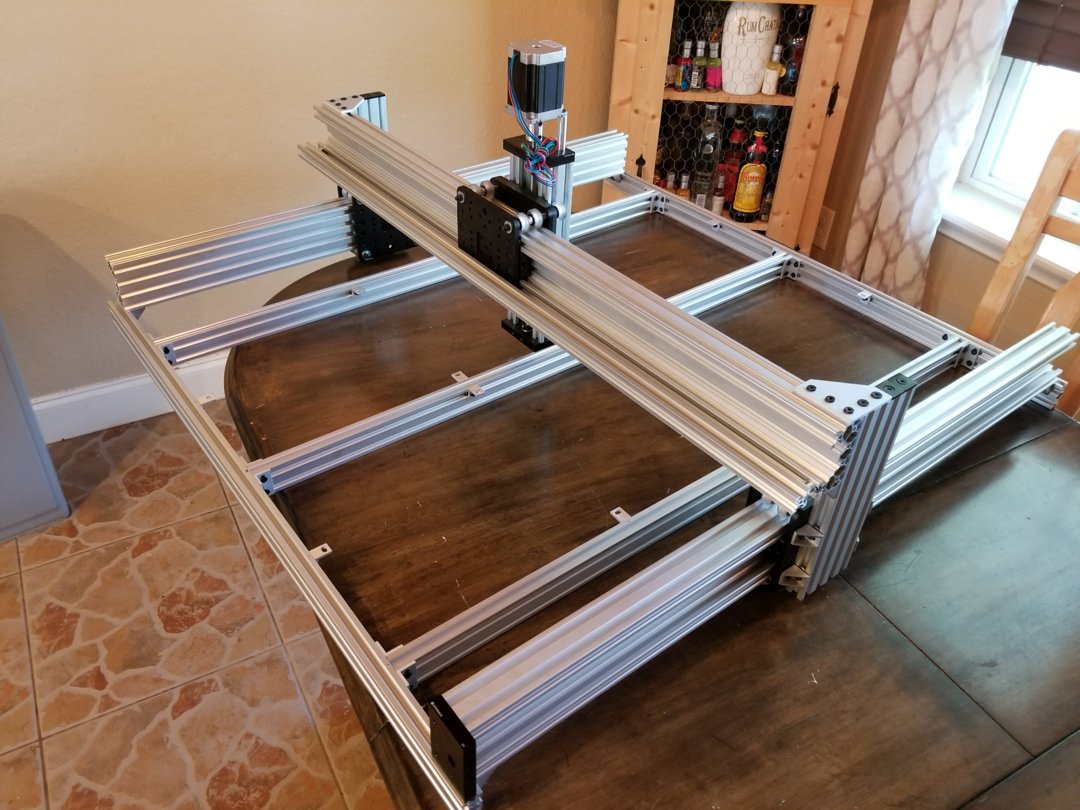
Got a couple hours in last night and about three more today. It's taking a lot longer than I thought it would. I think some of that is me, being careful. I've also had a few things I had to do twice because I misunderstood the instructions.
The video is excellent. I think a graphical PDF build guide would be wonderful (think Lego set instructions/graphics), but I'm sure that would be expensive. One tip I would offer is to have the SketchUp model open while building so that you can look at it in detail and make sure you're doing it right. Specific areas where a still picture would be good would be images of the V-Slot base pieces with the nuts laid out in the slots to give a better idea of where they needed to be.
Here are some updated pictures from today.
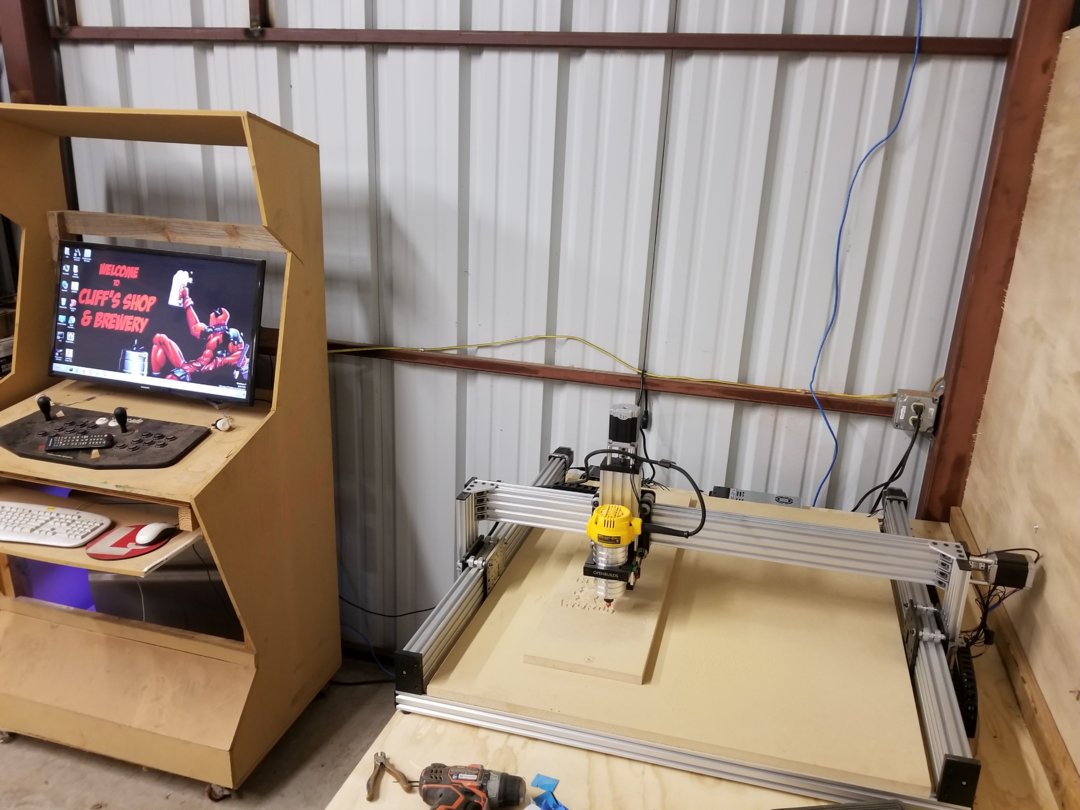
UPDATE 26 MARCH 2019 - BUILD COMPLETE!!
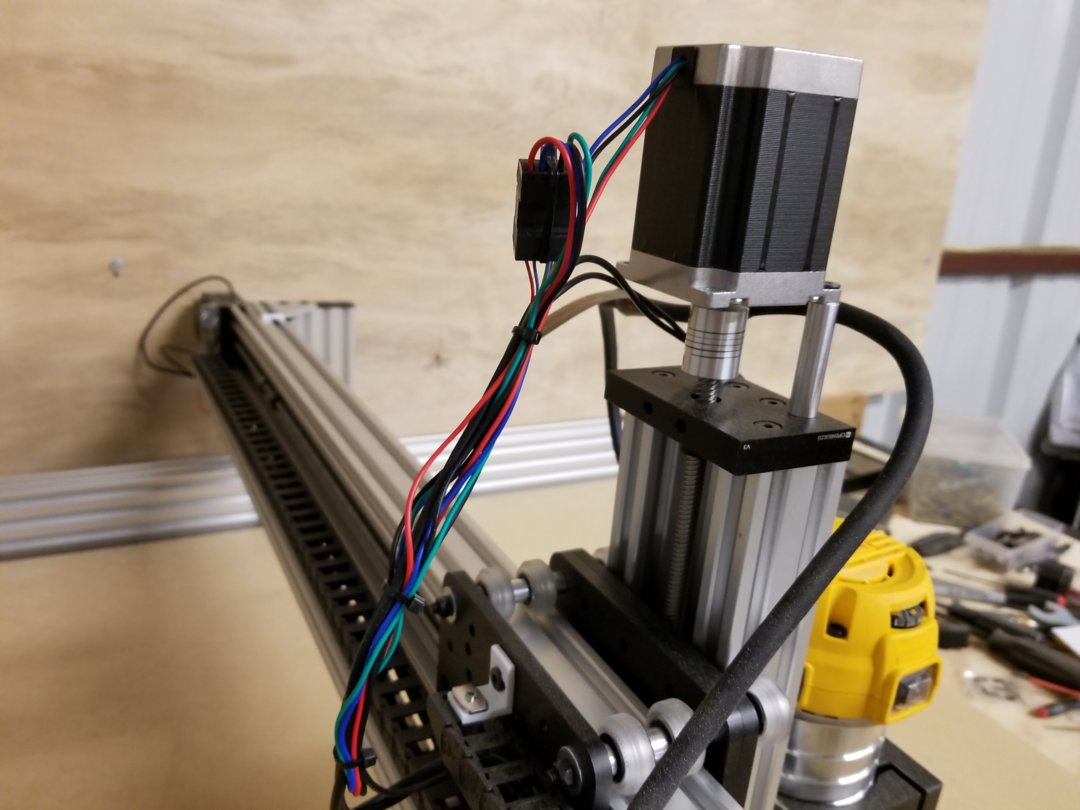
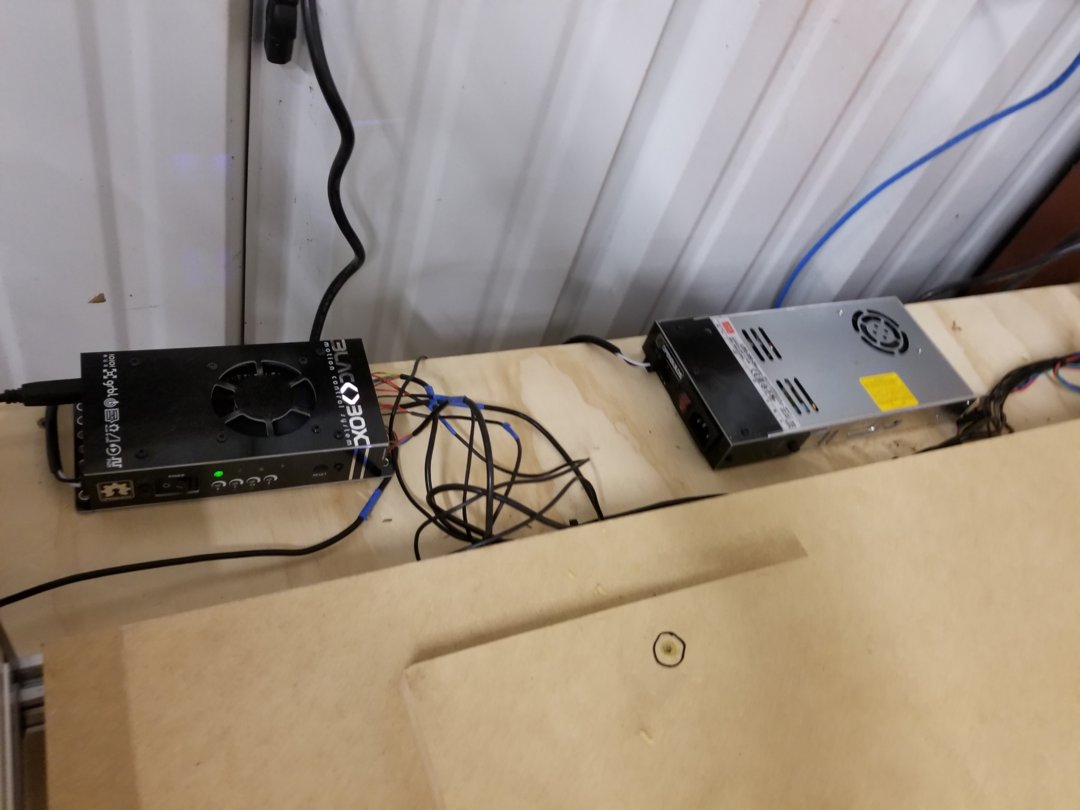
I have alot of wiring clean-up to do, but the machine is built and functioning.


I'm remiss in providing updates. The initial push to get the unit built was good, but after a few solid half days, I was struggling to get dedicated time to work on it, given work and family stuff. But it's now done, so I'll provide a post mortem.
The build went well overall and I'm very satisfied with what I bought. The hiccups I had could be put into these categories:
1. Mistakes I made - my fault. Slow down, rewatch the video, read the instructions again.
2. Mistakes I made - bad instructions. Some of the video is unclear on the lead machine. Bits and pieces in only a few spots, but if you're very cautious, when you hit an unclear step, it might cost you and hour trying to figure it out. That is frustrating. In this category is also areas where there are inconsistencies between the kit parts and the instructions. A couple of times the video would call out a slight difference in parts and confuse the heck out of me. One spot (black box assembly), it actually called out the incorrect sized standoffs, which threw me for a loop for two hours as I scrambled to get these parts (turned out I had the right parts, the video was wrong).
3. Missing parts. Didn't happen much, and after it was all said and done I think I was only missing two, single L brackets and a couple of end caps. Easy stuff. For the missing L brackets, I 3D printed replacements using the Sketchup library available. The end caps I'll print as well (probably will ask for replacements for these, as aluminum parts are going to last longer).
I don't have a parts list for you, but I will tell you that I used the stock Lead CNC 1010 kit, the new Black Box controller, the Openbuilds store Dewalt 611 router, and stepper motors from Amazon. I would have preferred to have bought the Openbuilds motors but they were out of stock for a few weeks and I was impatient. Here are the motors I bought, and they are working well:
https://www.amazon.com/gp/product/B077Z5QJCL/ref=ppx_yo_dt_b_asin_title_o07_s00?ie=UTF8&psc=1
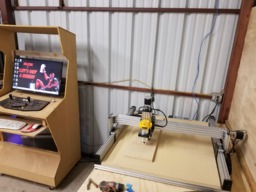
I'm using my home built arcade machine to drive my setup. It's an old Dell XPS computer (high end for 2006!) running Win7 and it works fine. Will probably need a new machine if I get to doing any real modeling here. I have a gaming rig in the house for that, for now.
I made my first cut last night. Cut out the "hello world" file. I used a V carve bit because honestly, I was afraid I would accidentally drive the system the wrong way somehow and break a regular fluted bit. The V carve bit is short, stubby and strong so I did my first cut with it. Turns out it would have been fine with the regular bit, the first cut went PERFECTLY. Here is a short clip:
Other tips, information in no particular order:
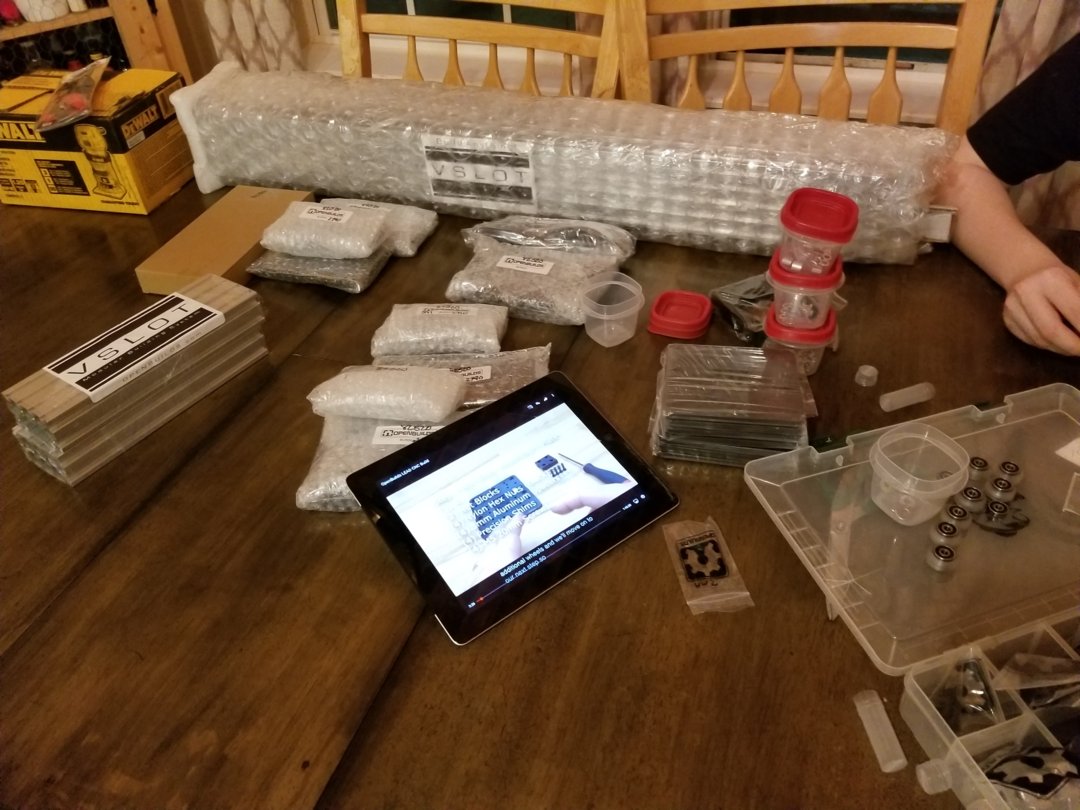
- Have a large, well-lit, organized work area. I did most of the time, and this is critical. There are ALOT of parts in this thing. I'd recommend a plastic fishing tackle sorting tray or similiar thing to keep things sorted. I did not remove parts from labeled parts bags so I could quickly identify sizes.
- Watch the video carefully. Have the video on a computer screen, tablet etc (not a phone) near your build area. You'll be pausing this video over and over, and rewatching sections to see what he's doing.
- In some cases, there are other sources of documentation you can use to validate the build step. In the case of the Black Box, there is a well-written build document in their online instructions. I do not believe this exists for the Lead CNC as of this writing (but it would be very helpful). Also, have the Sketchup model open on your computer as you build. Use it for reference to look at how something goes together, it'll help you get perspective during a build step.
KUDOS TO OPENBUILDS
Things that blew me away about this process:
- The open nature of information on the site. I get the open source concept, but at the same time, they're selling things. But they are very open with information about how to build this stuff, and you could go buy every one of the parts yourself without buying anything from them. I wouldn't do that though. Some pieces have been cut to length (v slot, wires, etc) and the odds of you getting all the right parts are slim/none. It was a great kit.
- The videos are good. I pick on the inconsistencies because they irritate you during the build, but I'd say easily 99% of the information is solid. And the rest I got past. That means the directions are good.
- The pre-sale support was great. Direct contact by Mark answered all my questions. He was patient and explained everything to me, and I was clueless about it. This convinced me to buy here.
- The software to run this thing is EXCELLENT. I work at a large company that produces software and this was very, very professionally done. The drivers for the USB connnection, the Control software for the machine, and the web-based CAM software all worked together first shot. Very, very well done. I'm already seeing where I want to venture off into Fusion 360 soon for my CAM work, but this is a great jumping off point.
- If you have a 3D printer, you will have a leg up on those who don't. If you have a rough understanding of how stepper motors and g-code work, you'll understand what is happening here very quickly. Also, having a 3D printer is great to make things you want to go with the new router setup. I've got a cheap, small Monoprice Mini-Delta. It can only print 100mm cubed, but that is enough volume for a lot of small parts, or larger parts printed in pieces.
IN SUMMARY (TL;DR VERSION)
This build went great. I would buy it again in a second. The struggles I had were minimal given the scaled of the project. The support from OpenBuilds was great, though I only had direct contact with them prior to the order of the Lead 1010, and Mark contacted me directly and answered all my questions. This swayed me to this machine over others.
I've only cut one thing, but I'm excited to really explore what it can do! I'll post some projects once I get going.
Lead CNC build, Mansfield, Texas - BUILD COMPLETED WITH REVIEW OF THE KIT
Build in 'Cartesian Style CNC' published by RoosterTX, Mar 26, 2019.
The machine is a stock Lead CNC, with the Black Box controller and StepperOnline 269oz NEMA 23 motors. I'll be using the DeWalt 611 from Openbuilds, as well.
-
-
Build Author RoosterTX, Find all builds by RoosterTX
-
- Loading...
-
Build Details
- Build License:
-
- CC - Creative Commons Public Domain (CCO 1+)


