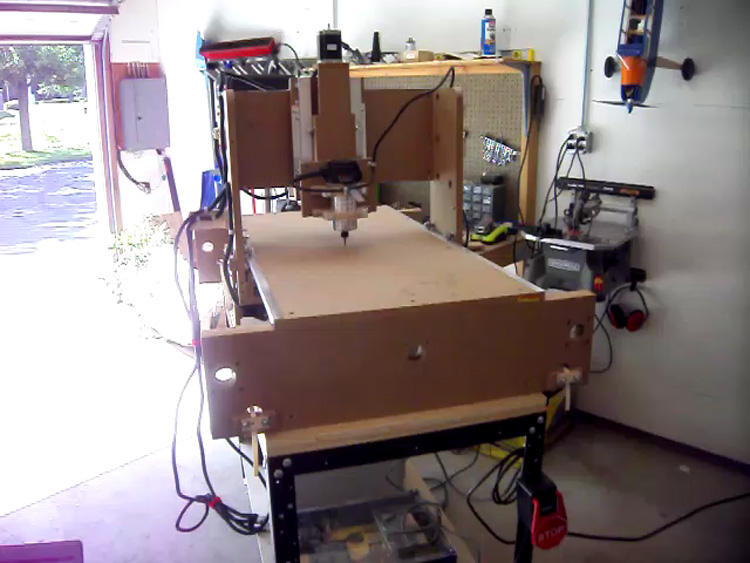
I have tried a couple of different approaches to building my own cnc router and started with the JGRO design plan. The image above was taken just after I completed that build and I tried my first cut. Boy did I have a lot to learn about cnc machines. I meticulously cut all the parts at a local wood shop and bought all the recommended hardware at Menards, ACE Hardware and Home Depot. The electronics and motors came from buildyourcnc.com. It worked to some degree, but it was not accurate. So I decided to try something else.
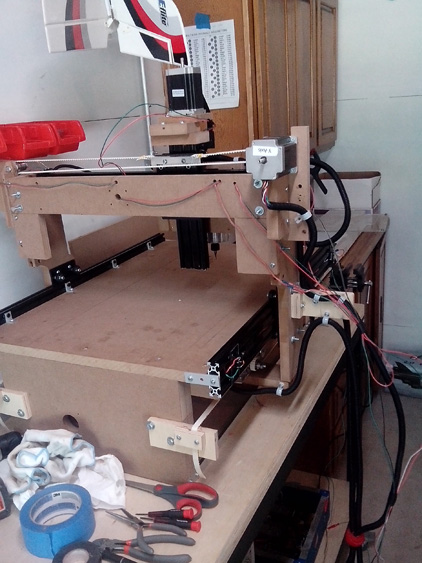
My next attempt was to incorporate some of the hardware from Buildyourcnc.com. Specifically I purchased their belt drive system and tried aluminum rails instead of the gas pipe shown above. However, this system did not work that well because even though movement was good, it was jerky. This next picture shows that attempt.
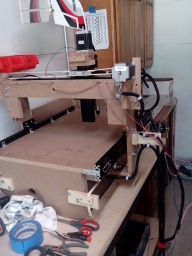
So I searched around some more on the Internet and I found the OpenBuild web site and I really liked what I saw. In fact, I wished that I had found it to start with, I believe I would have saved myself a lot of headache and I would be cutting now. I have the new system built , as you can see from the main picture. I just bought a 300 mm lead screw from OpenBuilds for my Z axis. I do need to shorten it a bit and need to find someone who can cut it for me. I don't think I want to attempt it myself. I like this system and when I eventually get it working I plan to do a lot of cutting and will try other builds. I will keep everyone updated on my progress and hope to have a video shortly of my cnc machine in action. Though it is in the early stages of winter here where I live and my garage is not heated, so it may be a little while before I get that far.
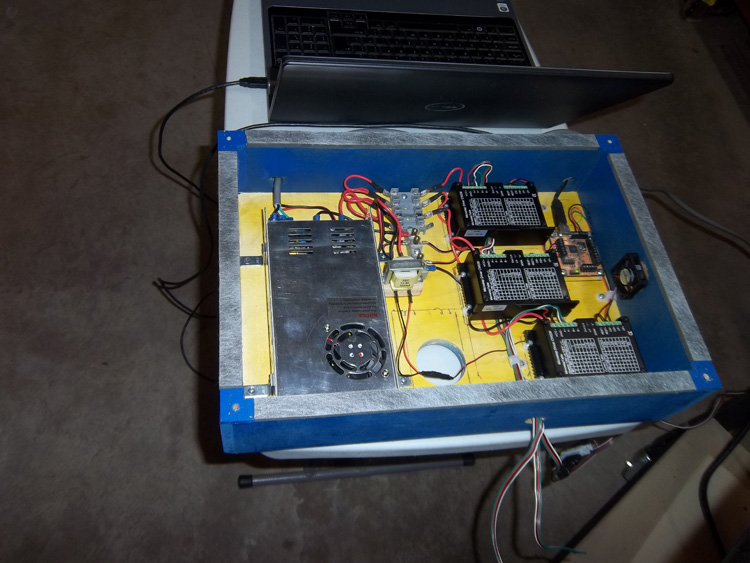
Here is a picture of the control box I made with my electronics. The lap top was given to me by a friend in my housing association. As soon as I get my machine going I am going to make him a sign for his mobile home.
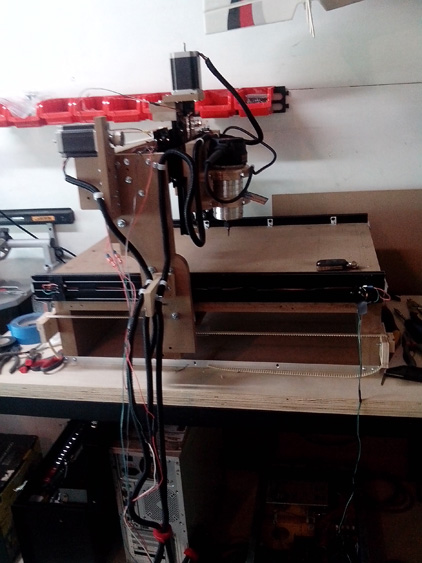
Below is a picture of the current state of affairs with this build. I have taken the "Z" axis apart so that I can install my new lead screw once I have had it cut to size.
My JGro CNC becomes an OpenBuild Project
Build in 'X/Y Table Style CNC Mill' published by Joey Selzler, Jan 3, 2015.
This is the story of my progression from the JGRO cnc router design to using the OpenBuild system. In the process I think I have learned some things about cnc routers and the accuracy required to make a good build.
-
-
Build Author Joey Selzler, Find all builds by Joey Selzler
-
- Loading...
-
Build Details
- Build License:
-
- CC - Attribution - CC BY
Reason for this Build
I am building this cnc machine to cut parts for RC aircraft, make signs, wooden clocks and other similar projectsInspired by
I have been inspired by the OpenBuilds Routy and OX builds. -
Parts list
Qty Part Name Part Link Comments 0 Link