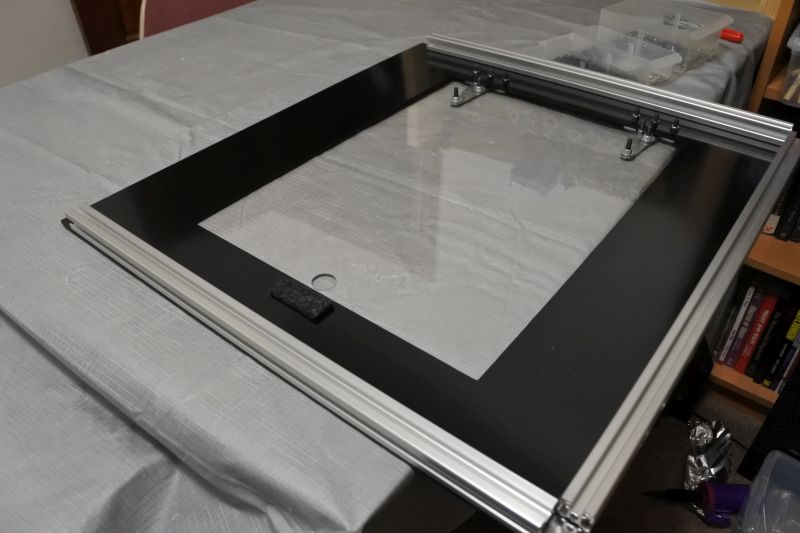
This enclosure for my Lulzbot TAZ 6 3d Printer was built with V-Slot, Makerlink, and custom-cut ABS and acrylic panels. It encloses just the working volume, so the print can stay warm while the electronics stays cool. I've put up a detailed project page with a link to design files and I can also provide kits if you have the same model and want a bolt-together enclosure of your own.

I developed this enclosure as an upgrade to my 3d printer to let me prototype more effectively. It has been my first major project making extensive use of Makerlink. I want to highlight a few ways in which I used Makerlink in unusual ways.
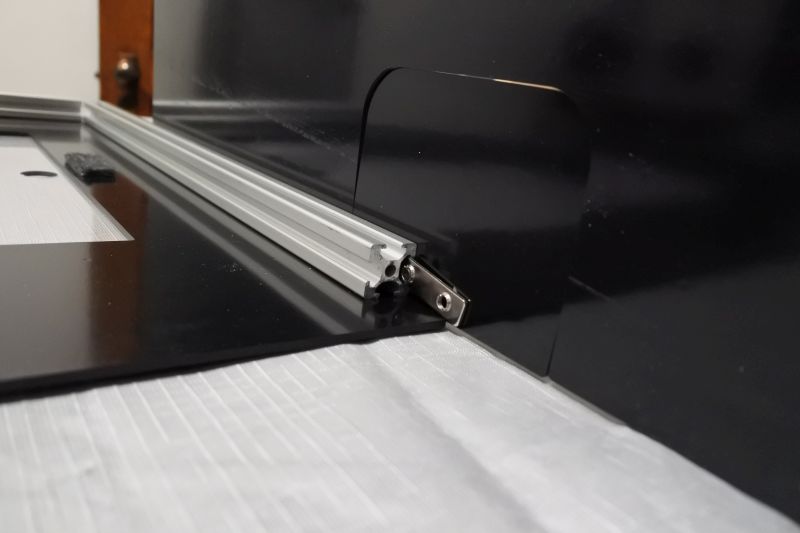
First, there were a couple of places where I found that it was cheaper to combine Makerlink with a matching corner bracket I designed. This let me use a single Makerlink instead of two because of the added stiffness provided by the corner bracket. It was a bit cheaper (buying 1 makerlink and cutting my own plate out of what would otherwise become scrap). But it also meant that I had four less screws to tighten and I only needed to screw in on one side instead of both.

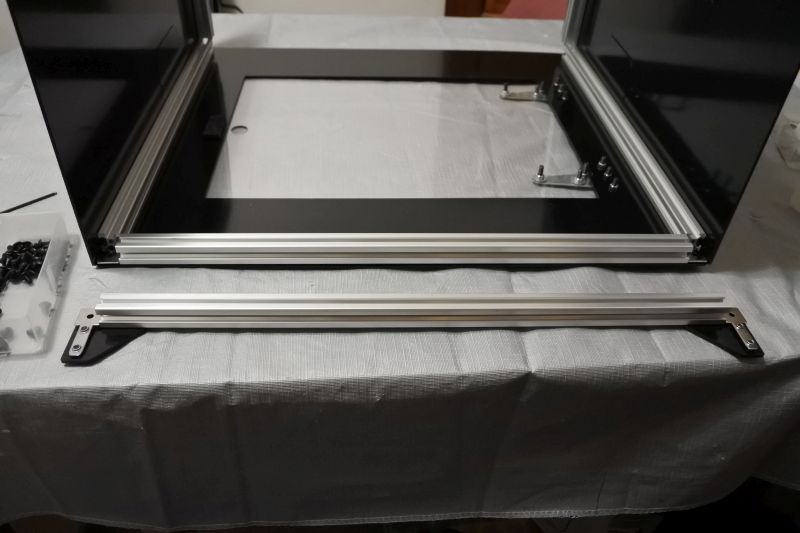
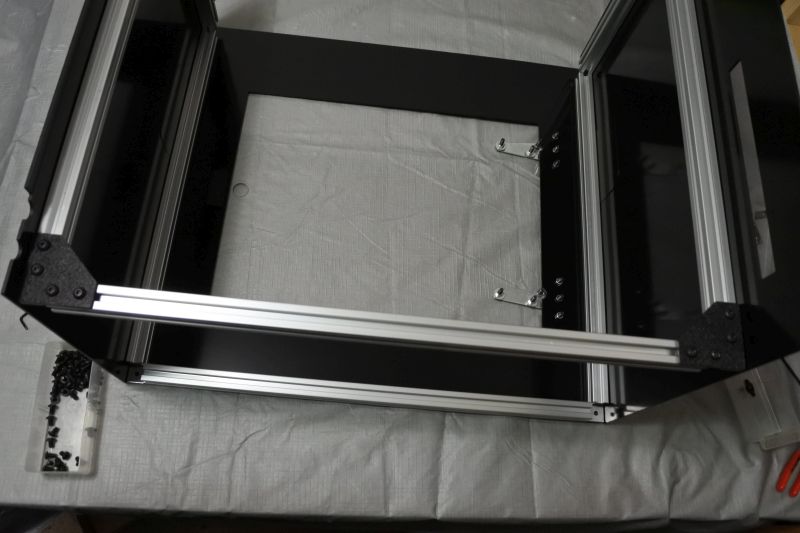
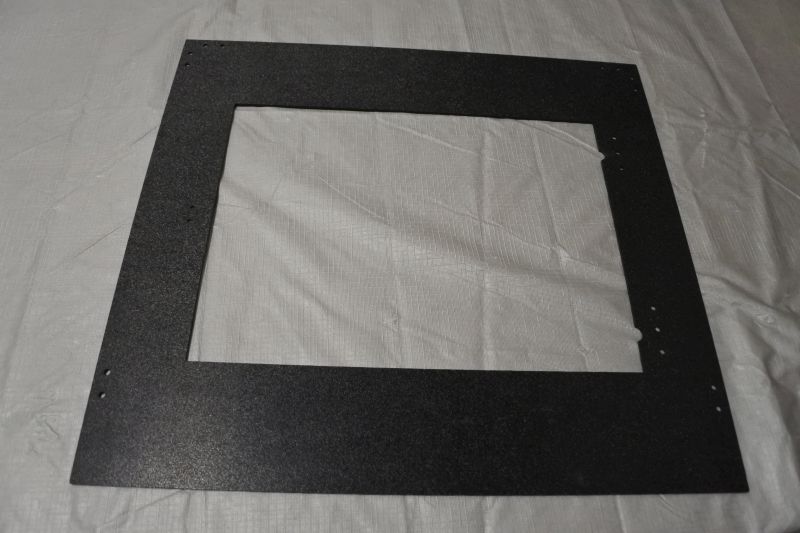
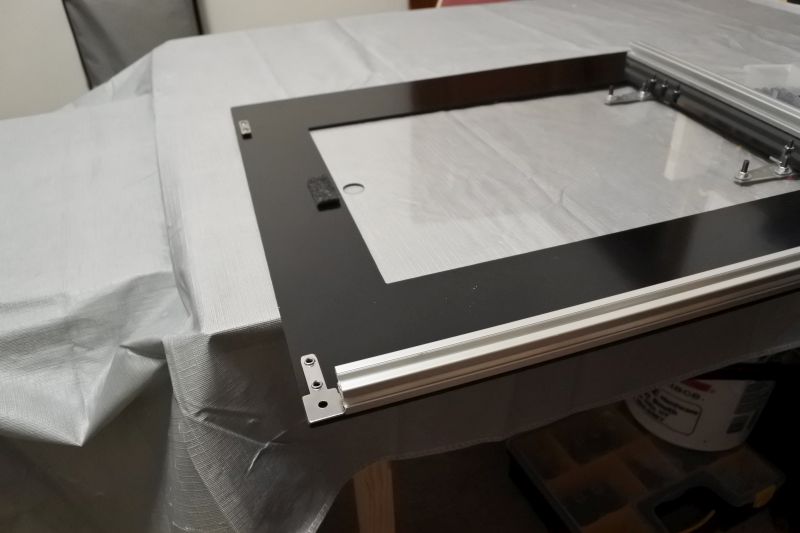
In my first iterations, I assembled the skeleton with Makerlink and set screws and then attached the skin on afterwards. But this turned out to work badly. In order to tighten or loosen the set screws for adjustment, I had to remove or move the large skin panels. Which also meant I couldn't use them as guides when squaring things up. The solution was to adapt the idea I had for small Makerlink plates and apply it to the large skin plates as well. Nearly every panel has clusters of Makerlink-compatible holes that let me attach the panel to the skeleton and secure the skeleton together with just one set of M5 x 8mm screws. I then use standard double T-nuts to secure the corners that don't have Makerlink on them.
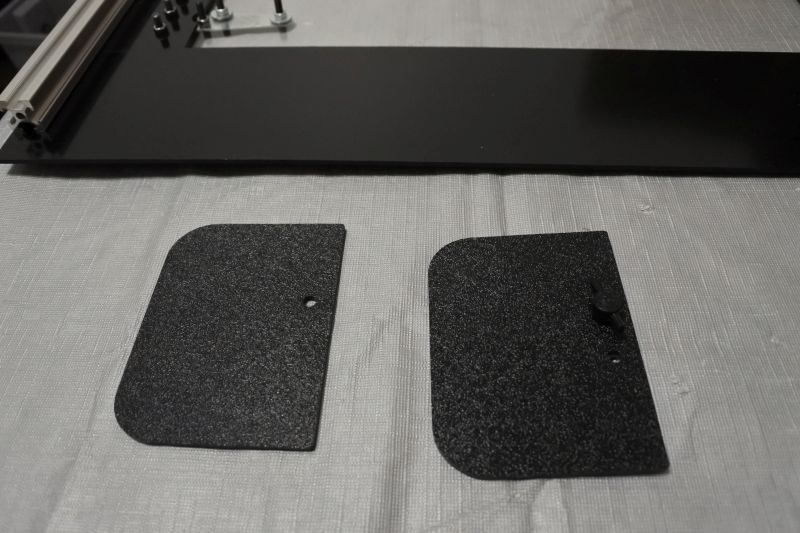
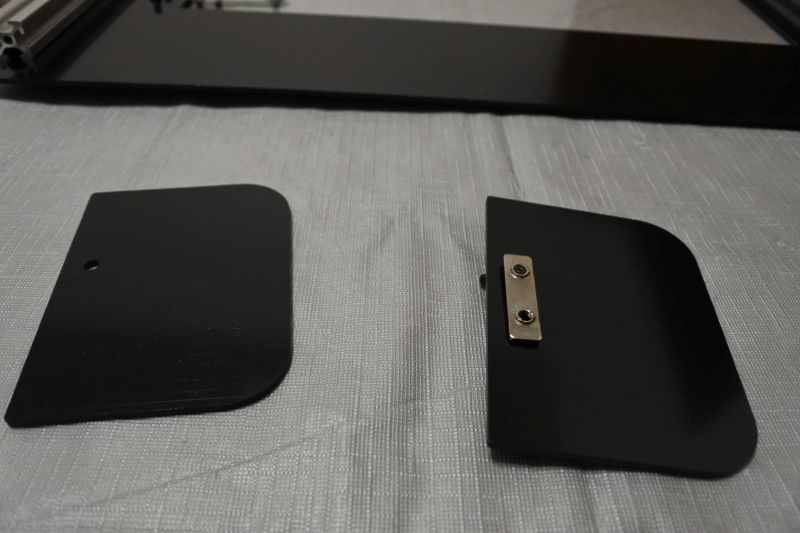
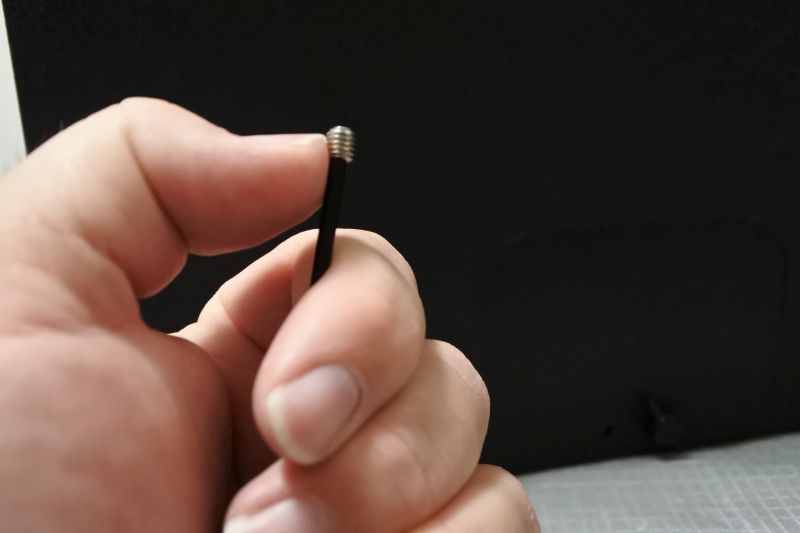
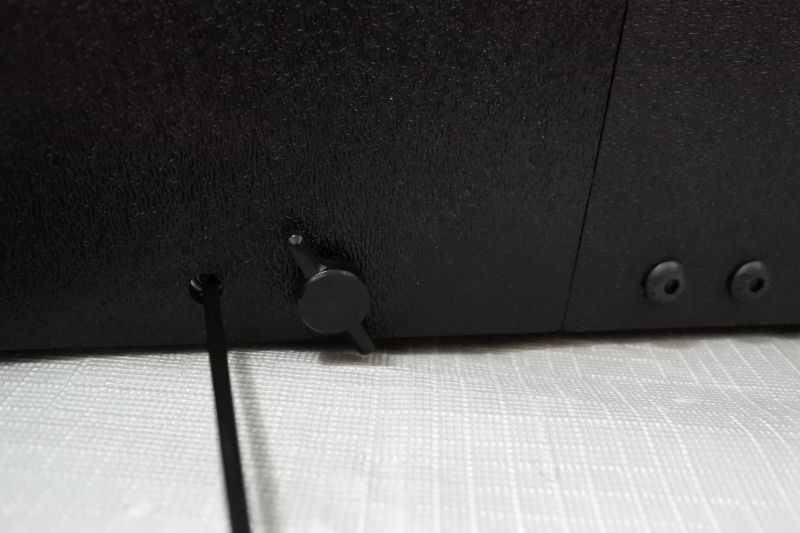
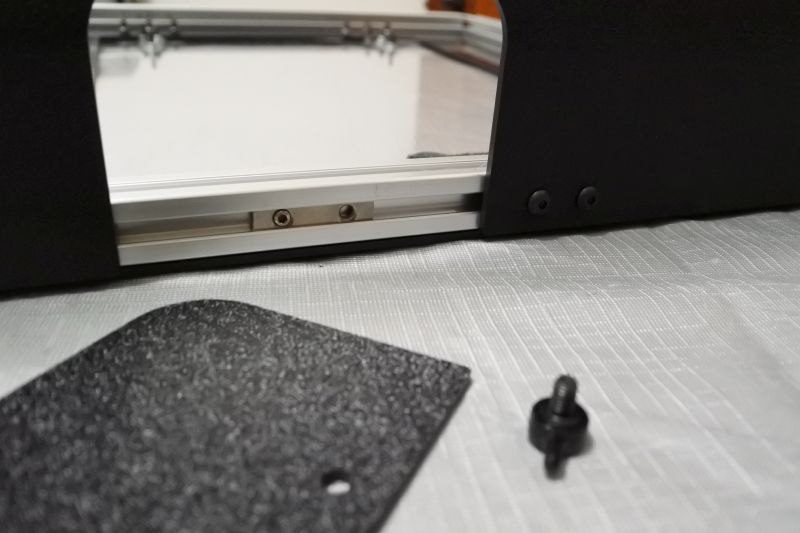
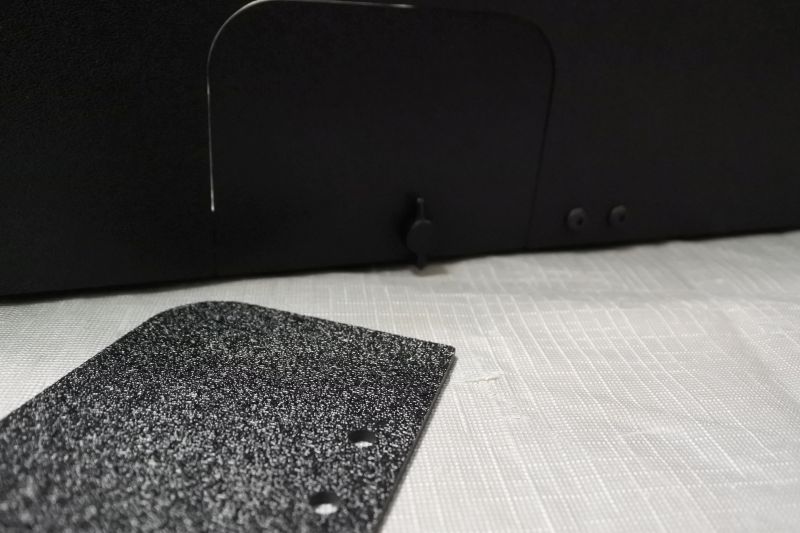
The last technique I found was when using the set screws that come with Makerlink. Since I'm using standard screws in place of some of them, I've got a lot of extras. The most interesting use for these set screws is that you can use a set screw on one hole of a double T-nut. Then the other hole becomes a fixed attachment point. That lets you quickly bolt and unbolt things onto the V-Slot frame without worrying about the nut moving between times. In this way, I was able to create a set of handle covers. Each handle cover is fixed in place with a thumb screw. So they can easily be removed to provide a place to grip the aluminum frame when moving the enclosure. Since I use a set screw to keep the double T-nut in place, the handle covers are just as easy to re-attach later.
For complete details, check out the project page. Let me know if you have any other questions about how this was designed or built.
-Jonathon Duerig

Chrysalis: An Enclosure for TAZ 6 3d Printers
Build in 'Everything Else' published by Jonathon Duerig, Apr 9, 2017.
Aluminum-framed enclosure for TAZ 6 3d Printer made with Makerlink.
-
-
Build Author Jonathon Duerig, Find all builds by Jonathon Duerig
-
- Loading...
-
Build Details
- Build License:
-
- CC - Attribution NonCommercial - CC BY NC
Inspired by
Makerlink